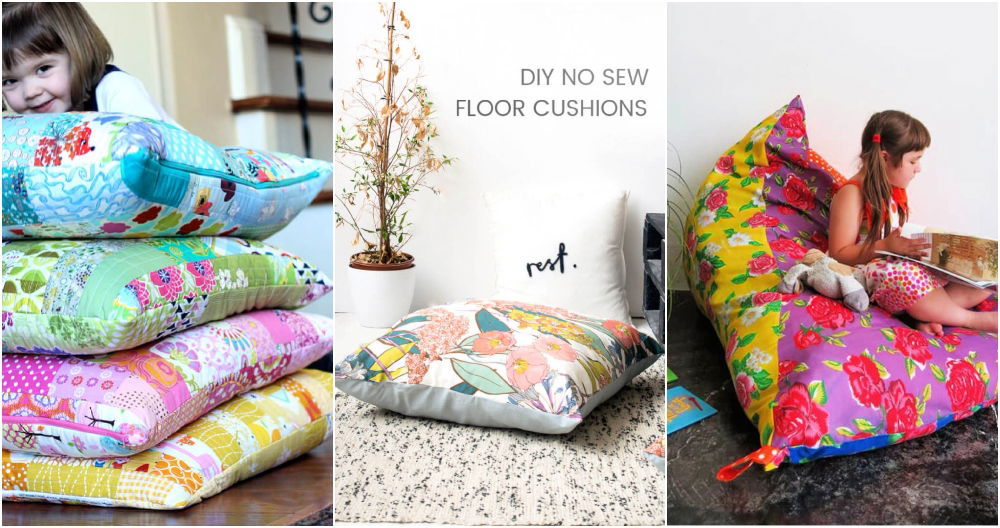
A floor cushion is a perfect DIY project for anyone looking to add comfortable seating to their home. Whether you need extra seating in the living room, a cozy spot in the playroom, or just a stylish addition to your bedroom, floor cushions are a versatile solution. In this comprehensive guide, you will find everything you need to know to make your own DIY floor cushion, including the materials, tools, and detailed steps. By the end of this guide, you'll have a beautifully crafted floor cushion that not only looks great but also provides functional comfort.
Materials You Will Need
To make your own floor cushion, you'll need to gather the following materials. These are essential for ensuring the cushion is sturdy, comfortable, and easy to maintain.
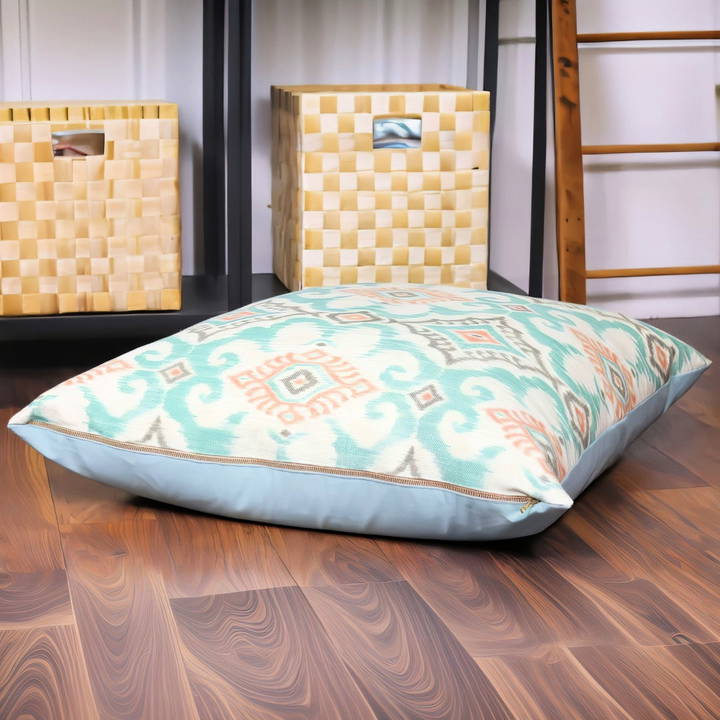
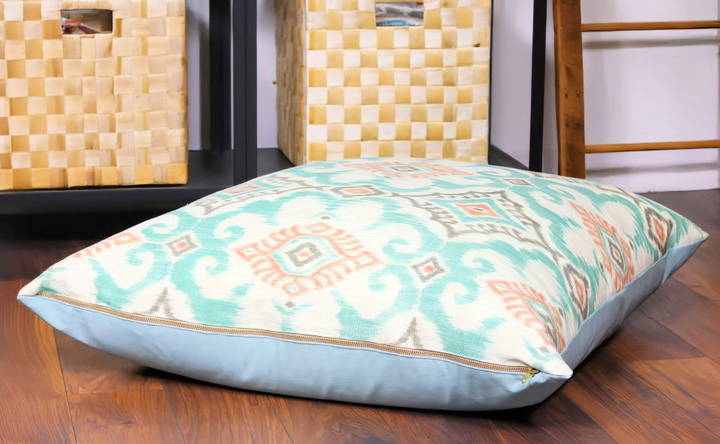
- 2 yards of fabric: You can choose two different fabrics for the top and bottom of the cushion, which will give it a unique look. In this guide, we'll use 1 yard of Covington Kantha Surf fabric for one side and 1 yard of Premier Prints solid village blue fabric for the other.
- 2 yards of featherproof ticking fabric: This is essential for the inner lining that holds the pillow form.
- A 27-inch upholstery zipper: The zipper is optional but recommended if you want to change or replace the pillow insert in the future.
- A ruler or measuring tape for cutting fabric to the correct size.
- Thread to match the color of your fabric.
- Scissors to cut the fabric.
- A fabric marker to mark your cutting lines.
- Ballpoint pins to hold the fabric pieces in place while sewing.
- A 32-inch down pillow form: You'll need a high-quality insert to give your cushion the right level of comfort.
- An iron to press seams and make sharp edges for a professional look.
Step by Step Instructions
Make your own cozy floor cushion with our DIY floor cushion guide. Follow easy steps from measuring fabric to inserting the pillow form!
1. Measure and Cut the Fabric
The first step is to measure and cut your fabric pieces for both the outer cushion cover and the inner lining.
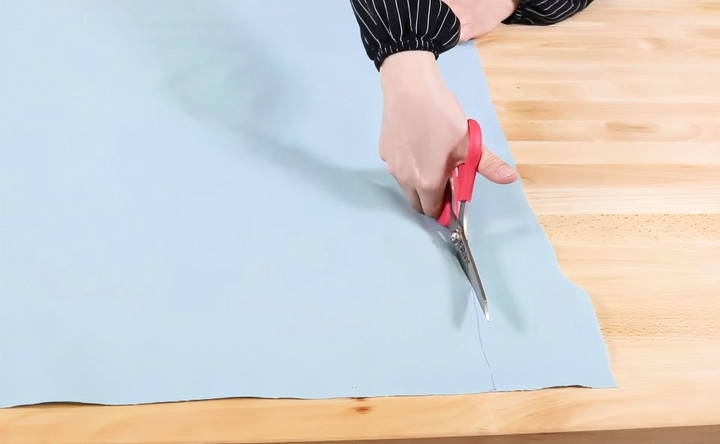
- On the wrong side of each piece of decor fabric, measure a 31 x 31-inch square. Using this measurement ensures that the cushion cover will be slightly smaller than the pillow insert, which makes a full, plush look once the cushion is assembled.
- Repeat this process for the featherproof ticking fabric. You'll need two squares of ticking fabric to match the outer cover.
2. Prepare the Edges for the Zipper
Next, you'll need to prepare the fabric for attaching the zipper. This will allow you to easily remove and replace the pillow insert when necessary, extending the life of your cushion.
- Fold over ½ inch on one edge of both the decor and ticking fabrics, and press them with an iron to hold the fold in place. Make sure you press the fabric thoroughly to make a sharp, even fold.
3. Attach the Zipper
The zipper is an optional but highly recommended feature. It allows you to remove the pillow insert for cleaning or replacement, making your cushion much more practical in the long run.
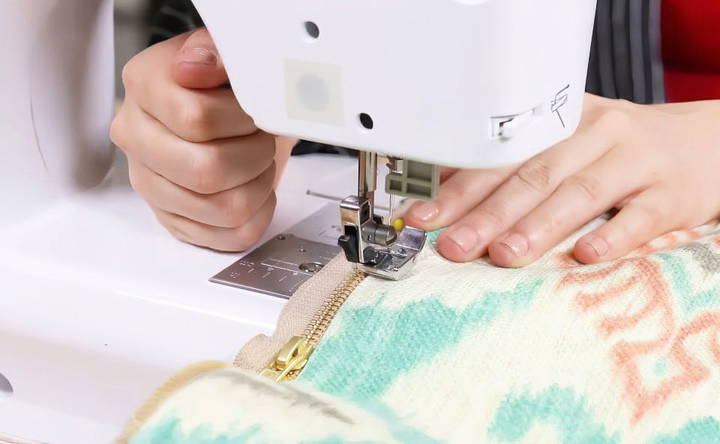
- Place the zipper between the two folded edges of your fabric, ensuring that it's centered and even.
- Unzip the zipper, and pin it along the edges of the fabric. Make sure everything is aligned properly.
- Switch your sewing machine foot to a zipper foot, which allows for precise stitching close to the zipper teeth. Using a 1/8-inch seam allowance, stitch along the zipper, starting at the top of the fabric and sewing down to the end. Be sure to backstitch at the beginning and end to secure your stitches.
- Repeat the process to attach the other side of the zipper to the opposite fabric panel.
4. Sew the Cushion Panels Together
Now that the zipper is in place, it's time to assemble the cushion.
- With the right sides facing each other, fold the cushion in half along the zipper. This step ensures that once everything is sewn together, the fabric's right side will be on the outside of the cushion.
- Pin the edges of the fabric panels together, starting from the bottom of the zipper and working around all three sides.
- Sew around the edges of the cushion using a ½-inch seam allowance. Remember to leave the zipper slightly open so you can easily turn the cushion right-side out once you've finished sewing.
5. Finish the Seams
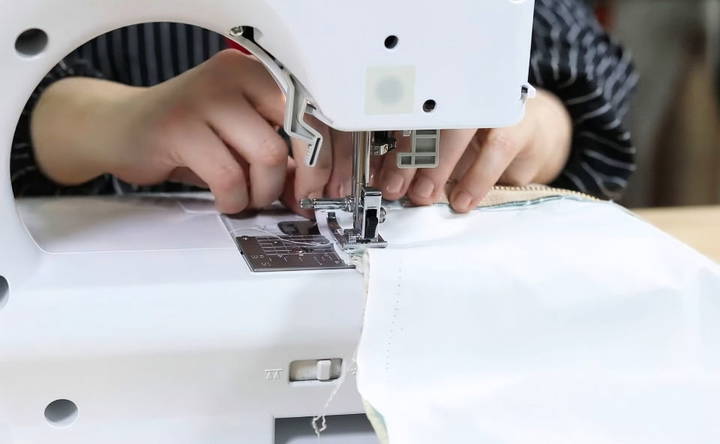
To prevent fraying and give your cushion a professional look, finish the seams with a zig-zag stitch.
- Sew along the edges of the seam on all three sides with a zig-zag stitch. This stitch not only gives the cushion a neat finish but also reinforces the seams, ensuring durability.
6. Clip the Corners
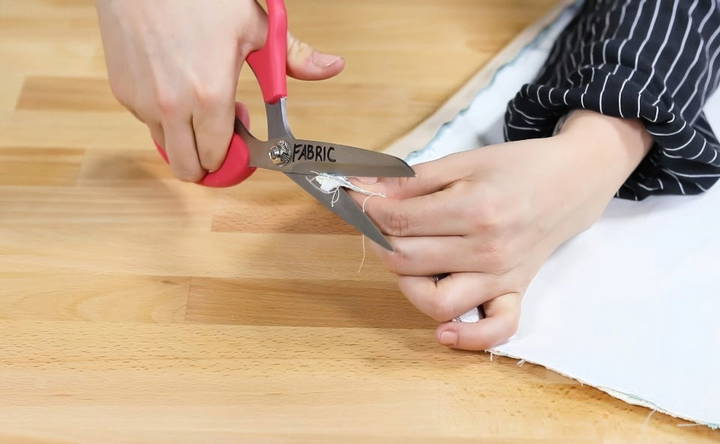
Once you've sewn the cushion together, it's important to clip the corners to reduce bulk and allow the cushion to take on its proper shape.
- Trim the corners carefully without cutting into the seam itself. This small step will help the corners lay flat when you turn the cushion right-side out.
7. Turn the Cushion Right-Side Out
Now it's time to turn your cushion right-side out. If you left the zipper slightly open, this part will be easy.
- Reach inside the cushion cover and gently pull it through the zipper opening. Once the cushion is fully turned, use a tool like the end of a paintbrush to poke out the corners for a crisp, square shape.
8. Insert the Pillow Form
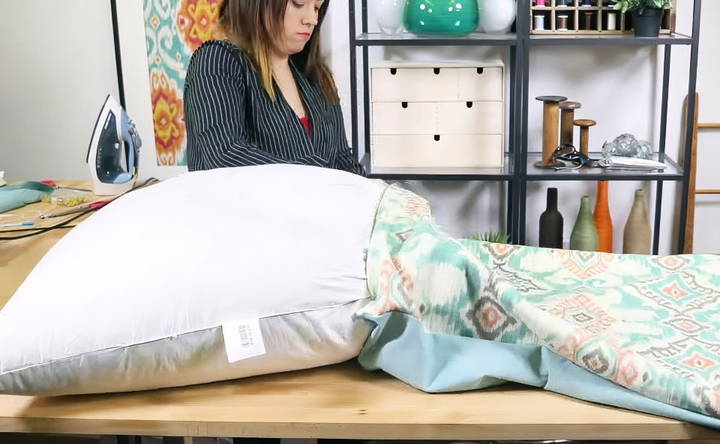
The final step is to insert the down pillow form into the cushion cover.
- Carefully insert the pillow into the cover, making sure it fits snugly and fills out the corners. Once the pillow is inside, zip the cover closed.
9. Enjoy Your New Floor Cushion
Congratulations! You've just made your very own floor cushion. This cushion is not only comfortable but also versatile. It's perfect for lounging around in the living room, providing extra seating for guests, or adding a cozy touch to a playroom or bedroom. Plus, with the zipper feature, you can easily switch out the pillow form or cover for different seasons or home decor styles.
Tips for Customizing Your Floor Cushion
- Fabric Choices: The beauty of a DIY project is that you can completely customize the design. For a playful look, try mixing different patterns and colors. Choose durable fabrics like cotton, canvas, or even upholstery fabric for longevity, especially if the cushion will see a lot of use.
- Pillow Form Options: While this tutorial uses a down pillow form, you can substitute it with a different filling if you prefer a firmer cushion. Foam inserts or polyester stuffing are good alternatives if you want a more structured seat.
- Adding Piping: For an extra professional touch, consider adding piping around the edges of your cushion. This gives the cushion a polished, tailored look that will elevate its style.
Maintenance and Care
One of the key benefits of adding a zipper to your floor cushion is ease of maintenance. Here are a few care tips to keep your cushion looking great over time:
- Remove the Cover for Cleaning: Since the cover is removable, you can wash it whenever it gets dirty. Be sure to follow the care instructions for your specific fabric choice.
- Fluff the Pillow Form: Over time, the pillow insert might flatten with use. Fluff it regularly to maintain its shape. If the insert becomes too flat, you can replace it with a new one or add extra filling.
- Store Safely When Not in Use: To extend the life of your floor cushion, store it in a cool, dry place when it's not in use. This helps prevent wear and tear and keeps the fabric looking fresh.
Final Thoughts
Making your own floor cushion is a rewarding project that combines creativity with functionality. Whether you're new to sewing or an experienced DIY enthusiast, this tutorial provides all the steps you need to make a cushion that adds both comfort and style to any space. With the option to easily replace the pillow insert, your cushion will last for years and can be updated to match changing decor.
By following this guide, you'll have a custom floor cushion that not only enhances your home but also showcases your craftsmanship. Enjoy your new cozy, stylish seating!
FAQs About DIY Floor Cushion
Get all your FAQs about DIY floor cushions answered! Learn tips, materials, and steps to make your own comfy cushion with ease.
To ensure your cushion looks full, cut the fabric squares 1 to 2 inches smaller than the pillow form. This will make the cushion appear plush without being too tight or flat. Avoid making the cover larger than the pillow, as this can result in a droopy look.
No, if you don't have a zipper foot or prefer a simpler method, you can make an envelope-style closure. This involves overlapping fabric on the back to make an opening, which eliminates the need for a zipper.
Ticking fabric is used to prevent feathers from poking through if you're using a down pillow insert. It's tightly woven and designed to keep the filling contained. If you're using synthetic or foam inserts, ticking isn't necessary, but it's a good precaution for feather inserts.
While a sewing machine speeds up the process, you can hand sew the cushion using strong thread and a backstitch for durability. Just ensure your seams are secure, especially around the edges, to prevent unraveling with use.
Yes, if you've included a zipper or used an envelope closure, the cover is easy to remove and wash. Always check the care instructions for your specific fabric to ensure it's safe to launder.


