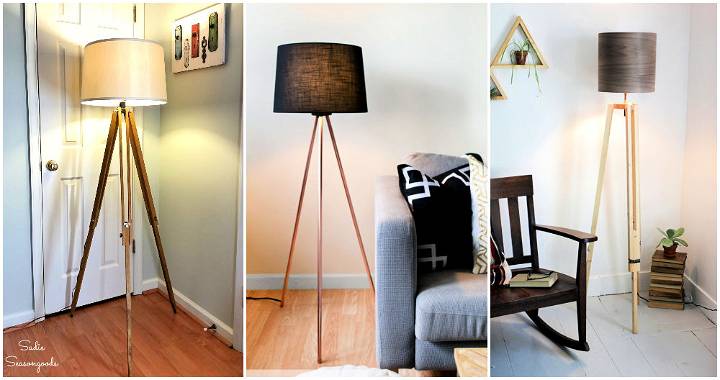
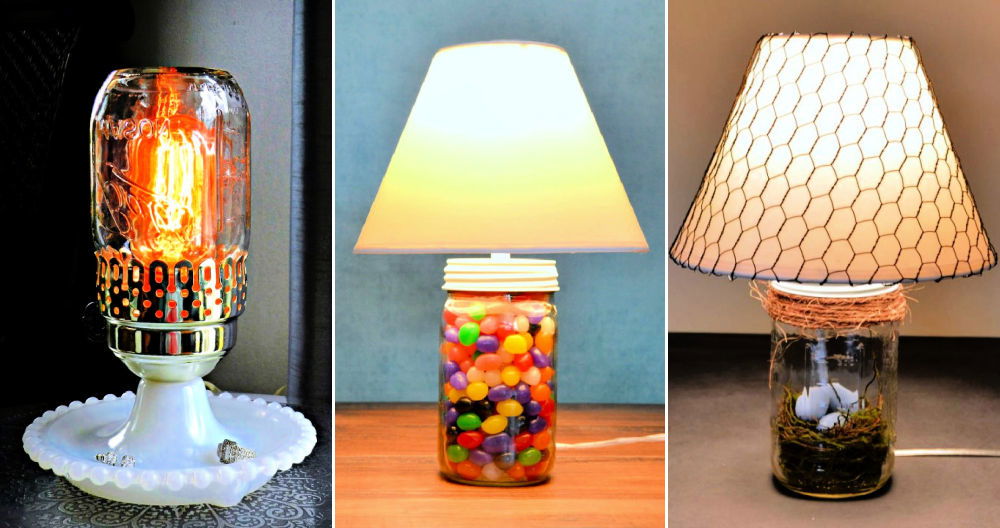
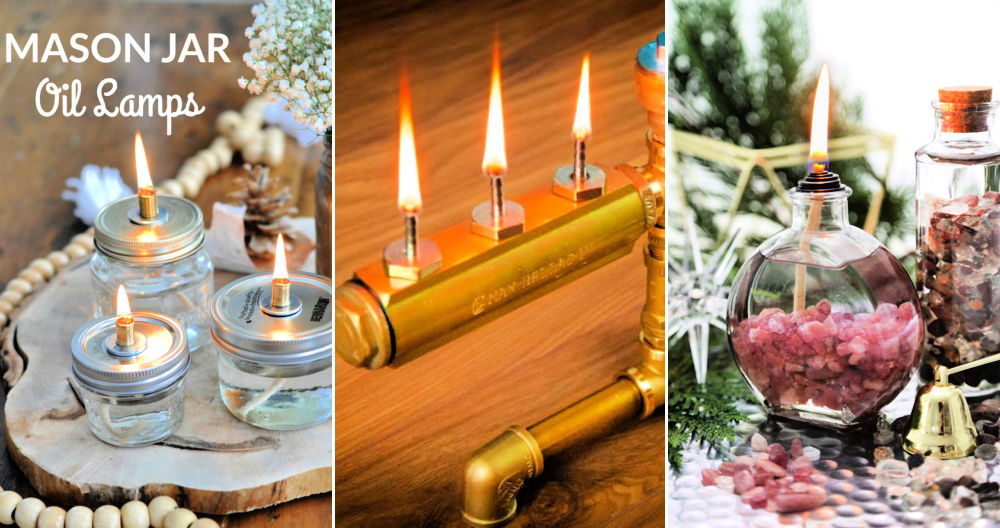
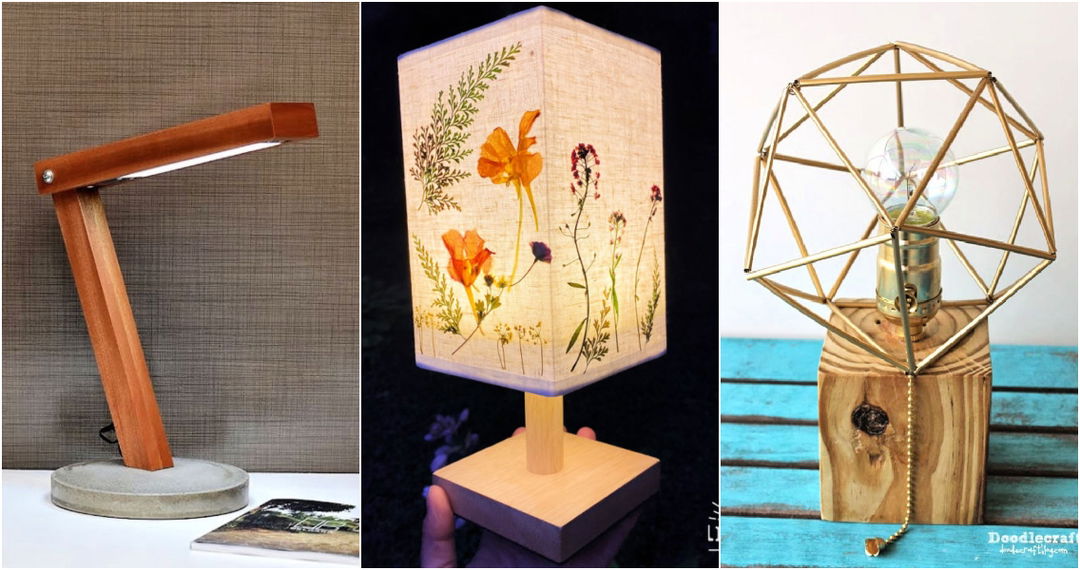
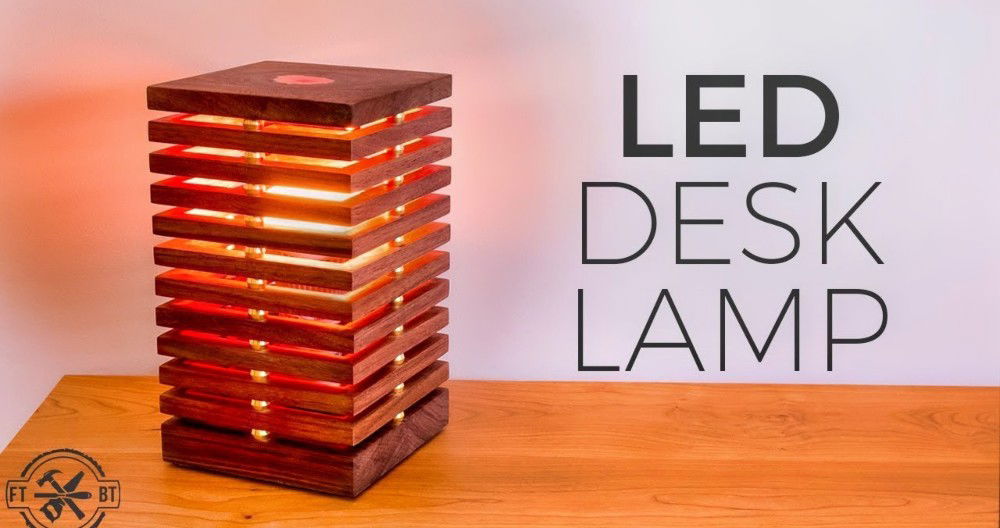
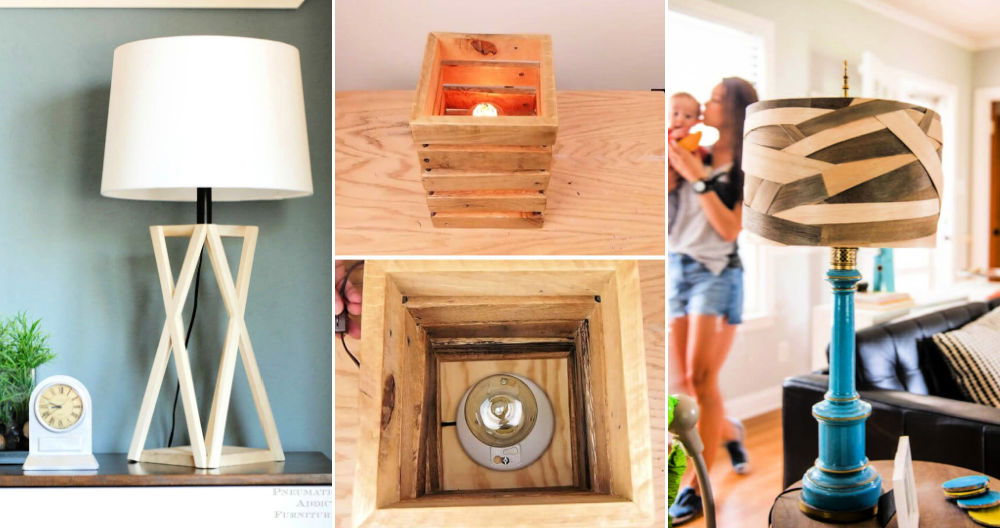
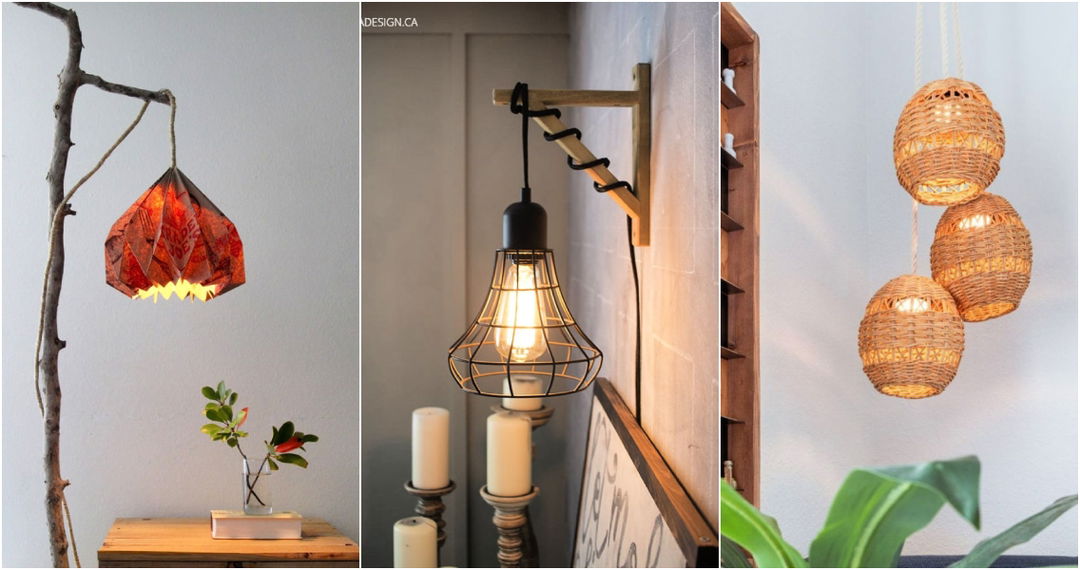
Building my own handmade DIY floor lamp was an exciting project. The entire process was simple and enjoyable. I chose the materials carefully, thought about the design, and used basic tools found around the house. This project was not only affordable but also added a personal touch to my living room. The lamp provides the perfect lighting for my reading corner.
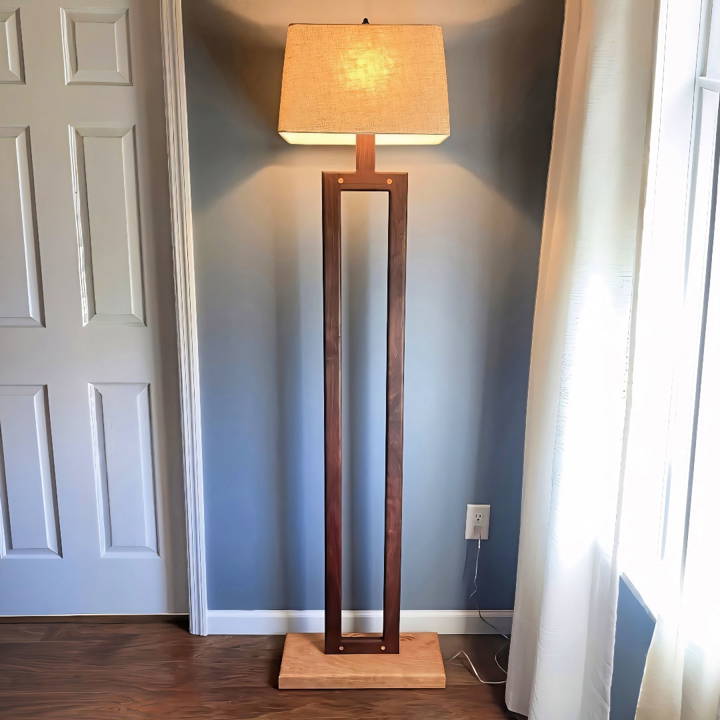
I'm sharing this because making a DIY floor lamp at home can be fulfilling and informative. It can enhance your creativity and give you a sense of achievement. Plus, it's a great way to personalize your space with something you made by yourself.
I encourage you to give it a try—it's easier than you might think, and the results are truly rewarding.
Materials You'll Need and Why
- Cherry and Walnut Wood: For their contrasting colors and sturdy nature. Cherry offers a warm tone, while walnut provides a striking dark contrast.
- Wood Glue: Essential for laminating pieces and ensuring strong joints.
- Clamps: To securely hold wood pieces as the glue dries.
- Router and Spiral Up Cut Bit: For making grooves for the wiring.
- Saw: Both a miter saw and band saw are crucial for cutting wood to precise lengths and thicknesses.
- Sandpaper: For smoothing out all surfaces, ensuring a perfect finish.
- Drill and Forstner Bit: Required for making channels for the wire and assembling parts.
- Lamp Wiring Kit: To transform your wooden structure into a functional lamp.
- Finish (e.g., Rubio Monocoat): To protect the wood and enhance its natural beauty.
- Rubber Feet (optional): To elevate the lamp and protect surfaces.
Step by Step Instructions
Build your own stylish DIY floor lamp with our step-by-step instructions: craft the base, assemble and hide wiring, and add finishing touches.
Craft the Base and Frame
- Preparing the Wood: I began by milling the cherry and walnut wood. Not having enough thick cherry for the base, I laminated two pieces together. For a solid lamp structure, stable and well-prepped materials are key.
- Cutting to Size: Using the miter saw, I cut the walnut into two-inch strips for the frame and approximately 5-inch wide pieces for the stretchers connecting the legs.
- Routing Grooves for Wiring: A crucial step involved running a groove along one leg for the wire using a spiral up cut bit on a router. Ensuring the groove was deep enough to conceal the wire yet not compromise the leg's integrity was a delicate balance.
Assemble and Hide the Wiring
- Laying the Wire: After routing, laying the wire in the groove was straightforward. I reinforced the groove with a thin strip of wood over the wire, glued, and secured. The goal was to ensure the wire was safely encased and invisible once the lamp was assembled.
- Butt Joints Reinforcement: Skeptics doubt the strength of butt joints, but with proper reinforcement, they're remarkably robust. I used glue initially and then added wooden plugs from contrasting wood for aesthetic appeal and additional strength.
Final Assembly and Finishing Touches
- Joining the Pieces: I meticulously glued and clamped the legs to the stretchers, ensuring a square and strong frame.
- Building the Mortise: For a sturdy base, I cut a mortise in the cherry base where the frame would sit. This step required precision to ensure a snug fit without excessive force.
- Finishing: After assembly, I sanded the lamp to a smooth finish and applied Rubio Monocoat. This not only enhanced the wood's natural beauty but also protected it from dust and wear.
- Wiring the Lamp: Following safety procedures, I attached the lamp wiring. The hot wire (smooth side) and neutral wire (with the rib) were correctly identified and connected to the socket. This part was simpler than anticipated and crucial for transforming the wooden structure into a functioning lamp.
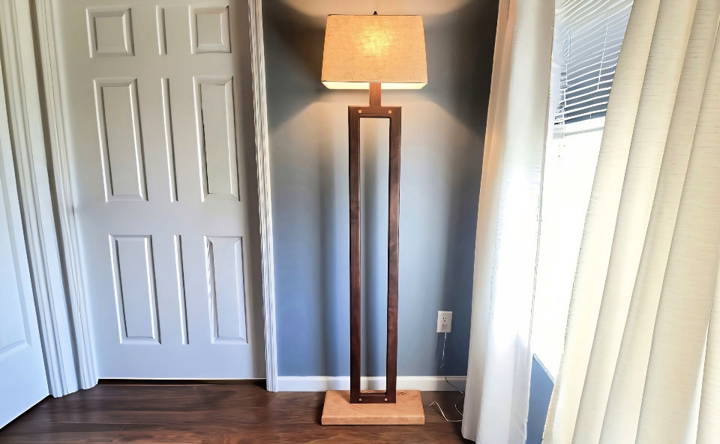
- The Final Touch: Installing the lampshade and bulb was the crowning step. The contrast between the warm glow of the lamp and the cool, smooth wood was strikingly beautiful.
Lessons Learned and Tips
- Precision is Key: Even minor errors can cause parts not to fit together as intended. Take your time and measure twice before cutting.
- Patience with Glue-Ups: Rushing the glue-up process can lead to weak joints. Give each stage the time it needs to set properly.
- Safety First: Especially when routing grooves and handling electrical components, follow all safety guidelines to avoid accidents.
Design Customization Tips
Building a DIY floor lamp is not just about lighting up a room; it's about infusing your space with a piece of your personality. Here are some tips to help you customize your floor lamp design:
- Choose Your Style: Think about the overall look you're aiming for. Do you prefer modern minimalism, rustic charm, or perhaps a vintage feel? Your style choice will guide the materials and design of your lamp.
- Selecting Materials: The materials you choose can dramatically alter the appearance of your lamp. For a sleek, contemporary look, consider metals like copper or steel. For a warmer, rustic vibe, wood or bamboo can be beautiful choices.
- Color It Up: Color can set the mood of a room. You might paint the base of your lamp in a bold color to make a statement or choose a neutral shade for a more subdued, elegant look.
- Lampshades: The shade is the soul of your lamp. A translucent shade can cast a soft, diffused light, while a darker or opaque shade will focus the light downward, perfect for reading. Experiment with different shapes and textures to see what complements your space best.
- Accessorize: Add personal touches with accessories. Wrap the base with rope or fabric for texture, or attach decorative elements that reflect your hobbies or interests.
- Light Bulbs: The type of bulb you use can affect both the light quality and the energy efficiency of your lamp. LED bulbs come in various colors and temperatures, allowing you to customize the ambiance of your room while saving on your energy bill.
- Safety First: Always ensure that your customizations don't interfere with the electrical components of the lamp. Safety should be your top priority.
The beauty of a DIY project lies in its uniqueness and the personal touch you bring to it. Have fun with the process, and build a floor lamp that you'll be proud to display and use in your home.
Troubleshooting Common Issues
When crafting a DIY floor lamp, you might encounter a few hiccups along the way. Here's a guide to troubleshooting some common issues in a straightforward, jargon-free manner:
- Flickering Light: If your lamp is flickering, first check if the bulb is properly screwed in. If it's secure, the issue may be with a loose wire connection. Ensure all wires are properly connected and insulated.
- Lamp Won't Turn On: Start by checking your power source. If other devices work on the same outlet, test the lamp with a new bulb. If it still doesn't work, inspect the cord for damage and the socket for any signs of wear.
- Unstable Base: A wobbly lamp can be a safety hazard. Make sure all parts are tightly screwed together. If the base is still unstable, consider adding weight to it or placing it on a flatter surface.
- Overheating: Overheating can be caused by using a bulb with a higher wattage than recommended. Switch to a bulb with the correct wattage or LED bulbs, which generally run cooler.
- Dim Light: If the light is dimmer than expected, check if the bulb's wattage is too low. Consider using a bulb with higher lumens for brighter light or cleaning the shade to allow more light through.
- Electrical Smell: An electrical burning smell is a serious concern. Turn off the lamp immediately. Check for any signs of burnt wires or components. If you find damage, it's best to consult with a professional electrician.
Safety is paramount. If you're ever unsure or uncomfortable with fixing an electrical issue, seek help from a qualified professional. DIY is about learning and having fun, but never at the expense of safety.
Safety Precautions
When making a DIY floor lamp, safety is paramount. Here are some key safety precautions to keep in mind:
- Electrical Safety: Always unplug the lamp before making any adjustments or repairs. If you're not experienced with electrical work, consider consulting a professional.
- Proper Wiring: Use the correct type of wire for your lamp. Ensure all connections are secure and properly insulated to prevent any risk of electrical shock or fire.
- Bulb Wattage: Stick to the recommended bulb wattage to avoid overheating. LED bulbs are a safer option as they generate less heat.
- Stable Base: Ensure your lamp has a sturdy base to prevent it from tipping over. This is especially important if you have children or pets.
- Quality Materials: Use high-quality materials that are durable and safe for home use. Avoid materials that are flammable or can easily degrade.
- Regular Inspections: Periodically check your lamp for any signs of wear and tear, such as frayed wires or loose connections.
- Keep Away from Water: Never use the lamp near water or in wet locations unless all components are rated for such conditions.
By following these safety precautions, you can enjoy your DIY floor lamp with peace of mind, knowing that you've taken the necessary steps to ensure it's safe for home use.
FAQs About DIY Floor Lamp
Discover the answers to common questions about DIY floor lamps, including materials, steps, and tips for crafting your own unique lighting.
Yes, you can! There are many simple and straightforward DIY floor lamp projects that are perfect for beginners. These projects come with step-by-step instructions and require basic tools and materials. Start with a simple design, like a tripod lamp made from stock parts, and as you gain confidence, you can try more complex designs.
Safety is paramount when making your own floor lamp. Ensure all electrical components are properly installed and insulated. Use a lightbulb that’s suitable for the lamp’s design and wattage capacity. Always perform a final safety check before using the lamp, which includes checking for any exposed wires or unstable parts.
Get creative by using unique materials like driftwood, scrap wood, or even upcycled bottles. You can make a modern wooden floor lamp, a rustic tree branch lamp, or a minimalist lamp using just a few dowels and a lamp kit. The key is to let your personal style shine through in your creation.
There are numerous online resources that offer a wealth of DIY floor lamp ideas, complete with detailed instructions and photos. Websites like “I Always Pick the Thimble” and “Tip Junkie” present a variety of designs that cater to different styles and skill levels. These guides emphasize customization and simplicity, ensuring you can build a lamp that resonates with your décor.
Selecting the right lightbulb for your DIY floor lamp is crucial for both aesthetics and efficiency. Consider the type of light you want (warm vs. cool), the brightness level (measured in lumens), and the energy consumption (wattage). LED bulbs are a popular choice due to their long lifespan and energy savings. Make sure the bulb's base is compatible with your lamp socket and that it doesn't exceed the recommended wattage to prevent overheating.
Conclusion
With this simple guide, you'll have the confidence to build your own unique DIY floor lamp. Give it a try and transform your space!


