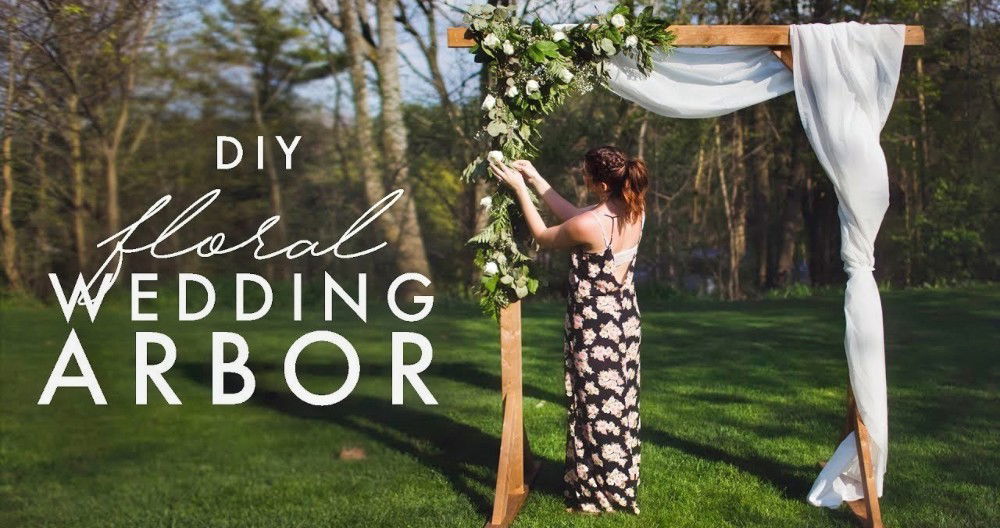
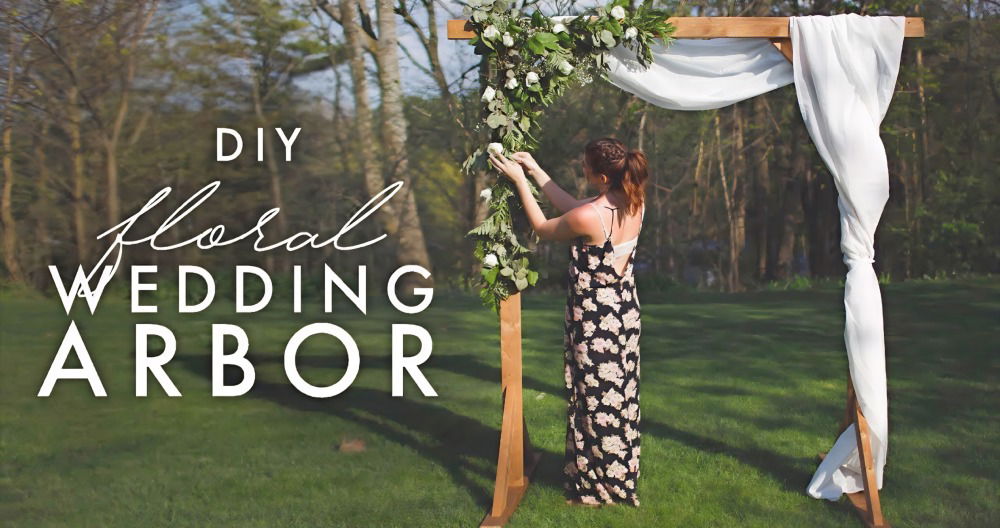
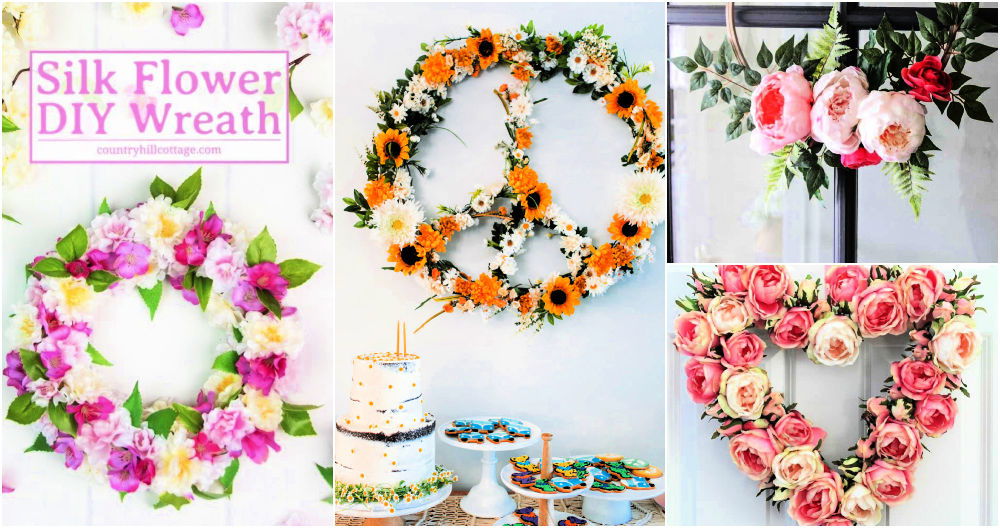
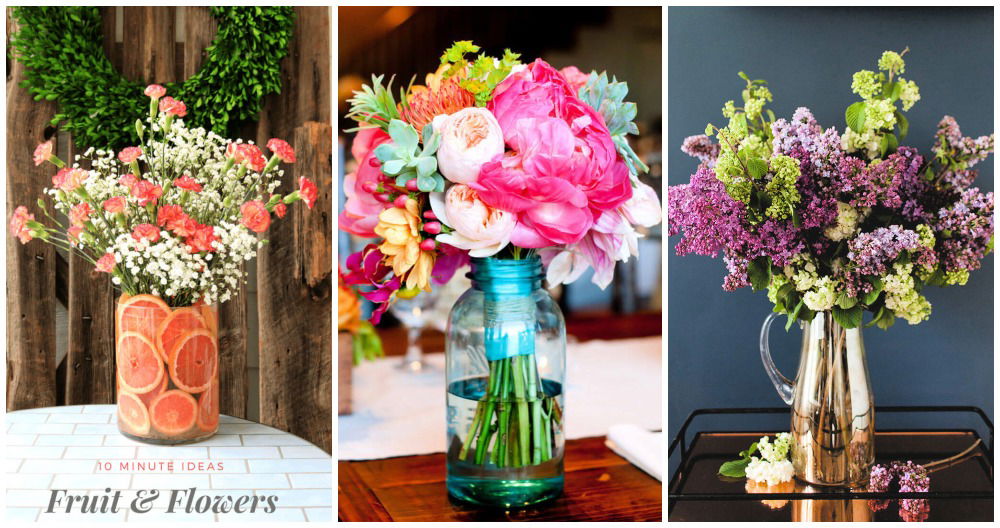
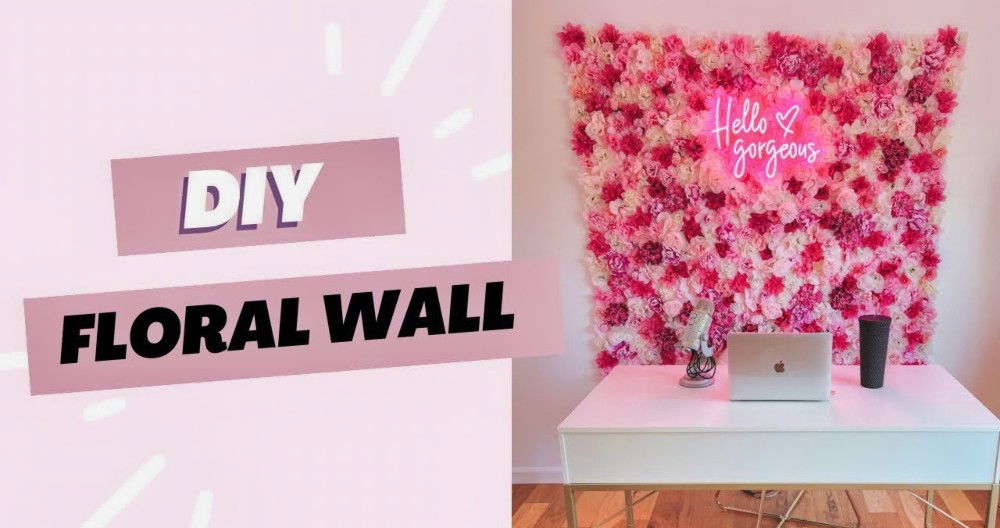
Making your very own DIY flower arch can add a stunning and personalized touch to any event. Begin by gathering basic materials like a sturdy arch frame, floral wire, and a variety of fresh or artificial flowers. It's important to plan the design and color scheme in advance to ensure everything looks cohesive. Attach the flowers securely to the frame, layering them for a fuller, more vibrant look.
Building a DIY floral arch is not only a fun project but also a cost-effective way to enhance your decorations. Make sure to use flowers that fit the theme and season of your event for maximum impact. You can mix greenery with the flowers to make a more natural appearance. For a professional finish, ensure all materials are firmly in place, and no gaps are visible.

Make a lovely DIY flower arch effortlessly with our step-by-step guide. Perfect for weddings, parties, and special events. Get started today!
Materials You'll Need
Before diving into the process, let's discuss the materials. Each item is essential for building a sturdy and beautiful arch.
- Floral Arch Frame: This is the skeleton of your arch and will support all the floral decorations. It's essential because it provides the structure needed to make the arch's shape.
- Power Drill and Drill Bits: These are used for drilling holes in the wooden supports to secure everything in place.
- Eight-Foot Long Wooden Piece: This serves as a horizontal support for the arch. It's the base where you will attach the drapes.
- Zip Ties: Your best friend in this project. These little items will hold everything together securely. Opt for durable and long zip ties.
- Floral Runners and Other Floral Decorations: These will adorn your arch. Choose flowers that match your wedding theme.
- Two Uprights and Two Crossbars: These are the vertical and horizontal supports for the draping backdrop.
- Hangers for the Crossbars: These allow you to hang the second crossbar and make a layered drape effect.
- Drapery Fabric: Choose something light and flowy for an elegant look.
Step by Step Instructions
Learn how to make a stunning DIY flower arch with our step-by-step guide, from setting up the base to final adjustments. Perfect for any event!
Step 1: Setting Up the Base
First, I set up the wooden base. I drilled holes into the eight-foot long wooden piece and attached it to the vertical uprights using strong zip ties. This wooden piece will be crucial for attaching the drapery.
Step 2: Assembling the Floral Arch Frame
Next, I assembled the floral arch frame that came in the package from Rose morning. It's a straightforward process; follow the manufacturer's instructions to screw the pieces together.
Step 3: Attaching the Zip Ties
Zip ties are essential for this project. I started attaching them to the floral arch frame and wooden base. I made sure to leave enough space (around 2 inches) to slide my hand through when attaching the drapery later.
Step 4: Adding the Floral Runners
With the frame ready, I began attaching the floral runners. Using a lot of zip ties (seriously, you'll need many!), I secured each runner to the frame. Make sure to distribute the flowers evenly to make a full, lush look.
Step 5: Attaching the Uprights and Crossbars
I placed the uprights on either side of the wooden piece and attached the crossbars. The second crossbar was hung using specialized hangers, which allowed the drapery to hang at different heights, adding depth to the backdrop.
Step 6: Draping the Fabric
This is my favorite part! I started by draping the fabric over the first crossbar, pulled it under, and then over the second crossbar. This "over-under" technique maked a beautiful crisscross pattern that added elegance to the backdrop.
Step 7: Final Adjustments
Once everything was in place, I made final adjustments to ensure everything was secure. I checked all the zip ties, tightened any loose flowers, and fluffed up the drapery fabric to give it a fuller look.
Tips for a Successful DIY Wedding Arch
- Plan Ahead: Make sure you have all your materials ready before starting.
- Watch Weight Distribution: Ensure the flowers and drapery are evenly distributed to avoid any lopsidedness.
- Take Your Time: Don't rush the process. Attention to detail is key for a stunning outcome.
Why This DIY Project is Worth It
Not only does this DIY wedding decor project save money, but it also adds a personal touch. Your hands-on effort will be part of memorable moments cherished forever. The materials used are easily accessible, and the step-by-step guide ensures you can achieve a professional look without breaking the bank.
Design Variations
DIY flower arches offer endless design options for any event. Whether for a wedding, garden party, or celebration, these ideas will help you make a stunning focal point.
- Classic Arch: The classic arch is all about symmetry and elegance. Use a combination of roses, peonies, and draping greenery to make a timeless look. This design works well for traditional weddings and can be adapted to fit any color scheme.
- Rustic Charm: For a rustic touch, incorporate elements like twigs, vines, and wildflowers. This style is perfect for outdoor events and adds a natural, earthy feel to your setting. Burlap ribbons and lace can add a lovely finishing touch.
- Modern Geometric: Geometric shapes are trendy and offer a modern twist. Think about using a triangular or hexagonal frame and adorning it with minimalistic floral arrangements. Succulents and air plants are great choices for this design.
- Seasonal Showcase: Tailor your flower arch to the season. Spring might feature tulips and daffodils, while autumn could showcase chrysanthemums and marigolds. Seasonal designs not only look beautiful but can also be more cost-effective.
- Themed Creations: If your event has a specific theme, let your arch reflect that. A beach-themed arch could use tropical flowers and seashells, while a winter wonderland arch might sparkle with white blooms and crystal accents.
- Color Block: Make a bold statement with a color block design. Choose two or three contrasting colors and make sections or patterns with flowers in those hues. This approach is eye-catching and can be very photogenic.
- Ombre Effect: For a subtle and romantic design, use an ombre effect where the color of the flowers gradually changes from one shade to another. This can be achieved by carefully selecting flowers in varying shades of the same color.
- Eco-Friendly: With sustainability in mind, consider using locally sourced flowers and biodegradable materials. This design not only looks beautiful but also supports the environment.
- Interactive Arch: Engage your guests by making an interactive arch. Set up a Polaroid camera nearby and encourage guests to take photos with the arch as a backdrop. This adds a fun element and makes lasting memories.
Plan carefully, choose the right materials, and give yourself enough time to make a stunning, unique DIY flower arch as the centerpiece of your event.
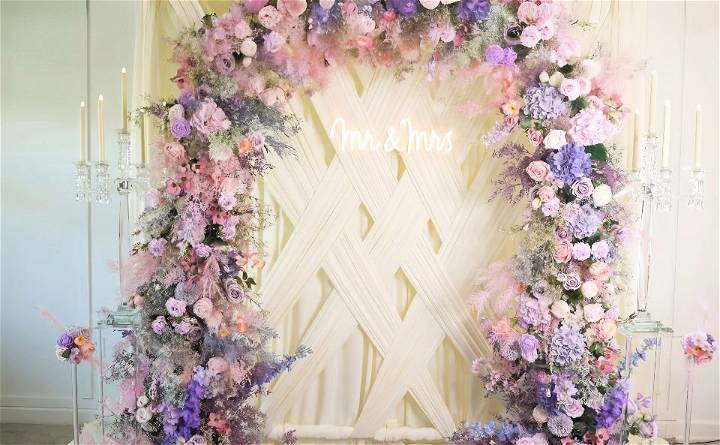
Flower Selection
Choosing the right flowers for your DIY arch is essential to make a visually stunning and lasting display. Here's a guide to help you select the best blooms for your project:
- Consider the Event Theme: Start by considering the theme of your event. Romantic events may call for roses or peonies, while a tropical theme could benefit from bright hibiscus or birds of paradise.
- Think About Color Schemes: Your color scheme will guide your flower choices. For a harmonious look, select flowers in complementary colors. For a more dynamic display, choose contrasting hues.
- Seasonal Availability: Opt for flowers that are in season during the time of your event. Seasonal flowers are not only fresher and more affordable, but they also reflect the natural beauty of the time of year.
- Durability: Some flowers wilt quickly, especially in hot weather. Choose hardy varieties like orchids, lilies, or sunflowers that can withstand the conditions throughout your event.
- Scent: Fragrance can add an extra dimension to your flower arch. Consider sweet-smelling varieties like jasmine, lavender, or gardenias to make an aromatic experience.
- Size and Shape: Mix different sizes and shapes for a full and textured look. Larger blooms can serve as focal points, while smaller flowers can fill in gaps and add detail.
- Eco-Friendly Options: If sustainability is important to you, look for locally-grown flowers to reduce your carbon footprint. You can also choose organic flowers to avoid pesticides.
- Personal Touch: Don't forget to include flowers that have personal significance. Whether it's a favorite flower or one that holds special memories, it will make your arch unique to you.
Choose flowers thoughtfully for a beautiful, meaningful flower arch. Handle and prepare them well to keep them fresh during your event.
Troubleshooting Common Issues
Making a DIY flower arch can be a rewarding project, but it's not without its challenges. Here are some common issues you might encounter and how to solve them:
- Stability Concerns: A wobbly frame can lead to a disaster. Ensure your arch has a sturdy base. If it's lightweight, secure it with weights or tie it down firmly.
- Weather Woes: Outdoor setups can be tricky. If it's a windy day, reinforce your arch with extra support. For hot days, choose heat-resistant flowers to prevent wilting.
- Material Mishaps: Sometimes, materials can fail. If a wooden piece breaks, replace it promptly. Use durable materials like metal for a longer-lasting structure.
- Floral Foam Frustrations: Exposed floral foam is unsightly. Cover it up with greenery or additional flowers to maintain an elegant look.
- Color Coordination: It's easy to go overboard with colors. Stick to a pre-decided palette to avoid a chaotic appearance. Use flowers and foliage that complement each other.
- Foliage Gaps: Bare spots can detract from the fullness of your arch. Fill in these areas with extra leaves or smaller blooms to make a lush effect.
- Securing Flowers: Loose flowers can fall off. Use floral wire or zip ties to attach them securely to the frame. Check the stability of your decorations regularly.
Anticipating and handling issues ensures you're ready to make a stunning, stable flower arch. Patience and preparation are crucial.
FAQs About DIY Flower Arch
Find answers to your FAQs about DIY flower arches and get tips, tricks, and expert advice for a stunning floral display at your next event.
The number of flowers you need depends on the size of your arch and the desired fullness. A general guideline is to have 5 large line flowers, 28 stems of large flowers (6" – 7" heads), 32 stems of medium flowers (4" – 5" heads), and 75 stems of small flowers (3" – 4" heads). It’s always better to have extra flowers to fill in any gaps.
Yes, you can make a free-standing flower arch by ensuring the base is stable. One method is to attach the arch to a Bigfoot plate or similar base to give it stability. Another option is to make an “invisible” arch by using a pre-made frame from a craft store or online marketplace like Etsy, and then covering it with chicken wire and foliage to hide the mechanics.
Start by wrapping the foliage around the frame to cover the mechanics, such as the chicken wire and zip ties. Then, layer and intertwine different types of foliage to add depth. After the greenery is in place, begin adding flowers by wrapping them around the frame and securing them with craft wire if necessary. For an invisible arch, the chicken wire provides a grid to insert the stems and keep them in place.
To achieve a professional look, focus on making a balanced design. Use a mix of flower sizes and colors for variety and depth. Make sure to cover all the mechanics, so the structure isn’t visible. If you’re using an invisible arch, ensure that no chicken wire is peeking through the foliage. Lastly, step back frequently to check the overall shape and fullness, and adjust as needed.
To ensure your DIY flower arch remains stable during an outdoor event, it's crucial to secure the base properly. If you're using a wooden frame, you can screw it onto a Bigfoot plate or a similar weighted base to provide stability. For added support, consider using braces at the corners of the frame, especially if it's a thin and potentially wobbly structure. If you're using a metal frame, stakes or weights can be used to anchor it to the ground. Additionally, make sure to check the weather forecast and prepare for any wind by reinforcing the structure with extra support if necessary. Remember, safety is paramount, so take all necessary precautions to ensure the arch won't topple over.
Conclusion
In conclusion, making a DIY flower arch is a fun and rewarding project that adds a beautiful touch to any event. With the right materials and guidance, your DIY floral arch can be a stunning centerpiece. Remember to plan your design, choose vibrant flowers, and securely attach everything for a lasting effect.


