If you're looking for a unique and delightful craft that's both easy to make and beautiful to look at, DIY flower pens are the perfect project. These handmade floral pens make excellent gifts, party favors, or just a fun, personal accessory for your desk. This guide provides a step-by-step approach to crafting your very own DIY flower pen.
Making flower pens is a wonderful craft for any age group. Whether you're crafting with kids or making gifts for Mother's Day, these pens are simple to make but leave a lasting impression. With only a few materials and a little patience, you'll have a collection of vibrant, eye-catching pens that anyone would love to receive.
Materials Needed for DIY Flower Pens
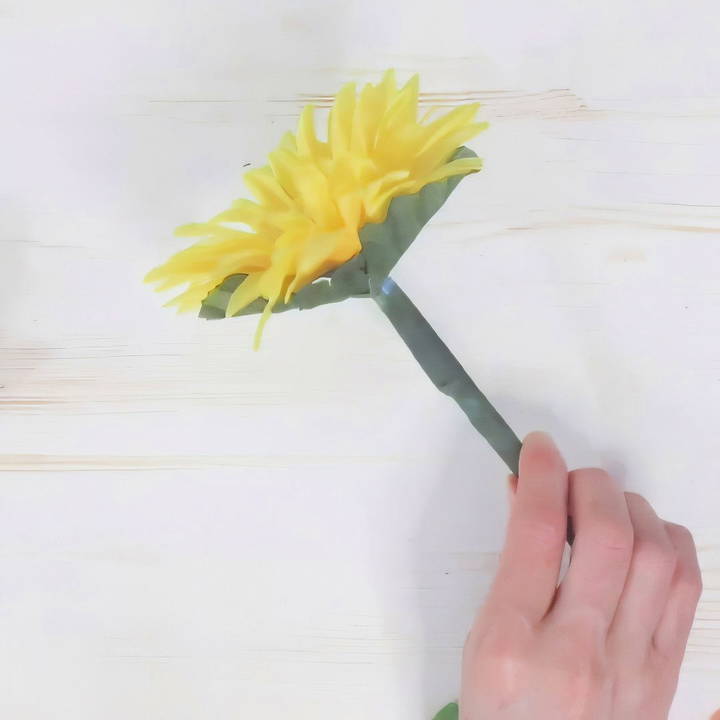
Before we jump into the steps, let's first gather all the necessary materials. Fortunately, the supplies are inexpensive and readily available at most craft or dollar stores. Here's what you'll need:
- Pens: Any basic pen will work for this craft. It's best to choose pens with removable caps so you can easily attach the flower.
- Artificial Flowers: You can use silk or plastic flowers. Choose flowers that are small to medium-sized for the best results. The larger the flower, the harder it will be to write with the pen.
- Florist Tape: Florist tape is key for this project because it's designed to be wrapped around stems and stays secure through the warmth of your hands. Florist tape isn't sticky like regular tape but becomes adhesive as you wrap and press it.
- Scissors: You'll need scissors to trim the flower stems and cut the florist tape.
- Optional Ribbon or Accessories: To add a decorative touch to your pen, you can use ribbons, bows, or charms.
Once you have all your supplies, you're ready to begin.
Step by Step Instructions
Learn how to make beautiful DIY flower pens with easy step-by-step instructions. Perfect for gifts and adding a creative touch to your stationery.
Step 1: Prepare Your Pen and Flower
Start by removing the cap of your pen, as you won't need it for the final look. The pen should have a simple, smooth design that allows you to wrap the flower stem securely.
Next, grab your artificial flower. Most faux flowers have plastic or wire stems, and you'll need to trim the stem to fit the pen. Use your scissors to cut the stem, leaving about an inch or two. You want enough stem to attach to the pen, but not so much that it becomes bulky or awkward to write with.
If your flower has leaves, decide if you want to keep them. Some flowers have leaves that can be moved up the stem; others may need to be removed completely. If your flower's leaves are in the way or make it difficult to wrap the florist tape, it's best to remove them.
Step 2: Attach the Flower to the Pen
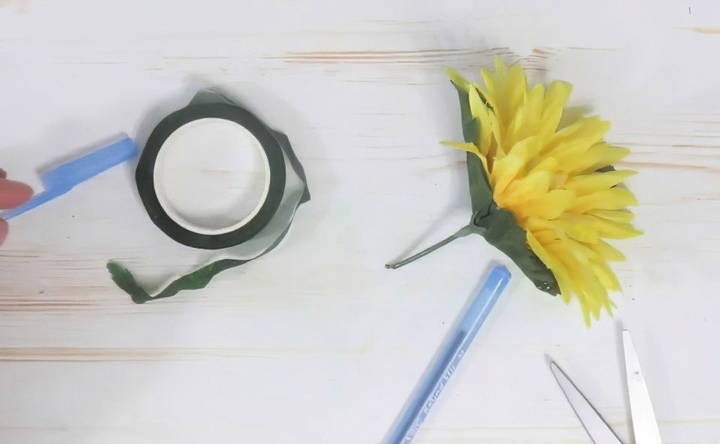
Once your flower is trimmed and prepared, it's time to attach it to the pen. Place the trimmed stem of the flower against the top of the pen. Hold it in place with one hand while you grab the florist tape with the other.
Florist tape may not feel sticky to the touch, but it activates with heat. Start by wrapping the florist tape around the top of the pen where the flower stem is resting. You'll want to wrap it a few times to secure the flower in place. Make sure to pull the tape tightly as you wrap to ensure a firm grip.
As you wrap the tape around the pen, the heat from your fingers will help it adhere. Be patient in this step, as the flower can shift. If you find it difficult to keep the flower in place, you can wrap a little extra tape near the top to help secure it.
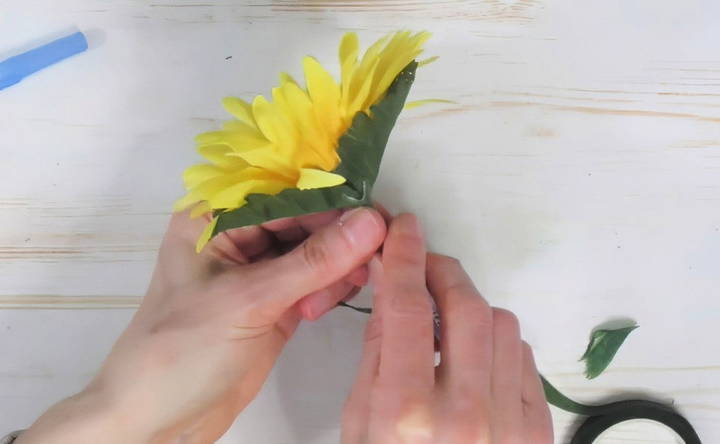
Step 3: Wrap the Pen with Florist Tape
Once your flower is secured, continue wrapping the florist tape down the entire length of the pen. Start from the base of the flower and work your way down to the tip of the pen, ensuring that the entire pen is covered with a smooth layer of tape.
To get the best results, take your time and keep the tape smooth as you wrap. If you notice any gaps or holes in the tape, gently pull the tape back and re-wrap that section. Remember that the tape needs to be warmed by your fingers to properly adhere, so don't rush this part.
If the tape begins to unravel, this is usually a sign that you're wrapping too quickly or not warming the tape enough with your hands. Slow down, wrap in small sections, and press the tape with your fingers to help it stick.
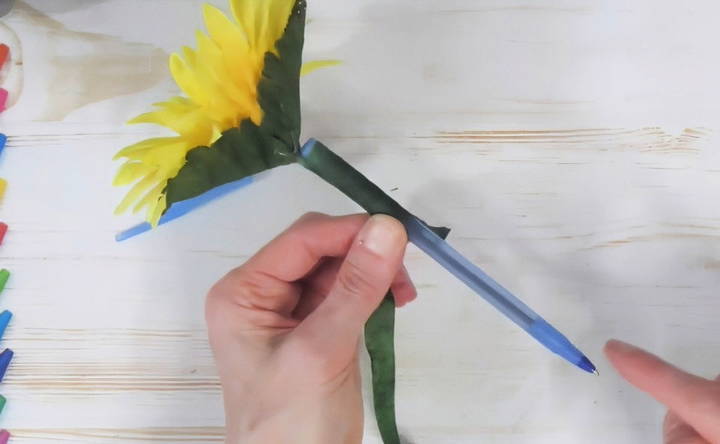
Step 4: Final Touches
Once you've wrapped the pen all the way to the tip, you can cut the florist tape and press the end firmly to ensure it stays in place. If you want, you can wrap the florist tape back up the pen one more time for added security.
This is also the perfect time to inspect your pen for any gaps or uneven spots. If you see areas that need more coverage, go back and wrap the florist tape over those spots.
Now, you should have a flower-topped pen wrapped in florist tape. It's functional, beautiful, and ready to use!
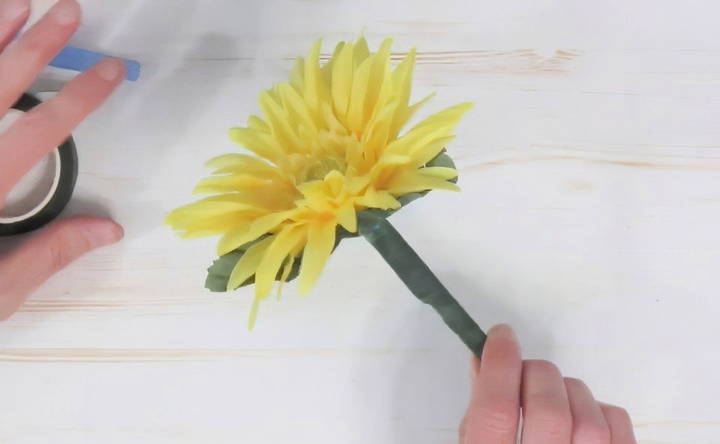
Why DIY Flower Pens Make the Perfect Gift
There's something so special about giving a handmade gift, and flower pens are no exception. These pens are not only functional but also serve as a decorative piece that brightens up any space. They're ideal for special occasions like Mother's Day, birthdays, teacher appreciation days, or as party favors.
Because they're quick and easy to make, you can make several flower pens in one crafting session. Customize them with different flower colors, pen styles, and decorative accents to suit the recipient's personality. Plus, these pens last much longer than real flowers, making them a lasting reminder of your thoughtful gift.
Conclusion
DIY flower pens are an easy, affordable, and creative project that anyone can enjoy. With just a few materials and a little time, you can make beautiful floral pens that are perfect for gifts or your own use. Whether you're new to crafting or an experienced DIY enthusiast, this project is a fun way to spend time and make something special. So gather your supplies, get creative, and enjoy the process of making your very own DIY flower pens!
FAQs About DIY Flower Pens
Discover answers to FAQs about DIY flower pens. Learn how to make unique, stylish flower pens easily at home with this simple guide.
If the flower keeps slipping, try wrapping a small piece of regular tape around the base of the flower stem first to hold it in place. Then, continue with the florist tape. This will stabilize the flower, allowing you to wrap the florist tape more easily.
Regular tape isn’t recommended as it won’t provide the same flexibility or hold. Florist tape activates with warmth and adheres better when wrapping around curved surfaces like flower stems and pens.
Florist tape sticks when warmed by your hands. As you wrap, press the tape gently with your fingers to generate heat. If it isn’t sticking, slow down and apply more pressure with your fingers to warm the tape.
If the tape unravels, you may be wrapping too quickly or not pressing firmly enough. Stop, rewind the tape slightly, and reapply it slowly while pressing with your fingers to ensure it stays secure.
To make the pen more comfortable, ensure that the florist tape is wrapped evenly without making bulky sections. If the flower is too large, consider trimming the stem more or using a smaller flower to improve grip and balance.
Yes, you can add multiple small flowers for a fuller look. Just ensure they're arranged close to the pen's tip and secured well with the florist tape to maintain functionality.
Artificial flowers with sturdy stems and medium-sized heads work best. Avoid large, heavy flowers as they can make writing awkward and may not stay securely attached.
You can wrap a decorative ribbon or tie a bow at the base of the flower for an elegant touch. You could also add small charms or apply a little glitter to personalize the pen further.
Yes, DIY flower pens are suitable for children, but they may need assistance with cutting the flower stems and wrapping the tape. Supervision is recommended for safety and to help with tricky steps.


