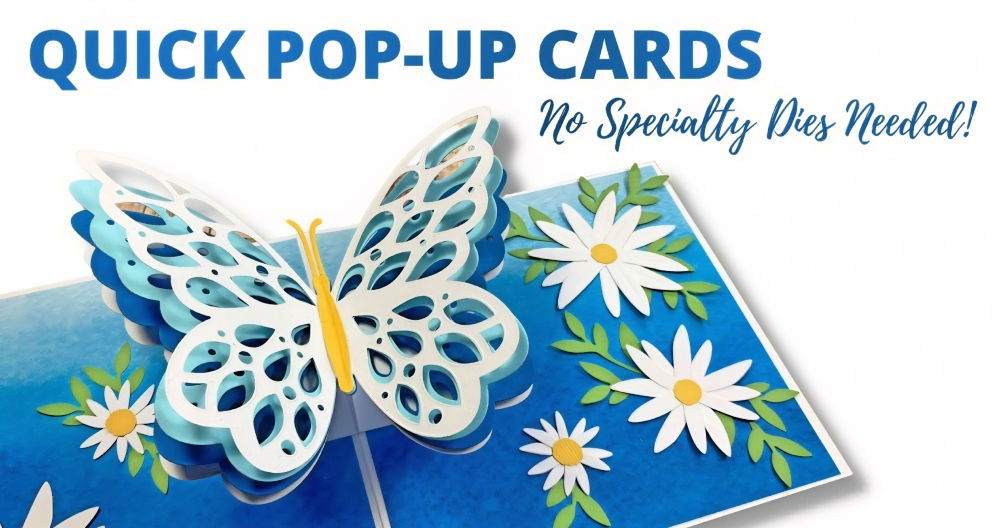
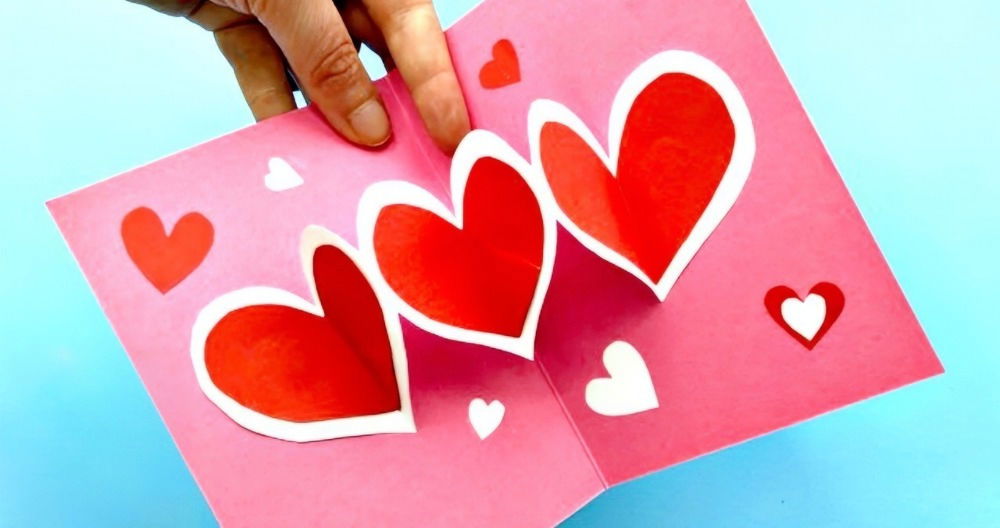
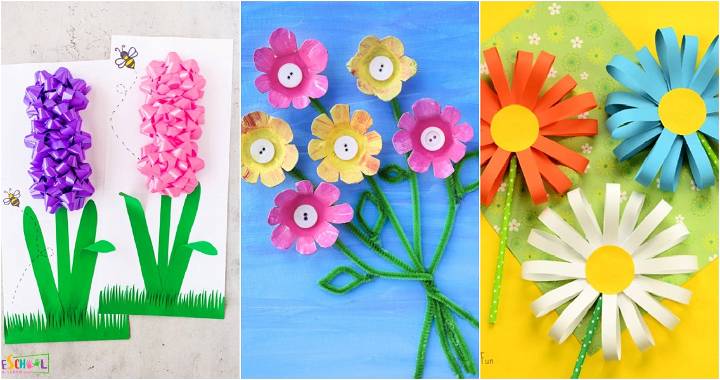
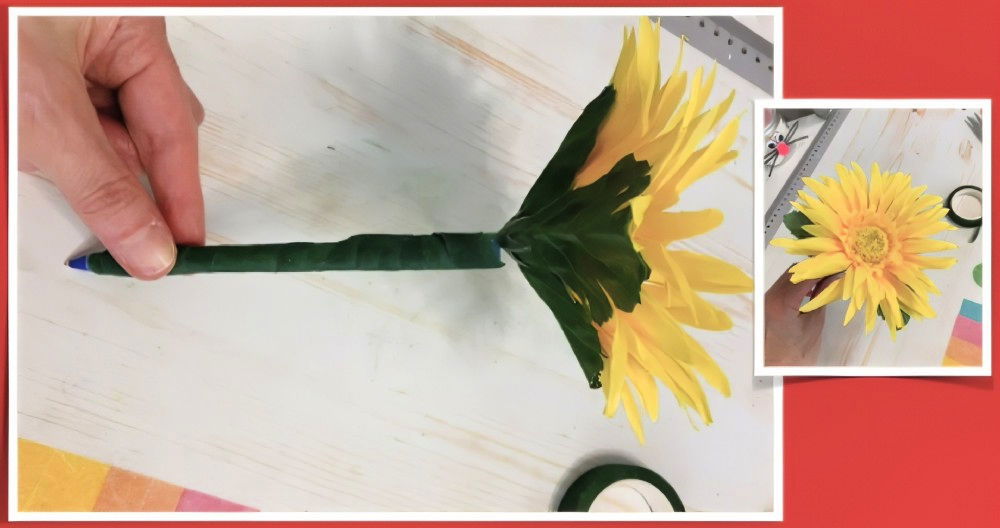
Pop-up cards are a fantastic way to add a personal and creative touch to any occasion. Whether you're celebrating a birthday or an anniversary, or simply sending a thoughtful note, a DIY flower pop-up card is sure to impress. This guide will teach you everything you need to know to make a stunning flower pop-up card from scratch, even if you're new to crafting. We'll cover materials, tools, step-by-step instructions, and some tips for getting the best results.
Materials You'll Need
Before you dive into crafting your flower pop-up card, it's important to gather all the necessary materials. Here's what you'll need to get started:
Cardstock
Cardstock is the primary material for this project. It's thicker than standard paper and comes in various weights. For this project, medium-weight (65lb) cardstock works best as it's sturdy but still easy to fold and glue. Choose colors that complement the theme of your card.
- Recollections 65lb Cardstock from Michaels
- Metallic Shimmer Assorted Set
- Neenah Collections Assorted Set
Tacky Glue
A reliable adhesive is essential to keep the various layers of your card intact. Tacky glue is highly recommended because it dries clear, provides a strong bond, and is non-toxic.
- Aleene's Original Tacky Glue
Cutting Machine (Optional)
A cutting machine like a Cricut can simplify the process of cutting intricate shapes for your flowers and card. However, you can also use a pair of sharp scissors or a craft knife if you don't have access to a machine.
- Cricut Cutting Machine (Explore Air 2 or Maker are great for beginners)
Scraping Tool
This tool helps remove excess glue and smooth out the paper after gluing. If you don't have one, you can use a plastic card or any flat, sturdy object.
Printable Template (Optional)
To make the crafting process easier, you can use a pre-designed flower pop-up card template. Many templates are available online, including free SVG files that work with cutting machines.
Step by Step Instructions
Learn how to make a DIY flower pop-up card! Follow these step-by-step instructions for a beautiful handmade card. Perfect for special occasions!
Step 1: Prepare Your Template
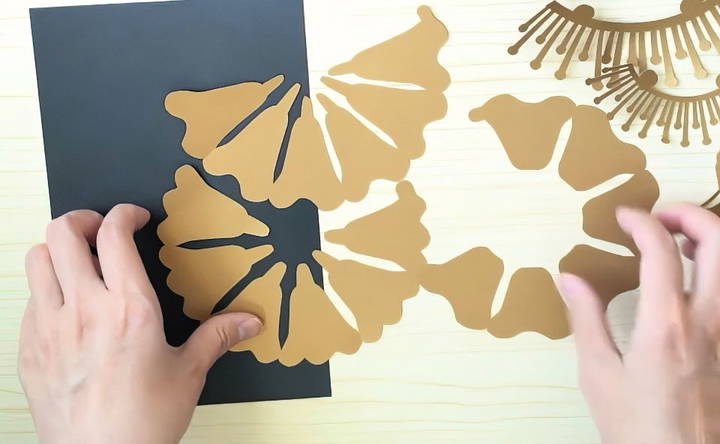
If you're using a cutting machine, upload your SVG file and set your machine to the appropriate settings for cardstock. Cut out the base of the card, along with the flower petals and any other decorative elements you'd like to include. If you're cutting by hand, carefully trace the template onto your cardstock and cut out the pieces.
Step 2: Make the Flower Petals
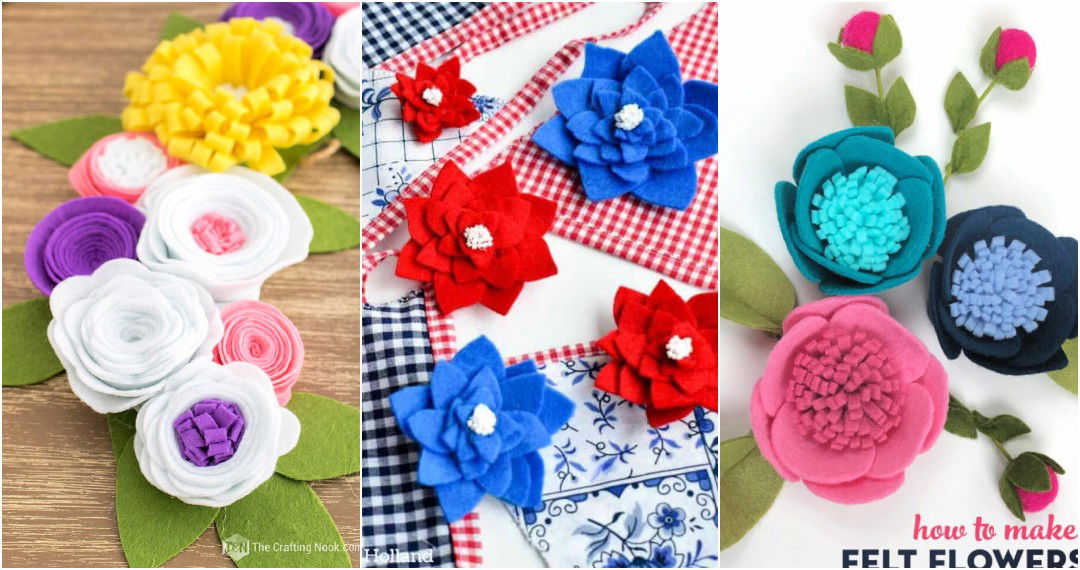
- Sort the Petals by Size: The flower consists of several layers of petals, each varying in size. The outermost layer will have the smallest petals, and the innermost layer will have the largest petals.
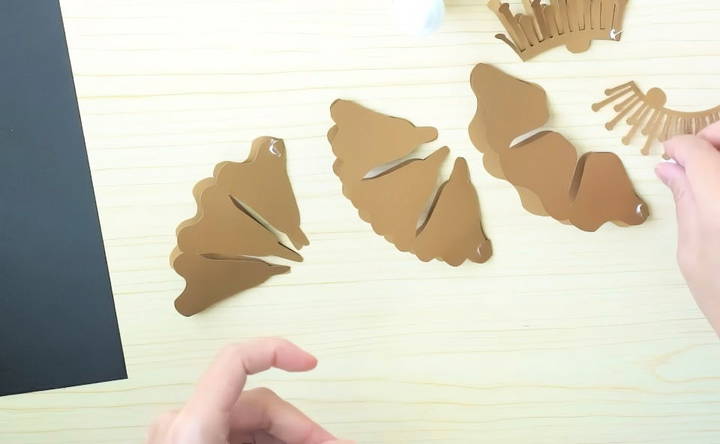
- Fold Each Petal Strip in Half: Take each strip of petals and fold them in half lengthwise. Ensure the petals are aligned properly.
- Glue the Petals Together: Apply a small amount of tacky glue to the tab on each strip and press it down to secure the fold. Hold it in place for a few seconds to ensure a strong bond. If you're using heavier cardstock, you might need to hold it longer or use a paper clip to secure it until the glue dries.
Step 3: Assemble the Flower Layers
Now that your petals are prepared, it's time to assemble the flower:
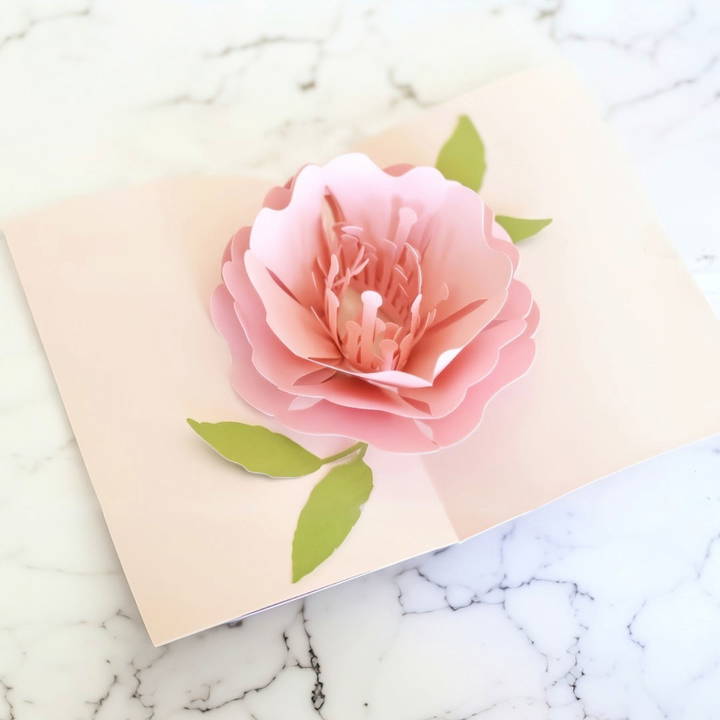
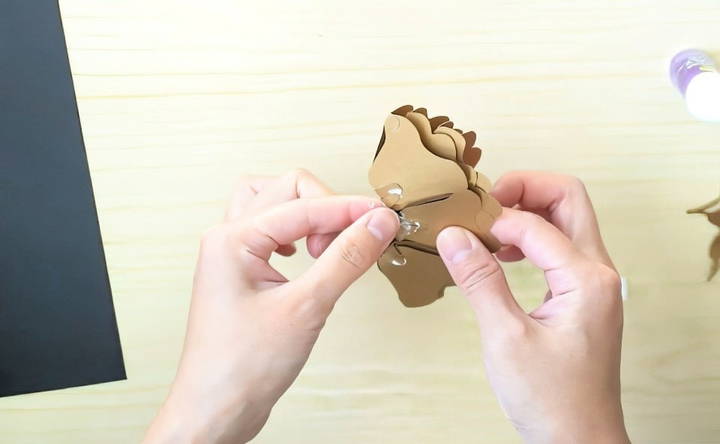
- Layer the Petals: Start with the largest petal strip (innermost layer) and work your way outward. The petals should not align perfectly but should make a natural, layered look. This will give the flower its three-dimensional appearance.
- Apply Glue: Put a small dab of glue in the center of each petal strip and align the next layer of petals on top. Gently press down until the glue holds.
- Repeat for All Layers: Continue layering the petals until all pieces are glued together. Allow the flower to dry completely before moving on to the next step.
Step 4: Assemble the Card Base
While your flower is drying, you can work on assembling the card base.
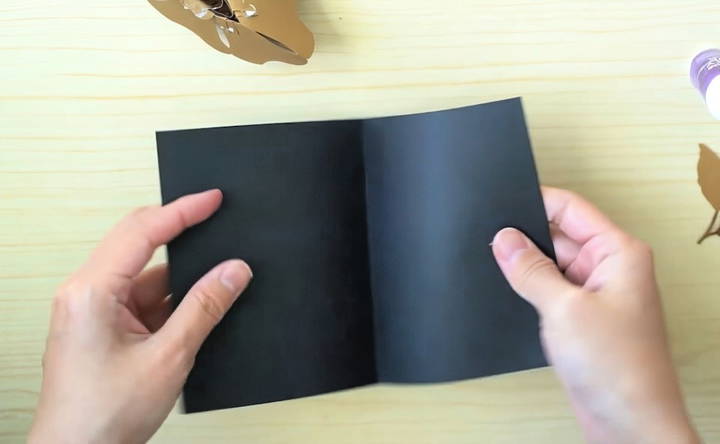
- Fold the Card Base: Take your pre-cut card base and fold it in half. Make sure the edges line up neatly to make a clean crease.
- Decorate the Front: If you'd like to add extra decoration to the front of the card, now is a good time. You can use additional cardstock cutouts, stickers, or even draw directly onto the card with markers.
Step 5: Attach the Flower to the Card
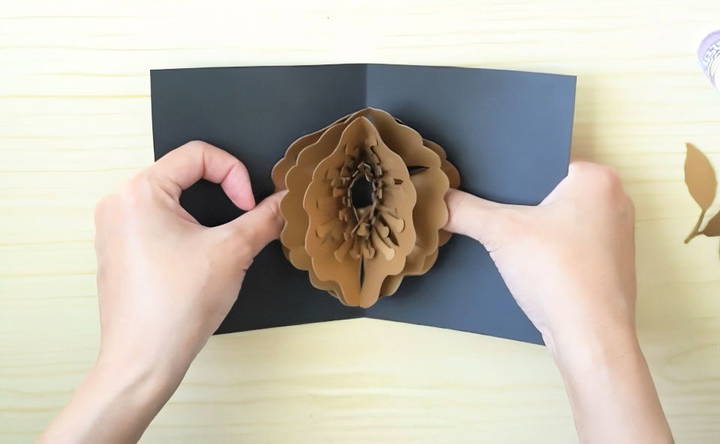
Now that the flower is dry and the card base is ready, it's time to attach the flower to the inside of the card.
- Apply Glue to the Flower Base: Place a small amount of glue on the base of the flower, focusing on the innermost petals.
- Position the Flower: Carefully place the flower in the center crease of the card. The flower should sit directly in the middle so that it "pops up" when the card is opened.
- Hold in Place: Close the card gently and press down on the flower from the outside. Hold it closed for a few seconds to ensure the glue sets properly.
Step 6: Add Finishing Touches
Once the flower is securely in place, you can add any final touches to personalize your card:
- Messages: Write a personalized message inside the card. You can use calligraphy pens, gel pens, or markers to add a touch of elegance.
- Embellishments: Add embellishments such as small gemstones, glitter, or additional cutouts to make the card extra special. Just be careful not to overdo it, as the card still needs to fold flat.
Tips for a Professional Finish
- Use High-Quality Cardstock: Using premium cardstock ensures that your card looks professional and holds up well over time.
- Practice Makes Perfect: If you're new to pop-up cards, it's a good idea to practice on scrap paper or less expensive cardstock before using your final materials.
- Use Minimal Glue: When gluing the flower layers, a little glue goes a long way. Excess glue can make the card bulky and may cause it to stick together.
- Be Patient: Allow each layer of glue to dry before moving on to the next step. Rushing can lead to misaligned pieces or uneven glue marks.
- Flatten the Card Under a Book: After assembling the card, place it under a heavy book for a few hours to ensure it lies flat when closed.
Common Mistakes and How to Avoid Them
- Using Too Much Glue: Overgluing can cause the petals to wrinkle or stick together in unintended ways. Always apply a small amount of glue and spread it evenly.
- Not Allowing Enough Dry Time: It's tempting to move on to the next step quickly, but not allowing the glue to dry fully can result in parts of the card not sticking properly.
- Misaligned Petals: Ensure that each layer of petals is centered properly to achieve a symmetrical look. Taking your time during assembly will give you a more polished final product.
FAQs About DIY Flower Pop-Up Card
Discover everything you need to know about DIY flower pop-up cards with our detailed FAQs. Tips, techniques, and creative ideas made easy!
To access the SVG template, visit the link provided in the tutorial. Ensure you enter your email correctly, and if you're redirected to another page offering a product, try navigating back to the original template page or check your email inbox for a direct download link.
Ensure you are layering the petals from smallest to largest, starting from the innermost section. Be patient and use minimal glue to avoid shifting the petals while they dry.
Use a small dab of tacky glue for each section. Applying too much glue can cause the petals to warp or become messy. A little goes a long way, and it dries fast.
Yes, but tacky glue is preferred for its non-toxic nature and smooth finish. Hot glue can be messier and may not provide as clean a result, especially with lighter cardstock.
If your cardstock is too thick and the petals aren’t folding easily, try using a lighter weight (65lb) cardstock. You can also use paper clips to hold the petals in place while the glue dries.
If you don't have a cutting machine like Cricut, you can manually cut the templates with sharp scissors or a craft knife. Just be sure to trace the pattern carefully before cutting.
After completing the card, place it under a heavy book for a few hours to ensure it flattens properly. This will help it maintain a clean fold when opened.
Conclusion
Making a DIY flower pop-up card is a rewarding and fun project that anyone can do, regardless of crafting experience. With the right materials, a bit of patience, and attention to detail, you can produce a beautiful card that will leave a lasting impression on its recipient. Whether you're using it for a special occasion or just because, this handmade card is a heartfelt way to show you care.
So, grab your supplies, follow these steps, and start crafting!


