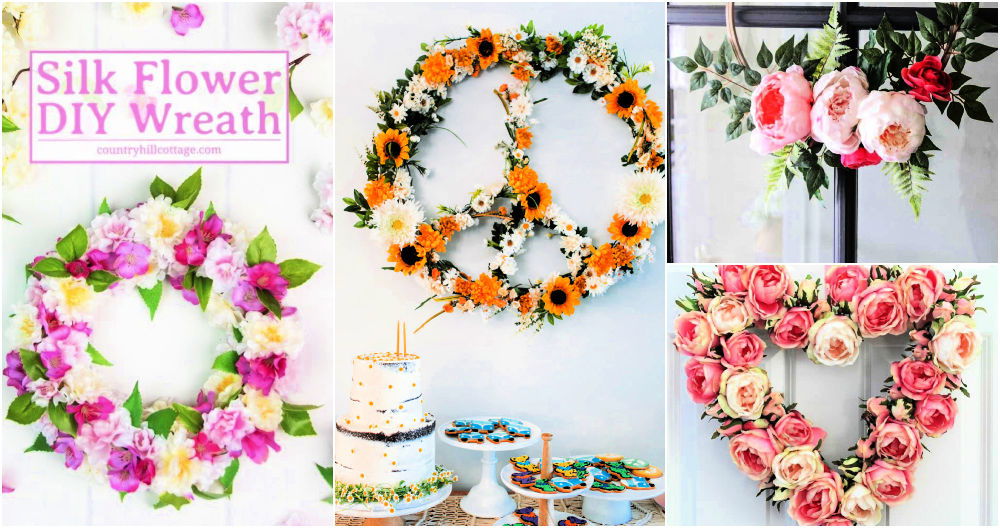
Starting with a simple idea can transform a room. I decided to make my own DIY flower wall. It was a project I thought about for a while. Gathering materials was my first step. I picked out fake flowers, a mesh grid, and some ties. The process looked a bit tricky at first, but I was eager to see how it would turn out.
As I got everything ready and began putting the flowers onto the mesh grid, I realized it wasn't as hard as I thought. I took my time, making sure to place the flowers in a way that looked natural. The end result was stunning. It added such a beautiful touch to my space. This experience showed me that with a little patience and creativity, you can really brighten up your home. I recommend trying this DIY flower wall; it might surprise you how much it can change a room.
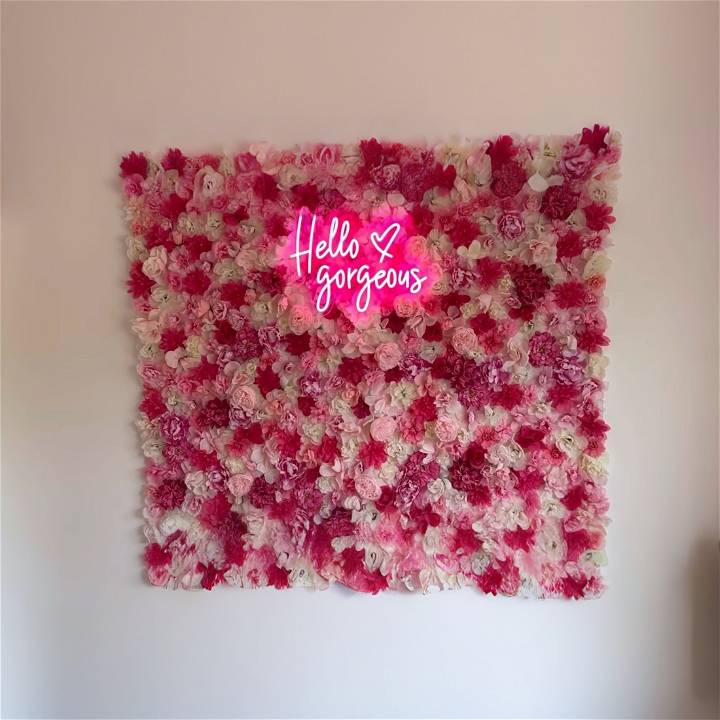
I hope sharing my journey encourages you to start your own DIY flower wall. It's a simple project that can make a big difference in your home. With some basic materials and a sprinkle of creativity, you can make something beautiful.
How to Make Flower Wall - Step by Step Guide
Making a DIY flower wall can turn your podcast studio into an inspiring space on a budget. Here's how.
What You'll Need:
- Artificial flowers (in colors of your choice)
- A large white linen or canvas sheet
- Hot glue gun and glue sticks
- Scissors
- Measuring tape
- A bar or rod for hanging (optional)
Step by Step Instructions
Learn how to make a stunning DIY floral wall with our step-by-step guide below:
Step 1: Planning and Preparing
Start by deciding on the size and shape of your floral wall. Measure the area of your studio where you plan to install the wall. Purchase a variety of artificial flowers in your chosen color scheme. For this project, it's best to opt for larger, fuller flowers to make an impactful look.
Step 2: Preparing the Backdrop
If you're using a linen sheet, you might need to cut it to your desired size using scissors. Ensure the sheet is not too flimsy as it will hold quite a few flowers. Some linen sheets come with a pocket for a hanging rod, which could be useful for installation.
Step 3: Detach Flowers from Stems
Gently remove the flowers from their stems. Most artificial flowers pop off easily. After detaching, you may notice a small plastic piece at the base of each flower. Use scissors to trim these down to ensure the flower sits flat against the sheet.
Step 4: Layout Design
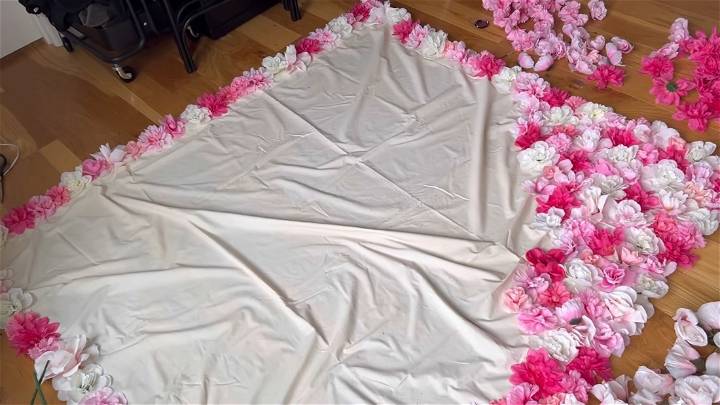
Before gluing, layout your flowers on the sheet to get an idea of spacing and design. You might start by placing the larger flowers first and then filling in the gaps with smaller ones. Consider starting with a border to establish a neat edge.
Step 5: Begin Gluing
Heat up your glue gun. Attach each flower by applying a dab of glue to the back and pressing it firmly onto the sheet. Start with the perimeter and work your way inwards, distributing colors and sizes evenly for a cohesive look.
Step 6: Fill and Finish
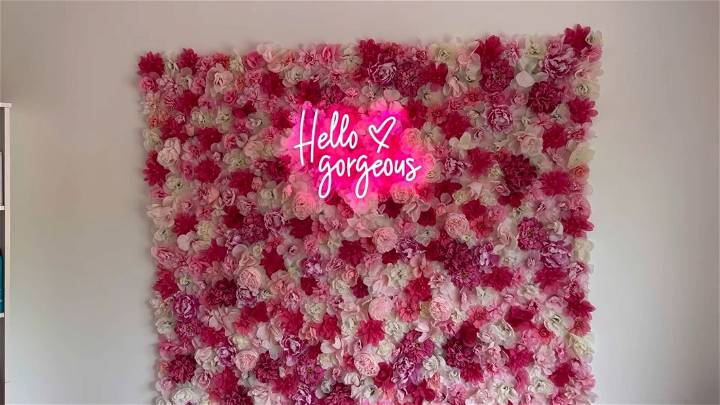
Continue the process until the entire sheet is covered and you're satisfied with the result. Remember to step back occasionally to check the overall appearance and make adjustments as necessary. Fill in any sparse areas with additional flowers.
Installation
Once completed, the floral wall can be hung or attached to your studio wall as desired. If your sheet has a pocket for hanging, sliding a rod through and mounting it on wall hooks can be an option. Alternatively, the sheet can be nailed directly to the wall in each corner for a flush fit.
Maintaining Your Floral Wall
Keep your floral wall looking its best by dusting it occasionally. The artificial flowers are durable, but if any become detached over time, simply reattach them with the glue gun.
Video Tutorial
For a step-by-step video tutorial on making a DIY Flower Wall for a podcast studio background, watch this YouTube video by Megan Lorson. Watch the tutorial here.
It pairs well with this written guide, illuminating the process with visual aids that bring the instructions to life in a rich and engaging way.
Making a DIY floral wall is a gratifying project that can add a touch of personality and inspiration to your podcast studio. With a bit of creativity and effort, you can enjoy a beautiful backdrop that enhances your recording space.
Troubleshooting Guide
Making a DIY flower wall can be a smooth process, but sometimes you might encounter a few hiccups. Here's a guide to help you troubleshoot some common issues:
Problem: Flowers Falling Off
If your flowers are falling off the wall, it could be due to insufficient adhesive. Make sure you're using enough glue to secure each flower. If the problem persists, consider using a stronger adhesive or adding additional support like wire or pins.
Problem: Uneven Layout
If your flower wall looks uneven, it could be because the flowers were not arranged properly. To avoid this, sketch out your design on paper before starting. Use a level to ensure your rows of flowers are straight.
Problem: Wall Damage
If you're worried about damaging your wall, consider using removable adhesive strips instead of glue. These strips are designed to hold securely and remove cleanly.
Problem: Allergic Reactions
If you or someone in your household is allergic to the flowers you've chosen, consider using hypoallergenic flowers or high-quality silk flowers.
Don't be discouraged if things don't go perfectly the first time. With a little patience and creativity, you'll have a beautiful flower wall in no time!
Maintenance Tips
Maintaining your DIY flower wall is crucial to ensure its longevity and keep it looking fresh and vibrant. Here are some tips to help you:
Regular Dusting
Dust can accumulate on your flower wall over time, making it look dull. Regular dusting can help maintain its vibrancy. Use a soft brush or a feather duster to gently remove the dust without damaging the flowers.
Replacing Flowers
If you've used real flowers, they will eventually wilt and need to be replaced. Depending on the type of flowers used, you might need to replace them every few days. If you've used artificial flowers, they will last longer but might fade over time. Keep some extra flowers handy for replacements.
Avoid Direct Sunlight
If possible, avoid placing your flower wall in direct sunlight. The sun's rays can cause the colors of the flowers to fade. If your wall is near a window, consider using a UV-protective window film.
Handling Moisture
If your flower wall is in a humid area, the moisture could damage the flowers and the adhesive. Consider using a dehumidifier or an air conditioner to control the humidity levels.
A little care can go a long way in keeping your flower wall looking beautiful!
FAQs about DIY Flower Wall
Here are some frequently asked questions about making a DIY flower wall:
What type of flowers should I use?
You can use any type of flowers you like. However, durable flowers like roses, carnations, or faux flowers are often used because they can withstand being handled during the creation process.
Can I use real flowers?
Yes, you can use real flowers, but keep in mind they will wilt after a few days. If you want a more permanent flower wall, consider using faux flowers.
How do I attach the flowers to the wall?
You can use a hot glue gun, adhesive strips, or floral wire to attach the flowers to the wall. The method you choose will depend on the type of wall and flowers you are using.
How long will it take to make a flower wall?
The time it takes to make a flower wall can vary depending on the size of the wall and the complexity of the design. On average, it could take anywhere from 7-12 hours.
How much will it cost to make a flower wall?
The cost can vary depending on the materials you choose. On average, it could cost anywhere from $25 to $80.
Can I make a flower wall if I'm new to DIY projects?
Absolutely! Making a flower wall is a moderately easy project and is a great way to get started with DIY projects.
How do I maintain my flower wall?
Regular dusting and replacing wilted or faded flowers will keep your flower wall looking fresh and vibrant.
What should I do if the flowers start falling off the wall?
If flowers start falling off, it could be due to insufficient adhesive. Try using a stronger adhesive or adding additional support like wire or pins.
Can I make a flower wall in a humid area?
If your flower wall is in a humid area, the moisture could damage the flowers and the adhesive. Consider using a dehumidifier or an air conditioner to control the humidity levels.
What should I do if I'm allergic to the flowers?
If you're allergic to the flowers you've chosen, consider using hypoallergenic flowers or high-quality silk flowers.
Conclusion:
Wrapping up this DIY flower wall article and making a stunning floral backdrop for your next event is easier than you think. With simple materials and a little creativity, you can transform any space into a blooming masterpiece. Let your imagination bloom with a DIY flower wall!


