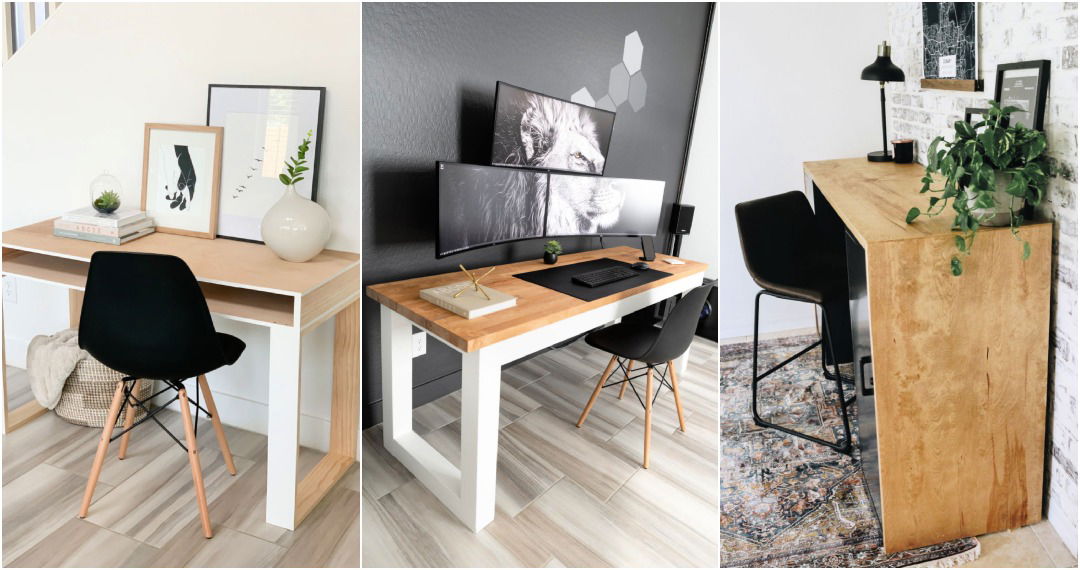
Building a DIY gaming desk can be a fun and rewarding project. Whether you want a simple setup or a custom gaming desk, the process can be broken down into easy steps. This guide will help you understand how to build a desk that fits your gaming needs perfectly. You will learn about the materials, tools, and techniques required to build a workspace that's both functional and stylish.
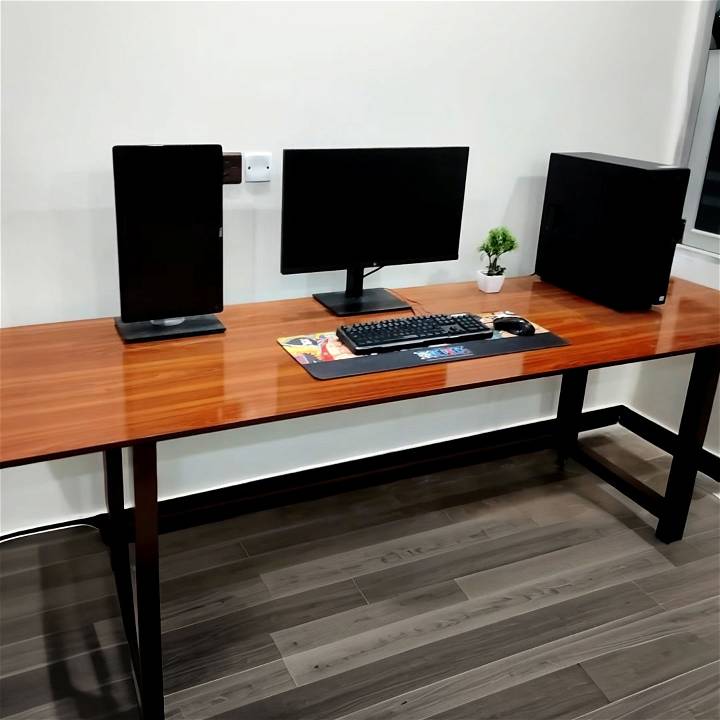
Starting with a clear plan, this guide will take you through each step, ensuring you don't miss any important details. From choosing the right materials to assembling and finishing your desk, these instructions make the project manageable and enjoyable. A video tutorial is also available to make the process even easier to follow.
Ready to get started on your project? Dive into the next section to explore the steps in detail, and watch the video tutorial for a hands-on guide to building your DIY gaming desk.
Choosing the Right Materials
The journey to building my perfect gaming desk started with selecting the right materials. The focus was on affordability, durability, and ease of assembly. Here's what I used:
- Pine/White Wood 1x2s (8 pieces by 10 feet, $14.32): Pine is affordable and lightweight, making it the ideal choice for the frame of the desk. Whitewood offers a clean look that can easily blend with most gaming setups.
- Laminated MDF Board (96" by 30", $13.61): For the desk surface. MDF is cost-effective and provides a smooth finish after sanding and painting.
- Wood Screws (2" inch & 5/8 x 6, $3.58): Essential for piecing everything together securely.
- Putty/Wood Filler ($1.79): To fill in any gaps or imperfections for a smooth finish.
- Sanding Paper ($1): To prepare the surface for painting.
- Oil-Based Paint ($4.30): To give the desk a durable and clean finish.
- PVC Cable Duct (66", 60x60mm, $1.79): For built-in cable management, keeping the setup neat.
- Caster Wheels (4 of 2 inches, $2.63): To add mobility to the desk.
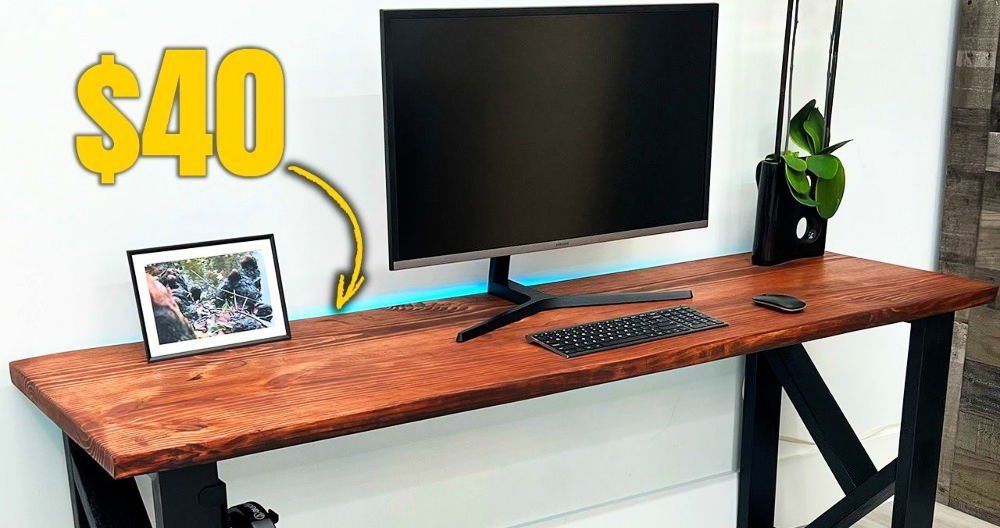
The total cost came out to just above $43, comfortably within my $45 budget.
Step by Step Instructions
Build your DIY gaming desk with our step-by-step instructions: preparation, assembly, sanding & painting, cable management, and adding mobility. Easy and detailed guide!
Step 1: Preparation
I started by cutting the pine wood to build the legs and frame of the desk. Accuracy was crucial here to ensure stability. Then, I measured and cut the MDF board, which would serve as the desk's top.
Step 2: Assembly
Using the wood screws, I carefully assembled the frame, attaching the legs to build a sturdy base. Next, I secured the MDF board on top of the frame. This required precision to make sure everything was perfectly aligned.
Step 3: Sanding and Painting
Once the desk was assembled, I moved on to sanding. Starting with coarse sandpaper and moving to finer grit allowed me to achieve a smooth surface. After cleaning off the dust, I applied the oil-based paint. A couple of coats gave it a sleek, professional finish.
Step 4: Cable Management
The PVC cable duct was attached to the underside of the desk. This little addition made a huge difference in managing wires and keeping the surface clutter-free.
Step 5: Adding Mobility
Finally, I attached the caster wheels. This was a game-changer, allowing me to easily move the desk when rearranging my setup or cleaning the room.
Customization and Modularity
Building a gaming desk that suits your personal style and needs is not just about building a functional space; it’s about expressing your individuality and ensuring your comfort during long gaming sessions. Customization and modularity are key aspects of this process, allowing you to adapt and change your setup as your preferences and requirements evolve.
Why Customize?
Your gaming desk is the command center for your virtual adventures. Customizing it means you can choose the exact size, shape, and features that fit your room and gaming habits. Whether you need extra space for multiple monitors, special mounts for your speakers, or a built-in charging station for your devices, tailoring these elements to your specifications will enhance your gaming experience.
The Power of Modularity
Modularity refers to the ability to add or remove components from your gaming desk without affecting the overall structure. This flexibility is crucial for gamers who frequently upgrade their equipment or change their setup. With a modular design, you can easily swap out parts of your desk, like monitor stands or keyboard trays, without starting from scratch.
Getting Started with Customization
- Identify Your Needs: Begin by listing what you need from your gaming desk. Consider the number of monitors, the type of gaming you do, and any additional equipment like microphones or cameras.
- Sketch Your Design: Draw a rough sketch of your ideal desk layout. This doesn’t have to be perfect; it’s just a starting point to visualize your ideas.
- Choose Your Materials: Select materials that are both durable and aesthetically pleasing. Common choices include wood for a classic look or metal and glass for a modern vibe.
Embracing Modularity
- Opt for Adjustable Components: Look for parts that can be adjusted in height or angle, such as monitor arms or speaker stands.
- Use Detachable Accessories: Incorporate features like detachable cable management trays or removable storage units.
- Plan for Future Changes: Leave some space on your desk and in your design plans for new gadgets or equipment you might acquire.
Customizing your gaming desk is rewarding, showcasing your personality and growing with you. Focus on simplicity and your needs. The best desk meets your unique requirements.
Tech Integration
In gaming, a high-tech desk is key. Integrating tech into your DIY gaming desk ensures a seamless, immersive experience. Learn how to make your gaming desk both user-friendly and advanced.
Understanding Tech Needs
- First, consider what technology you use regularly. Do you have multiple monitors, a high-end sound system, or perhaps VR equipment? Your tech needs will dictate the features you’ll want to integrate into your desk.
Cable Management
- Cable management is essential for both aesthetics and functionality. Use built-in channels or trays to route cables neatly under or behind the desk. This not only keeps things tidy but also prevents cables from tangling or getting damaged.
Power Supply Integration
- Integrating power supplies and USB ports directly into your desk means you’ll always have a convenient place to plug in your devices. Consider adding a surge protector to safeguard your equipment against power spikes.
Lighting
- LED lighting can set the mood and improve visibility. Install strip lights under the desk or around the monitor for a cool, ambient effect. You can even use smart lights that change color and intensity based on the game you’re playing.
Monitor and Speaker Mounts
- Adjustable monitor mounts and speaker stands allow you to position your screens and sound exactly where you need them. This not only improves ergonomics but also enhances the overall gaming experience.
Docking Stations
- If you use a gaming laptop or have multiple devices, a docking station can be a game-changer. It allows you to connect all your peripherals quickly and easily without the need to plug in multiple cables each time.
Future-Proofing
- Technology evolves rapidly, so design your desk with future upgrades in mind. Leave some space for additional monitors or new gadgets, and choose modular components that can be easily replaced or upgraded.
Simplifying the Complex
The goal is to make your gaming experience better, not more complicated. Keep the tech integration simple and intuitive. Use labels for cables and ports, and ensure that everything is within reach without cluttering your gaming space.
Integrating tech into your DIY gaming desk builds a hub for gaming. These tips make your desk modern and showcase your ingenuity.
FAQs About DIY Gaming Desk
Discover answers to common faqs about DIY gaming desks. Get insights on materials, tools, and steps to build your own custom gaming setup.
The ideal height for your gaming desk depends on your personal comfort. A good starting point is to sit down and measure the distance from the floor to your elbows. Ensure that your arms can rest comfortably on the desk without hunching your shoulders. Adjustable legs can help you achieve the perfect height.
Yes, building a gaming desk can be a simple project, even for beginners. You can start with a basic design using a door and adjustable legs. There are many guides available that provide step-by-step instructions to help you through the process.
The cost of building a custom gaming desk varies based on the materials and features you choose. Generally, using a door and adjustable legs can be a cost-effective option. If you opt for high-end materials or complex designs, the cost will be higher.
When designing your gaming desk, consider the amount of space needed for your gaming setup, including monitors, keyboard, mouse, and any other peripherals. Think about cable management solutions to keep your space tidy. Additionally, you may want to add features like LED lighting or a monitor stand for an enhanced gaming experience.
Cable management is crucial for a tidy and efficient gaming desk. You can use cable trays or clips to secure wires underneath the desk. Consider using zip ties or Velcro straps to bundle cables together. For power supplies, a surge protector can be mounted under the desk to keep plugs organized. Additionally, cable sleeves can consolidate multiple wires into one neat tube, reducing clutter.
Final Thoughts:
Conclusion
Wrapping up, building your own DIY gaming desk is simpler than it seems. Following our 5 steps with the video tutorial ensures a personalized and efficient setup. This method saves you money and adds a custom touch to your gaming space. Whether for practical use or creative satisfaction, a custom gaming desk is a rewarding project. So, gather your materials and start building your ultimate gaming station today!


