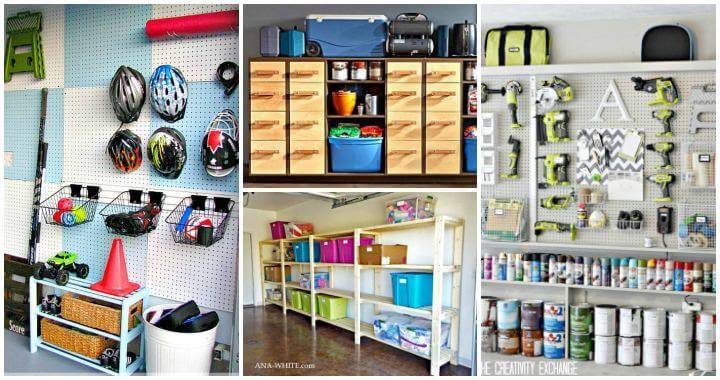
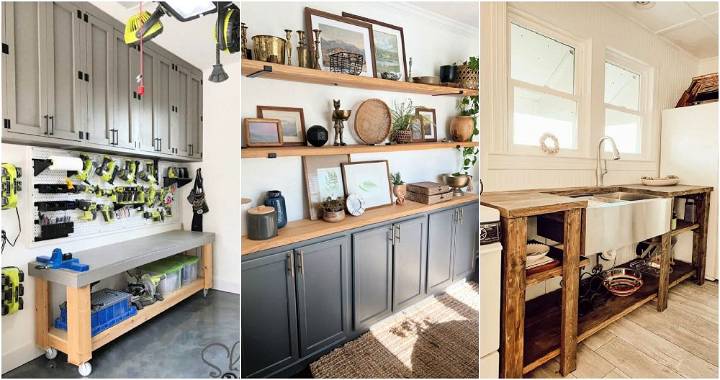
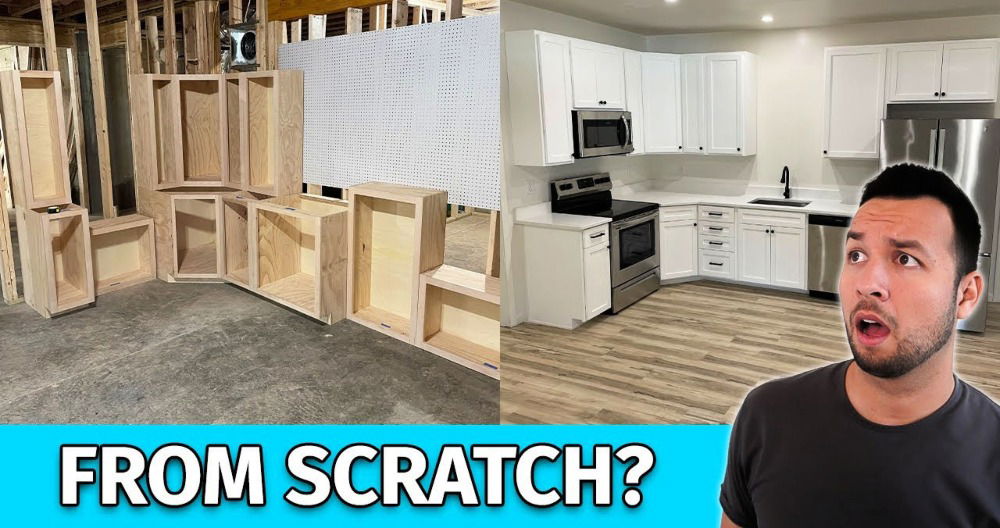
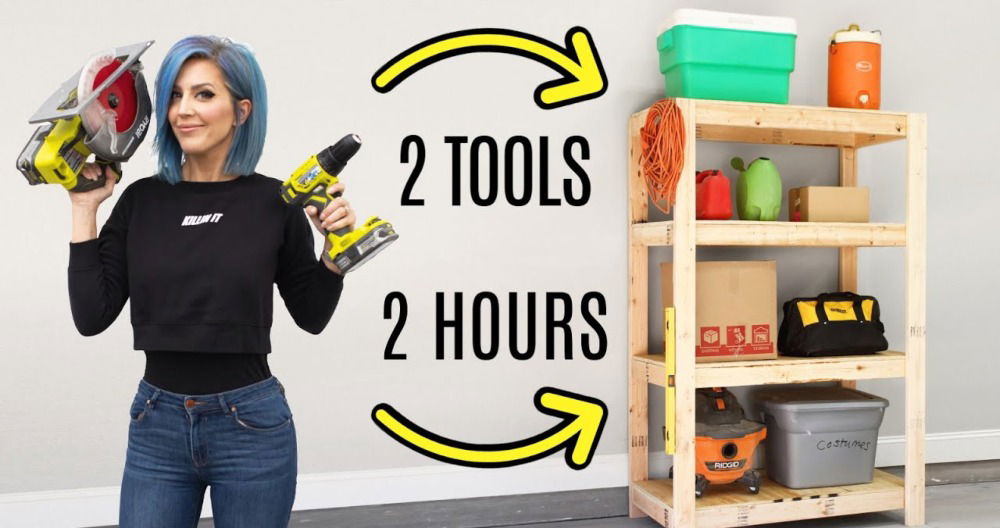
Starting a project like making DIY garage cabinets can seem tough at first. When I decided to tackle this project, I wasn't sure where to begin. But, with a little bit of planning and some basic tools, I found that making these cabinets was not only possible but also a fun and rewarding way to improve my garage space. The process taught me a lot about building and design, and it was satisfying to see the results of my hard work.
In my journey, I learned the importance of measuring carefully and choosing the right materials. I made mistakes along the way, but each one taught me something valuable. By the end of the project, I had built custom storage that perfectly fit my space and needs.
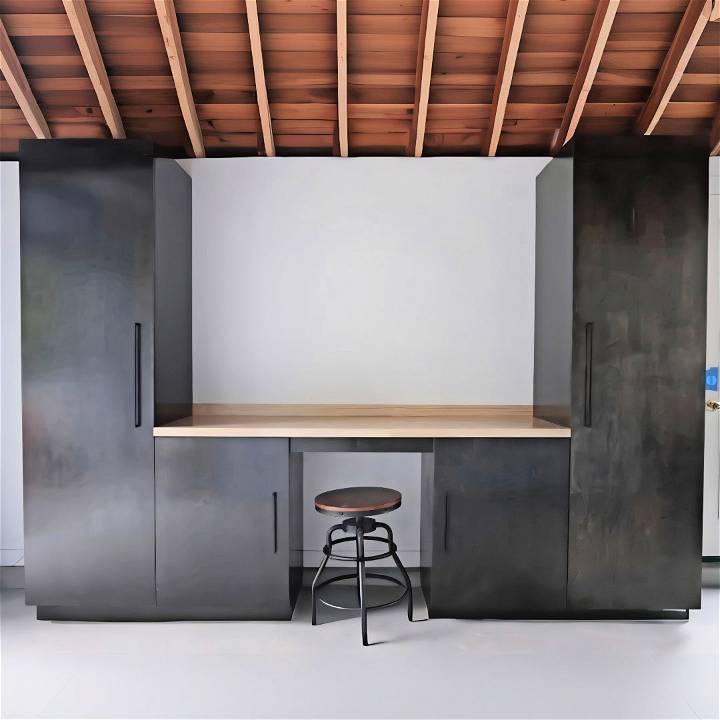
It was a fantastic feeling to take a step back and see what I had accomplished with my own two hands. If I can do it, so can you. Let my experience help guide you through your own DIY garage cabinet project.
Gathering Your Materials
To build these cabinets, you'll need several sheets of plywood, a circular saw, a Kreg Jig for drilling pocket holes, edge banding, sandpaper, a screwdriver, and a utility knife. Here's why:
- Plywood: The core material for the cabinets. Its durability is perfect for heavy-duty storage.
- Circular Saw & Kreg Jig: Essential tools for cutting the plywood to size and joining the pieces.
- Edge Banding: This gives the plywood edges a smooth, finished look.
- Sandpaper: To smooth out any rough edges after cutting.
- Screwdriver & Utility Knife: For assembling and fine-tuning the pieces together.
Planning Your Space
First, take a good look at your space. Measure everything: the walls, the floor-to-ceiling height, and especially any peculiarities (like a concrete curb in my workshop). Sketching out your plan, including where each cabinet will go and its size, is invaluable. I decided on two types of cabinets: shorter ones for a workbench and taller pantry-style ones for storage.
Cutting the Plywood
I began by ripping the plywood into 24-inch wide strips for the sides and bottoms of the cabinets, using my circular saw and Kreg Rip-Cut. Accuracy here saves materials and time. After cutting these large pieces, I cut smaller strips for the top and back supports.
Cutting the Toe Kicks
For the toe kicks, I marked and cut out the front corners of each cabinet side. This simple step makes your cabinets much more comfortable to use when standing close to them.
Drilling Pocket Holes
With all the pieces cut, I drilled pocket holes in the larger panels and the smaller support strips. This step is where the Kreg Jig shines, making strong and hidden joints.
Edge Banding
Edge banding was next—ironing it onto the plywood edges and trimming the excess with a utility knife. A tedious process, but it significantly enhances the finished look of the cabinets.
Assembling the Cabinets
Now, the fun part—assembly. I attached the bottom panel of each cabinet to the side panels, ensuring everything was square. The support strips were attached next, providing structural integrity and attachment points for the countertop and wall mounting.
Installing the Cabinets
To install the cabinets, I located the wall studs and secured the cabinets with screws. Leveling and squaring as you go is crucial for a professional result. Once the base cabinets were in place, I installed the butcher block countertop and attached the pantry cabinets.
Finishing Touches
With the cabinets installed, I focused on the doors. Using plywood, I cut them to size, applied edge banding, and used a Kreg concealed hinge jig to install the hinges. Finally, I stained the cabinets, added handles, and installed the toe kicks.
Building cabinets from scratch improved my woodworking skills and turned an unused space into an efficient workshop. Success in this project relied on careful planning and precision in measuring and cutting.
The satisfaction of stepping back and seeing the completed project—knowing I built it with my own hands—was unparalleled. I hope sharing my journey encourages you to tackle your workshop project, bringing functionality and order to your space.
Customization Options for DIY Garage Cabinets
When it comes to building your own garage cabinets, customization is key. You want your cabinets to not only serve their storage purpose but also reflect your personal style and fit the unique dimensions of your garage space. Here's how you can tailor your DIY garage cabinets to meet your specific needs:
Adjustable Shelving
- Flexibility: Build shelves that can be adjusted in height to accommodate items of various sizes. Use shelf pins or tracks for easy adjustments.
- Versatility: Consider adding removable bins or baskets for small tools and hardware, which can be taken out and carried to your workspace.
Locks and Security
- Safety: If you store hazardous materials or tools that should be kept away from children, install locks on cabinet doors or drawers.
- Peace of Mind: For added security, especially if you store valuable items, use sturdy locks and reinforce the cabinet doors.
Design Elements
- Aesthetics: Paint or finish your cabinets in colors that complement your garage's look. You can also add trim or molding for a more polished appearance.
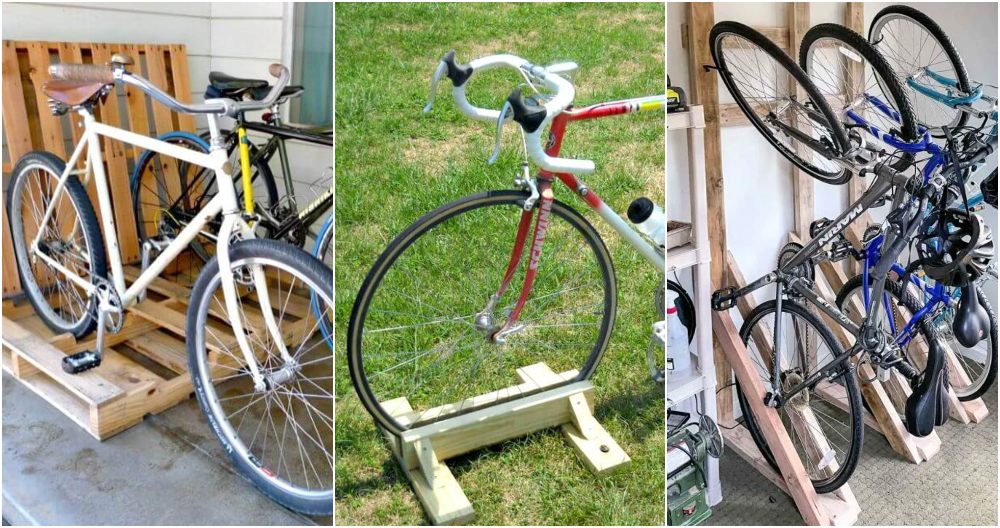
- Personal Touch: Incorporate features that reflect your hobbies, like racks for fishing rods or hooks for bicycles.
Workbench Integration
- Convenience: Design your cabinets to integrate with a workbench. This builds a seamless workspace and maximizes efficiency.
- Accessibility: Ensure that frequently used tools are within easy reach by adding magnetic strips or pegboards above the workbench area.
Lighting
- Visibility: Install LED strip lights underneath the upper cabinets to illuminate the countertops, making it easier to find and work on projects.
- Ambiance: Choose lighting that provides good visibility but also builds a pleasant atmosphere in the garage.
Labeling System
- Organization: Use labels or color-coding to categorize items, making it easier to find what you need quickly.
- Consistency: Keep the labeling system simple and consistent throughout the garage for easy maintenance.
By customizing your garage cabinets, you make them functional and a true reflection of your style and needs. Make cabinets that simplify your life and improve your garage workspace. Build cabinets that are simple, safe, and tailored to you!
Troubleshooting Common Issues
Building DIY garage cabinets can be a rewarding project, but sometimes you might encounter a few hiccups along the way. Here's a guide to help you troubleshoot some common issues you may face:
Doors Not Aligning
- Check Hinges: Make sure the hinges are properly installed and tightened. Misaligned hinges can cause doors to hang incorrectly.
- Adjust Doors: If the doors are still not aligning, adjust the position of the hinges slightly until they are even.
Shelves Wobbling
- Secure Anchors: Ensure that shelf supports are firmly in place. Use appropriate anchors for your wall type to prevent shelves from wobbling.
- Even Distribution: Place heavier items on the lower shelves and distribute weight evenly to maintain stability.
Drawers Sticking
- Lubricate Tracks: Apply a silicone-based lubricant to the drawer tracks to allow smoother movement.
- Check Alignment: Verify that the drawers are square and the tracks are parallel. Adjust as necessary.
Cabinet Not Level
- Use Shims: If your floor is uneven, use shims under the base of the cabinet to level it out.
- Adjust Legs: Some cabinets come with adjustable legs. Turn these until the cabinet is level.
Scratches and Dents
- Touch-Up Paint: For minor scratches, use a touch-up pen or paint that matches your cabinet's finish.
- Fill Dents: Use wood filler for dents, sand the area smooth, and then repaint or refinish.
Moisture Damage
- Seal Edges: Apply a silicone sealant around the edges of the cabinet to prevent moisture ingress.
- Proper Ventilation: Ensure your garage has good airflow to avoid damp conditions that can damage the cabinets.
Address common issues for functional, long-lasting DIY garage cabinets. Remember, patience and attention to detail are key to success.
FAQs About DIY Garage Cabinets
Get answers to all your questions about DIY garage cabinets in this comprehensive FAQ guide. Discover tips, tricks, and troubleshooting advice here.
How can I customize my garage cabinets to fit my space?
You can customize your garage cabinets by adjusting their height and width, as well as by combining closed cabinets and open shelves. Start by blocking out the cabinet locations on your garage wall with masking tape and experiment with different cabinet widths and spacing until you find a layout that suits your needs.
Are there any cost-effective solutions for building garage cabinets?
Yes, using melamine for your garage cabinets is a cost-effective solution as it doesn't require a finish, reducing the overall cost. The cost per linear foot of wall space for melamine cabinets is approximately $37. If you opt for open shelving without doors, the cost can drop to about $20 per linear foot.
Can I build garage cabinets if I'm not an experienced woodworker?
Absolutely! Building garage cabinets is a project suitable for beginners. With basic tools, a drill, and a circular saw, you can construct these cabinets. If you can make long straight cuts and screw parts together, you can build this system. A table saw can save you time but is not necessary.
What are some design considerations for DIY garage cabinets?
When designing your garage cabinets, ensure each cabinet has at least one stud behind it for secure wall fastening. Limit door widths to 24 inches or less to maintain functionality. For wider openings, consider installing double doors. Also, plan for the cabinet system to accommodate your specific storage needs.
How can I ensure my DIY garage cabinets are durable?
To ensure durability, use quality materials like construction-grade pine and melamine. Securely fasten cabinets to wall studs, use appropriate screws and hinges for the weight they will bear, and consider reinforcing shelves if you plan to store heavy items. Regular maintenance, such as tightening screws and checking for wear, will also help prolong the life of your cabinets.
Conclusion:
Concluding, starting your DIY garage cabinets project can bring a great sense of achievement. With a bit of patience and the willingness to learn, you'll find that making these cabinets is a great way to add value to your home and customize your space. Let my story inspire you to pick up your tools and get started on creating something unique and useful for your garage.


