Building a DIY garbage can fence is easier than you think. My neighborhood needed a solution to keep our trash bins neatly tucked away. So, I decided to build a simple fence to enclose the bins. All it took were some basic tools and materials from the local hardware store.
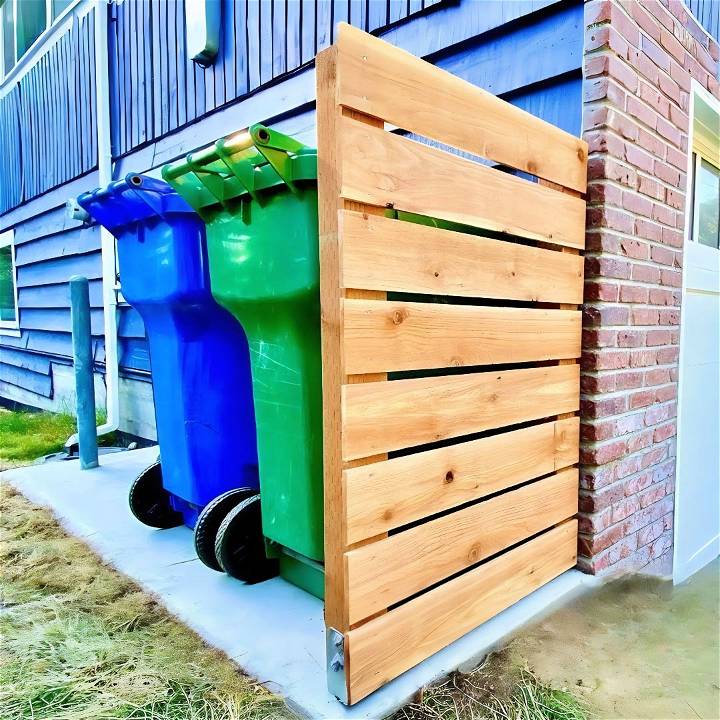
In just a weekend, I managed to build a DIY trash can enclosure that keeps the area neat and organized. I learned how to measure the space, pick the right materials, and follow easy steps to get it done. This not only improved the look of our yard but also kept the trash out of sight.
I'm sharing this project to help you tidy up your space. These straightforward steps will guide you in making your own enclosure. It's a rewarding task that will make a big difference in your yard.
Why Build a Trash Can Screen
Beyond the obvious aesthetic improvements, building a trash can screen adds value to your property, keeps wildlife out of your trash, and provides a structured way to organize your bins. It's more than just a project; it's an investment in your home's appeal and functionality.
Materials Needed and Their Purpose
Before diving into the steps, let's talk about the materials I gathered based on the tutorial's recommendations:
- 2x4 Framing and 4x4 PT Posts: These form the structural framework of the enclosure. The 4x4 posts are used for the corners for robust support.
- Wood Stakes: To mark and secure the area for the concrete pad.
- Concrete: For the foundation pad, ensuring a stable and level base.
- Post Base Plates: These anchor the posts to the concrete foundation securely.
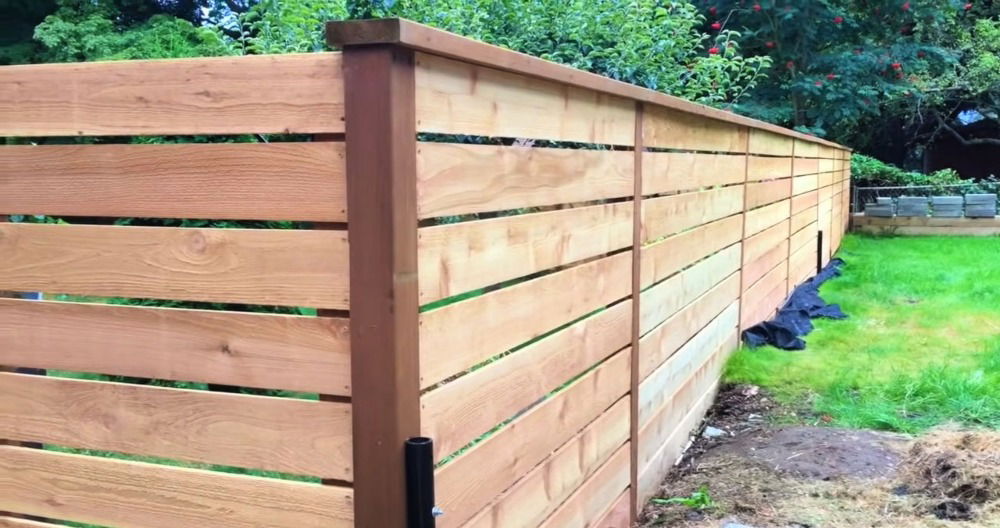
- Cedar Planks: For the screening. Cedar is durable and resistant to rot, making it ideal for outdoor projects.
- Anchor Epoxy and Retrofit Bolts: These are used to fasten the base plates into the concrete and provide a solid base for the posts.
- Through Bolts: This is used to assemble the frame securely.
Tools Required
A collection of tools made the assembly smoother:
- Chop saw for precise cutting of framing and posts.
- Drills and hammer drills are crucial for making pilot holes and setting bolts.
- Levels (2' and 6'), ensuring everything stayed aligned and true.
- Concrete tools (magnesium float, SS finishing edger, and trowel) are important for a smooth concrete pad finish.
Step by Step Instructions
Discover easy, step-by-step instructions to build your own DIY garbage can fence. Enhance curb appeal and curb clutter with this simple guide.
Planning and Preparation
First, I measured and marked out where I wanted the concrete pad and enclosure to go. This spot needed to be easily accessible yet discreet. After settling on the location, I cleared the area of debris and grass to prepare for the foundation.
Pouring the Concrete Pad
Following the outlined dimensions, I used wood stakes to build the mold for the concrete pad. Mixing the concrete was straightforward, following the instructions on the bag. Pouring it, I made sure to spread it evenly and smoothly. Then, using the trowel and edger, I finished the pad surface, ensuring it was flat and had nice edges. This step was crucial for a level and stable base.
Building the Frame
While the concrete set, I cut the 2x4 framing and the 4x4 posts to size with the chop saw. Each 4x4 post was secured into a post base plate, which I then anchored to the concrete pad with anchor epoxy and retrofit bolts. The levels were indispensable here to guarantee each post was perfectly vertical.
Next, I assembled the frame, attaching the 2x4s to the 4x4 posts using the through bolts. This frame served as the backbone of the enclosure, providing the structure on which the cedar planks would be mounted.
Attaching the Cedar Planks
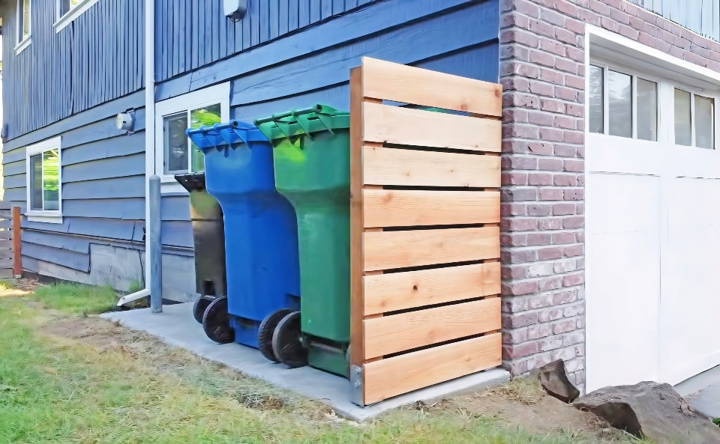
The final step was the most satisfying—attaching the cedar planks. Starting from the bottom, I worked my way up, ensuring no gaps and a tight, clean look. The cedar planks not only hid the trash cans but also added a naturally beautiful element to my yard.
The Result
The transformation was remarkable. Not only were my trash cans out of sight, but the enclosure also added a stylish, purposeful feature to my yard. This project, which seemed daunting at first, turned out to be highly rewarding.
Customization Ideas for Your DIY Garbage Can Fence
Building a DIY garbage can fence doesn't mean you have to sacrifice style for functionality. Here are some customization ideas to help you make your fence not only practical but also a reflection of your personal taste:
Choose Your Style
- Classic Wood: Go for a traditional look with stained or painted wood. Consider lattice panels for a touch of elegance.
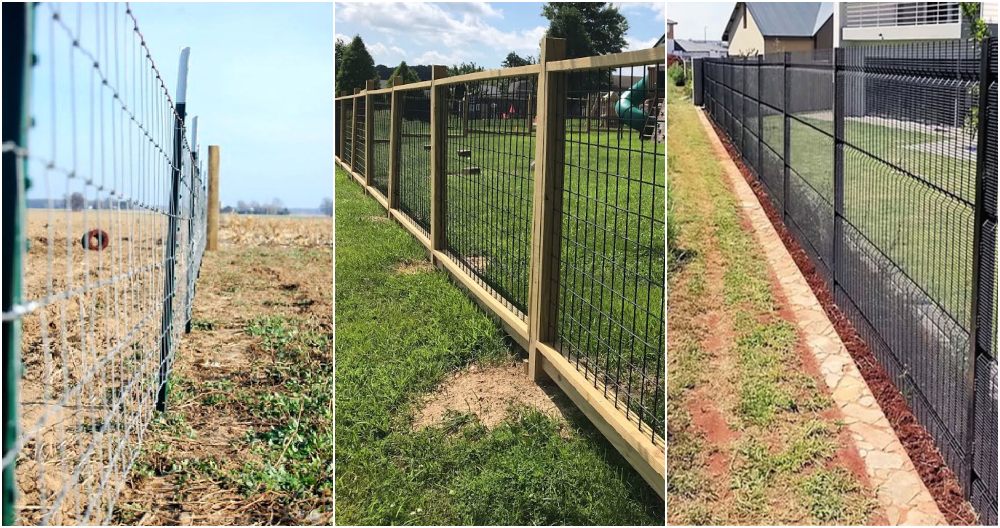
- Modern Metal: For a sleek, contemporary feel, use metal panels. Corrugated steel or aluminum can offer a modern industrial vibe.
- Rustic Charm: Use reclaimed wood or pallets for a rustic, eco-friendly option that adds character.
Add a Personal Touch
- Colorful Palette: Paint your fence in a color that complements your home's exterior. Bright colors can add a cheerful touch, while neutral tones can blend seamlessly with the surroundings.
- Artistic Flair: Stencil a design or mural on the fence for an artistic expression. This can be a fun family project!
- Functional Decor: Attach hooks or shelves to the fence to hang garden tools or decorative plants.
Integrate Greenery
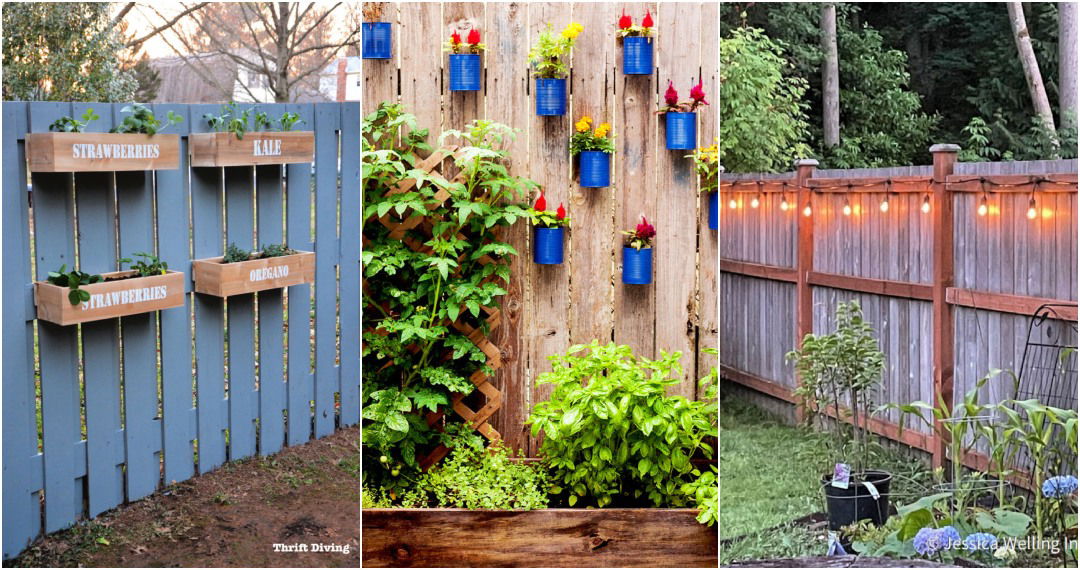
- Vertical Garden: Turn your fence into a green oasis by adding planters. Herbs, flowers, or even small vegetables can thrive here.
- Climbing Plants: Encourage vines like ivy or jasmine to grow on the fence for a natural, living barrier.
Lighting and Accessories
- Ambient Lighting: Install solar-powered lights for a warm glow in the evening. This not only adds beauty but also functionality.
- Decorative Hardware: Use unique handles or hinges for the fence gate. Antique or custom-made hardware can make a big difference.
Seasonal Decor
- Holiday Themes: Decorate your fence with seasonal wreaths, lights, or ornaments to celebrate holidays and change with the seasons.
- Themed Accents: Add elements that reflect your hobbies or interests, like nautical ropes for a maritime theme.
Incorporate these ideas to turn a plain garbage can fence into a highlight, boosting your home's curb appeal. Make it unique yet cohesive with your property's look.
Legal Considerations for Building a DIY Garbage Can Fence
When planning to build a DIY garbage can fence, it's important to be aware of the legal considerations that may affect your project. Here's what you need to know to ensure your fence meets legal standards and doesn't cause any issues with neighbors or local authorities.
Know Your Boundaries
Before you start building, determine the exact boundaries of your property. This might require checking your deed or consulting with a surveyor. It's crucial to build within your property lines to avoid disputes or legal issues with neighbors.
Check Local Regulations
Different areas have different rules regarding fence construction. These can include:
- Height Restrictions: Some places limit how tall your fence can be.
- Distance from Street: There may be rules about how close your fence can be to sidewalks and roads.
- Material Restrictions: Certain materials may not be allowed due to safety or aesthetic reasons.
Obtain Necessary Permits
Many cities and counties require a permit to build a fence. The process can vary, so contact your local building department to find out what's needed. They can guide you on how to obtain the right permit for your fence.
Homeowners Association (HOA) Rules
If you live in a community with an HOA, they may have specific guidelines for fences. These can include color, material, and design restrictions. Make sure to review your HOA's rules and get approval before building.
Discuss with Neighbors
If your fence will be near a property line, talk to your neighbors. A fence built on a boundary is often considered joint property, and both parties may be responsible for its maintenance.
Avoid Nuisance Creation
Your fence should not build a nuisance for your neighbors. This includes blocking their view unnecessarily or using materials that could be harmful or decrease the value of neighboring properties.
Consider Environmental Impact
Some areas have regulations to protect the environment. Ensure that your fence doesn't negatively impact local wildlife or violate environmental protection laws.
Following these guidelines ensures your garbage can fence is functional, attractive, and legally compliant, avoiding fines, disputes, and post-construction changes.
Maintenance Tips for Your DIY Garbage Can Fence
Keeping your DIY garbage can fence in top condition is essential for ensuring it continues to serve its purpose and maintain its appearance over time. Here are some straightforward maintenance tips to help you take care of your fence:
Regular Cleaning
- Wooden Fences: Use a soft brush and soapy water to gently clean the wood. For tougher stains, a mixture of water and white vinegar can be effective.
- Metal Fences: Check for rust spots. Sand them away and apply a coat of rust-inhibiting paint to keep the metal pristine.
- Vinyl Fences: A simple solution of dish soap and water works well. For more stubborn grime, a non-abrasive cleaner is recommended.
Inspection and Repair
- Check for Damage: At least twice a year, inspect your fence for any signs of damage, such as cracks, loose panels, or rot.
- Tighten and Replace: Secure any loose screws and replace damaged or worn parts promptly to prevent further deterioration.
Weatherproofing
- Sealant: Apply a waterproof sealant to wooden fences to protect against moisture and prevent rot.
- Paint: Refresh the paint every few years to protect the wood and keep your fence looking new.
Pest Control
- Insects: Look out for signs of insect infestations, particularly termites in wood. Treat any infestations quickly to prevent damage.
- Vegetation: Keep plants and shrubs trimmed back from your fence to avoid moisture and pests hiding in the vegetation.
Lubrication
- Hinges and Locks: Regularly lubricate any moving parts, such as gate hinges and locks, to ensure smooth operation.
Follow these steps to extend your garbage can fence's life, keeping it looking new. Regular care saves time, money, and keeps your fence valuable and beautiful.
FAQs About DIY Garbage Can Fence
Discover essential faqs about DIY garbage can fences, including materials, construction tips, and cost-effective solutions for a tidy outdoor space.
To ensure your garbage can fence is sturdy:
Use concrete to set the posts firmly in the ground or use post anchors if installing on a concrete pad.
Add gravel at the base for proper drainage.
Use reinforcement like wire mesh or rebar within the concrete for additional strength.
Make sure all connections are tight and hardware is suitable for outdoor use.
Absolutely! You can customize the size of your garbage can fence to fit your space and needs. Measure your garbage cans and plan for extra room to move them in and out comfortably. Adjust the height and width of your fence panels accordingly.
To maintain your garbage can fence:
Apply a wood preservative or sealer to protect against weathering.
Check annually for any loose screws or damage and repair as needed.
If using cedar, you can apply a clear varnish to preserve its natural color.
Yes, a garbage can fence can be versatile. You can use it to hide recycling bins, garden tools, or other outdoor items. Just ensure that the design and size accommodate the items you plan to store.
For securing the fence gate of your DIY garbage can fence:
Install heavy-duty hinges and a secure latch that can withstand frequent use.
Consider a lockable latch if you need extra security.
Make sure the gate is properly aligned with the fence to prevent sagging.
Use weather-resistant materials for the gate hardware to prevent rust and corrosion.
Wrapping Up
In conclusion, building a DIY garbage can fence is an effective way to keep your outdoor space tidy and attractive. By following the steps outlined in this guide, you can build a DIY trash can enclosure that enhances the look of your yard. It's a practical and straightforward project that offers significant benefits in terms of aesthetics and functionality.


