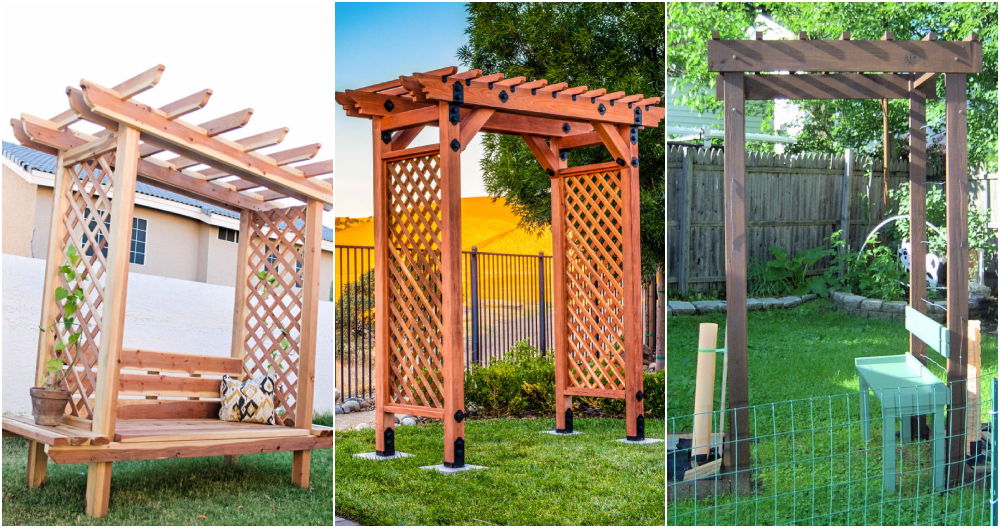
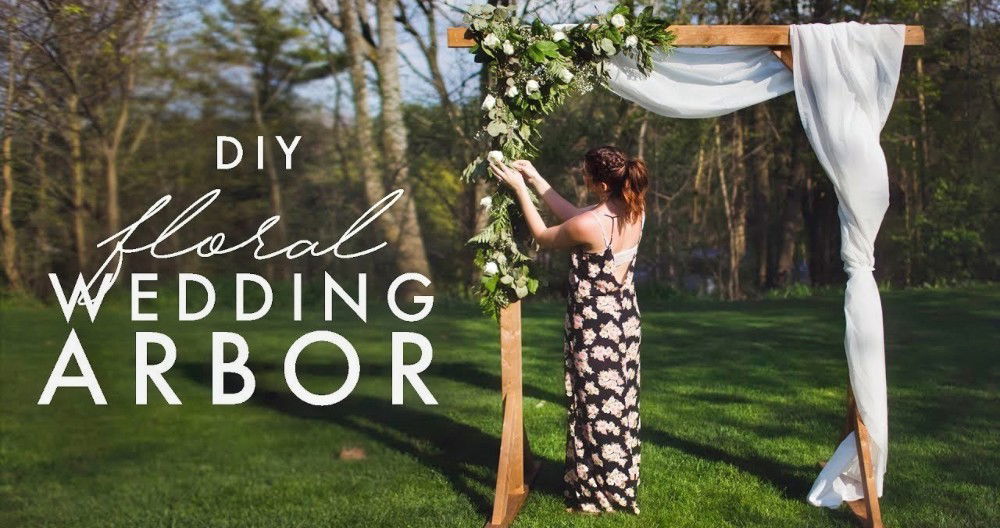
Building a DIY garden arbor was a project I decided to take on when I wanted to add a special touch to my backyard. It felt like a simple yet rewarding task that could make my outdoor space look more inviting. After gathering the right materials and following a step-by-step plan, the structure slowly took shape, and I found it surprisingly easy to handle with just basic tools.
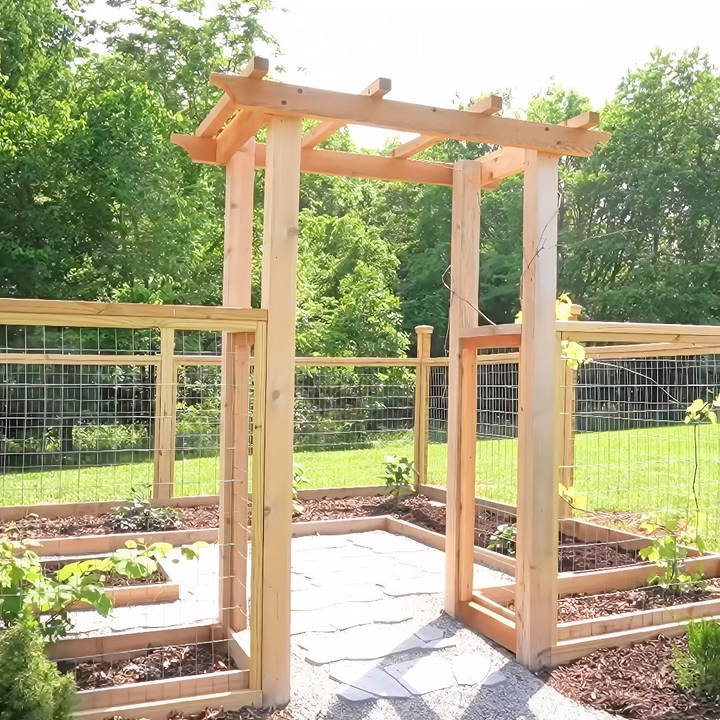
Now that the arbor stands tall in my garden, I can see how it transforms the space. If you've ever thought about building your own DIY arbor, this guide will help you get started. With a little effort and patience, you can build something beautiful for your yard.
I'm sharing these steps because I know they'll guide you through the process smoothly and confidently. Let's build something great together!
Choosing the Right Materials
Discover why cedar is the ideal material choice. Learn about its durability, natural resistance, and aesthetic appeal. Find out why cedar stands out.
Why Cedar?
First and foremost, selecting the right materials was crucial. I decided on cedar for its beauty and durability. Cedar is resistant to rot, which is perfect for outdoor projects. Plus, I preferred not to use treated wood around my plants to avoid any potential chemical leach. Cedar is pricier, but its longevity and aesthetic appeal are well worth the cost.
Step by Step Instructions
Learn how to build a DIY garden arbor with step-by-step instructions, from cutting 4x4 posts to using pocket hole screws and adding custom touches for a stunning finish.
The Foundation: Cutting the Posts
Learn how to ensure 4x4 posts' stability with our guide on The Foundation: Cutting the Posts. Boost your project's longevity and safety.
4x4 Posts for Stability
I started with the 4x4 cedar posts, cutting four pieces to my desired height. For the arbor's frame, I used 2x4 cedar boards. This foundation would ensure stability and strength for the entire structure.
Assembling the Side Panels
Assembling the Side Panels: Learn to utilize pocket hole screws for sturdy structures with our easy step-by-step guide. Perfect for DIY enthusiasts!
Utilizing Pocket Hole Screws
The assembly process began with making two side panels. Each panel included two 4x4 posts and two 2x4 crosspieces. I opted for pocket hole screws for assembly, specifically choosing outdoor-rated ones to ensure durability. The pocket holes provide a strong joint and keep the screws hidden, which significantly enhances the finished look.
Adding a Personal Touch
Learn how to add a personal touch by customizing with curves and address frame assembly challenges effortlessly.
Customizing with Curves
To give my arbor more character, I decided to cut curves into the 2x4s that would run along the top. Tracing a paint can build the curve and cutting with a jigsaw added that personal touch I was looking for. This simple step transformed basic lumber into a more elegant arbor component.
Frame Assembly Challenges
Securing the top 2x4s to the side panels was, quite frankly, a test of patience. Ensuring everything was square while attaching the beams was tricky but crucial for a stable structure. I used black timber screws for their strength and visual contrast against the cedar. Accuracy and patience paid off, resulting in a solid and square frame.
Building a Decorative and Functional Trellis
Learn how to build a decorative and functional trellis from 2x4s and 2x2s with fencing wire. Step-by-step guide for garden beauty and plant support.
From 2x4s to 2x2s
For the trellis and additional framing, I needed 2x2s, which weren't readily available in Cedar at my local store. So, I ripped cedar 2x4s in half to build my own. This DIY approach was cost-effective and ensured material uniformity across the arbor.
Incorporating Fencing Wire
I opted for fencing wire for the sides of the arbor. It may not be the most decorative option, but it's sturdy enough to support grapevines and integrates well with the rest of my garden's aesthetic. Customizing the wire panels to fit and stapling them in place was straightforward and satisfying.
Finishing Touches
Discover the finishing touches for anchoring safety and applying stain for longevity in home projects. Ensure lasting results and maximum safety.
Anchoring for Safety
With the arbor assembled, my next task was to ensure it was securely anchored. Given its location and purpose, stability was non-negotiable. I shared my intention with family members to anchor it deeply into the ground, using concrete for the posts that would bear the most weight.
Stain for Longevity
Finally, applying an outdoor stain and sealant would not only protect the cedar from the elements but also enhance its natural beauty. I chose a tint that complemented my garden's palette, ensuring that the arbor would remain a focal point for years to come.
Customization Ideas for Your Garden Arbor
Designing a beautiful, functional garden arbor is more than just building structures. Let's explore creative ideas to make your arbor uniquely yours.
1. Lattice Panels and Climbing Plants
Lattice panels are an excellent addition to your garden arbor. They not only enhance the visual appeal but also serve practical purposes:
- Privacy: If your arbor is near a neighbor's property or a busy street, lattice panels can provide a sense of privacy without completely blocking the view.
- Support for Climbing Plants: Lattice's work builds a framework for climbing plants like roses, clematis, or morning glories. As these plants grow, they'll intertwine with the lattice, making a charming green canopy.
2. Decorative End Cuts
Instead of plain square or rectangular end cuts for your arbor's beams and rafters, consider adding decorative shapes:
- Scalloped Ends: Scalloped or curved ends add elegance and soften the overall look. Use a jigsaw or a template to build these decorative cuts.
- Angular Cuts: Angular or diagonal cuts give a modern twist to traditional arbors. Experiment with different angles to find a design that complements your garden style.
3. Stain or Paint Accents
While natural wood tones are classic, consider adding accents with stain or paint:
- Contrasting Colors: Stain the arbor in a darker shade (such as walnut or mahogany) while leaving the lattice panels or decorative elements in a lighter color (like white or cream).
- Weathered Look: Apply a weathered or distressed finish to achieve a rustic appearance. Sand the edges and corners slightly to simulate wear and tear.
4. Built-in Seating
Extend the functionality of your arbor by incorporating built-in seating:
- Bench Swing: Attach a swing bench to one side of the arbor. It's perfect for relaxing, reading, or enjoying a cup of tea.
- Integrated Benches: Install benches along the sides or back of the arbor. These provide additional seating for gatherings or quiet moments in the garden.
5. Solar Lights and Lanterns
Illuminate your arbor during evenings with solar-powered lights or lanterns:
- String Lights: Hang string lights along the arbor's top beams. They build a magical ambiance for outdoor dinners or gatherings.
- Solar Lanterns: Place solar lanterns on the posts or hang them from the lattice. They'll automatically light up at dusk, adding charm to your garden.
Customize to show personality and fit needs. Pick a whimsical or minimalist design to reflect your style and beautify your outdoor space!
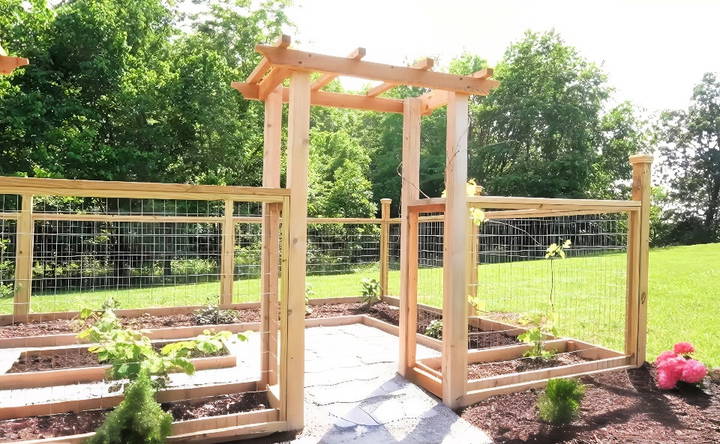
Sizing and Placement of Your Garden Arbor
When planning your garden arbor, getting the size and placement right is crucial. Let's dive into the details to ensure your arbor becomes a delightful addition to your outdoor space.
1. Determining the Ideal Size
Discover tips and insights on determining the ideal size for your needs and enhancing efficiency and effectiveness in various applications.
- Available Space: Start by assessing the area where you intend to place the arbor. Measure the width and depth to understand how much room you have. Consider any existing landscaping features, pathways, or nearby structures.
- Aesthetics: Think about the visual impact. A too-small arbor may look lost in a large garden, while an oversized one can overwhelm a small space. Aim for a balance that complements your surroundings.
- Functionality: What purpose will your arbor serve? Is it purely decorative, or do you want it to provide shade or frame an entrance? Adjust the size accordingly.
2. Placement Options
Find the best placement options for arbors: freestanding, over walkways, or as an entrance. Explore their pros and cons for your garden.
Freestanding Arbor:
Freestanding Arbor: Enhance your garden with this stylish, easy-to-install structure. Pros include design versatility; cons involve potential stability issues.
Pros:
- Versatility: Freestanding arbors can be placed anywhere in your garden.
- 360-Degree View: You can appreciate the arbor from all angles.
Cons:
- Space Consideration: Ensure it doesn't obstruct walkways or crowd other features.
- Stability: Properly anchor it to prevent tipping over in strong winds.
Over a Walkway or Path:
Discover the pros and cons of installing pergolas over a walkway or path, enhancing your outdoor space while offering shade and style.
Pros:
- Guiding Element: An arbor over a walkway builds a charming entrance.
- Shade: It provides shade during sunny days.
Cons:
- Height Clearance: Make sure it's tall enough for people to walk comfortably underneath.
- Maintenance: Leaves and debris may fall on the path.
As an Entrance Feature:
Entrance Feature: Discover the pros and cons of incorporating an entrance feature in your space. Boost curb appeal with these insights.
Pros:
- Welcoming: Arbor entrances are inviting and define the transition from one area to another.
- Framing Views: Place it where it frames a beautiful view, such as a flowerbed or fountain.
Cons:
- Symmetry: Ensure it aligns with the entrance's symmetry (if applicable).
- Maintenance: Regularly trim any plants growing on it.
3. Setting the Posts
- Digging Postholes: Use a posthole digger to build holes for the arbor's vertical posts. The depth depends on your soil type and local frost line (usually 18–24 inches deep).
- Post Material: Choose pressure-treated wood or metal posts. Concrete footings can add stability.
- Leveling: Ensure the posts are level and plumb before securing them.
4. Adding the Top Structure
- Deck Boards: Attach horizontal deck boards across the top of the arbor. These form the roof and provide partial shade.
- Crossbeams and Stretchers: Connect the vertical posts with crossbeams (running parallel to the ground) and stretchers (connecting opposite posts).
- Rafters: Install diagonal rafters (angled from the center to the sides) for stability and aesthetics.
5. Finishing Touches
- Staining or Painting: Protect the wood from the weather by staining or painting it. Choose colors that harmonize with your garden.
- Planting Vines: If desired, plant climbing vines (like wisteria or grapevines) near the arbor. They'll eventually cover it, making a lush canopy.
A well-placed and appropriately sized garden arbor can transform your outdoor space into a magical retreat. Take your time, visualize the end result, and enjoy the process of making something beautiful.
FAQs About DIY Garden Arbor
Discover common questions and expert answers about making DIY garden arbors to enhance your outdoor space with this essential guide.
A garden arbor is a charming outdoor structure that combines beauty and functionality. It typically features an arch or lattice roof, providing a decorative entrance to your garden, patio, or walkway. Arbors can serve as focal points, support climbing plants, and create a cozy nook for relaxation.
Cost-Effective: Building your own arbor is more budget-friendly than purchasing a pre-made one.
Customization: DIY arbors allow you to tailor the design, size, and materials to match your garden’s aesthetics.
Satisfaction: Crafting something with your hands brings a sense of accomplishment and pride.
Choose wood species with natural weather resistance. Here are some options:
Cedar: Known for its durability and resistance to decay.
Redwood: Naturally resistant to rot and insects.
Pressure-Treated Pine or Fir: A cost-effective alternative.
An ideal height for a garden arbor is around 8 feet. However, you can adjust it based on your preferences and the available space. Taller arbors (up to 10 feet) build a grand entrance, while shorter ones offer a cozy feel.
Here's a simplified overview:
Dig Holes: Dig holes for the four post foundations.
Set Posts: Embed 4x4 posts into the holes using concrete.
Add Beams: Sandwich pairs of 2x6 crosspieces around opposite pairs of posts at the top.
Install Rafters: Attach 2x4 rafters across the beams.
Build Roof: Use 2x2 lattice strips to form an open roof surface over the rafters.
Reflections on My Journey
Taking the time to work on this DIY garden arbor project made me appreciate the beauty of making something with my hands. You can do it too—just follow the instructions and enjoy the process!


