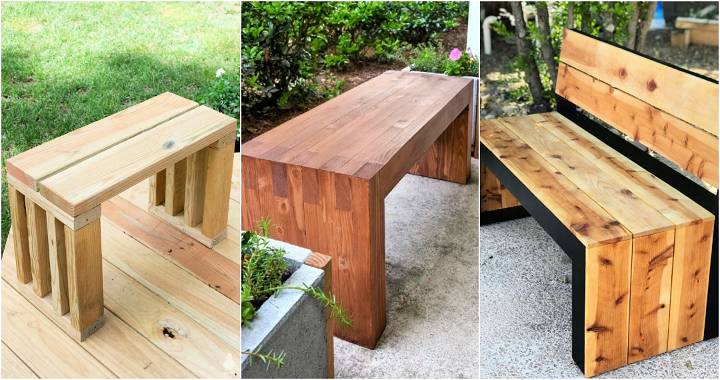
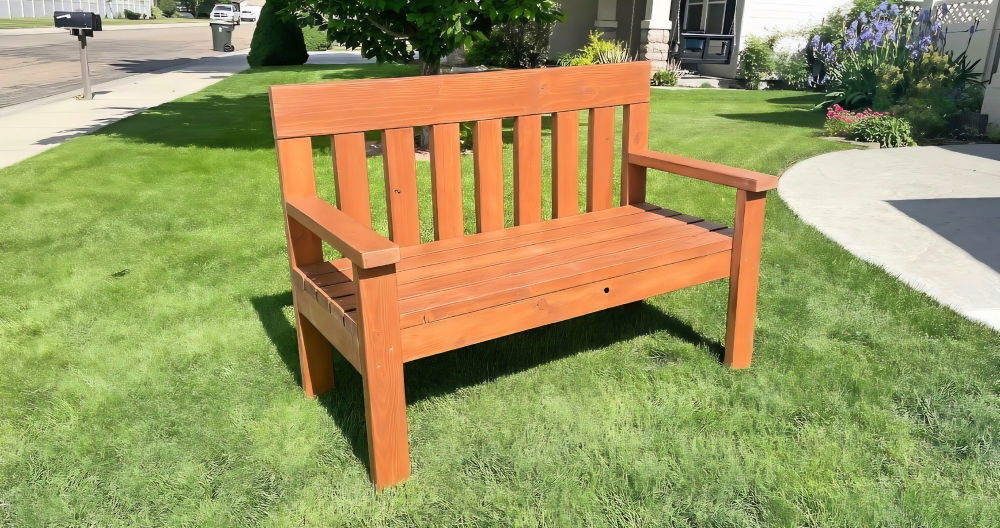
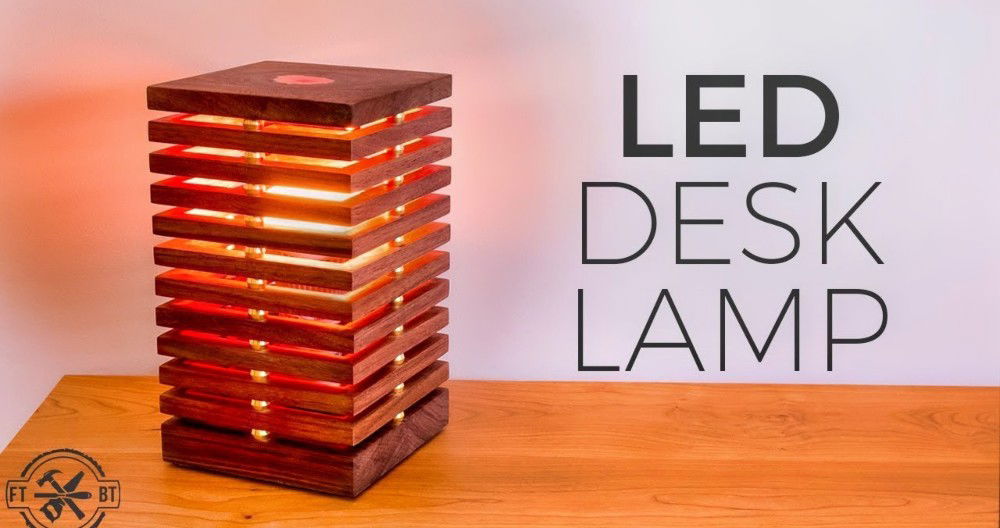
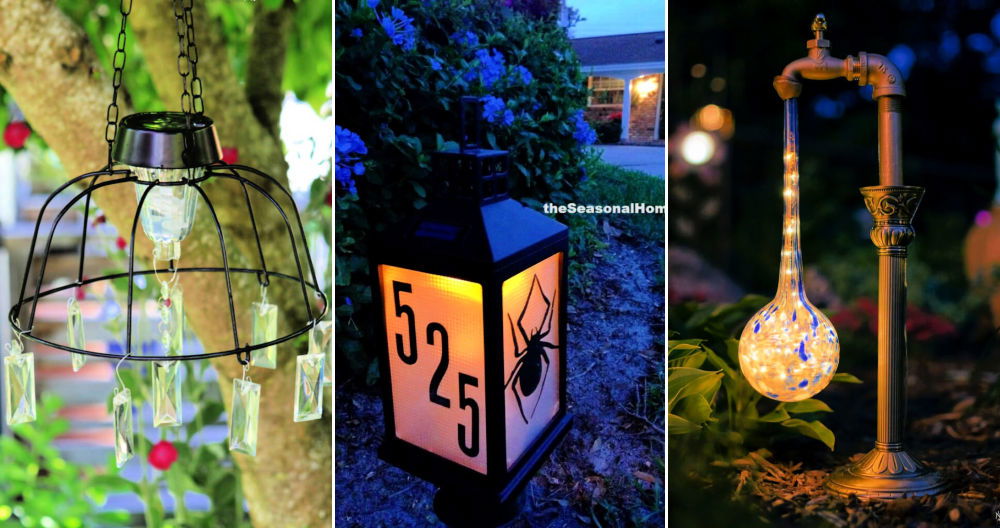
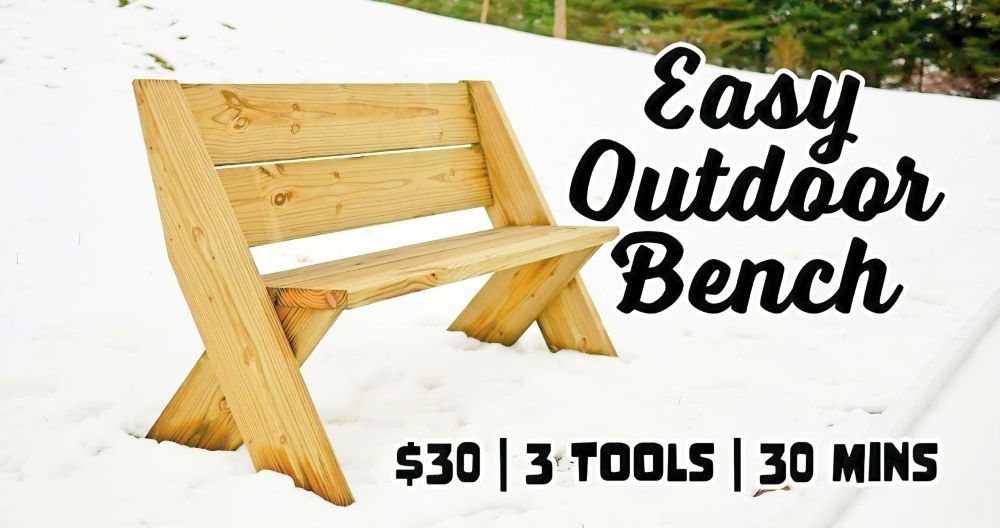
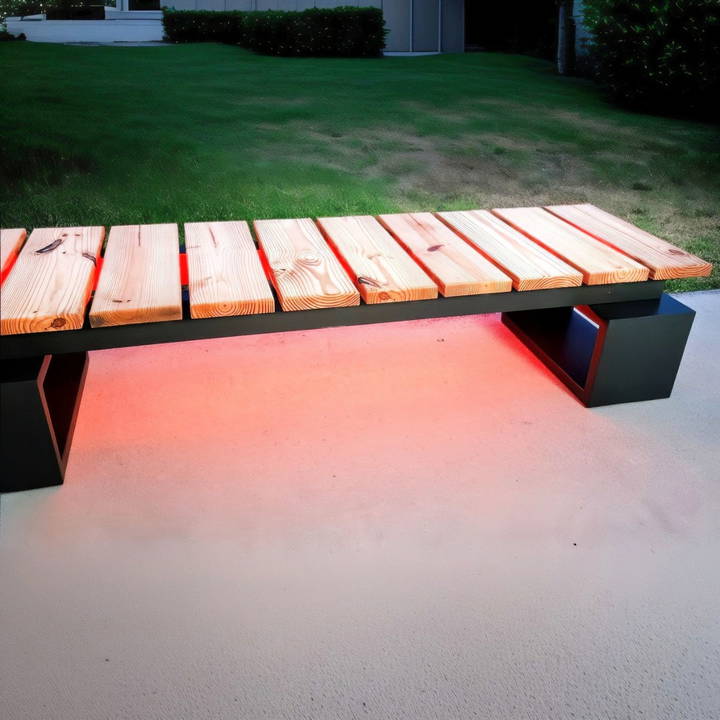
Building a DIY garden bench with LED lights is an incredibly rewarding project that blends practicality with style. In this guide, I'll walk you through making a sleek and functional garden bench, complete with LED lights, for that extra bit of flair. If you're like me and enjoy making things with your own hands, this project is perfect for a weekend adventure. The best part? It doesn't require a workshop full of expensive tools!
Tools and Materials You'll Need
Before we dive into the steps, let's gather all the necessary tools and materials. Having everything ready makes the process smoother and more enjoyable.
Materials:
- Southern Yellow Pine Lumber: A combination of 2x8s and 2x12s, easily found at most local hardware stores.
- Wood Glue: Essential for joining wooden pieces securely.
- Dowels and Doweling Jig (like Dow Max Jig): For making strong, hidden joints.
- Bondo (or Wood Filler): Used for filling any gouges, knots, or cracks to enhance the bench's aesthetic.
- Primer, Paint, and Stain: For finishing the wood and protecting it from the elements.
- LED Strip Lights (Waterproof): To add a unique lighting element to your bench.
- Brackets, Screws, and Bolts: Necessary for attaching the legs and ensuring the stability of the bench.
- Felt Pads or Adjustable Feet: To protect the bench's legs and adjust for uneven surfaces.
Tools:
- Miter Saw or Circular Saw: For making precise cuts in the lumber.
- Table Saw: Helpful for ripping boards to size.
- Hand Plane and Sander: For smoothing the wood surfaces and cleaning up joints.
- Clamps: Crucial for holding pieces together while the glue dries.
- Drill and Forstner Bits: For drilling holes for dowels and screws.
- Scissors: To cut the LED strips.
Step by Step Instructions
Learn how to build a DIY garden bench with led lights. Follow our step-by-step guide from cutting lumber to installing lights for a stunning garden feature.
Step 1: Cutting the Lumber
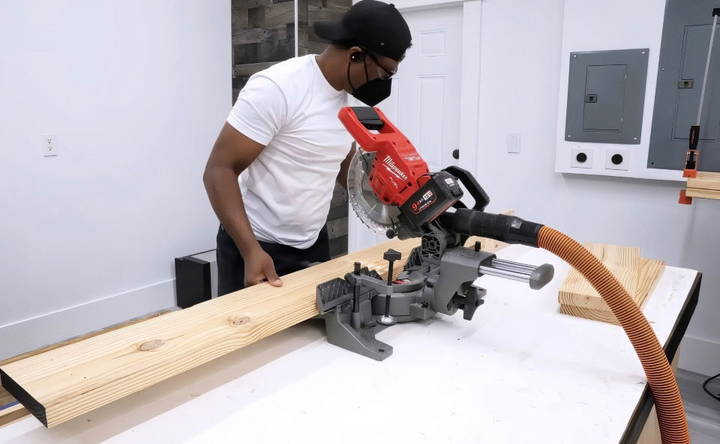
The first step is to cut all the lumber to the required lengths. Using a miter saw will make this process quick and efficient, but a circular saw works just fine if that's what you have. For this build, Southern yellow pine was chosen for its strength and availability. Start by cutting the 2x8s and 2x12s according to your bench's dimensions.
One thing I've learned from experience is to double-check all your measurements before cutting. This saves time and frustration down the line. If you're ripping boards, a table saw is ideal, but you can also use a circular saw with a guide for straight cuts.
Step 2: Preparing the Wood Pieces
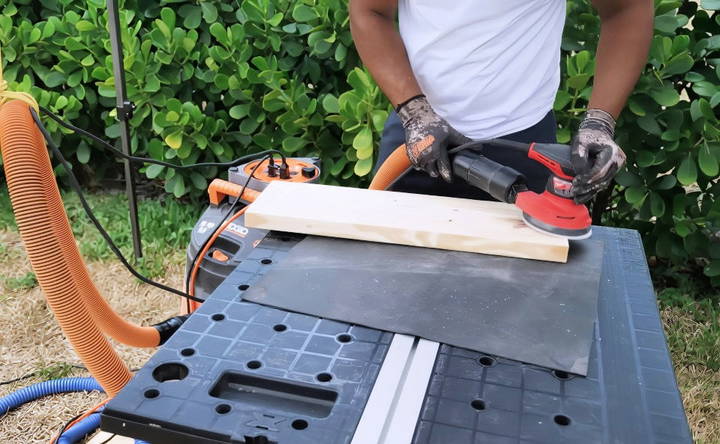
After cutting, it's time to sand and prepare the wood pieces. Take everything outside to sand to avoid sawdust filling up your workspace. I like to round over the edges of selective pieces to give a smoother look, but this is optional. Using a router or sandpaper, focus on giving your pieces a nice, finished edge.
When sanding, a vacuum can help minimize airborne sawdust. It's a bit unconventional to use a vacuum outdoors, but it works well for me, especially when trying to keep things tidy.
Step 3: Constructing the Frame
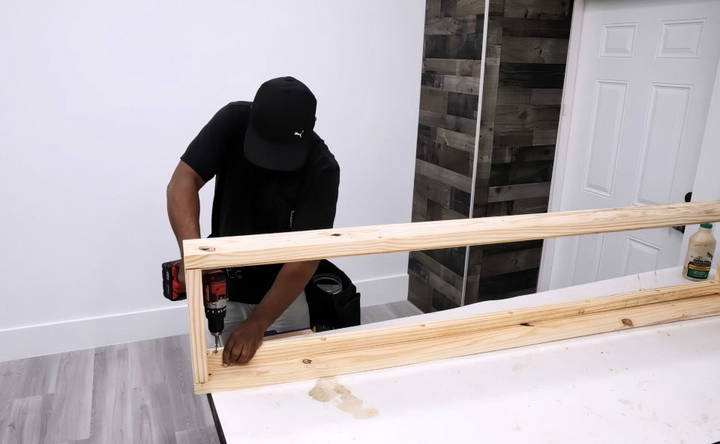
For this bench, I aimed to hide as much of the hardware as possible, opting for dowels instead of exposed screws. This method not only gives a cleaner look but also adds to the overall durability. Using the Dow Max jig, align and drill your holes for the dowels. Typically, two to three dowels per joint are sufficient.
After drilling, do a test fit before moving on to gluing. This ensures everything fits together perfectly. Apply wood glue to each joint, fit the dowels, and clamp the pieces together. Allow the glue to set for a few hours. I cannot emphasize enough how important it is to be patient during this step. Rushing can result in weak joints that may not hold up over time.
Step 4: Adding the Bench Legs
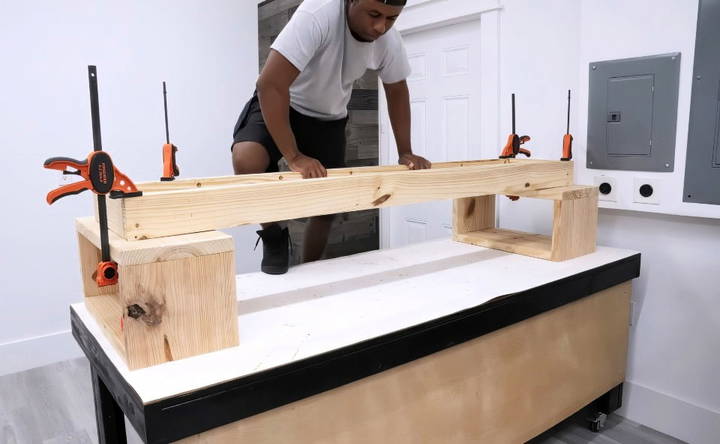
For the legs, I wanted a "beefy" look to match the rest of the bench's style. I chose 2x2 lumber and again used dowels for joining. After dry fitting to ensure everything aligns, apply glue and clamp the legs together.
Once the legs are assembled and the glue has dried, attach them to the bench frame using brackets. This allows for easy removal if you ever need to disassemble or move the bench. Mark the position for the brackets and pre-drill the holes to prevent splitting the wood. Using bolts instead of screws for the legs provides better strength and allows for easy disassembly.
Step 5: Filling Imperfections and Priming
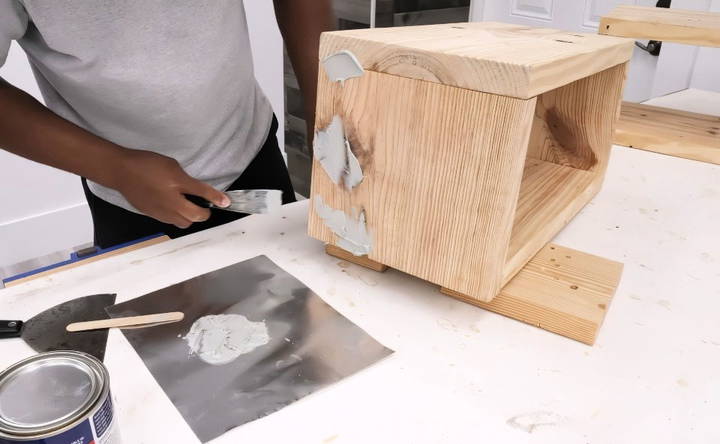
No piece of wood is perfect. For filling in any knots, cracks, or imperfections, I used Bondo, a two-part filler that's commonly used in auto body repair. It's strong, easy to sand, and works great on wood. Apply the Bondo to the wood, let it dry, and then sand it smooth. This step is crucial not only for aesthetics but also for protecting the wood from water damage.
Once the Bondo is sanded smooth, apply a coat of primer to any parts that will be painted. Priming helps the paint adhere better and provides a more durable finish.
Step 6: Painting and Staining
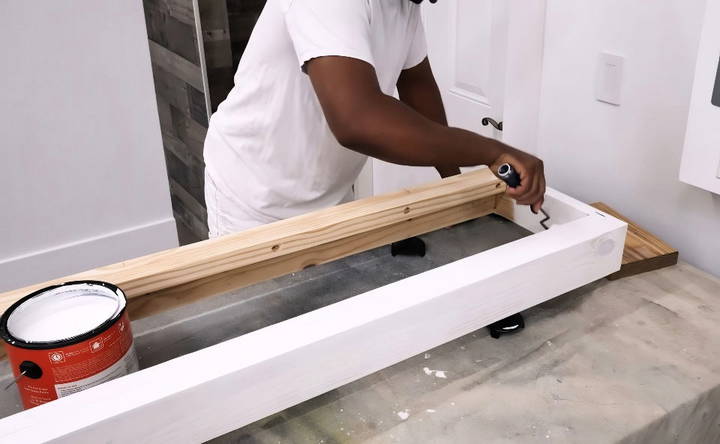
For this project, I opted for a combination of paint and stain to build a modern look. Paint the areas you've primed and allow them to dry completely. For the rest of the bench, apply a wood stain that matches your desired look. The contrast between painted and stained surfaces adds visual interest to the bench.
This step is one of my favorites because you get to see the project come together. Make sure to follow the manufacturer's instructions for drying times and apply multiple coats if necessary.
Step 7: Installing the LED Lights
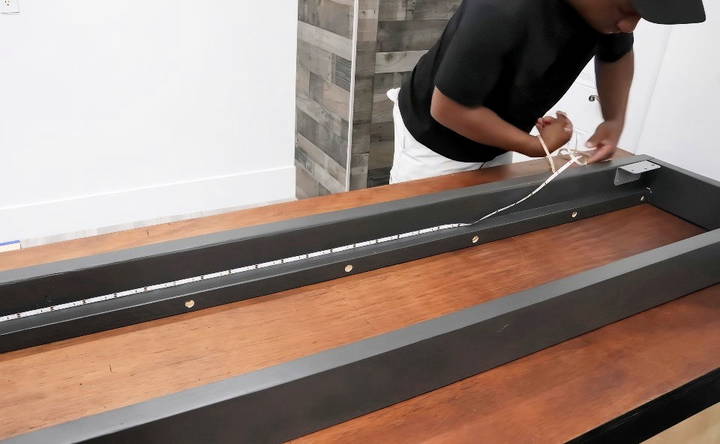
Adding LED lights was a spontaneous decision, but it turned out to be a fantastic feature. For outdoor use, ensure you have waterproof LED strips. Place the LED strips around the interior of the frame and use scissors to cut them to the appropriate length. You can either plug the LEDs into a wall outlet or use a portable power bank.
Make sure the LED strips are secure and all the wiring is neatly hidden to maintain the bench's clean look. If you're not a fan of LED lights, this step is entirely optional.
Step 8: Assembling the Bench
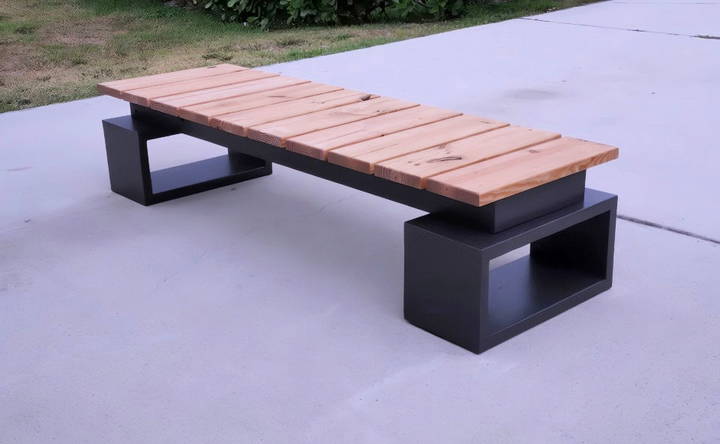
With all the parts prepped, it's time to assemble the bench. Attach the slats to the seat using 2 ½-inch pocket hole screws, ensuring that they are evenly spaced. This is where the small piece of plywood comes in handy to act as a spacer, keeping your overhang consistent.
Once the seat slats are in place, bolt the legs to the frame using the brackets. If you've marked the positions correctly earlier, everything should fit perfectly. Tighten the bolts securely but avoid overtightening, which could damage the wood or brackets.
Step 9: Finishing Touches
The last step is to add any finishing touches to protect your new garden bench. I recommend applying a clear topcoat to the stained wood pieces for extra protection. Felt pads on the bottom of the legs help prevent scuffing and make moving the bench around easier. In the future, I plan to add adjustable feet to all the pieces in this set for better stability on uneven ground.
Customization Ideas
Customizing your DIY garden bench with LED lights can make it unique and tailored to your personal style. Here are some easy and creative ideas to help you personalize your bench:
Wood Type and Finish
- Wood Type: Choose from different types of wood like cedar, pine, or teak. Each type has its own look and durability.
- Finish: Apply a stain or paint to match your garden's aesthetic. You can go for a natural look with clear varnish or a bold color to make it stand out.
LED Light Colors
- Color Options: Use LED lights that change colors or stick to a single color that complements your garden. Warm white lights build a cozy atmosphere, while cool white lights give a modern feel.
- Patterns: Opt for LED lights with different lighting patterns like steady, flashing, or fading effects.
Seating Comfort
- Cushions: Add weather-resistant cushions for extra comfort. Choose fabrics that are durable and easy to clean.
- Backrest: Modify the design to include a backrest for added support and comfort.
Decorative Elements
- Carvings and Inlays: Add decorative carvings or inlays to the wood. This can be a simple pattern or something more intricate.
- Planter Boxes: Attach small planter boxes to the sides of the bench. Fill them with flowers or herbs to enhance the garden feel.
Weatherproofing
- Sealants: Use weatherproof sealants to protect the wood from the elements. This will help your bench last longer.
- Covers: Invest in a custom cover to protect your bench when not in use.
Eco-Friendly Options
- Recycled Materials: Use recycled wood or eco-friendly materials to build your bench. This is a great way to be environmentally conscious.
- Solar-Powered LEDs: Opt for solar-powered LED lights to save energy and reduce your carbon footprint.
Personal Touches
- Engravings: Personalize your bench with engravings of your name, a favorite quote, or a special date.
- Painted Designs: Hand-paint designs or patterns on the bench to make it truly one-of-a-kind.
By incorporating these customization ideas, you can build a garden bench that not only looks great but also fits your personal style and needs.
Troubleshooting Common Issues
Building a DIY garden bench with LED lights can be a rewarding project, but you might encounter some common issues along the way. Here are some troubleshooting tips to help you address these problems effectively:
LED Lights Not Working
- Check Connections: Ensure all connections are secure. Loose wires can prevent the LEDs from lighting up.
- Power Supply: Verify that the power supply is adequate and stable. LEDs require a consistent voltage.
- Test the LEDs: Use a multimeter to check if the LEDs are functioning. Replace any faulty LEDs.
Flickering Lights
- Dimmer Switch Compatibility: Make sure you are using a dimmer switch that is compatible with LED lights.
- Voltage Fluctuations: Check for voltage fluctuations in your power supply. Using a surge protector can help stabilize the voltage.
Overheating
- Ventilation: Ensure the LED lights have proper ventilation. Overheating can cause LEDs to fail prematurely.
- Heat Sinks: Consider adding heat sinks to dissipate heat more effectively.
Moisture Issues
- Waterproofing: Use waterproof LED strips or enclosures to protect the lights from moisture.
- Sealants: Apply waterproof sealants to any exposed connections to prevent water damage.
Battery Life (for Solar-Powered LEDs)
- Sunlight Exposure: Ensure the solar panels are placed in an area that receives ample sunlight throughout the day.
- Battery Replacement: Check the batteries regularly and replace them if they no longer hold a charge.
Wood Warping or Splitting
- Wood Selection: Choose high-quality, weather-resistant wood like cedar or teak.
- Sealant Application: Apply a weatherproof sealant to protect the wood from moisture and UV damage.
Structural Stability
- Reinforcement: Use additional screws or brackets to reinforce the bench structure.
- Leveling: Ensure the bench is placed on a level surface to prevent wobbling.
LED Light Placement
- Even Distribution: Place the LED lights evenly to avoid dark spots. This ensures a uniform glow.
- Secure Mounting: Use strong adhesive or mounting clips to keep the LED strips in place.
Aesthetic Issues
- Paint and Finish: If the paint or finish is peeling, sand down the affected area and reapply the finish.
- Cushion Maintenance: Use weather-resistant fabric for cushions and clean them regularly to maintain their appearance.
Power Supply Issues
- Correct Adapter: Ensure you are using the correct power adapter for your LED lights. An incorrect adapter can cause the lights to malfunction.
- Wiring Check: Inspect all wiring for any signs of damage or wear and replace as necessary.
By addressing these common issues, you can ensure your DIY garden bench with LED lights remains functional and beautiful for years to come.
FAQs About DIY Modern Garden Bench with LED Lights
You can use other types of wood like cedar, redwood, or pressure-treated pine. These alternatives are more resistant to weather conditions and provide different aesthetic qualities. Ensure that the wood you choose is durable for outdoor use.
Yes, you can use pocket hole screws, biscuits, or even metal brackets for joining. Pocket holes provide a strong and simple alternative, while biscuits are good for alignment. Choose based on your tools and skills.
Use a spacer, such as a piece of plywood cut to the desired gap width, to ensure consistent spacing between slats. This method allows you to maintain equal distances without having to measure each gap repeatedly.
While Bondo is strong and durable, a mixture of wood glue and sawdust can be used as a filler. This option matches the wood's natural color better but may not be as robust. Choose based on the visibility of the area and the project's needs.
For harsh climates, use a high-quality outdoor stain that provides UV protection and is water-resistant. Oil-based stains tend to offer better penetration and longevity compared to water-based options, especially in extreme conditions.
To hide LED wires, route them through small drilled holes in the frame or along the underside using adhesive clips. For a cleaner look, use battery-operated LED strips or tuck wires into grooves cut into the wood.
Using bolts instead of screws to attach the legs allows for easy disassembly. This makes the bench easier to move and store. Alternatively, add wheels or handles to enhance portability without disassembling the whole structure.
Yes, you can customize your bench by attaching foldable wings or adding built-in cup holders. These additions can be mounted on the sides or between slats. Use durable hinges and materials that match the bench's style.
To improve durability, apply a clear topcoat like polyurethane over the paint. This adds a layer of protection against UV rays, moisture, and scratches. Make sure the paint is fully cured before applying the topcoat.
Apply a wood conditioner or sealant to prevent moisture from penetrating and causing warping. For minor cracks, use wood filler or epoxy resin to fill gaps. Regular maintenance, like reapplying stain or sealant, can help prevent damage.
Final Thoughts
Building a DIY modern garden bench with LED lights is not only a fun project but also a great way to enhance your outdoor space with a personal touch. This project teaches several woodworking skills, from cutting and sanding to joining and finishing. Whether you're a seasoned woodworker or a DIY enthusiast, there's something deeply satisfying about making something beautiful and functional from scratch.
The bench is customizable in size, color, and even features like the LED lights, making it a versatile piece for any garden or patio. So, grab your tools, get creative, and enjoy the process.


