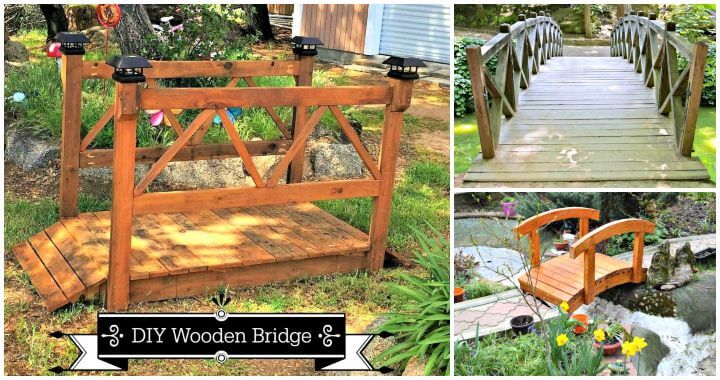
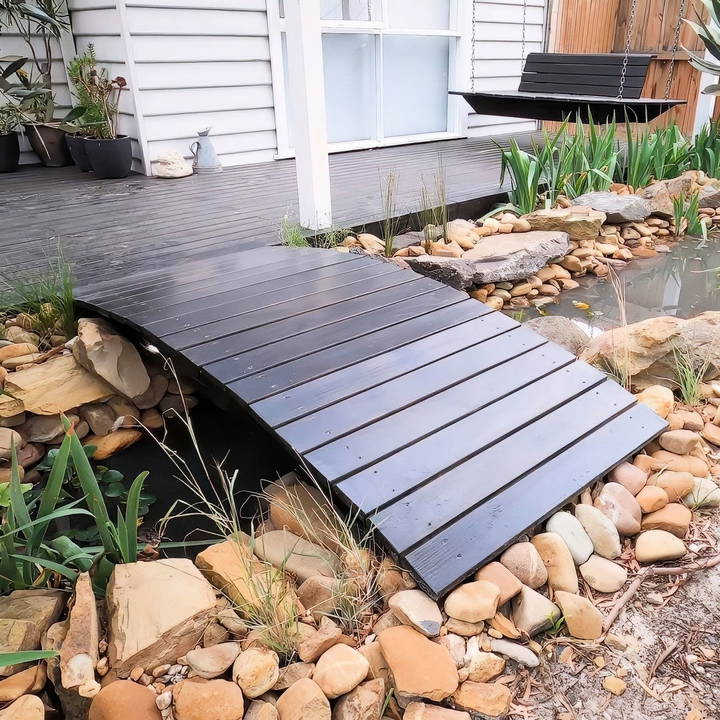
Building a garden bridge can transform your outdoor space, adding charm and functionality while making a stunning visual statement. This guide explains the entire process of building a DIY garden bridge. The design is simple yet elegant, ensuring you can achieve professional-looking results without requiring advanced carpentry skills.
Materials and Tools You'll Need
Before diving into the construction process, gather all the required materials and tools. Using treated wood ensures durability and longevity for your garden bridge.
Materials
- Structural Pine Beams: 2 pieces of 1600mm (5.25' x 5.5" x 1.4")
- 2 pieces of 600mm (2' x 5.5" x 1.4")
- Decking Timber: 19 pieces of 800mm (2.6' x 3.5")
- Other Items: 16 x 90° angle braces
- 18 long screws
- 140 decking screws
- Wood glue
- Paint or stain (optional)
Tools
- Safety glasses and ear protection
- Tape measure
- Pencil or marker
- Jigsaw
- Drop saw (or circular/hand saw)
- Cordless drill
- Sander
- Decking spacer (optional but helpful)
- Clamps (optional)
Step by Step Instructions
Learn how to build a DIY garden bridge with easy steps, from prepping wood to finishing and maintenance for a charming outdoor feature.
Step 1: Preparing the Wood for the Frame
The frame forms the backbone of your garden bridge, so precision in cutting and shaping is critical.
Measure and Cut
- Cut the structural pine beams into two 1600mm and two 600mm lengths.
- Adjust lengths if needed to suit your bridge's desired dimensions.
Shape the Arches
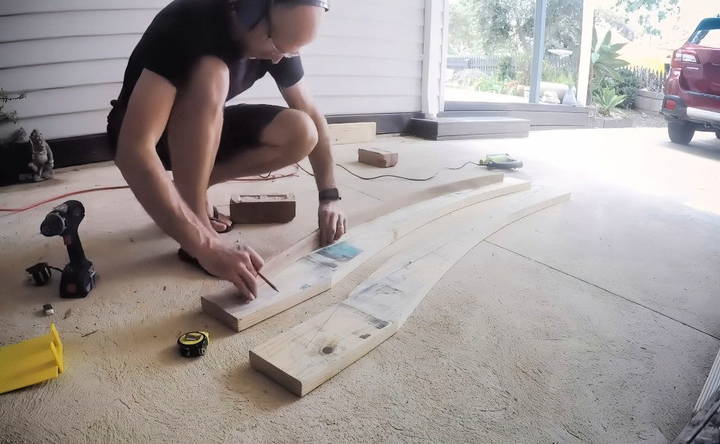
- Draw a curve on each of the 1600mm beams using a flexible strip of wood or any bendable material as a guide.
- Mark evenly spaced reference points (e.g., quarter, half, three-quarter) to ensure symmetry.
- Cut along the marked lines using a jigsaw.
Sand the Edges
- Smooth all edges to avoid splinters and give the bridge a polished look.
Step 2: Assembling the Frame
With the arches prepared, it's time to assemble the main structure.
Attach Cross Braces
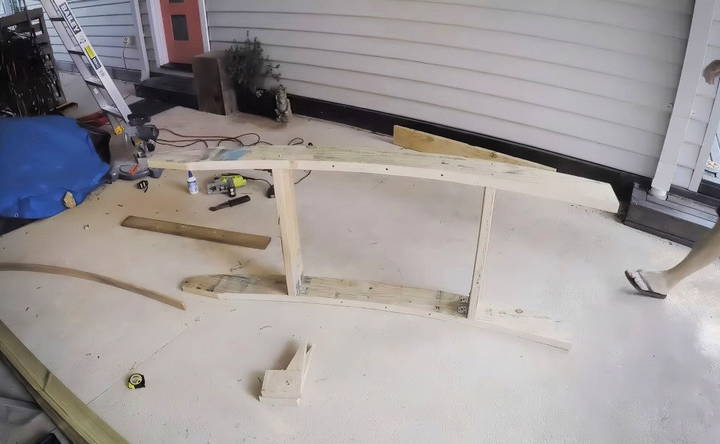
- Position the 600mm beams at your desired intervals along the arches.
- Use 90° angle braces to secure the cross braces to the arches. Pre-drill the holes to prevent splitting and to make assembly easier.
Secure the Frame
- Use wood glue and screws to reinforce the joints. Place screws strategically—one on each side at the top and three underneath the middle.
- Check for alignment and stability as you assemble.
Test the Fit
- Place the frame in the intended location to ensure it fits well and adjusts to the landscape. Make necessary adjustments before proceeding.
Step 3: Installing the Decking Slats
The decking slats build the walking surface of your bridge. Even spacing ensures a professional appearance and durability.
Cut the Decking Slats
- Trim the 2400mm decking planks into 800mm pieces, leaving a slight overhang for a rustic aesthetic.
- Sand the edges of each slat for a smooth finish.
Position the Slats
- Place the slats across the frame, leaving small gaps for water drainage and airflow. Use a decking spacer for consistent spacing.
Pre-Drill and Secure
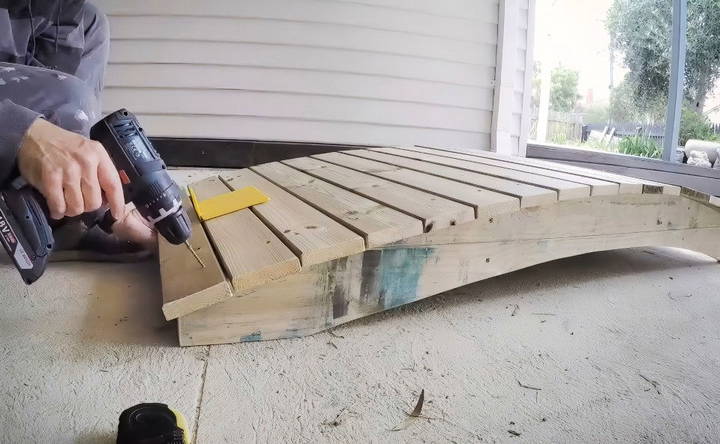
- Pre-drill holes to prevent the decking wood from splitting, then secure the slats using decking screws.
- Start with a single screw on each side of each slat to allow for adjustments. Once all slats are in place and aligned, add the remaining screws.
Step 4: Finishing Touches
With the basic structure complete, enhance the appearance and longevity of your bridge with these final steps.
Paint or Stain
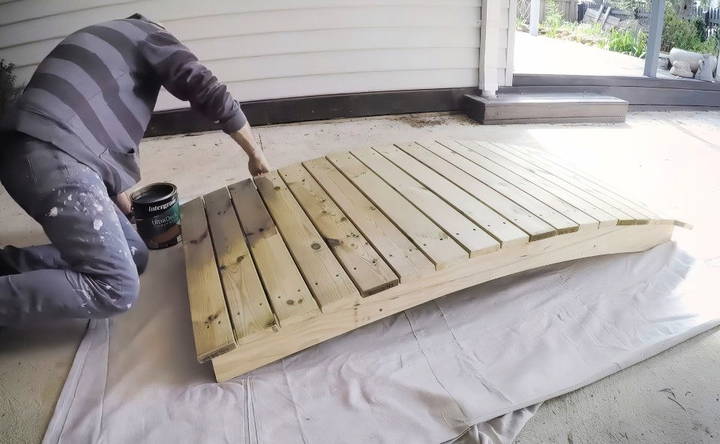
- Apply a suitable paint or stain to protect the wood from weathering. Pre-treat the wood for better absorption and durability.
- Focus on the visible areas, as staining the underside isn't necessary unless the bridge spans over water.
Position the Bridge
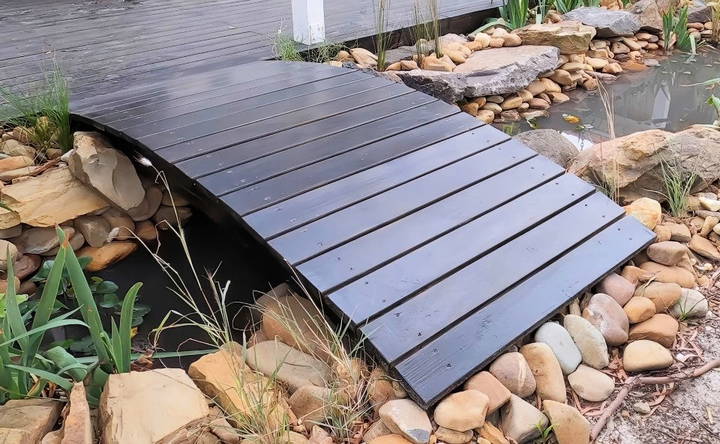
- Set the bridge in its final location. Adjust surrounding rocks or soil to ensure a natural fit and seamless integration with the landscape.
Landscaping
- Add decorative elements such as native grasses, shrubs, or flowers around the bridge to blend it into the environment.
- Consider making a small habitat underneath with rocks and soft soil for local wildlife like frogs.
Pro Tips for Success
- Pre-drill Everything: Avoid splitting the wood by pre-drilling all holes, especially for decking screws.
- Measure Twice, Cut Once: Double-check all measurements before cutting to prevent errors.
- Adapt the Design: Adjust dimensions and curves to suit your specific garden or pond layout.
- Rustic vs. Polished: Decide on the aesthetic you want—leave edges slightly uneven for a handcrafted look, or trim them for a more polished appearance.
Maintenance and Care
To ensure your garden bridge remains a beautiful feature for years to come, follow these maintenance tips:
- Inspect Annually: Check for loose screws, warping, or rot.
- Reapply Stain: Refresh the stain or paint every few years to maintain weather resistance.
- Clean Regularly: Sweep off debris and clean the bridge periodically to prevent buildup of dirt and moisture.
Why Build Your Own Garden Bridge?
Building your own garden bridge is not only cost-effective but also immensely satisfying. You'll add a unique, personalized touch to your outdoor space and gain a valuable DIY skill. Plus, you can customize the bridge to match your garden's design and dimensions perfectly.
Whether spanning a pond, stream, or simply adding a decorative feature, your DIY arched garden bridge is sure to become a standout element in your landscape. With basic tools, readily available materials, and a little effort, you can build a masterpiece that enhances both functionality and beauty.
So, gather your tools, roll up your sleeves, and get started on this rewarding project!
FAQs About DIY Garden Bridge
Explore the FAQs about DIY garden bridge to find tips, materials, and step-by-step guidance for making your perfect garden pathway.
For longer spans, consider using taller beams or adding extra support underneath to prevent the bridge from sagging. You might also test the wood’s flex at your local lumber yard before deciding.
Yes, a circular saw or a hand saw can be used in place of a jigsaw or drop saw. You may need to spend more time cutting curves and ensure precision.
Use a flexible material, like a garden hose or bendable strip of wood, to trace a smooth, even curve. Mark the curve at regular intervals (e.g., quarter, half, three-quarters) for symmetry.
Yes, using wider beams (e.g., 8–10 inches) will allow for a taller arch. Ensure that the wood can handle the increased stress from the steeper curve.
Smooth decking can still offer good traction if installed correctly. If extra safety is needed, consider adding anti-slip strips or using textured outdoor paint.
Adjust the length of one side of the arch to accommodate uneven terrain. This can be done by trimming or adding height to the beams during assembly.
Apply a pre-stain wood conditioner to prepare the wood surface. Allow extra drying time between coats to build a uniform finish.
While angle braces add stability, you can reinforce joints with dowels or pocket screws if braces are unavailable. Ensure all joints are glued and tightly secured.
Native grasses, purple irises, or water plants thrive near moisture and complement the bridge. Choose plants suited to your climate for longevity.
The bridge should be at least 4 inches off the ground at its highest point. Adjust based on aesthetics and practical needs, like allowing water flow underneath.
Yes, reclaimed wood works well, but inspect it for rot, cracks, or pests. Sand thoroughly and treat with wood preservative before use.
Use a small block of wood or another slat as a temporary guide between each board while attaching them to the frame. This ensures consistent gaps.
Absolutely. Adjust the width of the cross braces and decking slats to match the desired width, ensuring structural integrity with appropriately sized beams.
Grooves typically face down for airflow and moisture prevention, but some people prefer them up for added traction. Choose based on your preference and safety needs.


