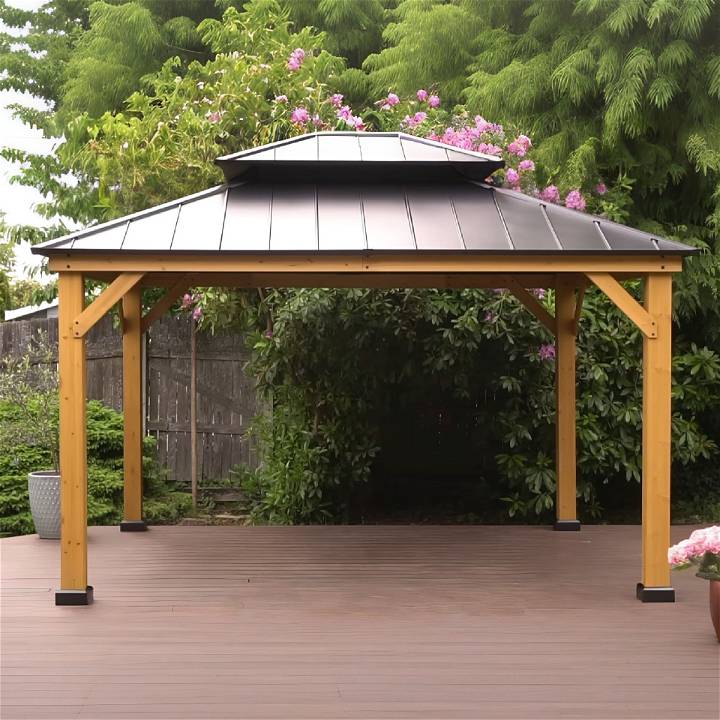
Building something from scratch is always an adventure, but sometimes, the convenience of a kit just cannot be beaten. This was exactly my thought when I decided to erect an 11-foot by 13-foot gazebo in my backyard. The gorgeous and sturdy steel gazebo from Sunjoy, which was over 400 pounds, arrived directly at my doorstep, saving me from the logistical nightmare of transporting such an enormous package myself. Sunjoy, being the sponsor and providing a generous discount, was just the cherry on top. Here's how I managed to build this stunning structure in just a day.
Pre-Assembly Checks and Preparation
Unboxing and inventory were my first steps. Ensuring all parts were present (and undamaged) was crucial. This DIY gazebo kit had numerous pieces, all impressively finished with a powder coating for rust resistance and longevity. Going through the checklist provided was reassuring; everything was accounted for.
Materials and Tools You Need
- Gazebo Kit from Sunjoy
- Basic Hand Tools (Wrench, Screwdriver)
- Power Drill
- Level
- Ladder
- Tape Measure
- A Helping Hand or Two
Why Each is Needed: The gazebo kit is, of course, your starting point. The hand tools, power drill, and level ensure that everything is assembled correctly and is perfectly aligned. The ladder is necessary for the height work, while the tape measure is essential for maintaining the structure's dimensions. Lastly, an extra pair of hands can make the process much smoother and quicker.
Step by Step Instructions
Learn how to build a DIY gazebo with our step-by-step instructions. From laying the foundation to raising the roof, we've got you covered.
Step 1: Laying the Foundation
Starting from the ground up, attaching the post bases to the posts was the initial step. It was essential to pay attention to the details here; getting the foundation right would set the tone for the entire assembly. I referred to the manual diligently, ensuring the correct fasteners (marked as EE) were used.
Step 2: Erecting the Support Beams
With the posts in place, the next step was to build the framework by connecting the beams. This DIY gazebo design smartly uses a two-beam system for enhanced stability and aesthetics. Assembling these with care and making sure they were level was time-consuming but satisfying. Pre-drilled and recessed holes were a massive help here.
Step 3: Securing the Structure
Adding the middle beam connectors was next, laying the groundwork for the roof. Pre-drilling was only necessary in a couple of spots, showing the kit's thoughtful design. Precise measurements here ensured the gazebo would be square and stable.
Step 4: Raising the Roof
The most visually rewarding part was installing the roof frames and panels. The two-tiered roof system wasn't just for looks; it promised better airflow and natural light. Standing on the ladder and securing the metal frames overhead, I couldn't help but admire the engineering that went into this kit. Every piece fit seamlessly.
Step 5: The Finishing Touches
Lastly, installing the roof panels and ensuring all connections were tight gave me a sense of accomplishment. This was the final step, and seeing the gazebo come together was truly rewarding. While it did take careful planning and a bit of muscle to get the upper roofline panels in place, the result was worth every effort.
Tips and Tricks for a Smooth Build
- Read the Manual First: Understanding the assembly process before starting saves time and headaches.
- Organize Your Workspace: Keeping the hardware and parts organized can significantly speed up the process.
- Take Your Time: While it's marketed as a one-day build, don't rush. Quality assembly takes time, especially if you aim for perfection.
- Safety First: Always use a sturdy ladder for the high parts and wear protective gear.
Customization Ideas for Your DIY Gazebo
Building a gazebo that reflects your personal style and meets your functional needs can be a fulfilling project. Here are some ideas to help you customize your gazebo, making it a unique and enjoyable addition to your outdoor space.
Choose a Theme
Start by deciding on a theme that resonates with your personal taste. Whether it's a rustic retreat, a modern minimalist structure, or a tropical paradise, your theme will guide all your customization decisions.
Roofing Options
The roof of your gazebo not only provides shade and protection from the elements but also adds to the overall aesthetic appeal. Consider these options:
- Traditional Shingles: Match your home's roofing for a cohesive look.
- Thatched Roof: For a tropical vibe, a thatched roof can provide an exotic touch.
- Transparent Panels: Polycarbonate roofing allows sunlight while protecting from rain.
Decorative Details
Adding decorative elements can transform your gazebo from a basic structure to a standout feature in your garden.
- Trim Work: Elegant trims can add character to your gazebo.
- Brackets and Corbels: These can be both functional and decorative, enhancing the gazebo's architecture.
- Paint or Stain: Choose colors or stains that complement your home and garden.
Built-in Seating
Incorporate seating into your gazebo's design for comfort and convenience.
- Benches: Built-in benches around the perimeter provide ample seating.
- Swing Seats: For a playful touch, add a swing seat or two.
Lighting and Electrical
Proper lighting can build a warm and inviting atmosphere.
- Fairy Lights: String lights around the roof or posts for a magical effect.
- Solar Lights: Eco-friendly and easy to install, solar lights can illuminate pathways to and around the gazebo.
- Electrical Outlets: Consider wiring your gazebo for electrical outlets to use with lights, fans, or entertainment systems.
Landscaping
Integrate your gazebo into the surrounding landscape for a natural look.
- Climbing Plants: Train vines or climbing flowers to grow up the posts.
- Garden Beds: Surround your gazebo with flower beds or shrubs.
Personal Touches
Finally, add personal touches that make the space truly yours.
- Cushions and Throws: Comfortable cushions and throws can add color and comfort.
- Hanging Plants: Bring life and freshness with a variety of hanging plants.
- Outdoor Rugs: Define the space and add warmth with an outdoor rug.
By customizing your gazebo, you'll make it functional and uniquely reflective of your style. Plan wisely, think practically, and most of all, have fun! Your gazebo will be a stunning showcase of your creativity and hard work. Enjoy your new outdoor retreat!
DIY Gazebo FAQs
Discover all you need to know about building a DIY gazebo with our comprehensive FAQs. Get expert tips, advice, and step-by-step guides now!
What materials do I need to build a gazebo?
To build a gazebo, you will need materials such as pressure-treated wood, vinyl, steel, or aluminum for the structure. For roofing, options include asphalt shingles, rubber slates, or metal roofing. The floor can be made from wood, composite, or PVC decking. You'll also require tools like a drill, hammer, pliers, spirit level, tape measure, marker pen, saw, post-hole digger, nails, screws, and a step ladder. Remember to use safety gloves and glasses for protection.
How do I design my gazebo?
Start by deciding on the size, shape, and style of your gazebo. Popular sizes are 8x8, 10x10, and 12x12 feet, and common shapes include square, round, and octagonal. You can find free plans online or purchase a gazebo kit that comes with pre-cut and pre-drilled hardware. Make sure to build a detailed plan, budget, and schedule before you begin.
Do I need a permit to build a gazebo?
It's essential to check local laws as a building permit may be required for gazebo construction in your area. Contact your local authorities and utility companies to ensure you're compliant with regulations and to avoid damaging underground pipes or wires.
How can I customize my gazebo?
Customization can include adding decorative elements, lighting, grill accessory storage, wine glass racks, or built-in coolers. You can also choose different materials and colors to match your personal style and the surrounding landscape.
How do I maintain my gazebo?
Regular maintenance will keep your gazebo in good condition. This includes inspecting and repairing any damaged parts, cleaning the structure, repainting or re-staining wood surfaces, and checking for rust on metal parts. Additionally, ensure that the roof is free from debris and the drainage is working correctly to prevent water damage.
Final Thoughts
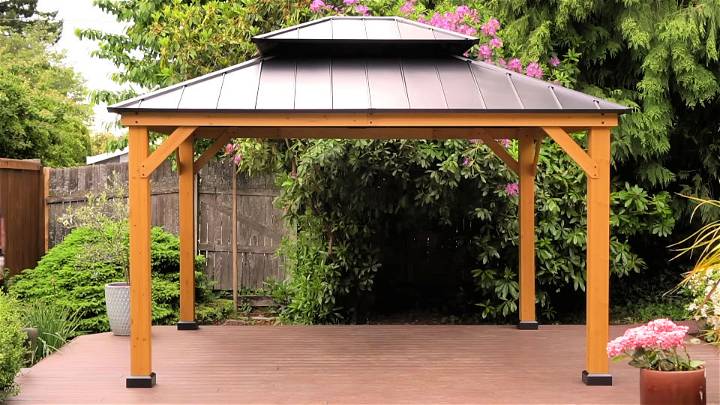
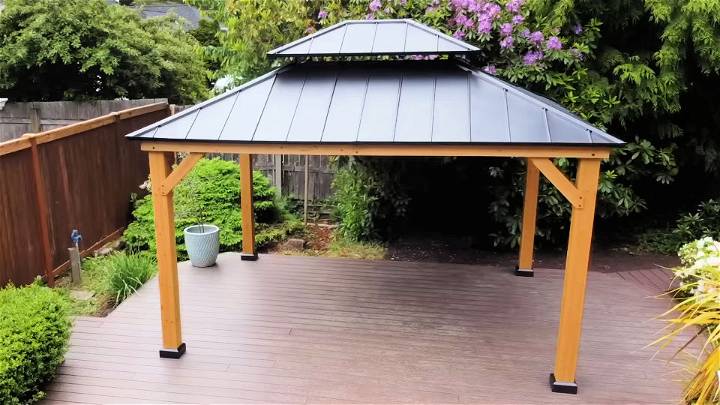
Building this Sunjoy gazebo was an immensely satisfying project. It wasn't just about following instructions; it was about making a beautiful, functional space in my backyard. The structure, now standing proudly, offers a luxurious shade and a perfect spot for outdoor gatherings, regardless of the weather.
This project did indeed take one whole day, stretching from morning to evening, attributed partly to my meticulous nature and partly to the solo filming process. However, for someone not documenting every step, this could very well be a comfortable one-day project, especially with a partner.
To anyone considering this DIY project, go for it. The quality of Sunjoy's DIY gazebo kit, combined with the detailed instructions and my personal experience shared here, should set you up for success. Remember, every bolt tightened, every beam lifted, brings you one step closer to that perfect backyard escape. Happy building!


