Building a DIY green screen can be simple and affordable, perfect for enhancing your video projects. Whether you're interested in filmmaking, streaming, or making fun photography backgrounds, a green screen allows for seamless and professional-looking effects. Learn how to make a green screen using easily available materials without spending too much. This guide will help you understand the essentials and get started quickly.
This tutorial covers what you need, from choosing the right fabrics to setting up your green screen. We will guide you through each step, ensuring you achieve the best results for your videos or photos. Stay with us for detailed instructions on making your own DIY green screen, and start transforming your media projects today.
Explore the next section to get a deeper understanding of materials and setup processes.
Materials You'll Need
Building a green screen at home is simple, but you must have the right materials:
- Green or Blue Cloth/Fabric: The backdrop is your green screen's most crucial element. Green is more commonly used because it's less likely to match skin tones and clothing.
- Camera: Any camera that can shoot video will work.
- Lights: Proper lighting is essential to avoid shadows, which can ruin the effect.
- Video Editing Software: We recommend Camtasia, but any software capable of removing a color will do.
Step by Step Instructions
Learn how to build a DIY green screen with step-by-step instructions, from selecting the right background to filming and editing your video with Camtasia.
Step 1: Getting the Right Background
Discover why a green background is ideal. Learn the benefits and tips for choosing the right green backdrop for your project.
Why Green?
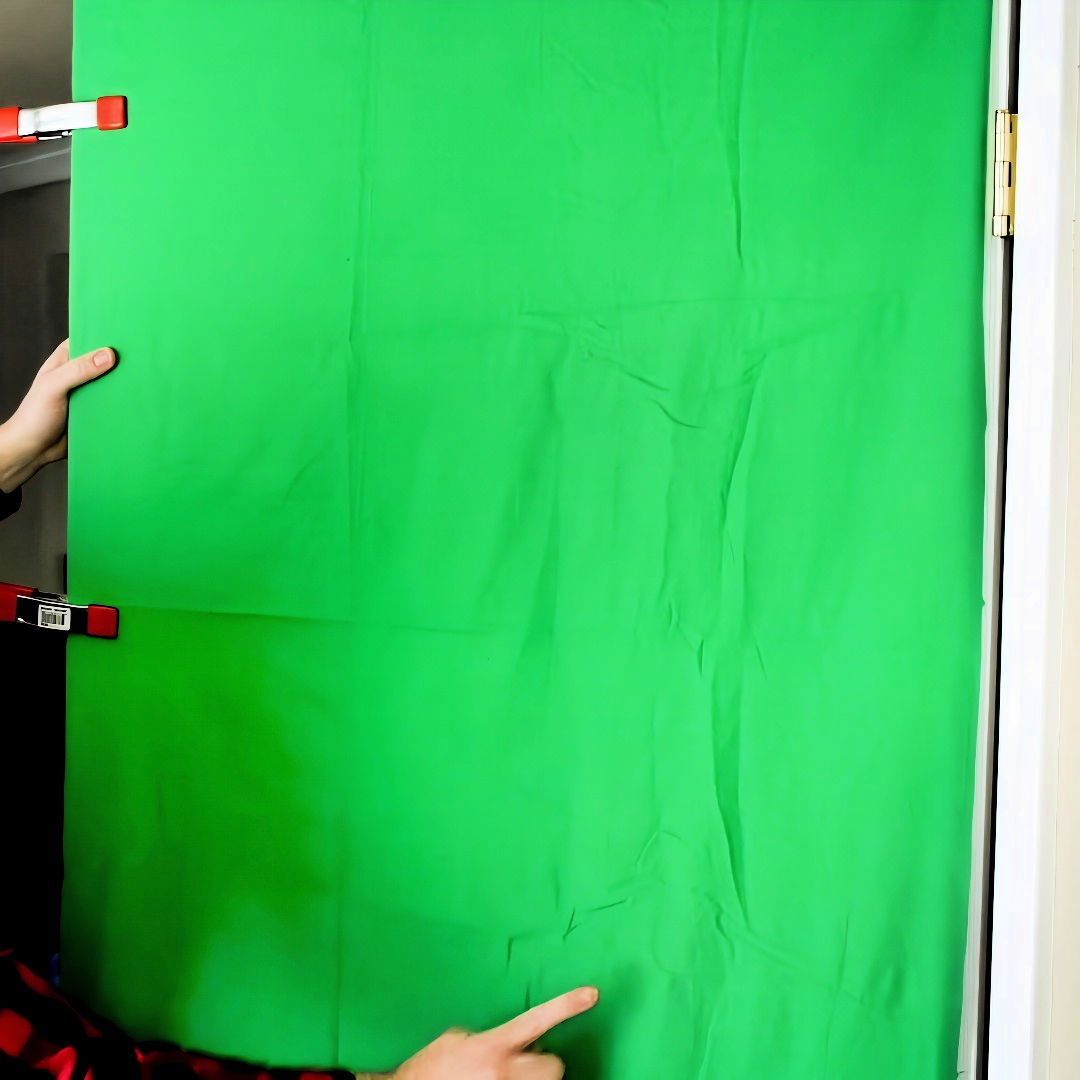
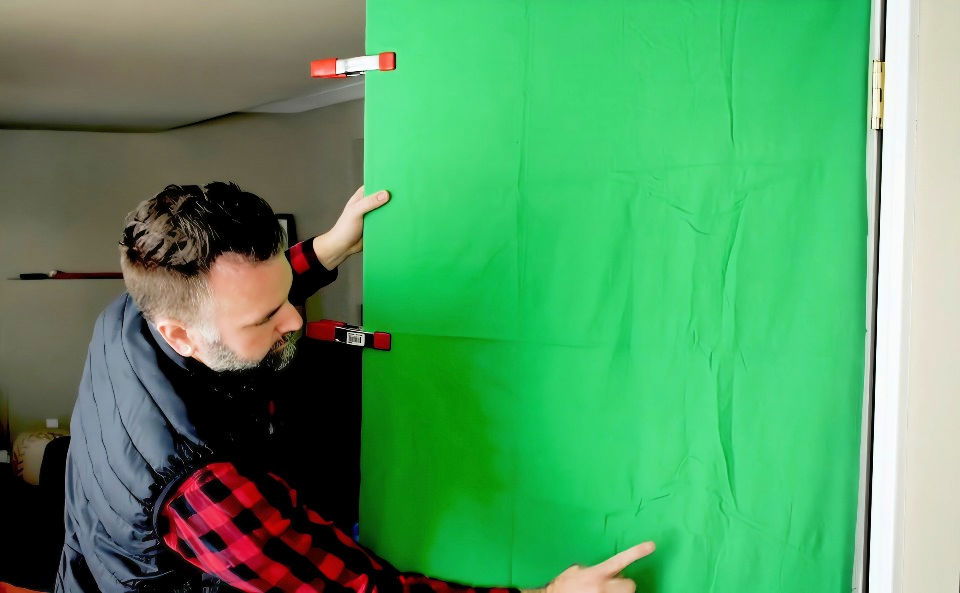
A green screen works better than other colors because it doesn't usually match the subjects' skin tones. Blue screens are also an option but can clash with blue clothing, which is more common than green. You can use a piece of green cloth, a collapsible green screen panel, or even a green poster board.
- Tip: Ensure the screen is a bright, even shade of green. Wrinkles and irregularities in the fabric can cause shadows and color variations, making it harder to remove later in the editing process.
Step 2: Setting Up the Lighting
Discover how to master setting up the lighting with essential tips on proper lighting, three-point lighting for the subject, and green screen lighting.
Importance of Proper Lighting
Shadows are the enemy of green-screen videos. The more evenly lit your green screen is, the easier it will be to remove the background color later. Here is how to achieve optimal lighting:
Three-Point Lighting for the Subject:
- Key Light: The main light that focuses on the subject.
- Fill Light: Softens the shadows buildd by the Key Light.
- Back Light (Hair Light): Separates the subject from the background.
Lighting the Green Screen:
- It should have its own set of lights.
- Light it separately from your subject.
- Make sure there is minimal shadowing.
- The subject should stand at least six feet away from the green screen to avoid shadows and green spills (reflection).
- Tip: Keeping your hands close to your body may prevent parts of your arm or hand from being cut off in the final video.
Step 3: Filming Your Video
Now that your background and lighting are set up, it's time to film. Make sure everything is well-lit and there's enough distance between the subject and the green screen. Shoot your video as you normally would.
Step 4: Editing Your Video with Camtasia
Master video editing with Camtasia! Learn to remove green screens, use the color picker, and add virtual backgrounds for professional results.
Removing the Green Screen
- Upload Your Video: Add your video to the timeline in Camtasia.
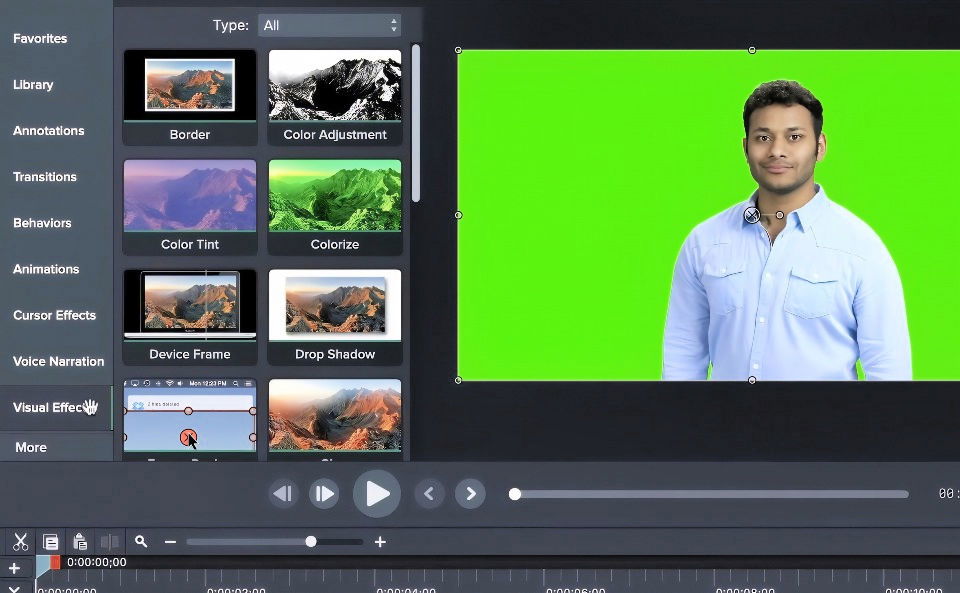
- Apply Visual Effects:
- Select "Visual Effects" from the left sidebar.
- Drag the "Remove a Color" effect onto your video clip.
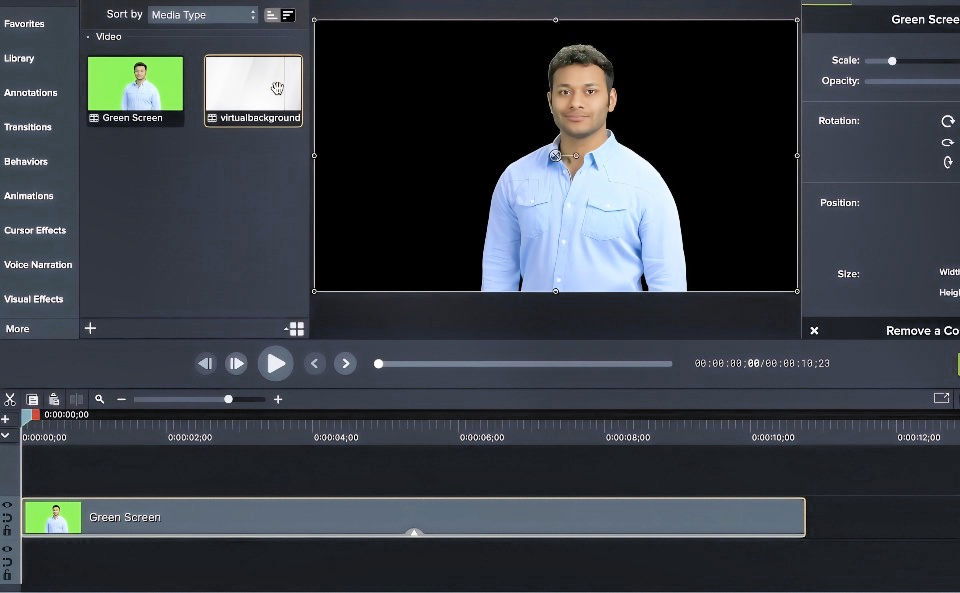
Color Picker:
- In the properties panel, use the color picker to select the exact green color of your background.
- Adjust the tolerance settings as needed until the background is completely removed.
- Tip: Adjusting the tolerance settings can be a bit finicky. This is why having an evenly lit green screen is critical.
Adding the Virtual Background
- Choose Your Background: Import any background graphic, stock photo, or video you want to use.
- Place Background in Timeline:
- Put the virtual background on a track beneath your green screen clip.
- Make sure it extends for the entire duration of the foreground video.
Advantages of Using Camtasia
Camtasia makes it straightforward to remove green screen backgrounds and insert virtual ones. The software's extensive library offers free backgrounds that can add a professional touch to your videos.
Advanced Lighting Techniques
Good lighting is the backbone of a great green screen effect. It's what makes your subject pop and blend seamlessly with the virtual background. Here's how to light your green screen like a pro, in simple terms.
- Even Lighting is Key: Start by ensuring your green screen is lit evenly. This means no dark spots or bright patches. Even lighting helps avoid issues when it's time to replace the green with your chosen background.
- Separate Subject and Screen: Keep your subject and the green screen on different lighting setups. This separation allows you to control the light on your subject without affecting the green screen's lighting.
- Soft Light for the Subject: Use soft, diffused light on your subject. Softboxes or diffusers are perfect for this. They help prevent harsh shadows that can complicate the editing process.
- Avoid Shadows and Reflections: Position your lights to prevent shadows on the green screen. Also, watch out for reflections, especially if your subject is wearing glasses or jewelry.
- Control Light Spill: Keep your subject a good distance from the green screen. This prevents the green from reflecting onto them, which can cause a ‘spill' that's hard to edit out.
- Use the Right Equipment: You don't need expensive gear. Even with a modest budget, you can achieve professional results. Just focus on the quality of light rather than the cost of the equipment.
Follow these tips to make your green screen footage look polished and make post-production easy. Good lighting relies on effective use, not gear.
Troubleshooting Common Issues
When working with a green screen, you might run into a few hiccups along the way. But don't worry, most of these issues have simple fixes. Here's a straightforward guide to solving some common green screen problems.
- Wrinkles and Creases: These can cause shadows and uneven keying. The solution is simple: iron or steam your green screen fabric to get a smooth surface.
- Shadows on the Screen: Shadows can ruin the magic of your green screen. Make sure there's enough distance between your subject and the screen, and use multiple light sources to eliminate shadows.
- Color Spill: This happens when the green from the screen reflects onto your subject. To avoid this, increase the distance between your subject and the screen, and adjust the lighting intensity.
- Green Clothing or Accessories: If your subject wears green, they'll disappear into the background. Make sure they wear colors that contrast with green, and avoid reflective jewelry that might cause issues.
- Damaged Green Screen: Any damage can lead to poor results. If you're using fabric, keep it in good condition. If it's a painted wall, a fresh coat of paint can do wonders.
- Uneven Lighting: Your green screen needs to be evenly lit. Use lights on either side of the screen to ensure there are no bright spots or dark patches.
By keeping these tips in mind, you'll be able to handle most of the common issues that come up with green screen filming. The key to a good green screen effect is in the details, so take the time to set up your space correctly.
FAQs About DIY Green Screen
Discover the answers to your FAQs about DIY green screen setups, including tips, materials, and troubleshooting for perfect background removal.
First, find a dark, spacious room and cover any windows to control the light. Hang your green fabric or poster board on a wall or a frame, making sure it’s stretched tight to avoid wrinkles. Light the green screen evenly with soft lighting to prevent shadows, and keep some distance between the subject and the green screen to avoid color spill.
Yes, you can build a smaller green screen setup using poster boards if you're only filming close-up shots like headshots. Just ensure the green background fills the camera frame completely behind the subject.
Use even, soft lighting to illuminate your green screen. Work lights with white cloths or diffusers on each side can help achieve this. For the subject, use a basic three-point lighting setup or adjust the lighting to match the intended background scene.
After filming, use video editing software that supports chroma keying to replace the green color with your desired background. Make sure to adjust the white balance and color temperature to match the green screen and the subject for a seamless effect.
The ideal color for a green screen is a bright green that is not too similar to clothing or skin tones. Neon green or lime green are popular choices because they are less likely to match any elements of the subject being filmed. If you're using fabric, make sure it's non-reflective to avoid light bounce-back during filming. For those with blue eyes, or who plan to wear blue, a blue screen may be a better option, but be aware of the differences in chroma keying between blue and green screens.
Conclusion
Making a DIY green screen at home is simpler than you might think. With the right materials and proper setup, you can achieve professional-looking results without expensive equipment or studio time. If you follow these steps, you'll have your green screen video ready in no time.


