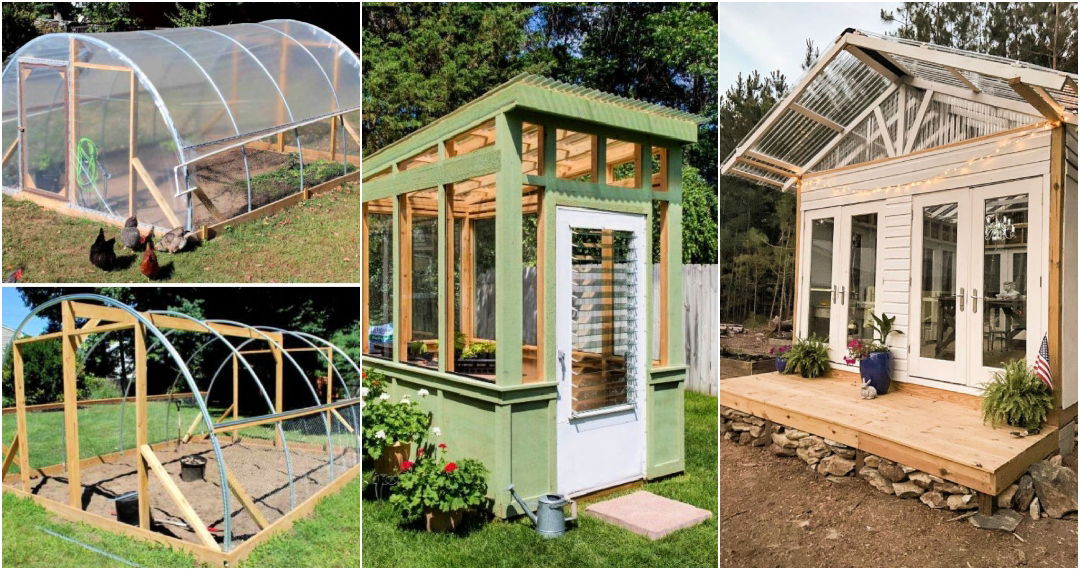
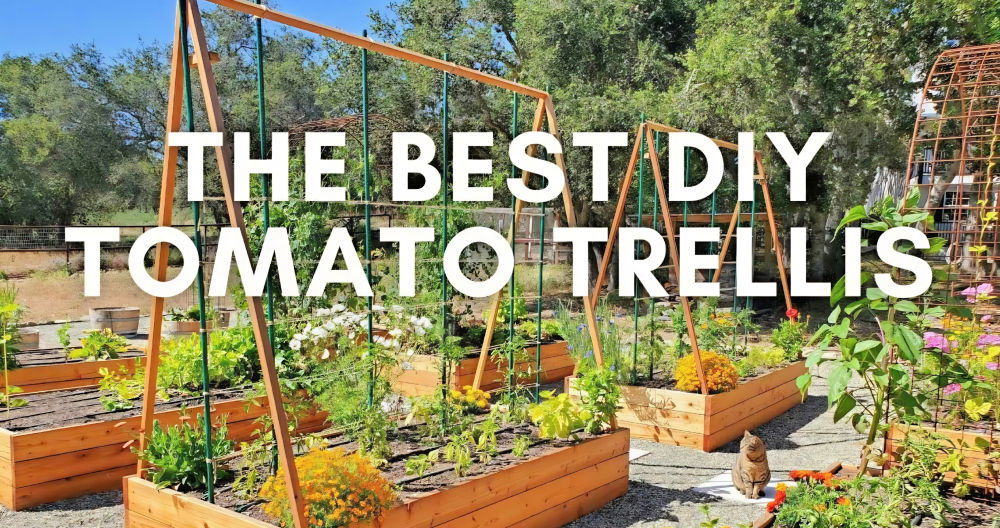
As someone who loves to tackle projects but never considered myself a gardener, the idea of building a DIY greenhouse seemed out of my league. That was until I stumbled across a video that changed my perspective. Through a mix of necessity, curiosity, and a bit of impulse, I embarked on a journey to construct my own greenhouse. Here's how I did it.
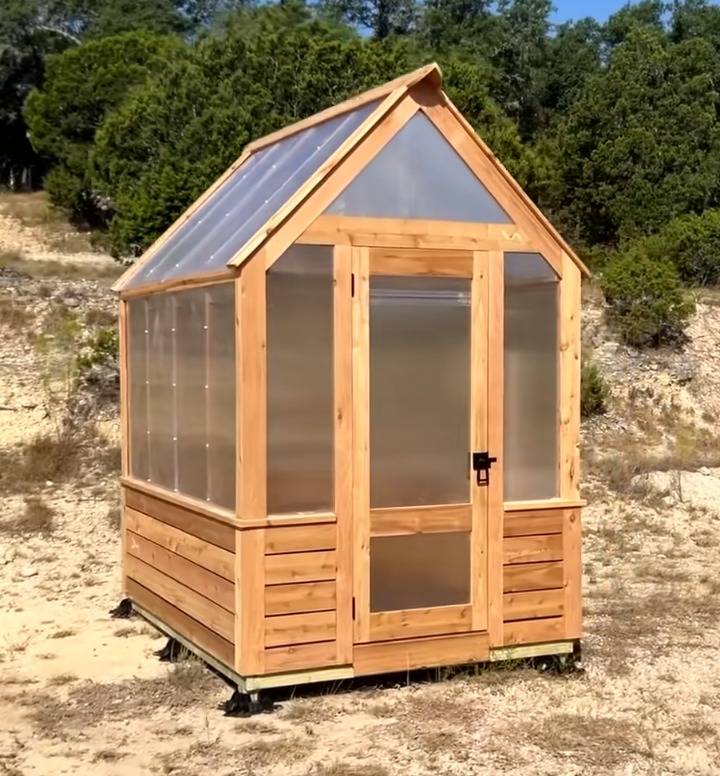
Step by Step Instructions
Learn how to build your own DIY greenhouse with step-by-step instructions for gathering materials, constructing the floor, framing, roofing, adding doors, and more!
Step 1: Gathering the Materials
First and foremost, the materials. I was keen on using pressure-treated wood for the floor due to its durability, especially since the greenhouse would be outdoors and exposed to the elements. The decision to crown the floor joists was a technique I picked up to ensure longevity in the construction. This process means placing the curved side of the joists upwards so that over time, as the wood settles, the floor remains even.
Materials needed for this step include:
- Pressure-treated wood, for its resistance to rot and termites.
- Battery-operated nailer or screws, depending on what tools you have available.
- Drill and drill bits, for pre-drilling holes for screws.
Step 2: Constructing the Floor
Building the floor was straightforward. After assembling the frame and ensuring it was square, I opted for high-end synthetic material for the decking. Although not a conventional choice for a greenhouse, I decided to use materials I already had, underscoring the sustainability aspect of this project. Pressure washing these boards brought them back to life, making them suitable for the next phase.
Materials needed for this step include:
- Synthetic deck boards, for their durability and resistance to moisture.
- Stainless steel screws, to prevent rust and corrosion.
- Pressure washer, to clean and prep the materials.
Step 3: The Framing
The trusses and framing were a bit challenging due to the precision required. Utilizing the floor as a jig setup made the process manageable, although I could see how having an extra pair of hands could simplify this step. Using a combination of the video tutorial and some free templates, I constructed the trusses and attached the gussets. This required careful measurement and an eye for detail but proved to be a rewarding part of the project.
Materials needed for this step include:
- Wood for trusses and framing, cut to specific lengths following the plans.
- A hammer and nails or a nail gun, for securing the trusses together.
- Gussets, to strengthen the joints of the trusses.
Step 4: Squaring and Decking
Ensuring the frame was square before applying the decking was crucial. An uneven frame would lead to issues down the line, so I paid particular attention to this step. After securing the frame, I proceeded to apply the decking, keeping in mind the importance of using stainless steel screws for their longevity.
Step 5: Roof and Walls
Choosing the right roofing material was essential. I went with polycarbonate panels for their lightweight, durability, and insulation properties. Cutting and installing these panels required precision, but the process was straightforward, thanks in part to the clear instructions and personal tips found online.
Materials needed for this step include:
- Polycarbonate panels, for their insulation and durability.
- H-channel, to join panels together securely.
- Screws and a drill, for attaching the panels to the frame.
Step 6: Adding the Doors and Ventilation
The greenhouse needed proper ventilation to regulate temperature and humidity. Installing vents and constructing a stable door that could withstand the elements was my next challenge. I opted for a simple yet effective design for the door, ensuring it had a tight fit to keep out unwanted pests.
Materials needed for this step include:
- Wood and hardware for the door, to ensure a sturdy and durable entryway.
- Vents, crucial for airflow and temperature control within the greenhouse.
- Sealant and caulking, to weatherproof the door and vents.
Overcoming Challenges
The most significant challenge was moving the greenhouse onto its final site. Despite its size and the heat, with a little ingenuity and a lot of effort, I successfully repositioned the greenhouse without damaging it. This part of the project tested my resolve but ultimately proved to be a fulfilling accomplishment.
Constructing greenhouse taught me much about construction, gardening, and myself. Process was easier with guidance and advice from experienced.
Building a greenhouse is rewarding with plants, veggies, and flowers as a bonus. Patience, materials, guidance.
Climate Control and Maintenance
Maintaining a stable climate within your DIY greenhouse is crucial for the health of your plants. Here are some tips to help you regulate temperature and ensure your greenhouse thrives.
Temperature Regulation
- Ventilation: It's essential to have a good ventilation system. On hot days, vents can be opened to allow excess heat to escape. Conversely, on cooler days, they can be closed to retain warmth.
- Shade Cloths: During the peak summer months, shade cloths can be used to prevent plants from getting scorched by the intense sun.
- Heating Systems: For colder climates, consider installing a heating system. Options range from electric heaters to more sustainable ones like solar water heaters.
- Thermal Mass: Use materials like water barrels or concrete floors that absorb heat during the day and release it at night, helping to keep the temperature consistent.
Ongoing Care
- Cleaning: Regular cleaning of the greenhouse panels allows more light to reach your plants and prevents the buildup of pathogens.
- Pest Control: Monitor for pests and diseases. Introduce beneficial insects, like ladybugs, for natural pest control.
- Inspection: Regularly inspect the structure for any damage and repair it promptly to maintain the greenhouse's integrity.
Planting and Growing Tips
Choosing the right plants and understanding how to grow them effectively can make all the difference in your greenhouse gardening experience.
Seasonal Planting Guides
- Spring: Start seedlings for summer crops like tomatoes and peppers.
- Fall: Prepare for cool-season crops such as leafy greens and root vegetables.
Maximizing Space
- Vertical Gardening: Utilize vertical space with trellises or shelves to grow more plants.
- Proper Spacing: Give plants enough room to grow. This reduces competition for nutrients and helps prevent the spread of disease.
By following these tips, you'll keep your greenhouse healthy and productive with regular plant care.
Technology Integration in Greenhouses
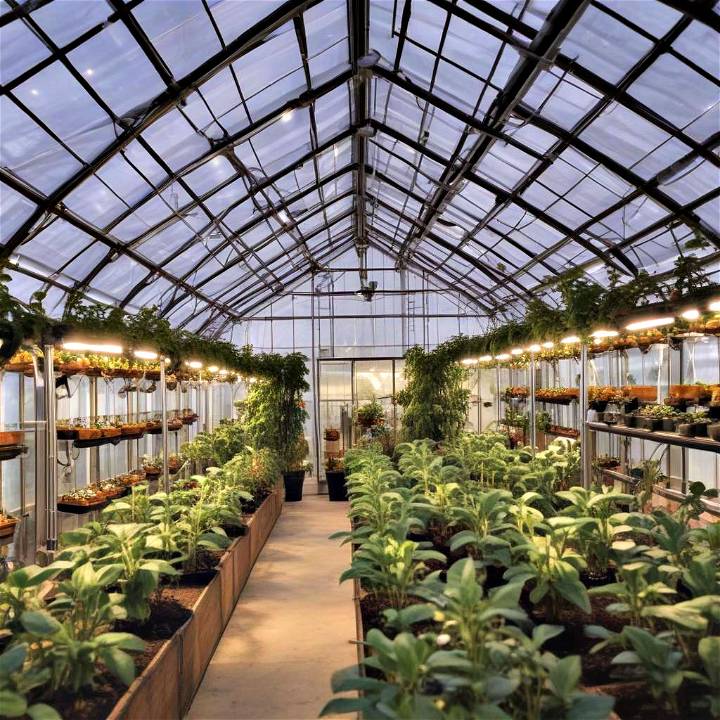
Incorporating technology into your DIY greenhouse can greatly enhance its efficiency and productivity. Here's how you can integrate modern tech to build a smart, sustainable environment for your plants.
Automation
- Automated Watering Systems: Install drip irrigation or soaker hoses that deliver water directly to the plant roots, reducing waste and ensuring consistent moisture.
- Climate Control Systems: Use thermostats and humidistats to automatically adjust the temperature and humidity levels inside the greenhouse.
- Monitoring Sensors: Place sensors to monitor soil moisture, light levels, and other environmental factors, providing real-time data to optimize plant growth.
Renewable Energy
- Solar Panels: Harness the power of the sun by installing solar panels. They can provide energy for heating, lighting, and running automated systems.
- Wind Turbines: If your location is windy, consider a small wind turbine to generate additional power.
Eco-Friendly Practices
Adopting eco-friendly practices in your greenhouse is not only good for the environment but also for your plants and your wallet.
Water Conservation
- Rainwater Harvesting: Collect rainwater from greenhouse roofs and store it in barrels for irrigation.
- Water Recycling: Set up a system to recycle water from plant trays and use it for irrigation.
Composting and Soil Health
- Composting: Build a compost bin inside or near your greenhouse to recycle plant waste into nutrient-rich soil.
- Soil Amendments: Use natural amendments like worm castings and compost to improve soil structure and fertility.
By adopting these tools, you'll improve your greenhouse productivity and sustainability. Start small and add more features over time.
FAQs About DIY Greenhouses
Learn everything you need to know about DIY greenhouses with our comprehensive FAQs. Discover tips, tricks, and guidance for building your dream greenhouse.
What is the best location for a DIY greenhouse?
The ideal location is a spot that receives ample sunlight throughout the year. It should be sheltered from strong winds and have good drainage. Proximity to water and electricity sources is also beneficial.
How do I choose the right size for my greenhouse?
Consider the space available, the types of plants you want to grow, and your budget. A smaller greenhouse is easier to heat and maintain, while a larger one provides more space for plants to grow.
What materials are needed for building a DIY greenhouse?
Common materials include framing materials like wood or PVC, glazing materials like polycarbonate or glass, and foundational materials such as concrete or gravel. Don't forget fasteners, sealants, and insulation.
Can I use recycled materials to build my greenhouse?
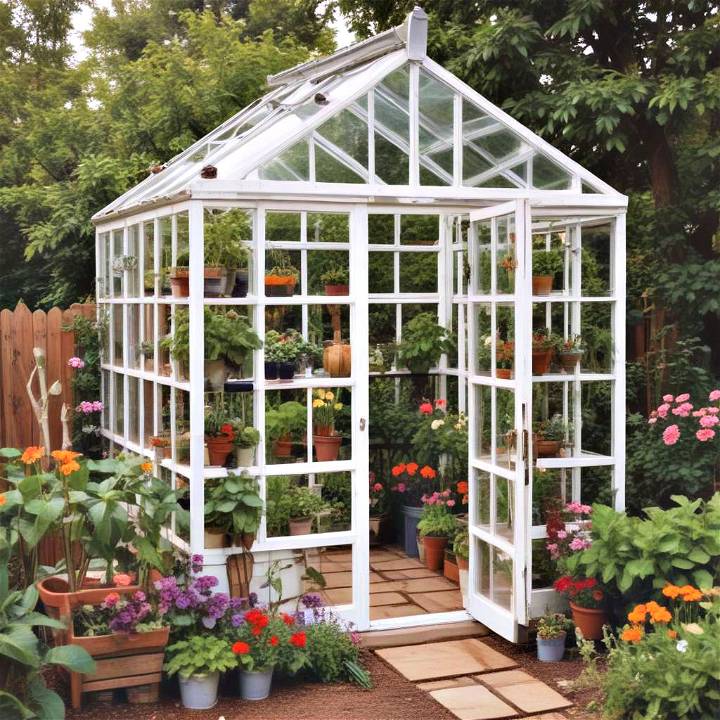
Yes, using recycled materials can be cost-effective and eco-friendly. Old windows, doors, and wood can be repurposed. Ensure the materials are sturdy and suitable for greenhouse conditions.
What are some cost-effective ways to maintain the right temperature in my greenhouse?
Utilize passive solar heating by positioning the greenhouse to maximize sun exposure. Water barrels or rocks can act as thermal mass. For cooling, proper ventilation and shade cloths are effective.
Conclusion:
Wrapping up, exploring the benefits of building your DIY greenhouse can lead to a sustainable and rewarding way to grow your plants. By incorporating simple materials and following step-by-step guides, you can build a functional and eco-friendly space for your gardening needs. Start your DIY greenhouse project today and enjoy the process of nurturing your plants in a customized and budget-friendly environment.


