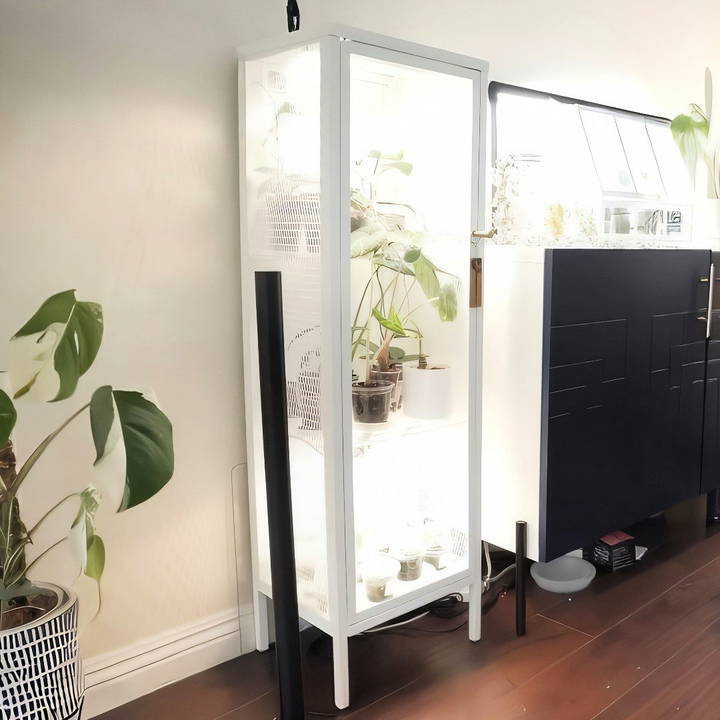
Building a DIY greenhouse cabinet is a fantastic way to cultivate humidity-loving plants indoors. Learn how to turn an IKEA Baggebo glass cabinet into a beautiful, practical greenhouse for your plants with this step-by-step guide. Perfect for beginners, this greenhouse setup is affordable, easy to assemble, and offers customizable options to suit various plant care needs.
Why Choose the IKEA Baggebo Cabinet?
The IKEA Baggebo cabinet is an affordable, compact glass cabinet that can be converted into an indoor greenhouse. Its small footprint and easy-to-build design make it an ideal choice for those looking to create a mini indoor garden without taking up much space. It’s especially useful for homes with limited outdoor gardening options or plant enthusiasts who want to keep humidity-sensitive plants thriving.
Key Benefits of the IKEA Baggebo Cabinet
- Affordable Price: Priced around $40, the Baggebo is budget-friendly.
- Compact Design: Ideal for small spaces, its minimal footprint allows it to fit into many rooms easily.
- Customizable Options: Add-ons, like grow lights, acrylic shelves, and weatherstripping, enable users to adjust the cabinet for optimal plant care.
Tools and Materials You’ll Need
To transform the IKEA Baggebo into a greenhouse, you'll need to gather a few essential tools and materials:
Basic Tools
- Drill: For creating ventilation and cord holes.
- Hole Saw: Useful for drilling into the metal cabinet.
- Weatherstripping Foam: To help retain humidity inside the cabinet.
- Grow Lights: To simulate sunlight for plants that need additional light.
- Acrylic Shelves: Provide stability and improve airflow within the cabinet.
- Computer Fans: Keep air circulating to prevent mold and fungal growth.
- Reptile Heating Pad (optional): Ideal for keeping the bottom warm for specific propagations.
- Thermometer and Hygrometer: To monitor temperature and humidity.
Additional Supplies
- Clear Enamel Spray Paint (optional): To prevent rust around the drilled holes.
- Window Sealing Kit: Helpful for closing off any mesh areas to retain humidity.
- Smart Timer: To automate lighting and fan cycles.
Step by Step Instructions
Learn how to build your own DIY greenhouse cabinet using an Ikea baggebo cabinet with easy step-by-step instructions and maintenance tips.
Step 1: Assembling the IKEA Baggebo Cabinet
Begin by following IKEA’s assembly instructions to set up the Baggebo cabinet. Ensure all parts are secured and check for any loose areas that might allow air to escape, as this could impact the humidity levels inside the greenhouse.
Step 2: Drill Holes for Cords and Ventilation
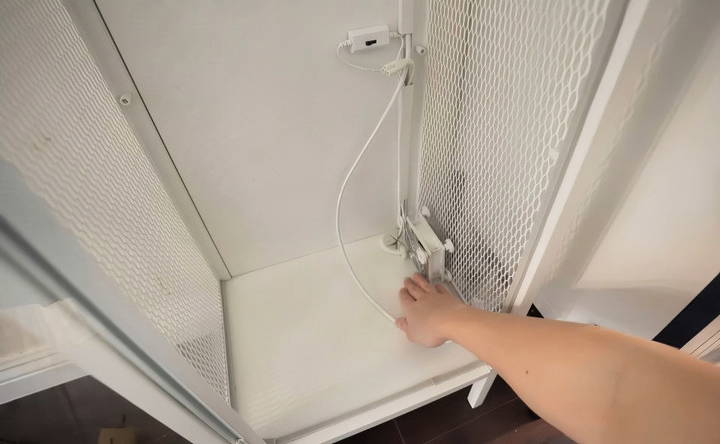
You’ll need a few holes to run cords for grow lights and fans and allow for ventilation. Here’s how to safely add these openings:
- Identify the Bottom Panel: Before assembling, decide where the back corner of the cabinet will be.
- Drill the Hole: Using a hole saw, create a hole just big enough for cords to pass through.
- Protect the Metal: Apply clear enamel spray paint to the exposed metal to prevent rusting over time.
Step 3: Adding Weatherstripping for Humidity Control
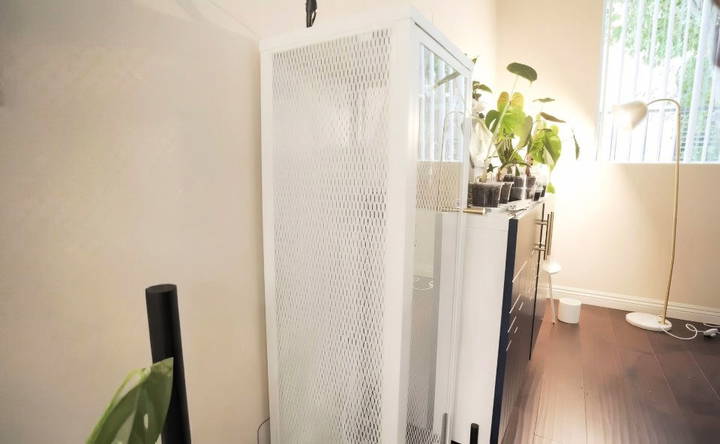
Since the Baggebo isn’t airtight, weatherstripping is essential for maintaining high humidity levels, crucial for tropical plants.
- Apply Foam Weatherstripping: Attach weatherstripping foam around the cabinet door edges, especially near gaps.
- Seal the Mesh Sides: Use a window sealing kit, which involves taping a plastic sheet to the mesh areas and shrinking it with a blow dryer. This method is affordable and effective in sealing gaps to trap humidity.
Step 4: Custom Acrylic Shelving and Pegboards
The original metal shelves work, but custom acrylic shelves offer better airflow and stability. If you're using fans, the perforated acrylic shelves let air circulate more freely.
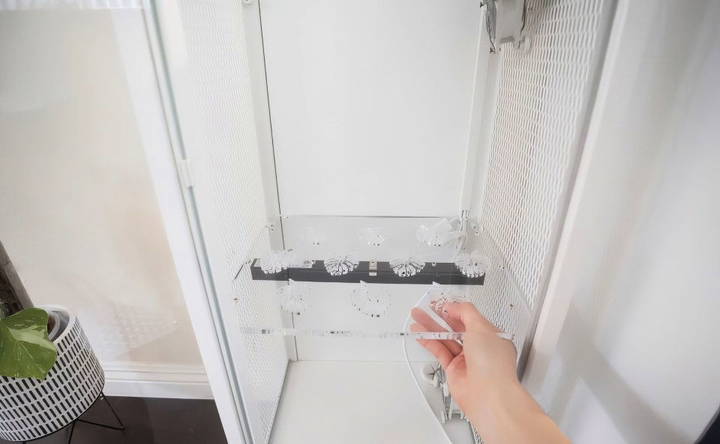
- Install Acrylic Shelves: Replace the metal shelves with acrylic ones cut to fit the cabinet. Choose designs with ventilation holes for better air circulation.
- Attach Grow Lights: Position grow lights under each shelf, using screws that fit perfectly into the shelf's pre-drilled holes. This allows you to evenly distribute light across all shelf levels.
- Add Pegboards: For added organization, consider installing pegboards on the back wall of the cabinet. These boards help attach smaller tools or planters and add style to the cabinet.
Step 5: Installing Grow Lights and Fans
Proper lighting and air circulation are crucial for healthy plants.
- Attach Grow Lights: Using the holes in the acrylic shelves, secure the grow lights to each shelf. Select a lighting type based on the plants’ needs (e.g., bright white or warm yellow light).
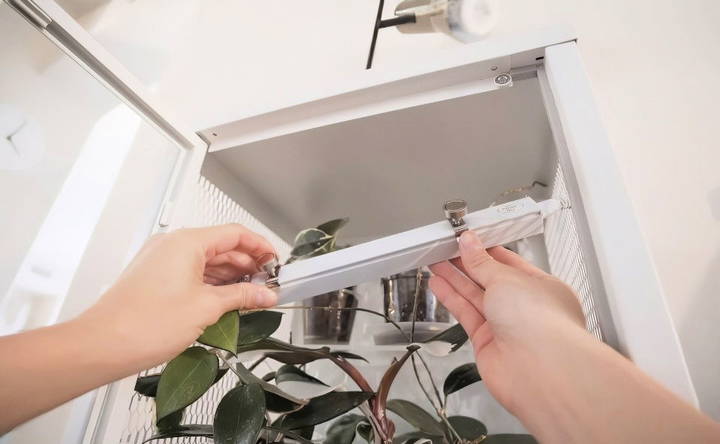
- Install Computer Fans: Position small fans in the corners to keep air circulating. These help prevent mold and maintain balanced humidity, essential in a closed environment.
Step 6: Set Up a Heating Pad (Optional)
If you have plants that require extra warmth, place a reptile heating pad under the bottom shelf. The heat will rise and help maintain a consistent temperature for plants, particularly beneficial for propagation purposes.
Step 7: Monitor Humidity and Temperature
Install a hygrometer and thermometer to track the internal climate of your greenhouse cabinet. Ideal humidity levels vary depending on plant type but aim to keep tropical plants in 60-80% humidity.
Step 8: Organize and Decorate Your Greenhouse Cabinet
Now for the fun part—arranging your plants!
- Place Humidity-Loving Plants Inside: Group plants that thrive in similar humidity levels. The top shelf often holds plants that prefer slightly lower humidity than the bottom shelf, where humidity is highest.
- Experiment with Lighting: Adjust grow lights to observe how each affects your plants' growth. Many plant owners find different colors or intensities can change growth rates and health.
- Add Decorative Elements: Customize the cabinet’s appearance with small decor pieces or additional functional items like magnetic holders for tools on the pegboard.
Maintenance Tips for Your Greenhouse Cabinet
Regular care ensures your plants thrive and your cabinet remains efficient. Here are some maintenance tips to keep everything in top shape:
- Clean the Shelves and Glass: Regularly wipe down acrylic shelves and glass to remove any mold or mildew.
- Check for Gaps in Weatherstripping: Over time, weatherstripping may need replacing. Check for any areas where humidity might escape.
- Inspect Fans and Lights: Dust and clean the fans and lights to ensure they’re working optimally.
- Adjust Temperature Settings: If you’re using a heating pad, check the temperature periodically to prevent overheating.
Pros and Considerations for the IKEA Baggebo Greenhouse Cabinet
Discover the pros and considerations of the IKEA baggebo greenhouse cabinet to optimize your indoor gardening space efficiently.
Pros
- Cost-Effective: At around $40, it’s one of the most affordable IKEA options.
- Customizable: You can modify it to fit various plant needs, from humidity levels to light placement.
- Compact: Small enough to fit in various spaces, ideal for apartments or homes with limited space.
Considerations
- Limited Space: Because of its small footprint, the Baggebo cabinet can fill up quickly if you have large or fast-growing plants.
- Additional Costs for Customizations: Adding lights, fans, and weatherstripping can increase the overall price, but these modifications significantly enhance plant care.
Additional Customization Ideas
Your greenhouse cabinet can be customized even further. Here are a few advanced tips:
- Humidity Control with a Mist Maker: If you need even higher humidity, consider a mini mist maker that automatically adds moisture to the air.
- Smart Humidity and Light Sensors: Advanced options include installing smart sensors that alert you when humidity or light levels drop below optimal levels.
- Decorative Plant Labels: For a personal touch, label your plants with decorative tags.
Final Thoughts: A Fun and Rewarding DIY Project
Building your DIY greenhouse cabinet with the IKEA Baggebo is a quick and fulfilling project, often taking just a few hours to complete. This greenhouse lets you expand your plant collection and keep tropical plants thriving year-round. Plus, the customizations are both functional and stylish, allowing you to proudly display your plants in an organized, well-lit environment.
Whether you're a plant enthusiast or looking to protect your greenery from pets and children, this greenhouse cabinet is a valuable addition to any home. With regular maintenance, this DIY greenhouse setup can support a healthy plant environment for years to come.
FAQs About DIY Greenhouse Cabinet
Discover answers to all your queries on DIY greenhouse cabinets—from construction tips to maintenance, to ensure a thriving indoor garden.
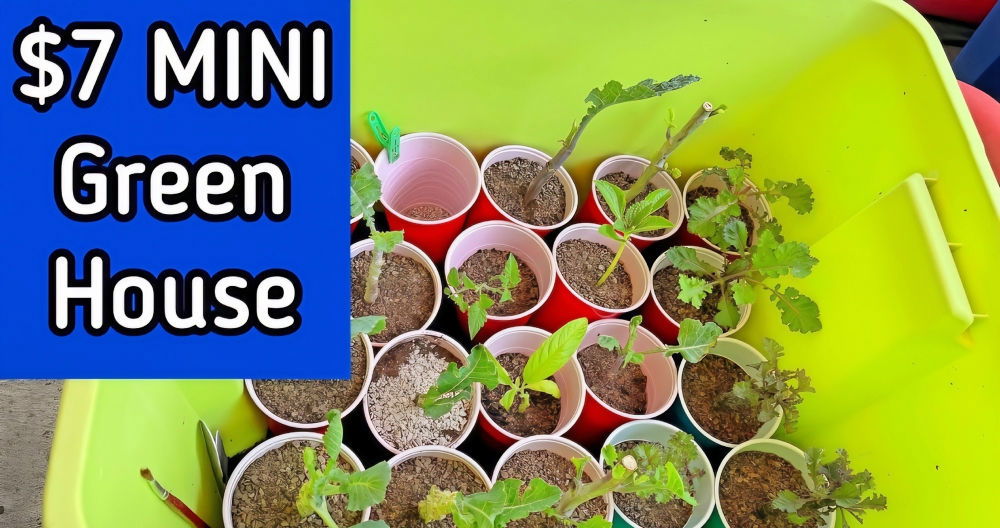
To convert a glass cabinet, focus on controlling humidity and light. Add grow lights, weatherstripping to seal gaps, and small fans to improve air circulation. For higher humidity, a heating mat or mini greenhouse cups can help propagate certain plants.
LED grow lights are highly efficient and usually low-power (around 20 watts). Look for models with a spectrum suitable for plant growth, ideally with a smart plug setup for automation.
Heating mats are typically adhesive. Stick it underneath the cabinet or inside if propagating directly. Ensure it is stable and protected from moisture for long-term use.
Leaving gaps can help ventilation, but if fully sealed, adding a small fan will circulate air and prevent mold. Magnet-attached fans are easy to install and effective for most setups.
Yes, but check the weight limits of your chosen shelf model. Pegboards can be helpful as they offer flexibility in placement and are generally sturdier than glass shelves.
Spray painting is labor-intensive and may result in overspray. Some find it worthwhile for aesthetics, but others advise against it due to the time and effort required.
Feed cords through a drilled hole at the back or bottom, then connect them to a power strip. Using a smart power strip allows for easy management and automation of lights and fans.


