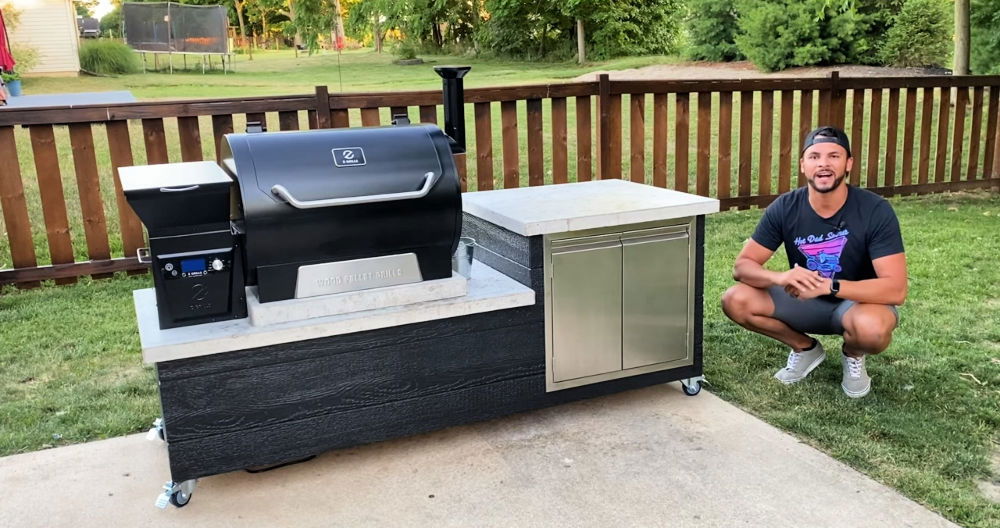
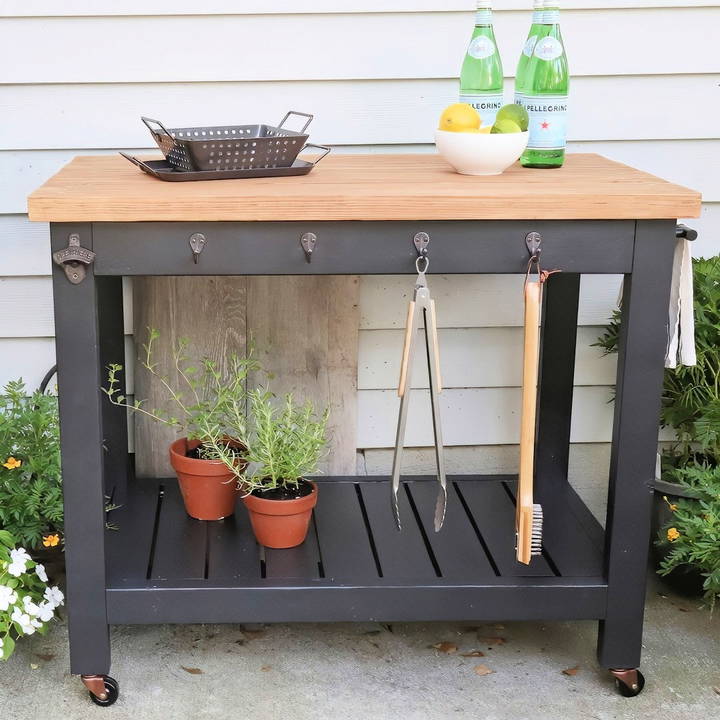
Building a DIY grill cart brings satisfaction and functionality to your grilling area, making outdoor cooking even more enjoyable. Whether you're planning to use it for entertaining guests or giving it as a personalized gift, this project offers great versatility. This complete guide will show you how to build a durable and attractive outdoor grill cart from start to finish. With detailed steps, materials, and tips for success, you'll be able to build a functional cart that serves as both a grilling station and a space for storage.
Materials and Tools You'll Need
Before you dive into the project, ensure you have all the materials and tools ready. Here's a list to help you gather everything:
Materials:
- Lumber:
- 2x3 boards (for legs and framing)
- 2x4 boards (for additional support)
- 1x4 boards (for slats on the lower shelf)
- 1x2 boards (for shelf support)
- 2x6 boards (for the top of the grill cart)
- Hardware:
- 2.5-inch Kreg screws
- 1.25-inch wood screws
- 1.25-inch brad nails
- Wood glue
- Casters (wheels for easy mobility)
- Hooks, bottle opener, towel bars (optional for added functionality)
Tools:
- Miter saw (for precise cuts)
- Kreg Jig (for building pocket holes)
- Clamp (to help with assembling)
- Brad nailer
- Drill with bits and drivers
- Sandpaper or electric sander
- Paintbrushes or sprayers for finishing
Step by Step Instructions
Build your own DIY grill cart with this easy guide! Step-by-step instructions for building the perfect outdoor cooking station.
Step 1: Cut the Lumber
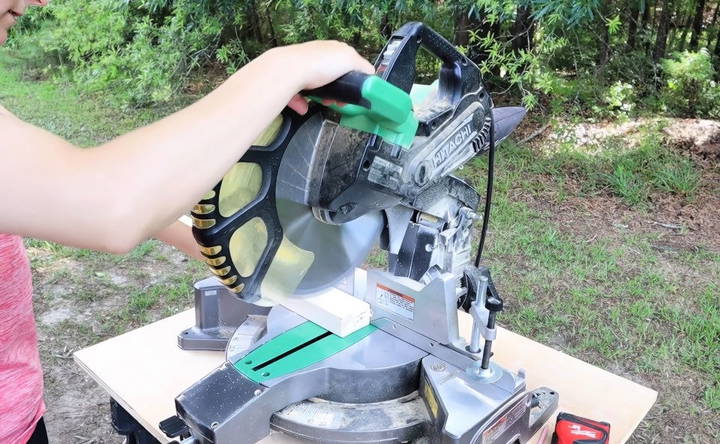
The first step is to cut all the necessary lumber pieces according to your grill cart's design. You'll be working with various sizes of lumber for the legs, shelves, and top, so make sure your measurements are accurate.
- Use a miter saw to cut your lumber.
- You can find a detailed cut list and diagram on angelameed.com to ensure precision.
Step 2: Build Pocket Holes
Pocket holes make the assembly process much easier and ensure your frame is sturdy.
- Set your Kreg Jig for 1.5-inch thick wood.
- Drill pocket holes at both ends of your 2x3 and 2x4 boards (these will be used for the front, back, and side frames).
- Make sure all pocket holes are evenly spaced and aligned.
Step 3: Build the Side Frames
To build a solid foundation for your grill cart, you'll first need to assemble the side frames.
- Measure and mark 3.5 inches from the bottom of the two 2x3 legs.
- Attach a shorter 2x3 at these marks using wood glue and 2.5-inch Kreg screws to form the base.
- Attach a 2x4 between the legs at the top, again using wood glue and screws, to complete the first side frame.
- Repeat the process for the second side frame.
Step 4: Assemble the Front and Back of the Cart
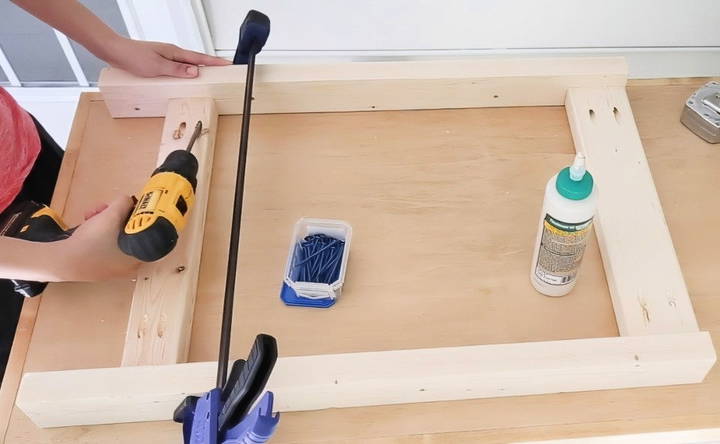
Now, it's time to bring the structure together by connecting the side frames to form the body of the cart.
- Attach a 2x4 at the top between the two side frames using 2.5-inch Kreg screws.
- Use a clamp to hold the frames in place while securing the 2x4.
- Measure and attach a 2x3 about 3.5 inches from the bottom of the legs. This piece will support the lower shelf.
- Add a 1x2 board to both sides of the cart for additional support of the lower shelf slats.
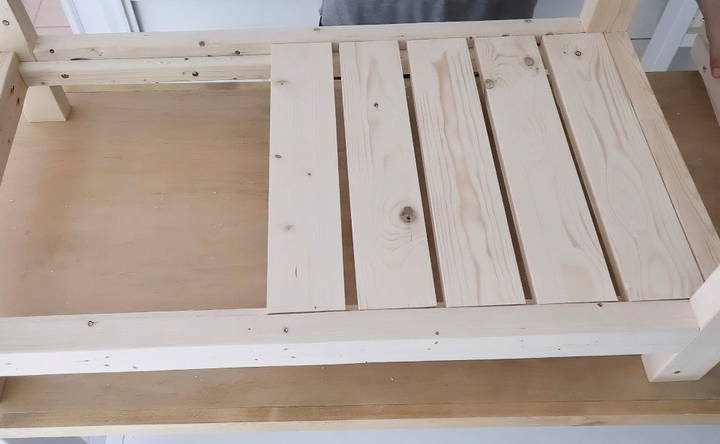
Step 5: Install the Lower Shelf Slats
The lower shelf is an essential feature for storing grilling tools, plates, or even charcoal.
- Lay the 1x4 slat boards across the 1x2 supports, spacing them about 3/8 of an inch apart for a sturdy shelf.
- Secure the slats with wood glue and brad nails using your brad nailer.
Step 6: Paint and Stain
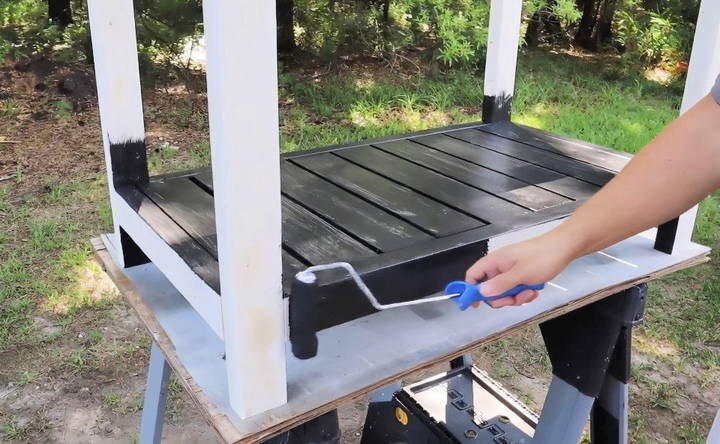
Before attaching the top, it's a good idea to finish the frame and top boards separately.
- Prime and Paint the Frame: Use an exterior-grade paint (Angela recommends Sherwin Williams' "Tricorn Black"). Apply two coats of paint to ensure durability since the cart will be used outdoors.
- Stain the Top Boards: For a natural wood look, use a semi-transparent exterior stain. Angela uses Valspar's "Pine Bark" stain, which she had leftover from previous outdoor furniture projects.
Step 7: Install the Top Boards
Now that the frame is painted and the top boards are stained, you can move on to installing the top.
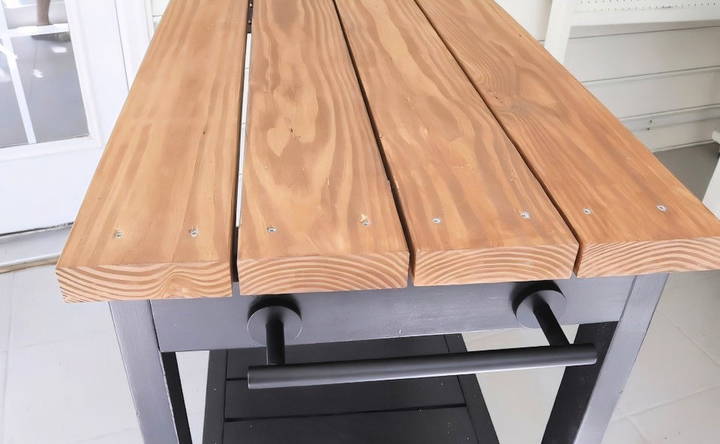
- Position the first 2x6 board on the top of the cart, leaving a 1-inch overhang on all sides.
- Clamp the board into place, and then attach it to the frame using 2.5-inch self-tapping screws.
- Leave a 1/4-inch gap between each board for aesthetic spacing and airflow. Repeat the process for the remaining boards.
- You can either leave the screw holes exposed or fill them with wood filler for a clean look. Once filled, sand down the excess and touch up the area with stain.
Step 8: Add Casters and Hardware
For maximum portability, install caster wheels on the bottom of the cart.
- Flip the cart over and attach four casters to the base, ensuring that at least two of them can lock into place for stability.
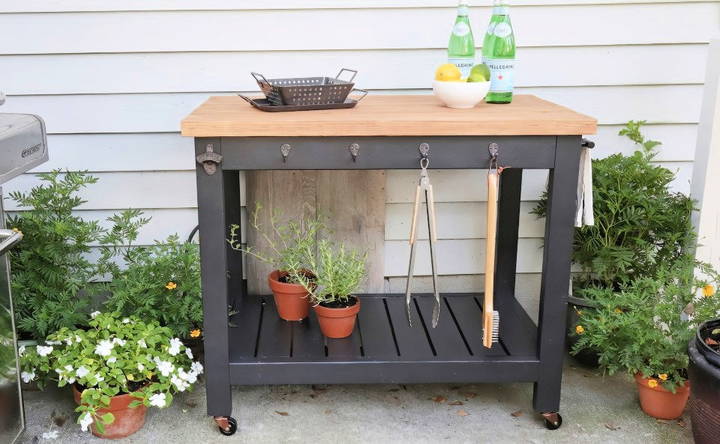
Additionally, you can add hardware such as hooks for grilling tools, a towel bar, or even a bottle opener for convenience.
Finishing Touches: Personalize Your Grill Cart
Once the grill cart is fully assembled, you can personalize it to suit your style or make it more functional for grilling. Here are a few ideas to add a unique touch:
- Hooks for Utensils: Install hooks along the sides to hang grilling tools like spatulas, tongs, and brushes.
- Towel Bar: Add a towel bar to hold your cleaning or hand towels.
- Bottle Opener: A mounted bottle opener can be a fun and practical addition, especially if you plan to entertain while grilling.
- Protective Cover: Consider adding a waterproof cover or tarp to protect your grill cart from the elements.
Tips for Success
- Choose Outdoor-Friendly Materials: When selecting materials, make sure to use pressure-treated or outdoor-grade lumber that can withstand the weather. Also, exterior paint and stain are essential for a long-lasting finish.
- Ensure Sturdy Construction: Be sure to double-check all connections and screws to ensure your cart is sturdy and safe to use.
- Plan for Portability: If you plan to move your grill cart frequently, opt for heavy-duty caster wheels, and make sure two of the wheels can lock for stability.
- Consider Storage Needs: Customize your lower shelf size and spacing to accommodate your specific grilling tools or storage requirements.
Conclusion
Building your own DIY grill cart is a fun and satisfying project that offers both functional benefits and a stylish addition to your outdoor space. Whether you're using it as a grilling station or a general outdoor cart, it provides ample storage and mobility for all your entertaining needs. By following the steps outlined above, you'll have a beautiful, durable cart that is sure to impress.
This DIY grill cart can also make a thoughtful and personalized gift, just as Angela and Brandon did for Brandon's dad. Happy grilling!
FAQs About DIY Grill Cart
Discover answers to common questions about DIY grill cart projects, including design tips, materials, and step-by-step guidance.
The project can be completed in about one day. It depends on your experience level, but many users reported finishing within this timeframe.
Pine is commonly used, as shown in the tutorial, but you can also use cedar or other weather-resistant woods. Avoid pressure-treated lumber since it will come into contact with food.
No, pressure-treated wood is not recommended for areas that come into contact with food. Instead, opt for exterior stains and sealants to protect the wood.
On average, it costs around $80-$100, depending on the price of lumber in your area. This includes lumber and hardware but excludes tools and paint.
Yes, untreated pine can work well for this project. However, applying an exterior stain and sealer is recommended to ensure the wood withstands outdoor conditions.
You can use exterior paint and stain. These products are designed for outdoor use and don’t typically require a separate sealer.
For those using the metric system, you will need to convert imperial units (inches, feet) to centimeters and meters. There are many free online tools to help with this.
Yes, many people have built this as their first DIY project. The step-by-step instructions are easy to follow, even for beginners.
Absolutely! Adding hooks, a towel bar, or even a bottle opener is a great way to make the cart more functional. Feel free to personalize it to fit your grilling needs.
Key tools include a miter saw, Kreg Jig, clamp, drill, brad nailer, and sander. Ensure you have these on hand for efficient construction.


