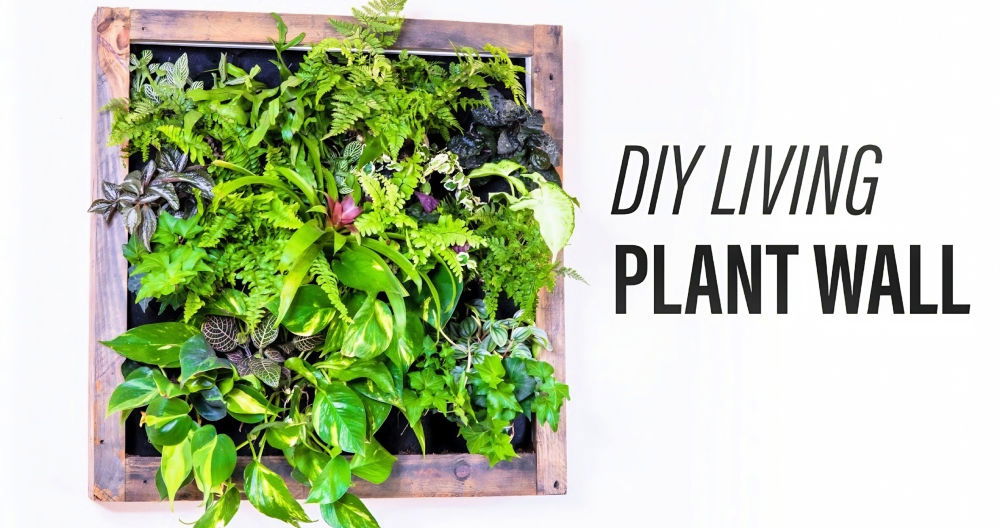
Making my own DIY grow lights was an exciting project. I wanted to enhance the growth of my indoor plants, but I didn't want to spend too much money. So, I decided to make grow lights at home. Using simple materials like LED bulbs, wires, and a timer, I was able to assemble an effective light setup cheaply.
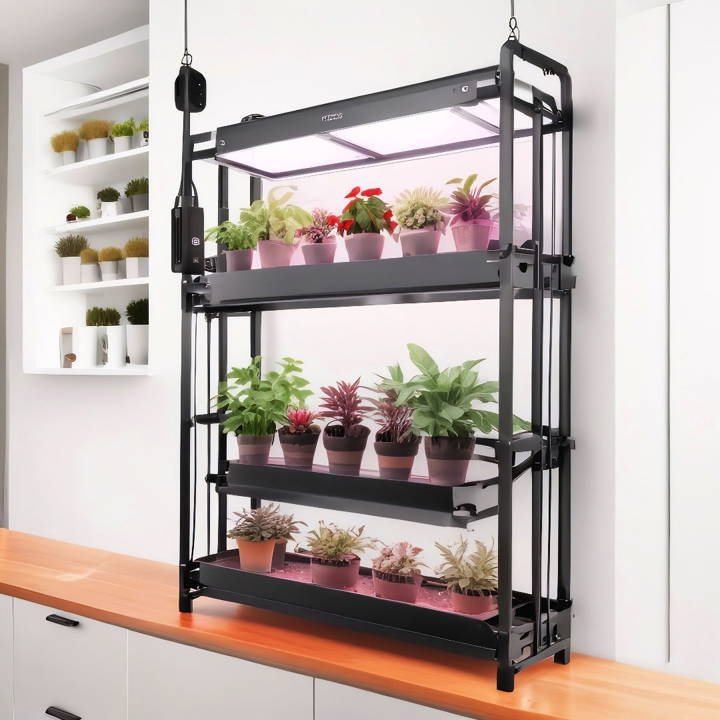
Seeing my plants thrive under the DIY grow lights was incredibly satisfying. They became greener and grew faster. Each morning, I would check on their progress and feel proud of my efforts. It made me realize how easy and rewarding making your own grow lights can be.
Go through this guide, and you'll experience the same joy and satisfaction. With straightforward steps, these tips will help you boost your plant growth efficiently and economically.
Materials You'll Need and Why
- Shelving unit: This acts as the backbone of your setup. Its height and the number of tiers should depend on how many plants you have. Adjustable shelves are a bonus for plant growth.
- Grow lights (2-3 depending on shelf size): These are essential for providing your plants with the spectrum of light they need to photosynthesize, especially in low-light conditions.
- Mounting hardware (screws & drill): Necessary for securely attaching the lights to the underside of each shelf.
- Spray paint & contact paper (optional): For those who want their grow light station to not just be functional but also aesthetically pleasing.
Step by Step Instructions
Learn how to build your own DIY grow light with our step-by-step instructions for optimal plant growth. Perfect for home gardeners and indoor plants.
Step 1: Prepping the Shelving Unit
First up, if you're not a fan of the color of your shelving unit, give it a makeover. I chose white spray paint for a clean look and added a bleach stone texture top coat for depth. Spray painting is preferred due to its quick-drying properties and ease of application, especially on areas that are tough to reach with a brush.
Step 2: Assembling the Shelving Unit
Position your shelving unit close to an outlet to avoid cable clutter later on. The flexibility of adjusting shelf heights as per plant growth makes these units perfect for this project.
Step 3: Install the Lights
Mounting the lights is perhaps the most crucial step. Here's how to do it:
- Find the Center: Determine the center of each shelf to ensure even light distribution.
- Mark and Drill: After centering the light on the shelf, mark where the mounting holes need to be, drill pilot holes, and then screw the mounts in place.
- Attach the Lights: Slide the lights into the mounted screws. The aim is for the light to cover the plants evenly, promoting growth without the legginess caused by insufficient light.
Step 4: Managing the Cables
With all the lights mounted, you'll probably face a spider web of cables. To keep things neat, link each light's power cable to the next, eventually leading to a single power source. Use zip ties or cable organizers to keep cables out of sight and mind.
Step 5: The Finishing Touches
For those shelves or panels that don't quite blend in with your decor, covering them with contact paper can add an elegant touch. Marble is my go-to for its timeless look, but feel free to choose a design that complements your space.
Step 6: Introduce Your Plants to Their New Home
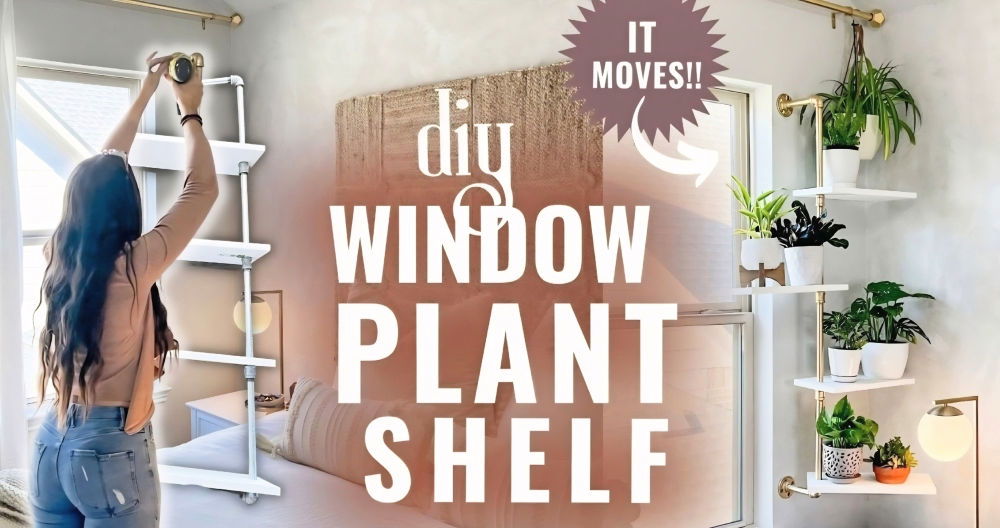
With the lights installed and the cables managed, it's time for the most satisfying step—placing your plants on the shelves. Adjust the shelf heights as necessary to accommodate different plant sizes, ensuring each one receives its fair share of light.
Real-Life Insights
Having used this DIY grow light system for over two years, I can confidently say it's been a game-changer. Not only has it saved me hundreds of dollars, but it's also provided my plants with the essential light they need to thrive, especially through the winter. The system's portability and adjustability have made it an indispensable part of my plant care routine.
Whether you're settled in your forever home or still hopping from place to place, a DIY grow light station is a practical, budget-friendly solution for ensuring your plants receive the love and light they deserve year-round.
Advanced Customization Tips
When you're ready to take your DIY grow light setup to the next level, advanced customization can help you tailor the lighting to the specific needs of your plants. Here's how you can fine-tune your system for optimal growth:
Adjusting Light Intensity
- Dimmable LEDs: Use dimmable LED lights to control the intensity. This allows you to simulate natural sunlight changes from dawn to dusk, which can benefit plant growth.
- Distance: Alter the distance between the lights and the plants. Closer lights increase intensity, which is great for seedlings, while further away can suit flowering stages.
Photoperiod Control
- Timers: Install timers to automate the light cycles. Plants need rest too, so setting a consistent light schedule mimics the natural day-night cycle and promotes healthy growth.
- Seasonal Adjustments: Change the light duration with the seasons. Longer light periods in ‘summer' can encourage growth, while shorter ‘winter' periods can help some plants flower.
Spectrum Variations
- Color Temperature: Different stages of growth may benefit from different color temperatures. Seedlings thrive under ‘cooler' blue light, while ‘warmer' red light can encourage flowering.
- Custom LED Arrays: Make your own LED array with a mix of different colored LEDs to provide a full spectrum of light that can be adjusted as needed.
Monitoring and Feedback
- Sensors: Use sensors to monitor light levels, humidity, and temperature. Adjust your setup based on real-time feedback to make the perfect environment.
- Reflective Surfaces: Increase light efficiency by adding reflective materials around your grow area to ensure plants receive light from all angles.
Maintenance and Upkeep
- Regular Checks: Perform regular checks on your lights for any signs of wear or damage. Keeping your system well-maintained ensures it runs efficiently and safely.
- Cleaning: Keep the lights clean from dust and debris, which can affect light intensity and quality.
Using these advanced tips, you can make an adaptable and effective grow light system for your plants, replicating natural conditions indoors.
Future Trends and Innovations
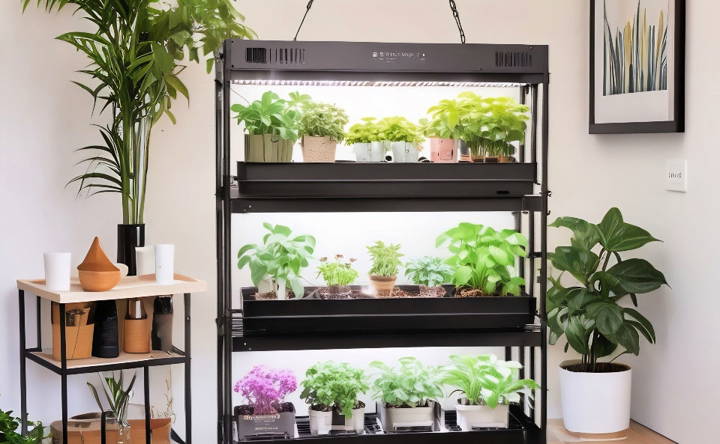
The world of indoor gardening is rapidly evolving, and with it, the technology for grow lights is advancing to meet the needs of modern farmers and hobbyists alike. Here's a look at the cutting-edge trends and innovations that are shaping the future of grow light technology:
LEDs Leading the Way
- Energy Efficiency: LED grow lights are becoming more energy-efficient, reducing electricity costs and environmental impact.
- Longevity: Expect LEDs to last longer, with some models offering 6-10 years of service compared to 2-4 years for traditional lights.
Spectrum Advancements
- Tailored Light Recipes: New LED technologies allow for customized light spectrums, catering to the specific growth stages of plants.
- Full-Spectrum LEDs: These lights mimic natural sunlight, providing a balanced spectrum for all phases of plant growth.
Smart Grow Systems
- Automation: Future grow lights will likely feature smart technology, enabling automated adjustments for light intensity and spectrum based on plant growth stages.
- Remote Monitoring: With IoT integration, growers can monitor and control their grow lights from anywhere, optimizing conditions for plant health.
Nanotechnology Integration
- Precision: Nanotechnology is expected to enhance the precision of light spectrums, allowing for targeted wavelengths that promote specific growth responses.
Vertical Farming and Urban Agriculture
- Space Efficiency: LED grow lights are ideal for vertical farming setups, maximizing space in urban environments.
- Yield Improvement: Advanced lighting can increase yields by ensuring plants receive the optimal amount of light for their needs.
Enhancing Flavors and Nutrition
- Flavor Profiles: Adjusting light spectrums can improve the flavor and nutritional content of crops, leading to tastier and healthier produce.
Eco-Friendly Solutions
- Reduced Heat Emission: Newer LEDs emit less heat, reducing the need for cooling systems and further conserving energy.
- Sustainable Materials: Research into sustainable materials for grow lights aims to reduce waste and promote recycling.
Stay informed to make smart decisions for your indoor garden, benefiting your plants, the environment, and your wallet. The future of grow lights promises efficiency and innovation in indoor horticulture.
Troubleshooting Common Issues
When it comes to DIY grow lights, encountering challenges is a part of the learning process. Here are some common issues you might face and how to resolve them:
Insufficient Light for Seedlings
- Symptom: Seedlings are tall and thin, with weak stems.
- Solution: Move the light source closer to the seedlings or increase the duration of light exposure.
Overheating
- Symptom: Leaves turning brown or drying out.
- Solution: Ensure proper ventilation and consider using LED lights that emit less heat.
Uneven Growth
- Symptom: Some plants are smaller than others.
- Solution: Rotate your plants regularly to ensure even light distribution.
Flickering Lights
- Symptom: The light flickers or doesn't stay on consistently.
- Solution: Check for loose connections and replace any faulty bulbs or wiring.
High Energy Bills
- Symptom: Your electricity costs are higher than expected.
- Solution: Switch to more energy-efficient LED bulbs and use timers to control light cycles.
Light Spectrum Issues
- Symptom: Plants are not flowering or fruiting as they should.
- Solution: Use full-spectrum LEDs or adjust the light spectrum to match the plant's growth stage.
Moisture Problems
- Symptom: Seedlings are damp or have mold growth.
- Solution: Reduce watering and improve air circulation around the plants.
Fixing these issues ensures your DIY grow light setup works and your plants thrive. Observe your plants and adjust your setup to make ideal conditions.
Legal and Safety Considerations
When making a DIY grow light system, it's crucial to consider both legal and safety aspects to ensure a secure and compliant setup. Here's what you need to know:
Legal Compliance
- Regulations: Check local regulations regarding the use of grow lights, as some areas have specific rules about the types of lights allowed.
- Electrical Standards: Ensure that all components meet national electrical standards to avoid legal issues.
Safety First
- Electrical Safety: Use components rated for the voltage and current you'll be working with. Always follow the manufacturer's instructions.
- Heat Management: LEDs emit less heat than other types of grow lights, but proper heat dissipation is still important to prevent fire hazards.
- Water Resistance: If your grow area has high humidity or any chance of water exposure, use water-resistant or waterproof components.
Installation Precautions
- Secure Mounting: Make sure that your grow lights are securely mounted and cannot fall onto the plants or into water.
- Insulation: Insulate all electrical connections properly to prevent short circuits.
Maintenance
- Regular Inspections: Periodically inspect your grow light system for any signs of damage or wear.
- Immediate Repairs: If you notice any issues, address them immediately to maintain safety and performance.
By adhering to these legal and safety considerations, you can enjoy a productive indoor garden without compromising on security or compliance. Always prioritize safety and legality when dealing with electrical DIY projects.
FAQs About DIY Grow Light
Discover essential faqs about DIY grow light setups. Learn tips, tricks, and solutions to optimize your indoor plant growth efficiently.
A DIY grow light is a homemade lighting system designed to simulate sunlight for plants grown indoors. It’s a cost-effective solution for gardeners who want to control the light exposure their plants receive, especially in regions with limited natural sunlight. Using a DIY grow light allows you to extend the growing season, start seeds indoors, and grow plants that may not thrive in your local climate.
Not all LED bulbs are suitable for plant growth. For a grow light, you need LEDs that emit a full spectrum of light, mimicking the range of light found in sunlight. Look for bulbs labeled as “full spectrum” or “grow light,” which provide the necessary red and blue wavelengths plants need for photosynthesis and growth.
The duration your grow light should be on depends on the type of plants you’re growing and their stage of development. Generally, seedlings require about 14-16 hours of light per day, while adult plants need around 12-14 hours. It’s crucial to give plants a period of darkness to rest, just like they would receive outdoors.
Yes, DIY grow lights are safe when assembled and used correctly. Ensure all electrical connections are secure and use a surge protector to prevent any power surges. Keep water away from the electrical components, and don’t leave the lights unattended for extended periods. Regularly check the setup for any signs of wear or damage.
The color spectrum of light is crucial for plant growth, and different colors influence various aspects of a plant's life cycle. For vegetative growth, plants require more blue light, which promotes strong leaves and stems. During the flowering and fruiting stages, red light is essential as it helps in the development of flowers and fruits. Full-spectrum LED lights are recommended because they provide a balanced blend of blue and red light, mimicking natural sunlight. When setting up your DIY grow light, ensure you have the ability to adjust the light spectrum according to your plants' growth stages for optimal results.
In Closing
In conclusion, these DIY grow lights can truly transform the health of your indoor plants. You'll save money and enjoy the hands-on process. Start now and witness the magic of better plant growth in your home.


