Learn how to make hair clips to add a personal touch to your everyday style. Making your own DIY hair clips can be simple and enjoyable. You can make unique designs that match your outfits without spending much money. The process is straightforward, and you'll only need a few basic materials. Making these clips allows you to experiment with various colors, patterns, and decorations.
These DIY hair clippies are a great way to add flair to your accessories. With a bit of creativity, you can transform ordinary bobby pins, barrettes, or alligator clips into stylish pieces. Every clip can be a reflection of your individual taste and fashion sense.
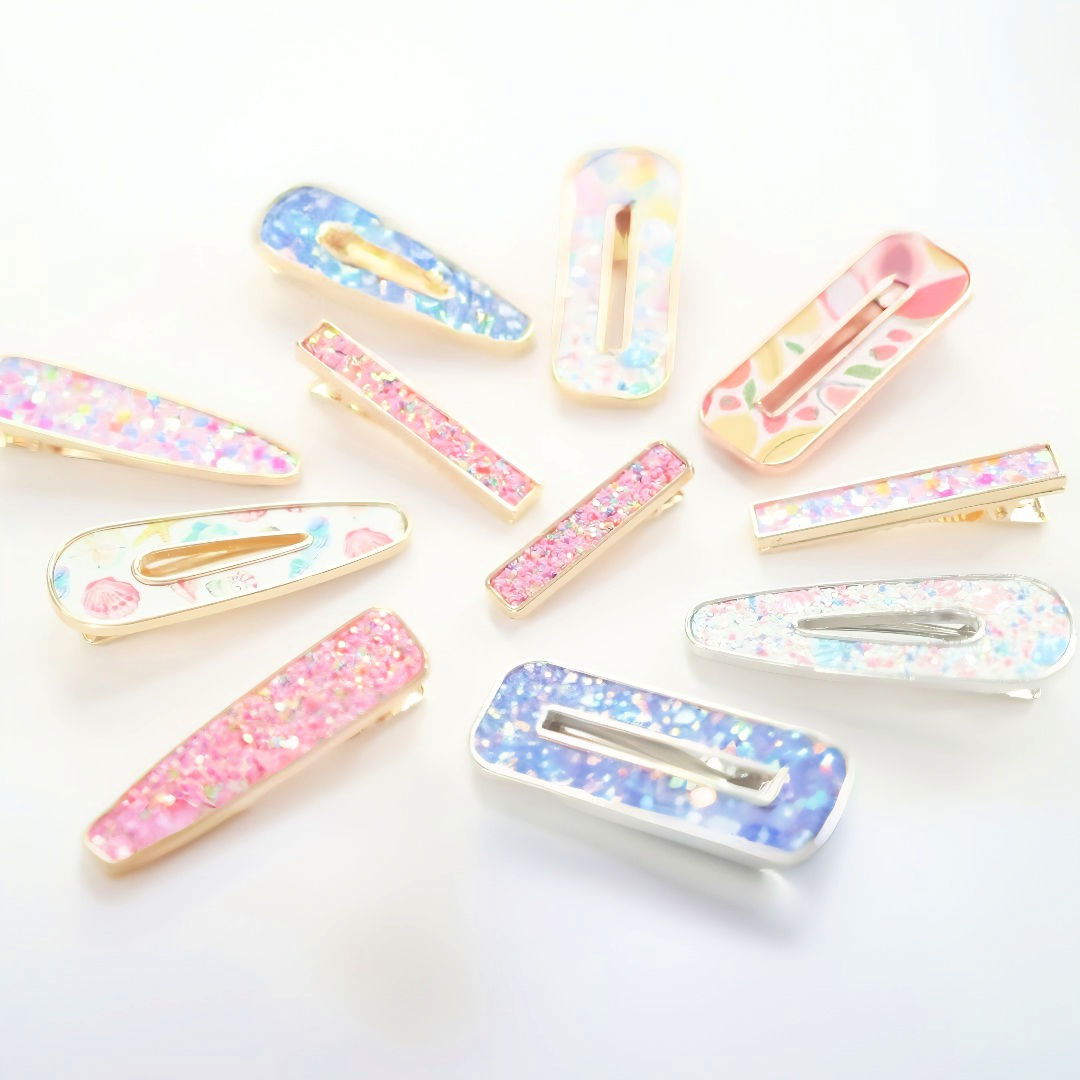
Make stylish and personalized DIY hair clips with our easy-to-follow guide. Perfect for all ages and occasions!
Materials You'll Need
Before we get started, let's gather everything we need. Here's a list of materials and tools along with why each is essential:
- Metal Hair Clip Settings: These serve as the base for your hair clips. Opt for different finishes like gold, silver, rose gold, or black for variety.
- Chunky Glitter Sheets or Faux Leather: These are used to add a decorative element to the clips. Glitter sheets give a glamorous look, while faux leather offers a more sophisticated touch.
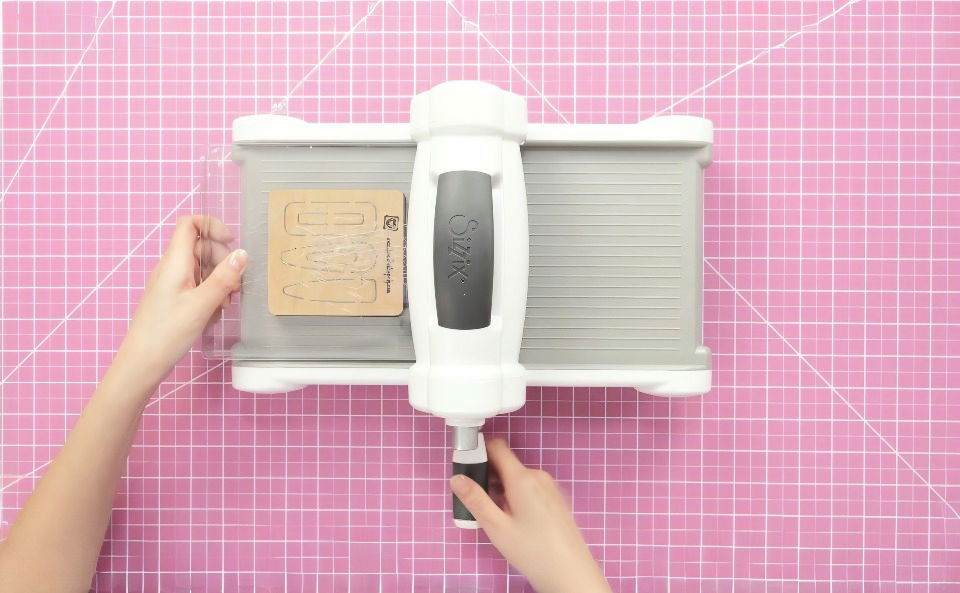
- Sizzix Machine: This is a die-cutting machine that helps in easily cutting out shapes from your material.
- Cutting Pads: Used with the Sizzix machine to sandwich the material and dies for cutting.
- Custom Dies (Raindrop, Windowpane, etc.): These shape cutters help in getting perfect, consistent cutouts every time.
- Gorilla Glue with Brush: This glue is used to attach the cut-outs to the clip settings. The brush applicator helps in controlling the glue application.
- Wax Paper: This protects your working surface from glue spills.
- Lint Roller: To clean any bits from the foam pads after cutting.
Step by Step Instructions
Learn how to make DIY hair clips with our step-by-step guide. From setting up to finishing touches, make stylish accessories easily at home!
Step 1: Setting Up Your Work Area
Prepare a clean, flat surface and lay out all your materials. Place wax paper down to protect the surface from potential glue mess.
Step 2: Cutting Out Shapes with the Sizzix Machine
- Prepare the Material: Place your chunky glitter sheet or faux leather on one of the cutting pads, ensuring the glitter side faces away from the foam.
- Align the Die: Position the custom die on top of the material.
- Sandwich Setup: Place the other cutting pad on top, making a sandwich with the material and die in between.
- Run Through Sizzix: Slide this sandwich through the Sizzix machine. This takes just seconds, and you'll have perfectly cut shapes ready to go.
- Pro Tip: If the glitter or material tends to stick to the foam pads of the die, use a lint roller to clean it off afterward.
Step 3: Gluing the Material to the Clip
- Apply the Glue: Unscrew the brush applicator of the Gorilla Glue and carefully apply it to the inside part of the hair clip setting. Be mindful not to get glue on the outer parts.
- Place the Cut-out: Carefully place the cut-out shape into the glue-coated section of the clip.
- Press Firmly: Press down firmly with your fingers to ensure the material sticks well. Hold for a few seconds to allow the glue to set slightly.
- Note: The glue takes a bit to fully dry, so be gentle with the clips soon after applying the material.
Step 4: Finishing Touches
- Check for Glue Overflow: If any glue seeps out, quickly wipe it off with a paper towel before it dries.
- Let it Rest: Allow the hair clip to sit undisturbed for a few minutes to ensure the glue sets properly.
Step 5: Enjoy Your Creation!
And just like that, you have a beautiful, customized hair clip ready to wear, gift, or sell!
Additional Tips
- Experiment with Materials: While chunky glitter sheets are my favorite, don't hesitate to try other materials like vegan leather for a different look.
- Batch Production: Since these clips are so quick to make, consider doing a batch production. I made 18 clips in about an hour and a half, which is perfect for stocking up for gifts or sales.
- Packaging Tips: If you're selling these, invest in some pretty packaging. Simple cards with slots for the clips can make a world of difference in presentation.
Troubleshooting Common Issues
- Material Not Cutting Properly: Ensure the material is aligned correctly and facing the right way. Clean the die pad with a lint roller if necessary.
- Glue Overflow: Less is more with the glue. You can always add a little more if needed, but a small amount usually suffices.
Customization Tips for DIY Hair Clips
Customizing your DIY hair clips is a fun way to express your personal style and creativity. Here are some tips to help you personalize your hair accessories:
- Choose Your Base: Start with a simple hair clip, like a barrette or an alligator clip, as your canvas. You can find these at most craft stores or online.
- Select Your Materials: Think about the materials you want to use. Ribbons, fabric scraps, felt, lace and even old clothing can be repurposed for your project. Choose materials that reflect your style and match the outfits you plan to wear with your hair clips.
- Add Embellishments: Beads, sequins, buttons, and charms can add sparkle and personality to your hair clips. Craft stores offer a wide variety of embellishments, or you can recycle jewelry that you no longer wear.
- Play with Colors and Patterns: Mix and match colors and patterns to make a unique look. Don't be afraid to combine unexpected elements – sometimes, the most striking designs come from bold choices.
- Use the Right Tools: A hot glue gun is often the easiest way to attach materials to your clip, but fabric glue can also be used for lighter items. If you're sewing on decorations, make sure you have a needle and thread that are strong enough to go through tougher materials.
- Keep It Comfortable: Remember that you'll be wearing these clips in your hair. Avoid using anything too heavy or sharp that could be uncomfortable or pull on your hair.
- Test Your Design: Before you finalize your design, clip it into your hair to see how it feels and looks. Make any adjustments needed to ensure it's both comfortable and stylish.
- Seal and Finish: Once you're happy with your design, make sure all the pieces are securely attached. If you've used glue, give it plenty of time to dry before wearing your new accessory.
Make unique, stylish hair clips that reflect your individuality. Have fun and experiment! The best DIY projects show your personal flair.
Trends and Styles in DIY Hair Clips
Keeping up with the latest trends can give your DIY hair clips a modern and stylish edge. Here's what's currently in vogue for 2024:
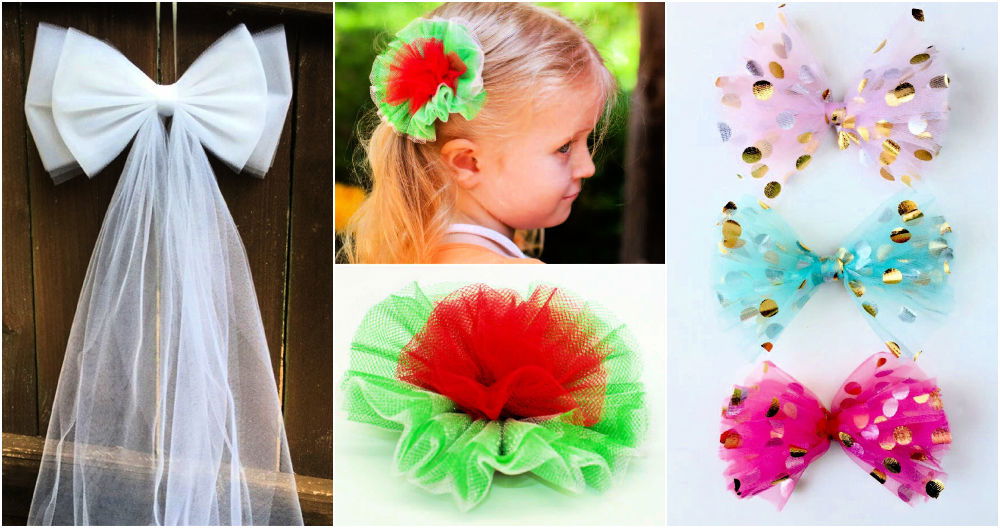
- Bows Are Back: Bows have made a big comeback, especially oversized ones. They add a touch of whimsy and femininity to any hairstyle. Consider using velvet for a luxurious feel or silk for a sleek look. Embellished bows with pearls or rhinestones are perfect for special occasions.
- Wide Headbands: The wide headband trend continues to thrive. They're not only fashionable but also practical for hiding second-day hair or grown-out roots. Opt for simple designs like stitched leather for an understated yet chic appearance.
- Oversized Hairpins: For those who love updos, oversized hairpins are the trend to watch. They're not just functional; they can also be a statement piece in your hairdo.
- Barrettes: Barrettes are versatile and can be used in a variety of ways. They're perfect for clipping back bangs or adding a decorative touch to braids and ponytails.
- Incorporating Trends into DIY: To incorporate these trends into your DIY hair clips, start by choosing a base that aligns with the current styles. If bows are your chosen trend, make a variety of sizes and fabrics to match different outfits. For headbands, experiment with different widths and materials. When using hairpins and barrettes, think about how they can complement your hairstyle while also making a fashion statement.
Adapting styles to your taste is key. Mix, match, and blend trends. Ensure your DIY hair clips show your unique style and current fashion trends.
FAQs About DIY Hair Clips
Discover everything you need to know about DIY hair clips with our comprehensive faqs. Tips, materials, and techniques to make unique hair accessories.
Here are a few simple ideas:
Fabric yo-yo clips: Attach a fabric yo-yo and a button to a clip for a cute look.
Ribbon clips: Tie a bow with ribbon and glue it onto a clip for an instant accessory.
Felt shapes: Cut out shapes from felt and attach them to clips for a playful style.
To make sure your hair clips last:
Use quality materials: Don’t skimp on the base clips or the adhesive.
Reinforce attachments: Sew or glue embellishments securely.
Protect edges: If you’re using fabric, seal the edges with clear nail polish or fabric glue to prevent fraying.
The type of clip you choose depends on the style and function you want:
Alligator clips are versatile and hold hair securely, making them great for both thin and thick hair.
Barrettes work well for making a classic look and can hold larger sections of hair.
Bobby pins are perfect for subtle accents and work best with small, lightweight decorations.
Get creative with your decorations by:
Layering fabrics: Combine different textures and colors for a unique look.
Adding charms: Attach small charms or pendants for a personalized touch.
Using natural materials: Consider small shells, dried flowers, or wooden beads for an earthy vibe.
Absolutely! Here's how you can tailor them for special events:
Weddings: Use pearls, lace, or silk flowers for an elegant touch.
Birthdays: Bright colors, fun shapes, and sparkly gems can make a clip festive.
Holidays: Incorporate holiday-themed decorations like pumpkins for Halloween or snowflakes for winter celebrations.
Conclusion
In conclusion, making your own DIY hair clips is a fun and rewarding way to elevate your everyday look. These personalized accessories add a unique touch to any hairstyle. Don't forget, experimenting with different designs and materials can make your diy hair clippies even more special. With these simple steps on how to make hair clips, you'll have a collection that's perfect for any occasion. Enjoy crafting and have fun showcasing your new stylish hair clips!


