Embarking on a hair rejuvenation journey wasn't on my agenda until my curls lost their life. It wasn't until I stumbled upon a natural, DIY hair mask recipe that promised moisture and repair for dry and damaged hair, did hope resurface. This mask, utilizing just four kitchen staples, became my go-to solution. Let me walk you through my step-by-step process, ensuring you can achieve similarly luscious locks.
The Importance of Ingredients
Before diving into the mask itself, understanding the role of each ingredient is crucial. This isn't just about mixing random things from your pantry; it's about targeted nutrition for your hair.
Mayonnaise: The Base of Moisture
Made from eggs and oil, mayonnaise is packed with proteins and moisture. It serves as the perfect base for our mask, ensuring deep hydration.
Yogurt: For Increased Density
Yogurt comes loaded with probiotic bacteria. It's not just good for your gut, but amazing for your hair, helping to increase its density and giving your curls that much-needed life.
Coconut Oil: Deep Penetration
I chose coconut oil for its small molecular structure, allowing for deeper penetration into the hair shaft. It's a versatile choice, able to be swapped out with olive or avocado oil, depending on availability.
Honey: Shine and Moisture
Last but not least, honey. It's a natural humectant, drawing moisture into the hair and sealing it in, while also adding a natural sheen.
My Process: A Step-by-Step Guide
Try our nourishing DIY hair mask recipe for shiny, healthy locks. Using all-natural ingredients, it's perfect for repairing damaged hair.
Clean Slate
I can't stress enough the importance of starting with clean hair. It ensures that the mask can deeply penetrate without competing with dirt or oil. A quick shampoo session prepares your canvas.
Mixing the Magic
With my hair prepped, I embarked on making the concoction. Here's how:
- Half a Cup of Mayo: The rich base
- Two Tablespoons of Yogurt: For strengthening
- Two Tablespoons of Coconut Oil: For nourishment
- One Teaspoon of Honey: For shine and moisture
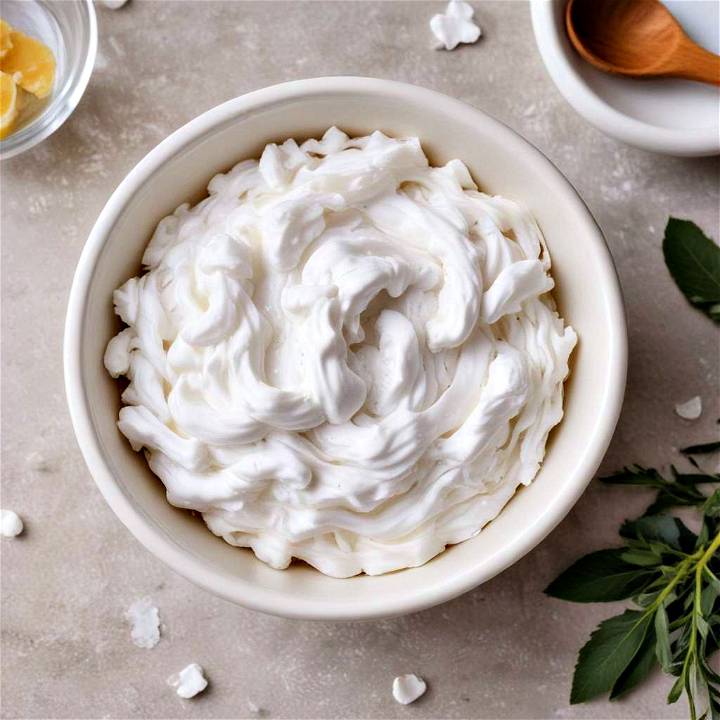
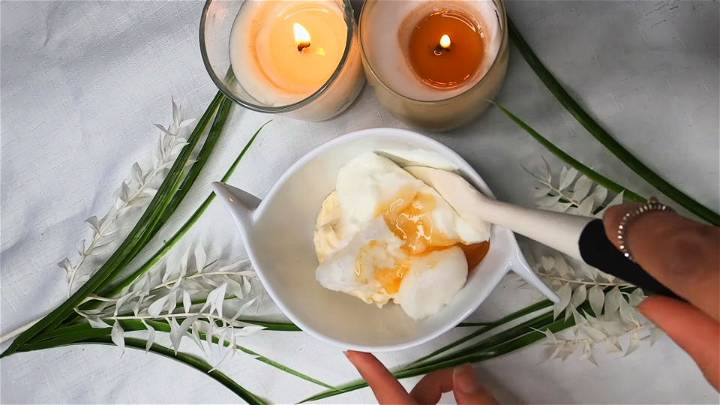
Mix these until they blend into a creamy consistency, making what I like to call my “hair smoothie.”
Application: Mids to Ends
Remember, this mask is not for your scalp. Focusing on the mids to ends, where dryness and damage are most prevalent, ensures effective treatment without unnecessary buildup on the scalp.
Generously applying the mask, I made sure every strand was coated, though being more sparing on the mids and generous on the ends where damage is often worst.
Waiting Game
The beauty of this mask is its flexibility in time. While 15 minutes can suffice, especially during a shower where steam helps the mask penetrate deeper, leaving it on longer only increases its efficacy. I've left it overnight, equipped with a hair net, and found my hair to be exceptionally soft and manageable the next morning.
Rinse and Revel
Shampooing the mask out, followed by a light conditioner to seal the cuticles, my hair felt rejuvenated. It was as if every curl sprung back to life, eager to dance and dazzle again.
The Aftermath: Curls Revived
Using my DIY curl cream, a staple in my routine, I styled my curls as usual. The difference was palpable. My curls, once thirsty and limp, were now defined, buoyant, and vibrant. This mask didn't just restore moisture; it reinstated my hair's vitality.
Making Quality Hair Masks: The Power of Natural Ingredients
When it comes to hair care, quality ingredients play a crucial role in achieving healthy, luscious locks. In this section, we'll explore the benefits of using natural substances in your DIY hair masks. Whether you're dealing with dryness, frizz, or lackluster hair, these ingredients can transform your mane.
Why Natural Ingredients Matter
Using natural ingredients in your hair masks offers several advantages:
1. Nourishment and Hydration
- Coconut Oil: Rich in fatty acids, coconut oil penetrates the hair shaft, providing deep hydration and preventing protein loss.
- Argan Oil: Known as “liquid gold,” argan oil is packed with antioxidants and vitamins that nourish and strengthen hair.
- Honey: A natural humectant, honey attracts moisture, leaving your hair soft and shiny.
- Yogurt: The lactic acid in yogurt exfoliates the scalp, promoting healthy hair growth.
2. Repair and Restoration
- Avocado: Avocado is a powerhouse of vitamins (A, E, and D) and healthy fats. It repairs damaged hair and adds shine.
- Shea Butter: With its emollient properties, shea butter seals in moisture, reduces frizz, and enhances hair elasticity.
- Egg: High in protein, eggs repair and strengthen hair strands, making them less prone to breakage.
3. Scalp Health
- Aloe Vera: Aloe vera soothes an irritated scalp, reduces dandruff, and promotes hair growth.
- Tea Tree Oil: Known for its antifungal properties, tea tree oil keeps the scalp healthy and prevents flakiness.
How to Incorporate These Ingredients
- Choose Wisely: Opt for high-quality, organic ingredients whenever possible. Look for cold-pressed oils and raw honey.
- Mix and Match: Customize your hair mask based on your hair type and concerns. Combine ingredients to make a personalized blend.
- Application: Apply the mask evenly from roots to tips. Gently massage your scalp to boost blood circulation.
- Duration: Leave the mask on for 20-30 minutes (or as specified) to allow the ingredients to work their magic.
- Rinse: Use lukewarm water to rinse out the mask. Follow up with a mild shampoo and conditioner.
Remember, consistency is key. Incorporate these natural ingredients into your hair care routine, and watch your locks transform!
Mastering Hair Mask Application
Master the art of hair mask application with expert tips and techniques. Enhance your hair care routine for healthier, smoother locks.
The Right Way to Apply a Hair Mask
Applying a hair mask correctly can make a significant difference in the health and appearance of your hair. Here's a guide to ensure you get the most out of your DIY hair masks.
Preparing Your Hair
Before applying the mask, make sure your hair is clean and damp. This helps the mask penetrate more effectively.
Applying the Mask
Step-by-Step Guide
- Section Your Hair: Divide your hair into sections to ensure even application.
- Start at the Scalp: Use your fingertips to apply the mask to your scalp first, then work it down to the ends of your hair.
- Use a Wide-Tooth Comb: After applying, comb through your hair to distribute the mask evenly.
- Massage: Spend a few minutes massaging the mask into your scalp to improve blood flow.
Timing Is Key
Leave the mask on for about 20-30 minutes. For deep conditioning, you can extend this time up to an hour.
Rinsing Off
Rinse the mask out with lukewarm water. Avoid hot water as it can strip away essential oils from your hair.
Post-Application Care
After rinsing, you can shampoo and condition your hair as usual. Use a gentle, sulfate-free shampoo to maintain the benefits of the mask.
By following these steps, you'll ensure that your hair absorbs all the nourishing benefits of your DIY hair mask. Enjoy your softer, healthier-looking hair!
Effective Rinsing and Optimal Frequency for Hair Masks
Discover the best way to maximize the benefits of hair masks with our guide on effective rinsing and how often to use them. Achieve healthy, shiny hair now!
Rinsing Your Hair Mask: The Final Step
Properly rinsing your hair mask is essential to avoid residue that can weigh down your hair.
Tips for Rinsing
- Lukewarm Water: Always use lukewarm water to rinse out the hair mask.
- Gentle Shampoo: Follow up with a gentle shampoo to cleanse your scalp and hair.
- Conditioning: Finish with a lightweight conditioner to seal in moisture.
How Often Should You Use a Hair Mask?
The frequency of hair mask application depends on your hair type and condition.
Guidelines for Hair Mask Frequency
- Normal Hair: Once a week to maintain healthy hair.
- Dry or Damaged Hair: Twice a week to restore moisture and repair damage.
- Oily Hair: Once every two weeks, focusing on the ends rather than the scalp.
Remember, using a hair mask too frequently can lead to product buildup. Listen to your hair's needs and adjust accordingly.
FAQs About DIY Hair Masks
Discover answers to common questions about DIY hair masks. Learn how to make and use them for healthier, shinier hair. FAQs explained here!
Can I use a DIY hair mask on colored hair?
Yes, you can use DIY hair masks on colored hair. In fact, natural ingredients like coconut oil and honey can help maintain moisture and enhance the vibrancy of your color. However, be cautious with ingredients like lemon juice, which can lighten hair.
How long should I leave a DIY hair mask in my hair?
For most hair types, leaving a DIY hair mask for 20-30 minutes is sufficient. If your hair is particularly dry or damaged, you can leave it for up to an hour. Be sure to follow the specific instructions for each ingredient you use.
Will a DIY hair mask make my hair oily?
Not necessarily. While ingredients like oils are moisturizing, they don't have to make your hair oily if used correctly. Focus on applying them to the ends of your hair and use them sparingly on the scalp, especially if you have naturally oily hair.
Can I use a DIY hair mask on dry shampooed hair?
It's best to apply a DIY hair mask to clean, damp hair. Dry shampoo can leave residues that might prevent the mask ingredients from penetrating the hair shaft effectively.
How often can I use a DIY hair mask?
It depends on your hair type. Generally, once a week is enough for maintenance. If your hair is dry or damaged, you might benefit from using a mask twice a week. For oily hair, once every two weeks is usually sufficient.
Final Thoughts
Embarking on this DIY journey has been transformative. Not only have I saved countless dollars on salon treatments, but I've also gained an intimate understanding of what my hair truly needs. The fact that this mask is made from ingredients found in my kitchen is just the cherry on top.
I urge anyone battling dry, damaged hair to give this a try. It's more than a mask; it's a revival. Your hair, and curls, will thank you.


