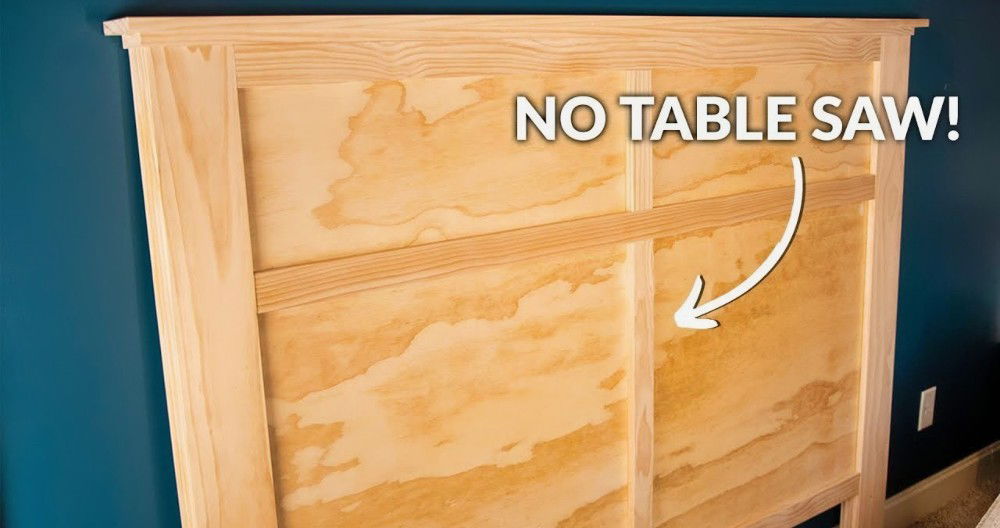
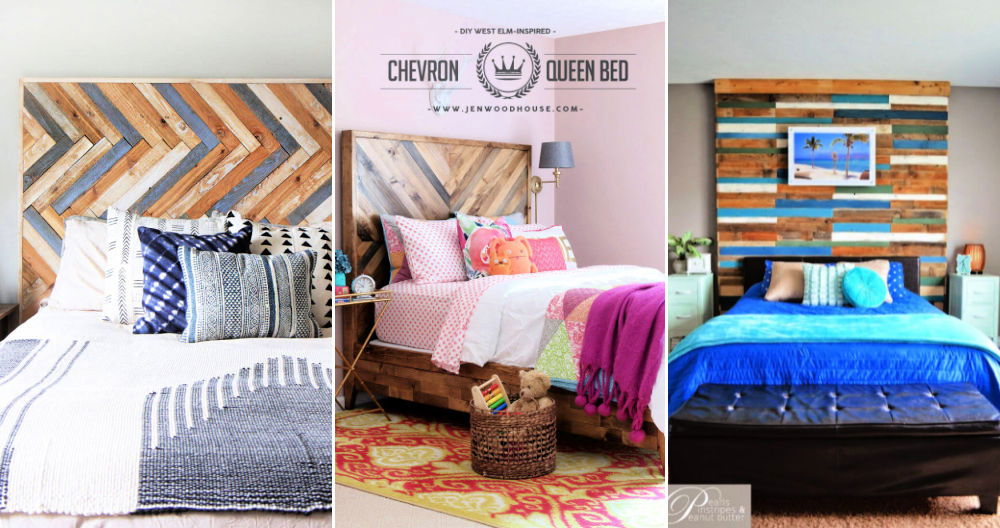
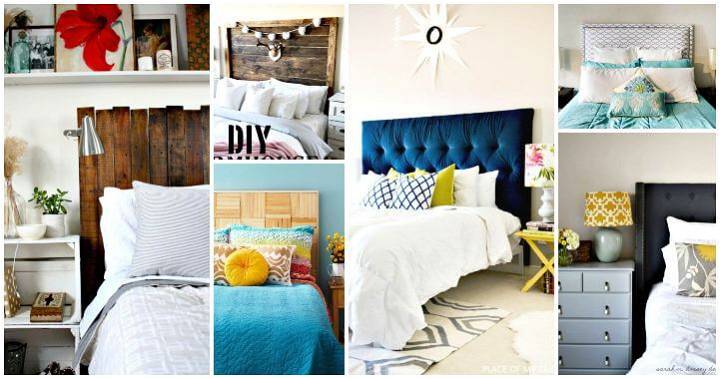
Last weekend, I embarked on a DIY journey that transformed my bedroom's aesthetic without breaking the bank. My objective was straightforward: to build a king-size modern wood headboard for around $25. The process was not only gratifying but also infused my room with a bespoke elegance that I'm eager to share.
Gathering the Materials
My first step involved assembling all the necessary materials. Essentials included wood boards, wood glue, screws, nails, and painter's tape. At my local hardware store, I meticulously selected the straightest and most appealing wood boards. Given the project's affordability, the choice of cheaper wood necessitated careful inspection to avoid any warped or bent pieces.
Why Each Material Matters
- Wood Boards: These are the backbone of your headboard, determining its size, durability, and overall aesthetic.
- Wood Glue: Essential for bonding the boards together securely, ensuring a cohesive look.
- Screws and Nails: These elements provide the structural integrity needed for the headboard to withstand daily use.
- Painter's Tape: A versatile tool for holding the wood in place while the glue dries, especially if you're short on clamps.
My Step-by-Step DIY Process
Discover the step-by-step DIY process for making a stunning wood project, from preparing and gluing boards to sanding and staining.
Preparing the Wood Boards
I laid out the boards vertically to preview their arrangement when mounted horizontally as a headboard. This step was crucial for placing the more attractive pieces at the top, ensuring the headboard's face would look its best.
Gluing and Securing the Boards
Using wood glue, I joined three boards at a time, securing them with painter's tape for tight bonding. This approach made the process more manageable than tackling all nine boards simultaneously. After allowing the glue to dry for 24 hours, I removed the tape and admired the strong bonds formed.
Reinforcing with Additional Support
To enhance the structure, I applied glue again and attached one by two pieces of wood across the back. This extra step ensured that the headboard would not only look good but also be durable and functional—a crucial consideration for something that forms part of my daily environment.
Sanding and Staining
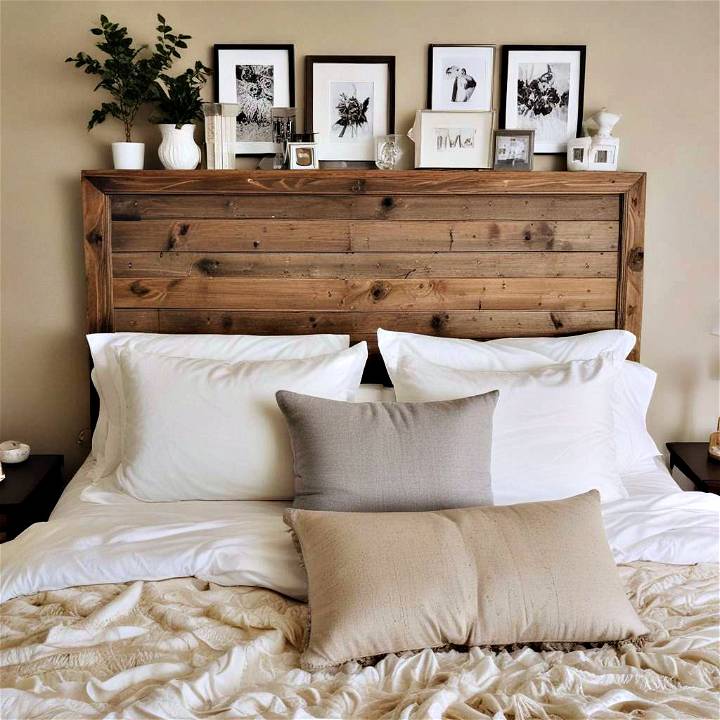
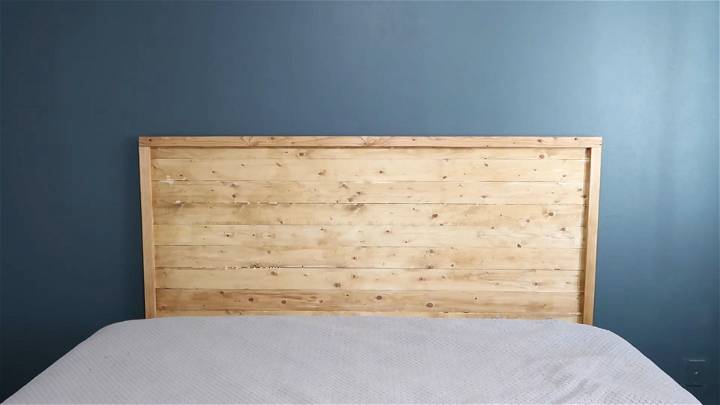
After the structural work was complete, I addressed the headboard's finish. I sanded down any excess glue for a smooth surface, then applied a golden oak stain to match my bedroom's existing wood elements. This step was transformative, as it elevated the headboard's appearance from raw wood to a piece of furniture that appeared professionally crafted.
Final Assembly
With the staining complete, I focused on assembling the frame that would attach to my bed. Using leftover wood, I crafted legs and a frame, securing them with screws for robust stability. This part of the process turned the disparate pieces of wood into a unified, functional headboard.
The Rewarding Outcome
My DIY modern wood headboard now represents the power of creativity, patience, and a bit of elbow grease. For around $25, my bedroom has gained a centerpiece that adds warmth, style, and a personal touch.
Tips for Fellow DIY Enthusiasts
- Take Your Time Selecting Wood: Opt for the straightest, cleanest boards to minimize adjustments later.
- Measure Twice, Cut Once: Accuracy is key to ensuring that all pieces fit together seamlessly.
- Embrace Imperfections: Minor gaps or irregularities can add character. However, wood filler can be your ally for a smoother finish.
- Customize to Your Taste: While I chose a golden oak stain, feel free to experiment with colors and finishes that complement your space.
Building this headboard was a satisfying project that boosted my confidence in DIY home improvement. Sharing my journey to inspire others to personalize their spaces without daunting investments.
Customization Tips for Your DIY Headboard
Building a DIY headboard gives you the freedom to personalize your bedroom space. Here are some tips to help you customize your headboard and make it a unique centerpiece in your room.
Choose the Right Material
The material of your headboard can define its character. Consider these options:
- Wood: Offers a warm, classic look. You can paint, stain, or carve it.
- Upholstered: Provides comfort and a soft backdrop. Experiment with different fabrics like velvet or leather.
- Metal: Builds an industrial or modern vibe. Think wrought iron or brushed steel.
Select a Color Scheme
Color can dramatically change the look of your headboard. Here's how to pick the right hue:
- Neutral Tones: They blend well with any room decor.
- Bold Colors: Make a statement and become the focal point of the room.
- Complementary Colors: Choose colors opposite each other on the color wheel for a vibrant contrast.
Add Texture and Patterns
Texture and patterns add depth to your headboard. Try these ideas:
- Tufting: Adds elegance and sophistication.
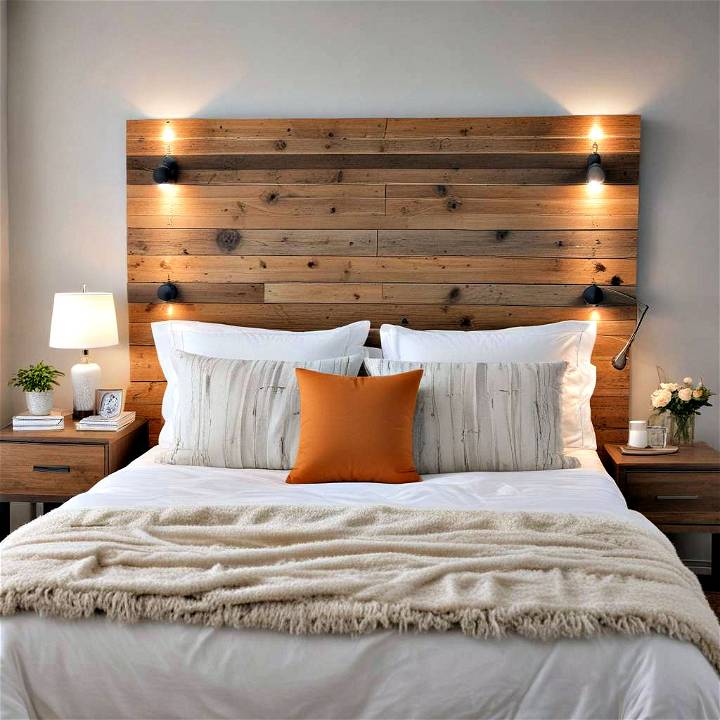
- Reclaimed Wood: Offers a rustic, eco-friendly option.
- Geometric Patterns: Give a modern and dynamic flair.
Common Mistakes to Avoid in DIY Headboard Projects
When embarking on your DIY headboard project, steer clear of these common mistakes to ensure a successful outcome.
Incorrect Measurements
Always double-check your measurements before cutting materials. An inch too short or too long can affect the entire project.
Overlooking the Bed Frame
Ensure your headboard design fits well with your existing bed frame. Consider the attachment points and stability.
Ignoring the Wall
Remember that the wall is part of your headboard's backdrop. Avoid colors or designs that clash with the wall paint or wallpaper.
Forgetting Comfort
If you like to read or watch TV in bed, make sure your headboard is comfortable to lean against. Padding and upholstery can add comfort.
By following these customization tips and avoiding common pitfalls, you'll build a headboard that is not only visually appealing but also a perfect match for your personal style and bedroom needs.
FAQs About DIY Headboards
When it comes to making your own DIY headboard, questions are bound to arise. Here's a helpful section addressing some common inquiries to guide you through the process.
What Materials Can I Use for a DIY Headboard?
You can use a variety of materials, such as:
- Wood: Versatile and can be customized with paint or carvings.
- Fabric: Ideal for an upholstered look and feel.
- Metal: Gives a sleek, modern touch.
How Do I Attach My Headboard to the Bed or Wall?
For wall attachment:
- Use sturdy brackets or a French cleat system.
- Ensure the wall can support the weight.
For bed attachment:
- Align the headboard with the bed frame.
- Secure it with bolts or screws.
Can I Add Storage to My Headboard?
Yes, storage can be a practical addition. Consider:
- Shelves: For books and decor.
- Hidden compartments: To store small items.
Is It Possible to Make a Headboard That's Also Artistic?
Absolutely! Get creative with:
- Paintings or murals: Directly on the headboard.
- Mixed media: Incorporate different textures and materials.
What Are Some Common Design Styles for Headboards?
Popular styles include:
- Modern: Clean lines and minimalistic.
- Rustic: Natural wood with a cozy feel.
- Bohemian: Colorful and eclectic.
How Can I Ensure My DIY Headboard Is Safe?
Safety is crucial. Make sure to:
- Check materials: For any potential hazards.
- Securely attach it to prevent it from falling.
By addressing these FAQs, you'll be better prepared to tackle your DIY headboard project with confidence.
Conclusion:
Wrapping up, building a DIY headboard is a fantastic way to add a personal touch to your bedroom decor. With endless design possibilities and easy-to-follow tutorials, you can unleash your creativity and transform your space.


