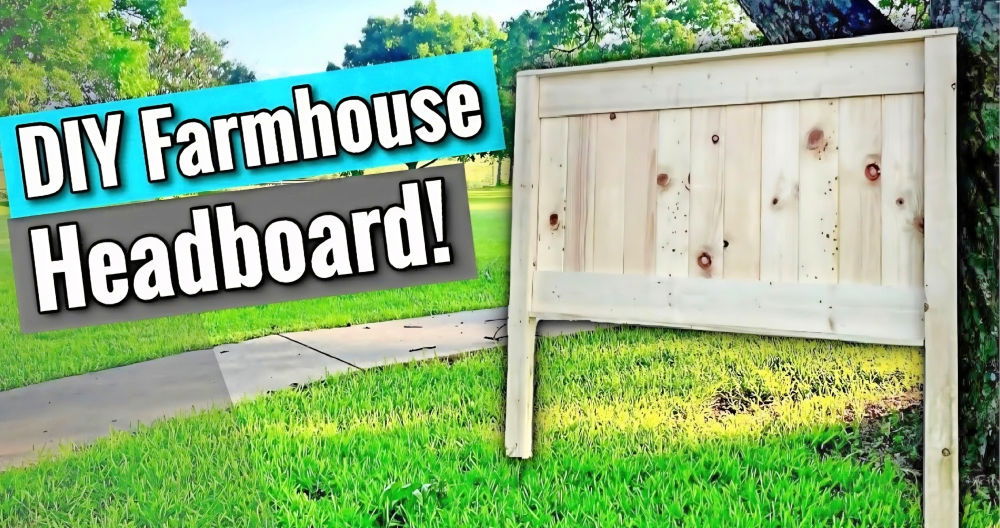
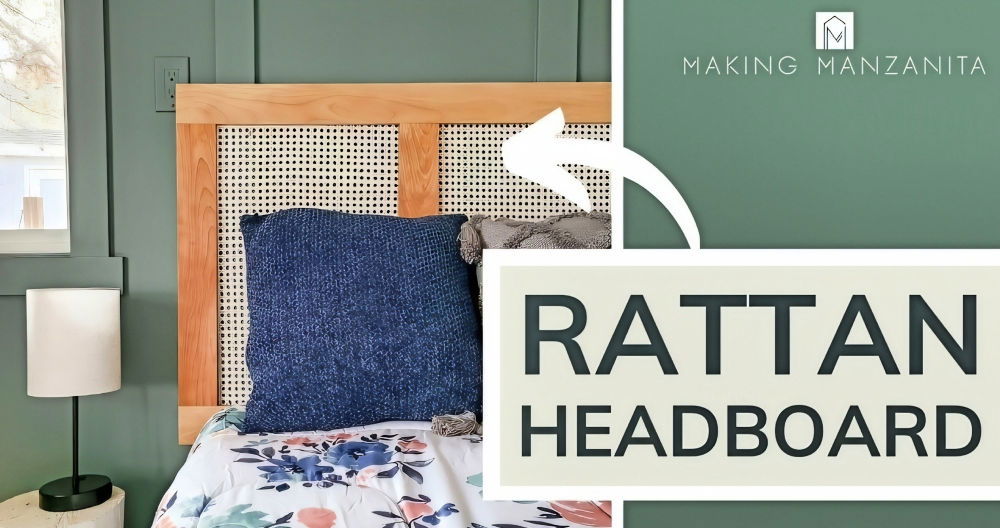
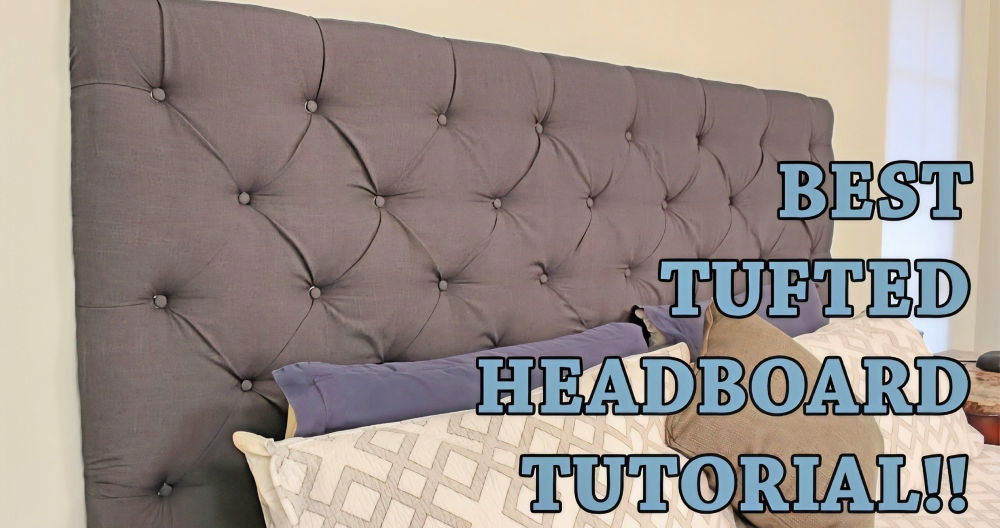
I remember the first time I decided to make my own DIY headboard with storage. The idea of having something both stylish and practical in my bedroom was exciting. I started by gathering all the necessary materials and tools and carefully planning each step. It felt good to envision a personal touch in my space, knowing I would soon have extra storage in my headboard.
The hardest part was ensuring the measurements were right. A wrong cut could mess up the whole project. But with patience and double-checking everything, I nailed it. Seeing the final product in my room brought a sense of accomplishment.
Making a DIY headboard with hidden storage made my room look great and helped keep my things organized. I'm confident it can help you out too!
Getting Started: The Planning Phase
Discover the planning phase in 'getting started' with a detailed guide on necessary materials and their purposes for effective project planning.
Materials Needed and Their Purpose
- 5 2x4s: These served as the skeleton of the headboard, providing the necessary support and framework.
- Pocket Hole Screws (2 1/2 in and 1 1/4 in): Essential for joining the pieces securely.
- Plywood (1x3 for the doors and a large piece for the back): Used for the back panel and the fold-down tray tables.
- Hinges: To attach the fold-down trays to the main structure, allowing them to move.
- Stain (Weathered Gray): Chosen by Phoebe to give the headboard a stylish finish.
- Tools (Saw, Drill, Kreg Jig, etc.): Necessary for cutting the materials to size and assembling the headboard.
Why Each Material is Needed
Materials were chosen for durability, aesthetics, and function. 2x4s ensured a strong frame for weight support and headboard stability. Pocket hole screws offered strength and a clean look, hiding screws.
Plywood was selected for the back and trays due to versatility and ease. Hinges allowed trays to fold away when unused. The stain matched Phoebe's decor, making the headboard functional and stylish.
Step by Step Instructions
Discover step-by-step instructions on making a DIY headboard with storage, enhancing your bedroom decor and functionality effortlessly.
Framing the Headboard
- Cutting the 2x4s: I started by cutting the 2x4s according to my measurements - three for the horizontals, two for the legs, and additional pieces for the dividers.
- Drilling Pocket Holes: Next, I drilled two pocket holes at each end of the horizontal and divider pieces to prepare them for assembly.
Assembling the Structure
- Making the Frame: Beginning at the middle, I used 2 1/2 in pocket hole screws to connect the horizontal pieces to the legs, forming the basic frame.
- Adding Dividers: The dividers were then attached, making the compartments that would later house the fold-down trays.
Installing the Back and Shelves
- Mounting the Back: A piece of plywood cut to size was secured to the frame's back, providing stability and a finished look.
- Placing the Shelves: Using spacer blocks for uniformity, I installed the shelves within the compartments for additional storage space.
Crafting the Fold-Down Trays
- Building the Doors/Trays: I constructed the trays using 1x3 plywood, joined together with pocket hole screws for a seamless appearance.
- Attaching Trays to the Frame: Hinges were attached to the bottom edge of the trays, then mounted to the headboard, ensuring they could fold down smoothly.
Finishing Touches
- Sanding and Staining: After a thorough sanding to smooth out any rough edges, I applied the weathered gray stain, chosen by Phoebe for its chic look.
- Final Assembly: With the staining complete, the headboard was ready to be installed in Phoebe's bedroom.
The Outcome
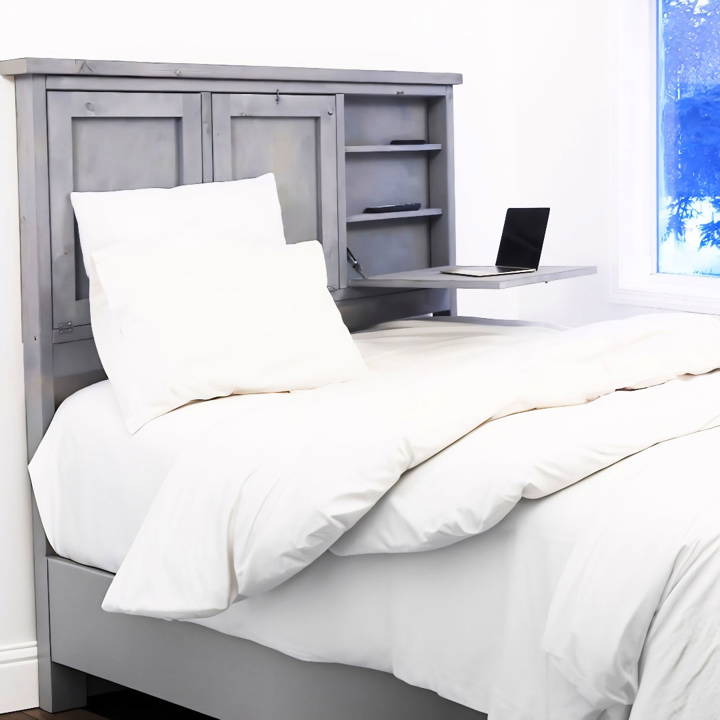
The final product was a headboard that not only met Phoebe's initial requirements but also exceeded our expectations in terms of convenience and style. The fold-down trays have proved to be a game-changer, providing her with a makeshift workspace and dining area, all from the comfort of her bed.
Design Customization
When it comes to making a DIY headboard with storage, one of the most exciting aspects is the ability to customize the design to fit your personal style and bedroom decor. Here's how you can make your headboard truly your own:
- Choose Your Style: Start by deciding on the overall look you want. Do you prefer a modern, sleek design or a cozy, rustic feel? Your headboard can be a statement piece that reflects your taste.
- Select the Materials: Wood is a popular choice for its versatility and warmth, but you can also consider upholstered options for a softer touch. Think about the color and texture that will complement your room.
- Paint and Finish: If you're using wood, select a paint or stain that matches your decor. For a unique touch, try techniques like distressing or a whitewash finish for a vintage look.
- Fabric Choices: For an upholstered headboard, choose a fabric that not only matches your decor but is also durable. Consider easy-to-clean fabrics if you enjoy reading or breakfast in bed.
- Add Personal Touches: Incorporate elements that showcase your personality, like decorative nails, unique patterns, or even built-in lighting for a functional yet stylish touch.
- Storage Features: Decide on the type of storage that best suits your needs. Shelves for books, hidden compartments for valuables, or drawers for linens are all practical options.
- Accessorize: Add final touches with accessories. Throw pillows, a cozy blanket draped over the corner, or string lights can add warmth and character to your headboard.
The goal is to build a headboard that not only serves its purpose but also brings joy and reflects who you are. Keep it simple, have fun with the process, and enjoy the satisfaction of a personalized space.
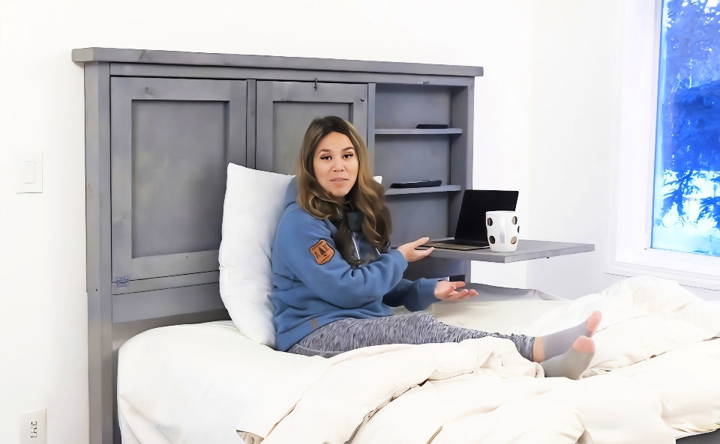
Storage Solutions
Making storage solutions within your DIY headboard can be both fun and functional. Here's how to maximize the utility of your headboard without compromising on style:
- Maximize Vertical Space: Use the height of the headboard to build shelves or cubbies. This is perfect for storing books, decorative items, or even small plants.
- Incorporate Drawers: If space allows, add drawers to the bottom of the headboard. They're great for keeping extra linens, pillows, or seasonal clothing neatly tucked away.
- Hidden Compartments: For a sleek look, design hidden compartments behind the headboard panel. This can be a secret spot for valuables or items you don't need daily.
- Slide-Out Panels: Consider slide-out panels on either side of the headboard. They can serve as mini bookshelves or a place to hold a cup of tea.
- Cable Management: If you like to charge devices near your bed, include built-in cable management systems to keep cords organized and out of sight.
- Adjustable Shelving: Install adjustable shelving within the headboard to customize the storage space according to your changing needs.
- Use Baskets or Bins: For an open-shelf design, use baskets or bins to organize smaller items. This adds texture to the room and keeps everything in its place.
Integrate these storage solutions, making your headboard both a centerpiece and a practical addition to keep your space clutter-free.
Troubleshooting Common Issues
When undertaking a DIY project like building a headboard with storage, you might encounter a few hiccups along the way. Here's how to troubleshoot some common issues:
Wood Splitting
- Solution: Pre-drill holes before inserting screws, especially near the ends of boards. Choose the correct screw size and type for your material.
Uneven Stain
- Solution: Sand the wood thoroughly before staining, moving progressively to finer grits. Apply stain with a consistent motion and wipe off excess.
Misaligned Shelves
- Solution: Use a level to ensure shelves are straight before securing them. Measure distances from multiple points to confirm alignment.
Stuck Drawers
- Solution: Check for squareness and ensure rails are parallel. Waxing the runners can help drawers slide more smoothly.
Fabric Puckering
- Solution: Pull the fabric taut and staple evenly when upholstering. Use an appropriate staple size and spacing.
Loose Joints
- Solution: Tighten any loose screws and add wood glue to joints for extra stability. Consider using corner braces for reinforcement.
Paint Drips
- Solution: Use painter's tape to protect the edges and remove it before the paint dries completely. Apply thin coats and sand between layers if necessary.
By anticipating and knowing how to fix these common issues, you'll be better prepared to handle any challenges that arise during your DIY headboard project.
Safety Precautions
When making a DIY headboard with storage, safety is paramount. Here are key precautions to ensure your project is completed without injury:
- Wear Protective Gear: Always wear safety glasses to protect your eyes from dust and debris. Gloves can prevent splinters and cuts, especially when handling wood.
- Read Tool Manuals: Before using any power tools, read the manuals carefully. Understand their proper use and safety features.
- Keep a Clean Workspace: A tidy workspace helps prevent accidents. Keep tools and materials organized and floors clear of tripping hazards.
- Ventilation: If you're painting or staining, work in a well-ventilated area to avoid inhaling fumes. Consider wearing a mask for additional protection.
- Secure Materials: When cutting or drilling, secure the materials with clamps to prevent slipping, which could lead to mistakes or injury.
- Check for Nails and Screws: Before cutting any reclaimed wood, check for and remove any old nails or screws that could damage your tools or cause injury.
- Child and Pet Safety: Keep children and pets away from the workspace to prevent distractions and accidents.
- First Aid: Keep a first aid kit nearby in case of minor injuries. Know the location of your nearest emergency room for more serious incidents.
- Electrical Safety: Ensure all electrical tools are in good condition, with no frayed cords or loose connections. Use a residual current device (RCD) for added protection.
- Lifting Techniques: Lift heavy materials correctly—bend at the knees and keep your back straight to avoid strain.
- Fire Safety: Keep a fire extinguisher nearby, especially if you're working with flammable materials or tools that generate sparks.
By following these safety precautions, you can enjoy the process of building your headboard with peace of mind, knowing you're taking the right steps to protect yourself and others.
FAQs About DIY Headboard with Storage
Discover answers to common questions about DIY headboards with storage. Get tips, materials, and step-by-step guidance for your next project!
Yes, there are headboard designs that cater to different skill levels. Some plans require only basic steps and a few pieces of material, making them suitable for beginners. Always choose a tutorial that matches your comfort level with tools and construction.
Creative storage ideas include floating storage cubbies, which save floor space, or headboards that double as bookshelves, providing ample storage and surface area. You can also customize the interior colors of the cubbies to match your decor.
To ensure sturdiness, follow the cut list and assembly instructions carefully. Use quality materials and secure all components with glue and nails or screws. If you’re unsure about your headboard’s stability, consult with someone experienced in DIY projects or woodworking.
Customizing your headboard to match your bedroom's decor can be done by selecting materials and finishes that complement your existing furniture and color scheme. Consider painting or staining the wood to match or adding fabric or upholstery for a softer look. You can also add decorative knobs or handles to the storage compartments for a personalized touch.
To maximize storage space, consider designing your headboard with multiple compartments of varying sizes. This allows you to store a range of items, from books to blankets. Utilize the vertical space by extending the headboard upwards, which can be especially useful in rooms with limited floor space. Additionally, incorporating sliding panels or hidden compartments can provide extra storage without compromising the design.
Closing Thoughts
In conclusion, making a DIY headboard with storage is a practical and fun project that enhances both the look and functionality of your bedroom. By following the steps outlined in this guide, you can save space, keep your room organized, and add a personal touch to your décor. Remember, the key to success is in the planning and attention to detail.


