Making a DIY heat sink from scratch is an engaging and rewarding process that combines crafting, machining, and problem-solving skills. This article will show you, step by step, how to craft a heat sink from raw aluminum, based on a hands-on approach. This guide is ideal for anyone looking to learn about making custom heat sinks for devices like kilns, gaming computers, or other electronics that need effective heat dissipation.
Why Make Your Own Heat Sink?
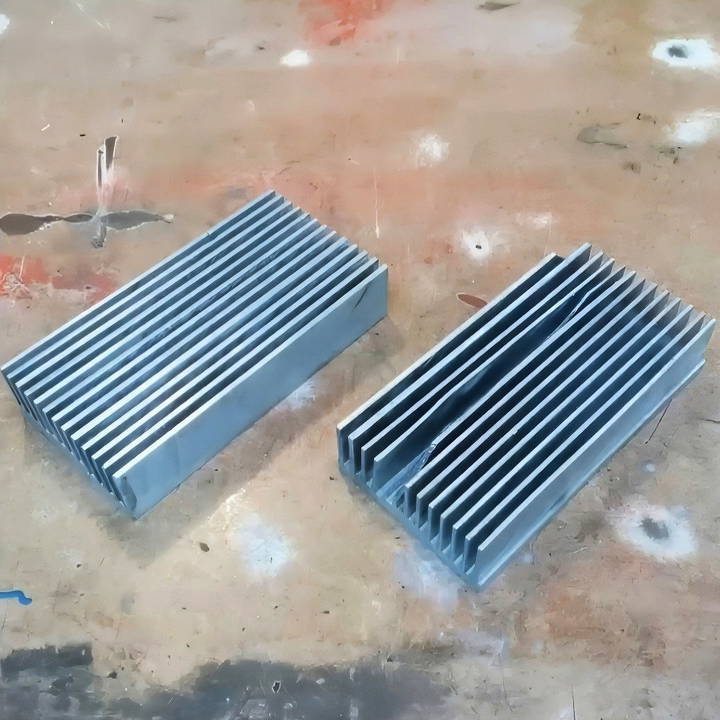
Heat sinks are essential components that help dissipate heat generated by electronic devices. While commercial heat sinks are widely available, making one yourself can be cost-effective and customizable. For instance, in this project, the heat sink was crafted for a 7500-watt kiln with upgraded solid-state relays that generated significant heat.
The Process Involves:
- Casting aluminum using a foundry.
- Machining the aluminum block to make the desired structure.
- Overcoming challenges during machining.
- Assembling and testing the final product.
Materials and Tools Required
Before starting, ensure you have the following materials and tools:
Materials:
- Aluminum for casting
- Sand for molding
- Heat sink paste
- Screws for assembly
Tools:
- Aluminum foundry
- Crucible
- Mill or milling machine
- Slotting saw
- End mills
- Drill press or milling head
- Measuring tools (e.g., calipers, layout fluid)
- Safety gear (gloves, goggles, and protective clothing)
Step by Step Instructions
Master DIY heat sink creation with step-by-step instructions on casting, machining, assembly, and testing for top-notch performance!
Step 1: Casting the Aluminum Blank
The process begins with casting the aluminum block that will be machined into a heat sink.
Building the Mold
- Use a two-by-four wooden frame or similar materials to make a sand mold.
- Ensure the mold has a reservoir or riser to accommodate metal shrinkage during cooling. This prevents defects like shrink cavities.
Melting and Pouring
- Heat the aluminum in the foundry until it reaches a liquid state.
- Pour the molten aluminum into the mold and let it cool.
- Remove the solid aluminum blank from the sand once it has fully set.
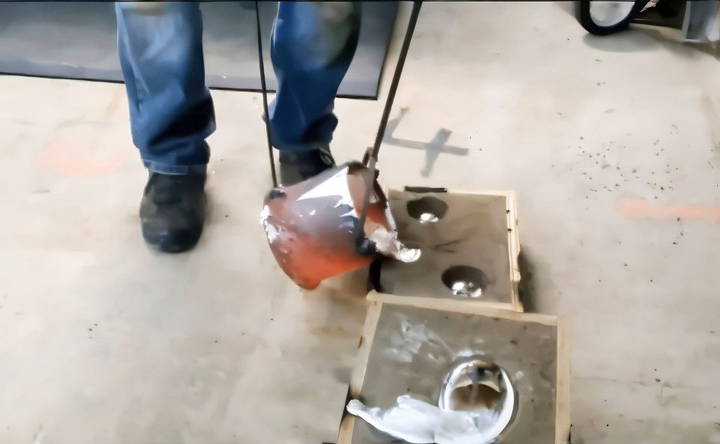
Pro Tip: A larger riser minimizes shrinkage defects, allowing for cleaner machining later.
Step 2: Machining the Aluminum Blank
After obtaining the aluminum blank, the next step is to machine it into a functional heat sink.
Preparing the Blank
- Clean the aluminum blank and mount it securely in a vise.
- Use a 5/8-inch end mill to clean and level the top and sides of the block. This ensures a smooth surface for accurate measurements and cuts.
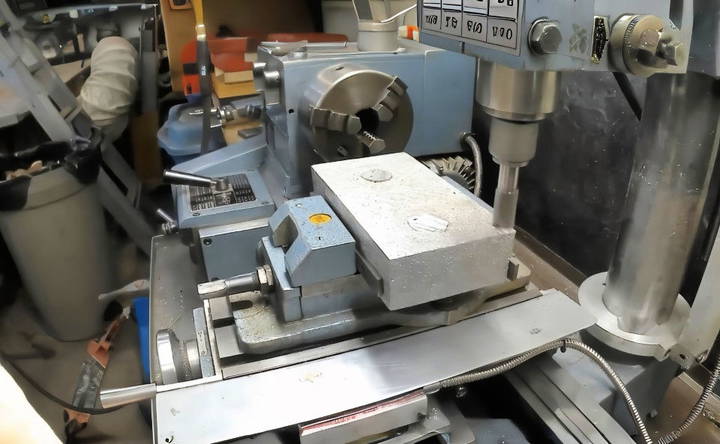
Cutting Slots for Heat Dissipation
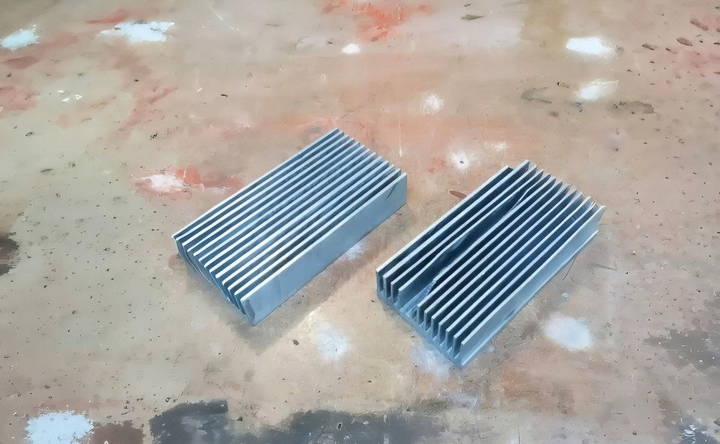
Heat sinks rely on fins or slots to increase surface area for efficient heat dissipation. Here's how to machine the slots:
- Use a slotting saw to cut slots into the aluminum blank.
- Start with shallow cuts to prevent overheating or damage to the saw blade and mill.
- Adjust your milling machine to its slowest speed (440 RPM in this case) for better control.
Overcoming Challenges
- Underpowered Mill: Using a mill with a low horsepower motor may limit cutting efficiency. Cutting deeper slots can lead to stalling or damage.
- Blade Wear: Prolonged cutting dulls the slotting saw, reducing its effectiveness. Regularly inspect and replace dull blades.
- Equipment Failure: In this project, a milling head gear broke mid-process, requiring a week-long repair. Be prepared for such setbacks.
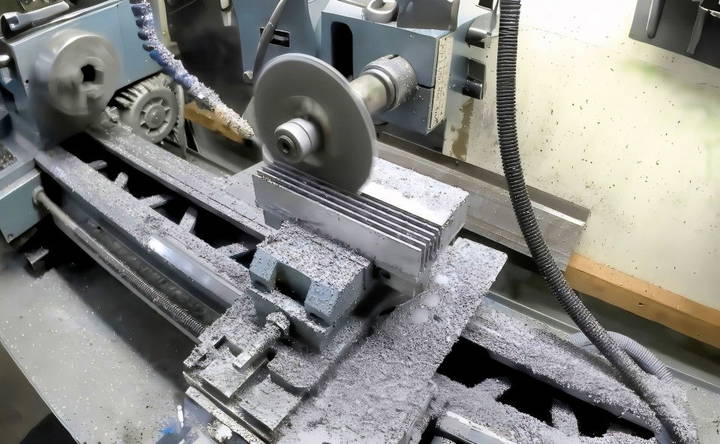
Lesson Learned: After replacing the gear, machining became more efficient, reducing the time required to cut the slots significantly.
Step 3: Drilling Mounting Holes
Once the fins are complete, drill holes for mounting screws.
- Apply layout fluid to mark the desired locations for the holes.
- Use a drill press or milling head to ensure precision.
- Mount the block on one-two-three blocks for stability during drilling.
- Drill larger holes at the edges to accommodate sheet metal screws if needed.
Pro Tip: Double-check measurements to ensure the holes align perfectly with your mounting hardware.
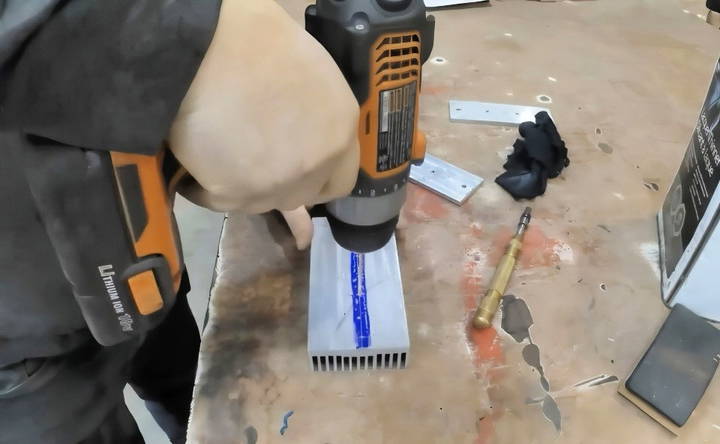
Step 4: Assembling the Heat Sink
After machining and drilling, assemble the heat sink with the necessary components.
Applying Heat Sink Paste
- Apply a thin layer of heat sink paste to the back of the solid-state relays. This paste improves thermal conductivity between the components and the heat sink.
Mounting Components
- Use screws to securely attach the relays to the heat sink.
- Ensure proper alignment to avoid damage to the fins or relays.
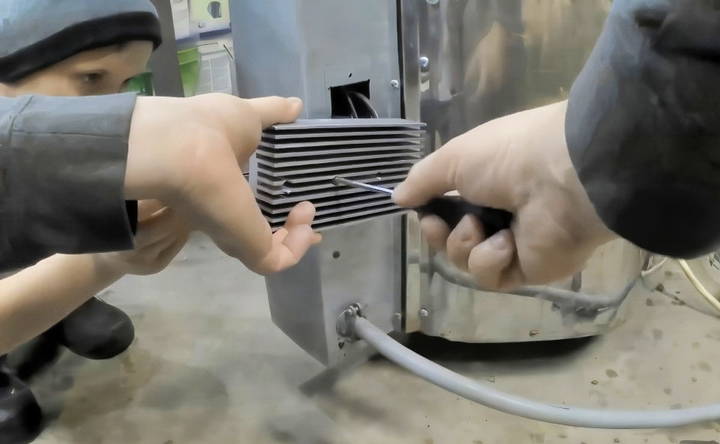
Step 5: Testing the Heat Sink
Testing is crucial to verify the effectiveness of your heat sink. Here's how to test it:
- Assemble the device and start it under typical operating conditions.
- Measure the temperature of the heat sink and relays over time. In this case, the heat sink maintained a temperature of around 40°C while the kiln reached 700°C.
Pro Tip: Monitor for any signs of overheating or mechanical instability during testing.
Lessons Learned and Tips for Success
This DIY heat sink project provided several key takeaways:
- Choose the Right Tools: Invest in a powerful mill for smoother and faster machining. Underpowered tools can significantly slow progress.
- Be Prepared for Repairs: Unexpected failures, like the broken milling head gear, can delay the project. Having spare parts or a backup plan is wise.
- Precision Matters: Accurate measurements and proper alignment ensure a functional and visually appealing heat sink.
- Patience Pays Off: Crafting a heat sink from scratch requires time, but the results can be highly satisfying.
Advantages of a DIY Heat Sink
- Cost Savings: Commercial heat sinks can be expensive, especially for large applications. DIY options often save money if you have the tools and materials.
- Customization: Tailor the design to fit specific needs, such as size, shape, and mounting options.
- Skill Development: The process enhances machining and problem-solving skills.
Potential Applications
DIY heat sinks are not limited to kilns. They can be used for:
- High-performance gaming computers
- Amplifiers
- Industrial machinery
- Solar power inverters
Conclusion
Building a DIY heat sink is a fulfilling project for hobbyists and professionals alike. From casting aluminum to precision machining, this guide covers all the steps needed to craft a functional and effective heat sink. While challenges like equipment failures and tool limitations may arise, the knowledge and skills gained during the process make it worthwhile.
With patience and the right tools, you can make a custom heat sink tailored to your exact requirements. Happy crafting!
FAQs About DIY Heat Sink
Explore common questions about DIY heat sinks. Learn how to build effective heat sinks to enhance electronic cooling at home.
Yes, you can braze or weld aluminum fins onto a flat plate. This method is efficient, doesn’t require a mill or foundry, and minimizes material waste. However, it may slightly compromise thermal efficiency depending on the quality of the bond.
Casting thin fins is challenging without advanced techniques like lost wax casting, which is not feasible for most DIY setups. Machining remains a practical approach for precise fin geometry.
6061-T6 aluminum is commonly used due to its strength, machinability, and thermal conductivity. However, other 6000 series alloys can also work well depending on availability and budget.
Yes, a custom heat sink can be adapted for passive cooling in PCs. Ensure it's sized appropriately for the heat output of components like the AMD Ryzen 2400G, and consider passive cooling limitations.
Using pre-cut aluminum sheets or extruded profiles is more material-efficient. You can also recycle swarf (machining waste) by remelting it if you have a foundry setup.
Copper offers better thermal conductivity but is significantly more expensive and harder to machine. Aluminum is a more practical choice for most DIYers.
Rough fins might slightly improve convection by disrupting airflow, but the difference is minimal. Machined smooth fins are adequate and visually cleaner.
Dimensions were based on the wattage of the solid-state relays and standard recommendations for heat sink sizes, with added safety margins for better cooling.
Yes, extruded aluminum heat sinks, liquid cooling, or hybrid setups (heat pipes combined with fins) can work well. These alternatives depend on the project scale and complexity.
Always wear eye protection and follow practical safety practices. Ensure children near machinery understand risks and wear safety gear when appropriate.


