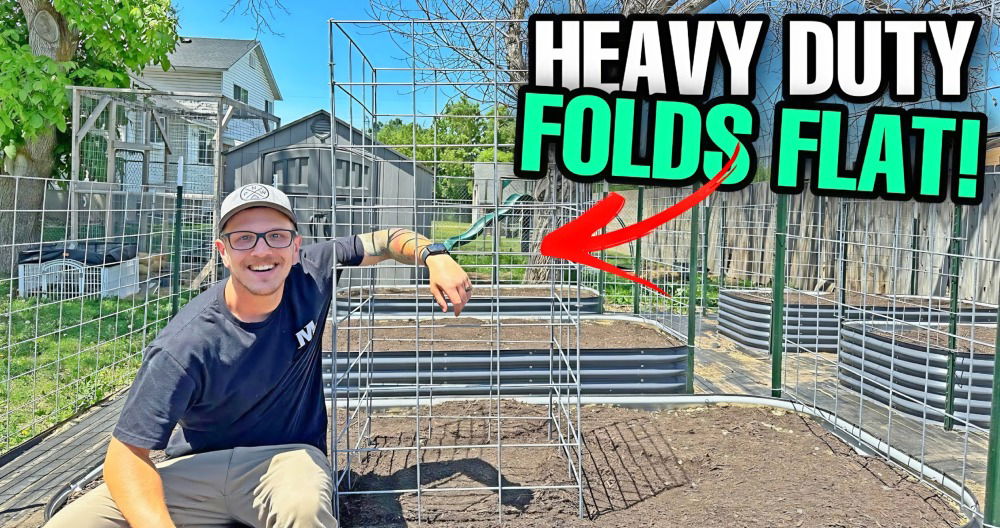
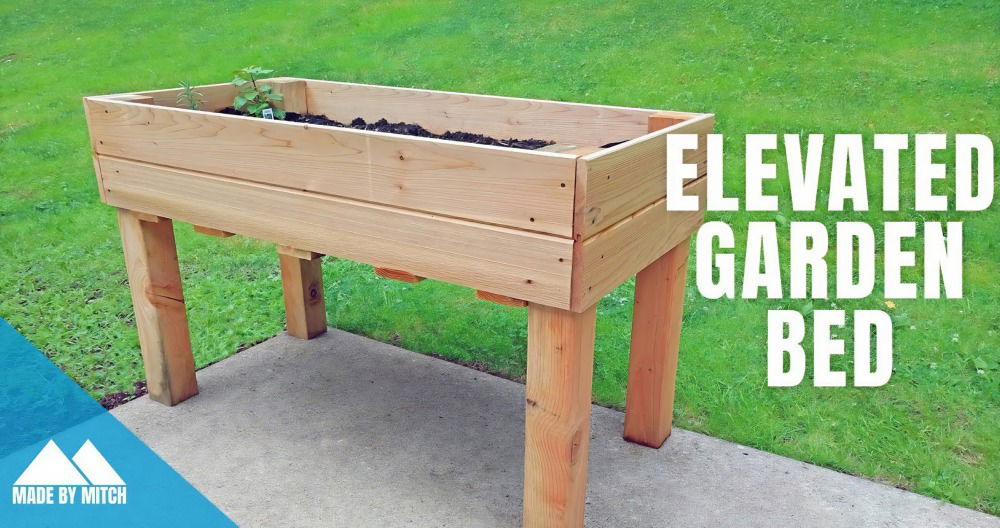
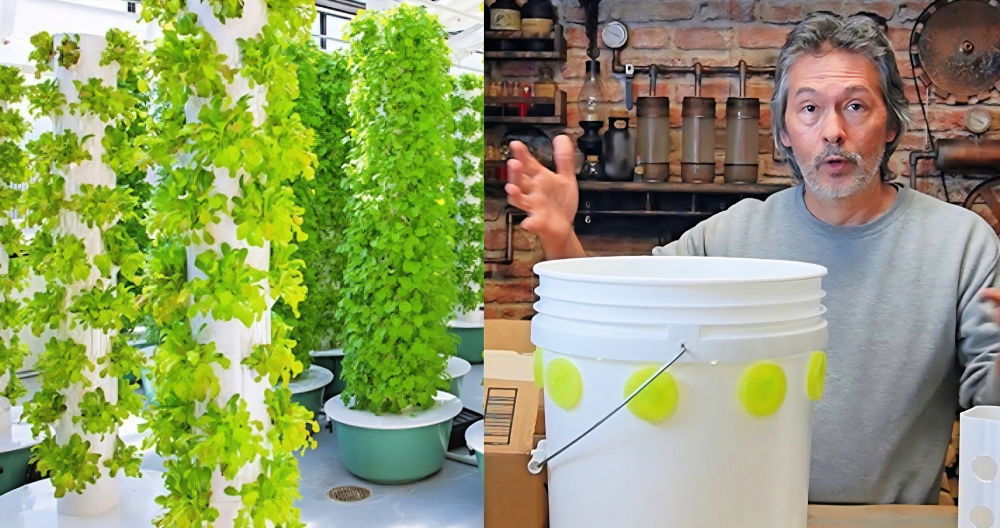
Building a DIY herb garden is a fulfilling project. I also wanted fresh herbs at hand and started my own outdoor herb garden. I chose a sunny spot in my patio and gathered basic supplies like pots, soil, and seeds. Planting each herb, I felt a sense of accomplishment. It wasn't tough, and my garden soon started to thrive with minimal effort.
Maintaining the patio herb garden became my favorite routine. Weeding, watering, and watching the plants grow brought me immense joy. Fresh herbs in my meals made the experience even more rewarding.
Now, I feel more connected to nature and enjoy the continuous fresh supply. If I can do it, you can too! These simple steps will make starting your own herb garden easy and fun.
Gathering Materials: Why Each Is Needed
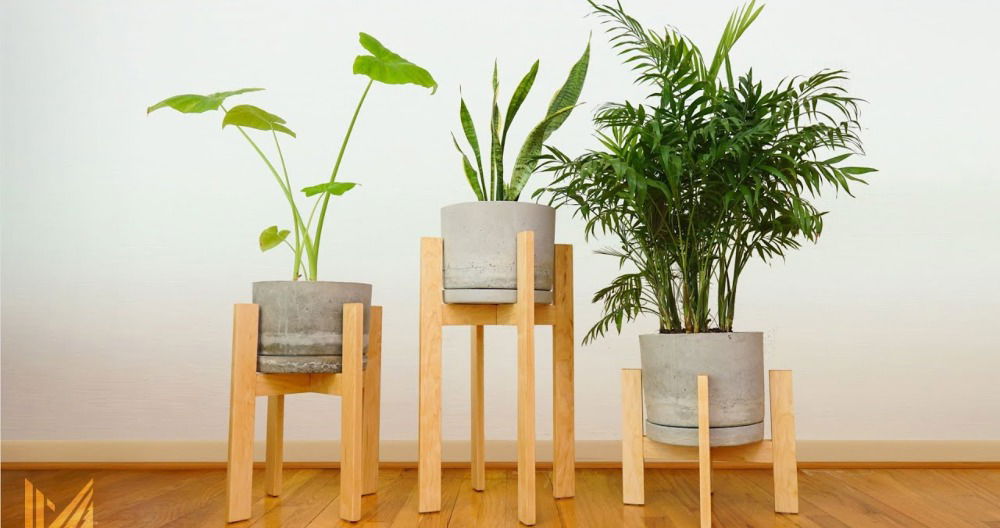
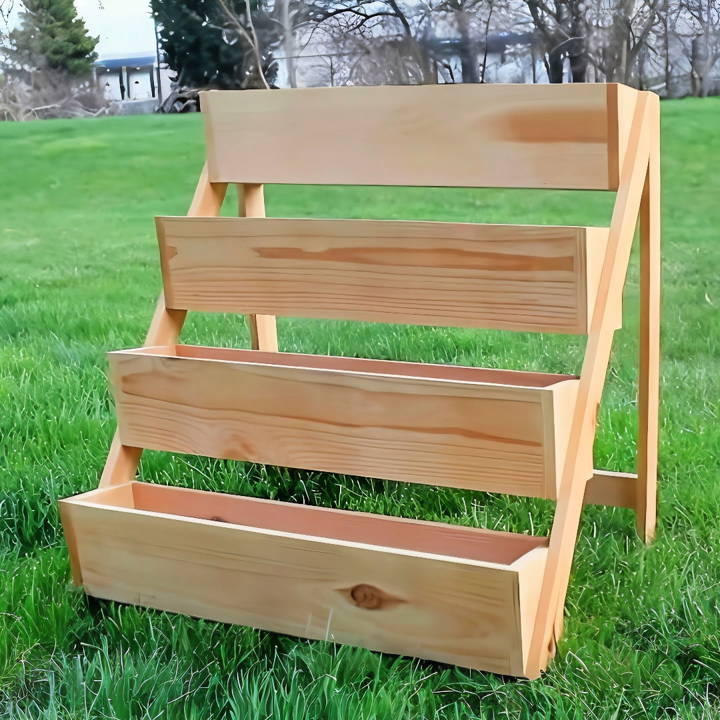
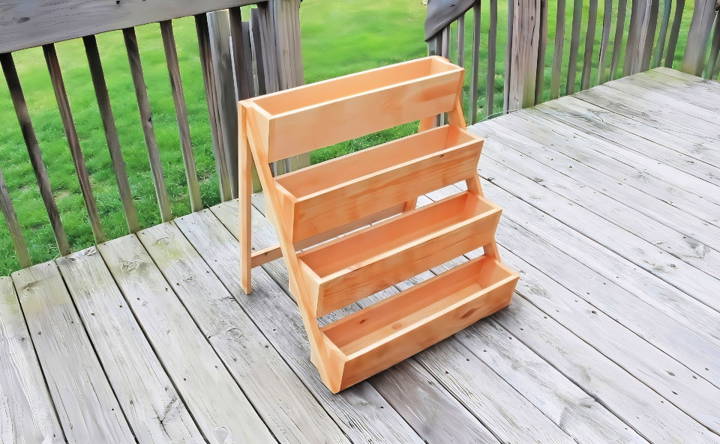
First, I gathered the materials as recommended in the video. Seven 1x6 cedar fence posts were essential; cedar, known for its durability and resistance to decay, makes it an ideal choice for outdoor projects. The cost-effectiveness of this project was a major draw, with all the wood required coming in at under $25. Every piece of material served a distinct purpose, whether for building the leg supports or the plant boxes themselves, ensuring stability and longevity for my modern herb garden.
Materials Needed:
- 1x6 Cedar Fence Posts: For the entire build, offering natural decay resistance.
- Brad Nails: For assembly, providing a clean look without the need for glue.
- Saw and Sandpaper: For cutting and smoothing the cedar posts.
Step by Step Instructions
Learn how to build your own lush and vibrant DIY herb garden with our easy, step-by-step instructions. Perfect for beginners and seasoned gardeners!
Constructing the Legs
I began by cutting two 30-inch pieces from the cedar posts for the legs. Precision was key, as these would support the entire structure. Next, I buildd a back stretcher cut to 23 and 3/4 inches, ensuring the frame would hold together securely.
Shaping the Plant Boxes
The plant boxes required a more intricate cut, forming a parallelogram with 12-degree angles. This step required careful measurements and a steady hand on the miter saw. However, the challenge was rewarding, resulting in beautifully angled sides that would later form the boxes.
Assembling the Boxes
Using brad nails, I began assembling the boxes. This part required some patience, as aligning the angles took precision. Despite a few missteps, the end result was worth it, showcasing the boxes' modern angles and sturdy construction.
Finalizing the Structure
The final step involved attaching the boxes to the leg structure, building a tiered effect. Each box was attached using spacers for uniformity, ensuring each plant box was evenly spaced. Finally, cutting the legs to level the structure was crucial for stability, especially when loaded with soil and plants.
Overcoming Challenges
Throughout the build, I faced several challenges, particularly in achieving the perfect angles for the plant boxes. However, each challenge was an opportunity to improve my woodworking skills. Sanding down imperfections and ensuring each angle was precise became a meditative process, emphasizing that patience and attention to detail were key to a successful project.
Personal Insights and Tips
- Patience is Key: Take your time with each cut and assembly step to ensure accuracy.
- Quality Materials Matter: Using cedar not only ensures durability but also adds a natural beauty to the project.
- Embrace Imperfections: Minor imperfections add character to the project and can be easily fixed with sanding.
The Reward: A Finished Modern Herb Garden
Admiring my modern herb garden filled me with pride. I buildd a functional, stylish space, adding beauty to my outdoors. The challenging project was rewarding, offering practical gardening and personal growth.
Troubleshooting Common Issues in Your DIY Herb Garden
When nurturing your DIY herb garden, you might encounter a few hiccups along the way. Here's a helpful guide to identify and solve some common issues, ensuring your herbs thrive.
Pests and Insects
Aphids, spider mites, and whiteflies can be a nuisance. To combat these, use a gentle spray of water to knock them off or apply neem oil for an organic solution. Ensure good air circulation around your plants to prevent infestations.
Diseases
Herbs can suffer from fungal diseases like powdery mildew or root rot. Improve drainage, avoid overhead watering, and space your plants properly to prevent moisture buildup. If a plant is affected, remove it promptly to protect the others.
Poor Growth
If your herbs aren't growing as expected, they might need more sunlight or nutrients. Most herbs require at least 6 hours of direct sunlight. For nutrients, use a balanced, organic fertilizer, but avoid overfeeding, which can harm your plants.
Wilting Leaves
Wilting can be due to either too much or too little water. Check the soil before watering; it should be moist, not soggy or dry. Water deeply but infrequently to encourage strong root growth.
Yellowing Leaves
This could indicate a nutrient deficiency. Herbs generally need a good supply of nitrogen. You can add compost or a nitrogen-rich fertilizer to the soil to help green up the leaves.
The key to a healthy herb garden is observation and preventive care. Regularly check your plants for signs of distress and address issues early for the best results.
Maintenance Tips for Your DIY Herb Garden
Keeping your herb garden flourishing requires some care and attention. Here are some straightforward tips to help you maintain a healthy and productive garden:
Regular Watering
Herbs need consistent moisture to grow. Water your plants in the early morning or late afternoon to reduce evaporation. The soil should feel damp, not waterlogged. Overwatering can lead to root rot, so it's important to let the soil dry out slightly between watering sessions.
Feeding Your Herbs
Feed your herbs with a balanced, organic fertilizer every few weeks during the growing season. Herbs don't need much fertilizer, so a little goes a long way. Too much can affect the taste and growth of your herbs.
Pruning and Harvesting
Regular pruning encourages growth and prevents your herbs from becoming woody. Harvest your herbs in the morning when their oils are the most concentrated for the best flavor. Always leave enough leaves for the plant to continue growing.
Weeding
Weeds compete with your herbs for nutrients and space. Remove weeds regularly to give your herbs the best chance to thrive. Mulching around your plants can help prevent weeds from taking over.
Monitoring for Pests
Keep an eye out for signs of pests. If you spot any, act quickly to remove them by hand or use natural deterrents like diatomaceous earth or insecticidal soap.
By following these simple maintenance tips, you'll ensure that your herb garden remains a bountiful and aromatic part of your home.
FAQs About DIY Herb Garden
Discover everything about DIY herb gardens with our comprehensive faqs. Learn tips, tricks, and solutions to grow your own thriving herb garden.
Select a spot that receives at least 6 hours of sunlight daily. If you’re planting outdoors, consider the ease of access for watering and harvesting. For indoor gardens, a sunny windowsill or balcony can be ideal.
Absolutely! Herbs can thrive indoors if they get enough light. Consider growing them in a bright, sunny window or use a grow light if natural light is insufficient. Ensure good air circulation and avoid overwatering.
Overwatering: Herbs don’t like soggy roots. Allow the soil to dry slightly between waterings.
Insufficient light: Herbs need plenty of light to grow well.
Overcrowding: Give each herb enough space to grow, which helps prevent disease and pests.
Watering: Check the soil moisture regularly and water as needed.
Pruning: Regularly harvest or trim your herbs to encourage bushy growth.
Feeding: Use a balanced, all-purpose fertilizer every few weeks during the growing season.
To harvest herbs without damaging the plant:
Use scissors or pruners: Clean cuts help prevent damage to the stems.
Harvest in the morning: This is when the oils, which give herbs their flavor, are most concentrated.
Don't over-harvest: Take only about one-third of the plant at a time to allow it to recover and regrow.
Conclusion
Wrapping up, making your own DIY herb garden is a rewarding project that brings fresh flavors and greenery to your home. By following straightforward steps and tips, you'll soon enjoy the benefits of an outdoor herb garden. Happy gardening!


