Building my own budget home theater room was an exciting project. I wanted to enjoy the at-home movie theater experience without spending too much. By planning carefully and getting a bit creative, I turned a spare room into a cozy space for watching movies with my family.
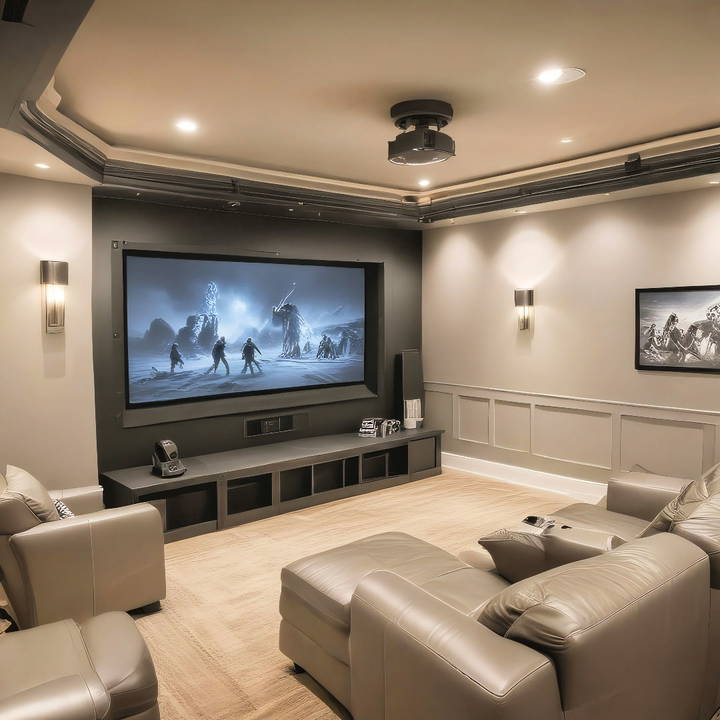
I explored affordable options for screens and sound systems. Using DIY ideas, I even built some of the furniture myself. The end result is a comfortable theater room that didn't cost a fortune. I'm thrilled with how it turned out.
If I can set up a DIY home theater room on a budget, I'm sure you can too. I'm happy to share my tips and experiences to help you build your own movie space at home.
Step by Step Instructions
Build your dream DIY home theater with our step-by-step guide, from planning to installation, for the ultimate cinema experience at home.
Step 1: Planning and Design
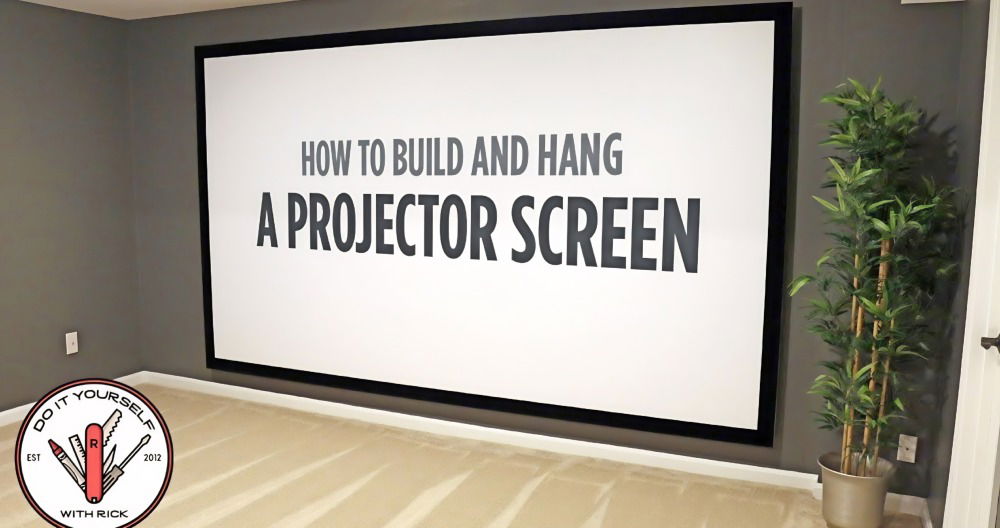
The first step of the process was planning. I needed a vision. What did I want my theater room to look like? How many seats did I need? What was the best screen size for the room's dimensions? I spent countless nights researching and sketching. Finally, I settled on a design: a cozy room with a 120-inch screen, surround sound system, and enough seating for my family and a couple of guests.
Materials Needed:
- Measuring tape (for proper spacing and screen size calculation).
- Notebook and pen (for sketching and notes).
- Computer or tablet (for research and inspiration).
Step 2: Choosing the Equipment
Choosing the right equipment was crucial. I needed a high-quality projector, a screen, a sound system, and comfortable seating.
Materials Needed:
- Projector: Opted for a brightness of at least 3000 lumens for clear images even in low-light conditions.
- Screen: An 8K model for high resolution, ensuring that the picture quality is crisp and immersive.
- Sound System: A 7.2.4 surround sound system for that in-the-movie feel. Choosing the right speakers was essential.
- Seating: Comfortable recliners that match the room's aesthetics while providing the best viewing experience.
Step 3: Room Preparation
Before installing the equipment, I prepared the room. This meant painting the walls a dark color to prevent light reflection, installing blackout curtains to control natural light, and running the necessary wiring for both power and audio.
Materials Needed:
- Dark paint (to reduce light reflection).
- Blackout curtains (to control natural light).
- Tools for wiring (screwdrivers, wire strippers, etc.).
Step 4: Installing the Screen and Projector
Installing the screen was straightforward but needed precision. I made sure it was perfectly centered and at the right height for comfortable viewing from the seats. Mounting the projector required a bit more work. I opted for a ceiling mount to save room space and adjustable settings to ensure the image aligned with the screen perfectly.
Materials Needed:
- Drill and screws (for mounting the screen and projector).
- Level (to ensure everything was perfectly aligned).
Step 5: Setting Up the Sound System
For the sound system, I placed the front, center, and side speakers based on the recommended setup for 7.2.4 systems. The two subwoofers were placed at opposite room corners for evenly distributed bass. Running the wires without making them visible was a bit of a challenge, but with some ingenuity and the use of wire concealers, I managed it.
Materials Needed:
- Speakers and subwoofers (as per the chosen sound system).
- Wire concealers (to keep things tidy).
Step 6: Seating and Finishing Touches
With the technical setup complete, it was time for the seating. I arranged the recliners in a semi-circle for optimal viewing and added a couple of bean bags for extra seating when needed. Finally, adding some personal touches like movie posters, LED strip lights for ambiance, and a mini-fridge for snacks and drinks made the room truly mine.
Materials Needed:
- Recliners and bean bags (for comfortable seating).
- Decorative items (to personalize the space).
Tech Integration
Incorporating the latest technology into your home theater can transform your viewing experience. Here's how to integrate tech seamlessly:
- Smart TVs and Projectors: Choose a smart TV or projector with high resolution and HDR support for the best picture quality. Look for models that offer easy access to streaming services.
- Sound Systems: Invest in a sound system that supports Dolby Atmos or DTS:X for immersive audio. Consider a soundbar if space is limited.
- Voice Control: Devices like Amazon Echo or Google Home can control your home theater with voice commands, making it more convenient.
- Universal Remote: A universal remote can replace multiple remotes and streamline the control of all your devices.
- Lighting Automation: Install smart lighting that can be controlled via an app or voice. Set scenes for different types of viewing experiences.
- Seating with Built-in Tech: Some modern seating options come with USB ports and built-in speakers for added convenience.
- Wi-Fi Extenders: Ensure strong Wi-Fi coverage in your home theater for uninterrupted streaming with a Wi-Fi extender.
- Regular Firmware Updates: Keep your devices updated with the latest firmware to ensure they run smoothly and securely.
- Cable Management: Use cable organizers to keep wires neat and prevent tripping hazards.
- Power Backup: Consider a UPS (Uninterruptible Power Supply) to protect your equipment from power outages and surges.
By staying up-to-date with technology and integrating these elements, you'll build a home theater that's not only modern but also provides a truly enveloping entertainment experience.
Maintenance and Upkeep
Maintaining your home theater ensures that it remains a top-notch entertainment space for years to come. Here's how to keep everything in tip-top shape:
- Regular Cleaning: Dust and dirt can affect the performance of your equipment. To keep the room clean, gently wipe down surfaces and vacuum regularly.
- System Updates: Keep your software up-to-date. Manufacturers often release updates that improve performance and add new features.
- Check Connections: Loose cables can cause issues. Once a month, check that all connections are secure and that wires are not frayed or damaged.
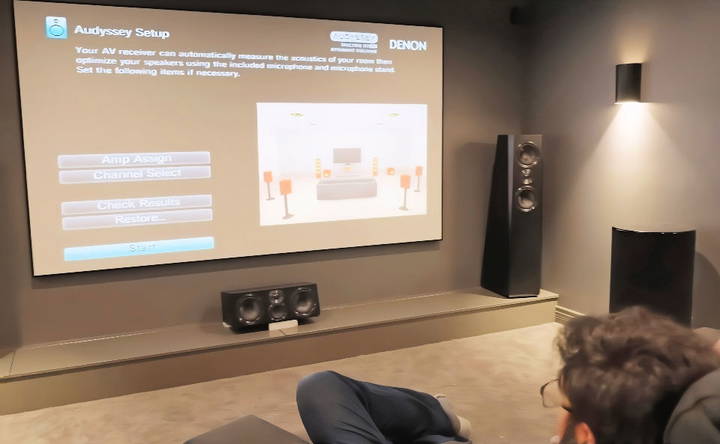
- Calibrate Your System: Over time, your audio and video settings can drift. For optimal performance, re-calibrate your system every six months.
- Ventilation Check: Electronics generate heat. Ensure your components have proper ventilation to prevent overheating.
- Surge Protection: Power surges can damage your equipment. Use surge protectors to safeguard your electronics.
- Remote Control Batteries: They die when least expected. Check and replace them regularly to avoid inconvenience.
- Lighting: If you use dimmable lights, check their functionality and replace any faulty bulbs to maintain the ambiance.
- Seating: Inspect your seats for wear and tear. Clean upholstery and tighten any loose bolts or screws.
- User Manuals: Keep them handy. They're your go-to resource for troubleshooting and understanding maintenance schedules.
By following these simple steps, you'll ensure that your home theater remains a reliable and enjoyable retreat.
FAQs About DIY Home Theater Room
Discover everything about DIY Home Theater Rooms in our FAQs. Learn tips, best practices, and essential equipment for the ultimate home cinema experience.
Building a DIY home theater involves selecting a room, planning the layout, controlling light and sound, choosing a screen or projector, and installing audio equipment. It's important to consider whether you want a dedicated theater room or a multi-purpose space. Light control can be managed with curtains and doors, while soundproofing can be achieved with insulated walls and sound-absorbent materials.
The screen is a critical component of your home theater. You can opt for a high-quality projector for a traditional theater experience or a large flatscreen TV for convenience and budget considerations. The choice depends on your room size, viewing habits, and personal preference. For projectors, a brightness of at least 2,500 lumens is recommended for daylight viewing.
Yes, it is possible to build a wireless home theater system, but keep in mind that Bluetooth and other short-range wireless technologies may not always be reliable. For a stable internet connection, consider routing an Ethernet cable to your home theater. This can provide a more consistent experience than relying solely on Wi-Fi.
To soundproof your home theater, use sound-absorbent insulation for walls, install soundproof doors, and consider adding a second layer of drywall or sound-dampening drywall. These measures will improve sound quality within the theater and prevent noise from leaking into other areas of your home.
The cost of building a DIY home theater can vary widely, ranging from $5,000 to $20,000 or more. Factors that affect the cost include the quality of the audio-visual equipment, seating, soundproofing materials, and any additional features like a wet bar or custom lighting. Planning and budgeting carefully can help manage the overall expense.
Conclusion:
Building my own theater room has been so rewarding. I encourage you to start your own project—you'll be surprised at what you can achieve without spending a lot.


