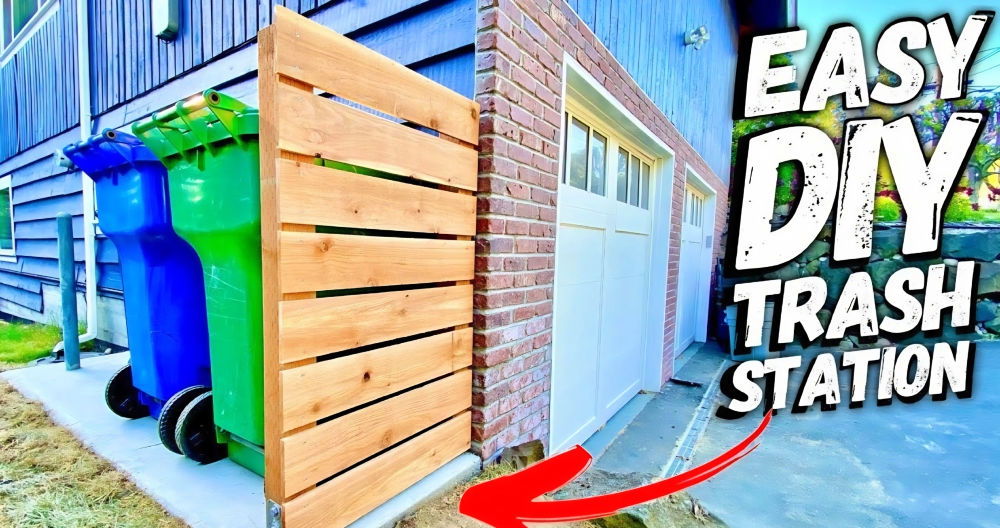
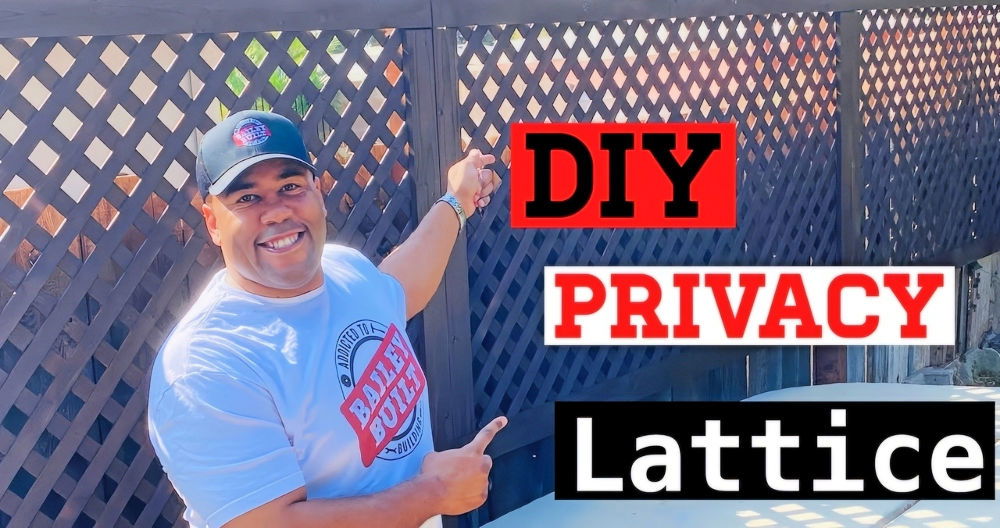
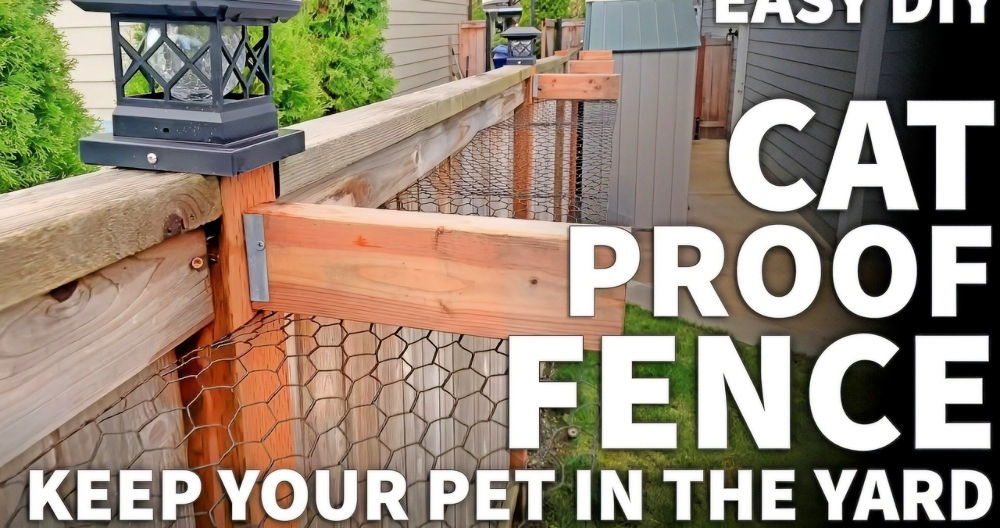
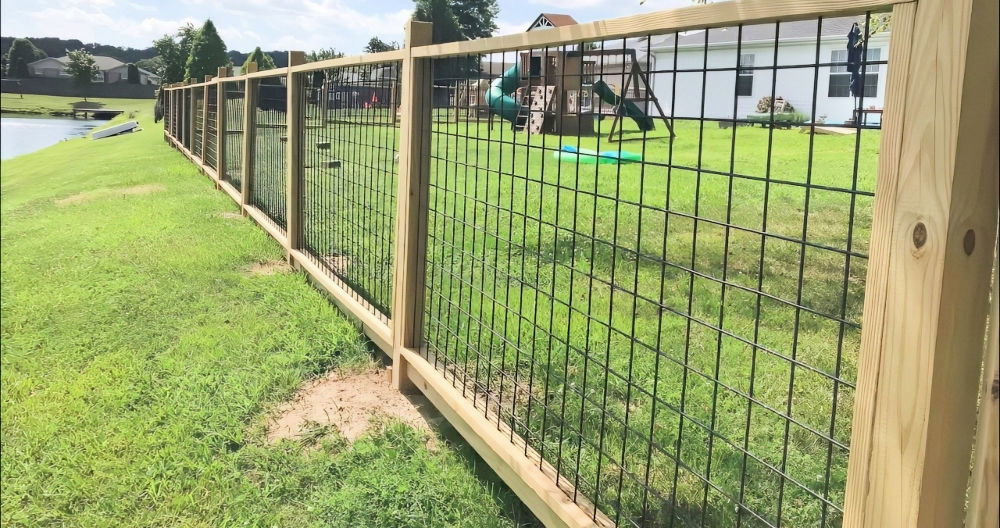
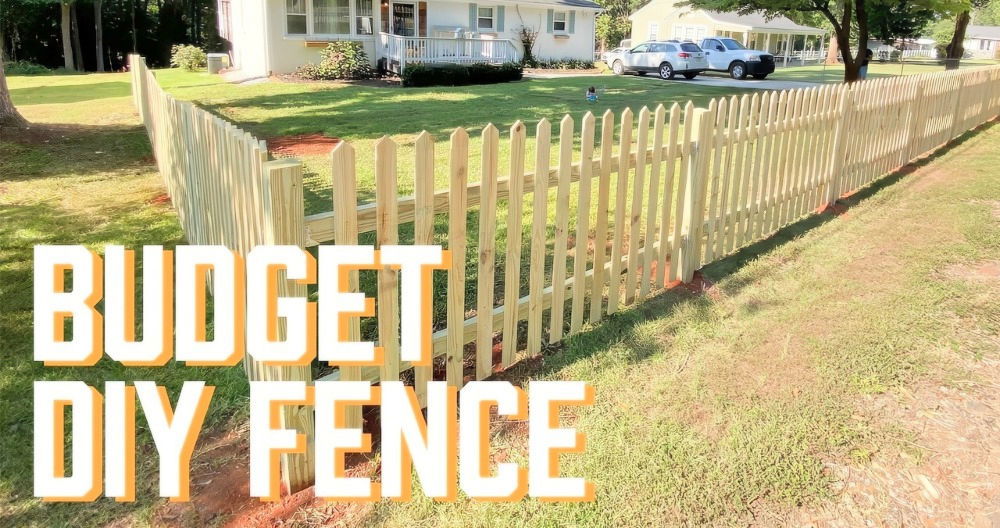
A horizontal slat fence offers a sleek, contemporary look for your garden, whether you're looking to build boundaries, add some privacy, or simply divide your outdoor space. With a little bit of planning and some basic tools, you can build a custom-slatted fence that enhances the aesthetic of your yard while providing functionality.
In this guide, you'll find a complete overview of building a DIY horizontal slat fence, from necessary tools and initial planning to installation details and final touches.
Why Build a Horizontal Slat Fence?
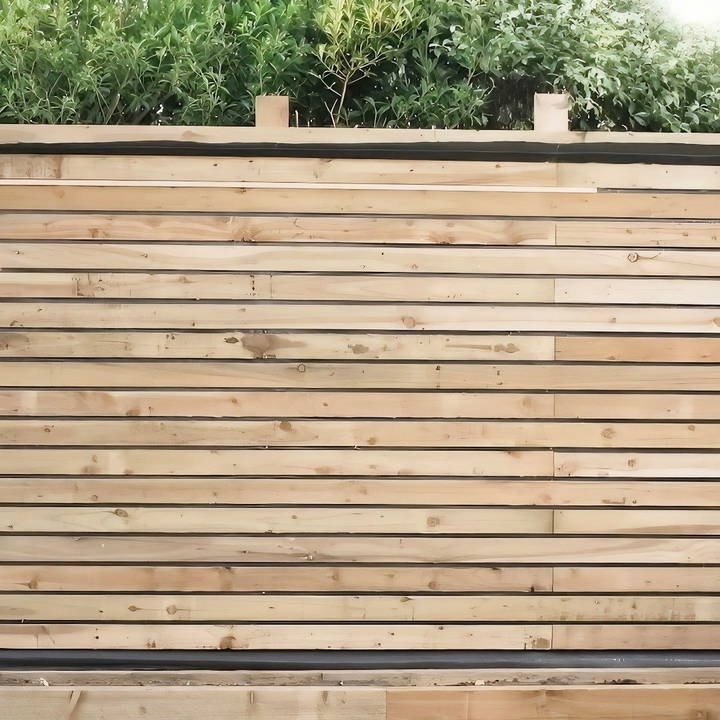
Horizontal slat fences have gained popularity in recent years due to their modern design and versatility. They provide several benefits, including:
- Customizability: You can adjust the spacing between the slats based on your privacy needs and aesthetic preferences.
- Contemporary Look: The clean, horizontal lines give a minimalist and stylish appearance that fits well in various outdoor settings.
- Functionality: Horizontal slats can serve as more than just fencing—they can double as a backdrop for outdoor lighting, hanging plants, or decorative elements.
- Durability: With the right materials and proper treatment, horizontal slat fences are long-lasting and can withstand various weather conditions.
Tools and Materials Needed
Before you begin your project, it's crucial to gather all the necessary tools and materials. This will help streamline the building process and avoid unnecessary delays.
Tools:
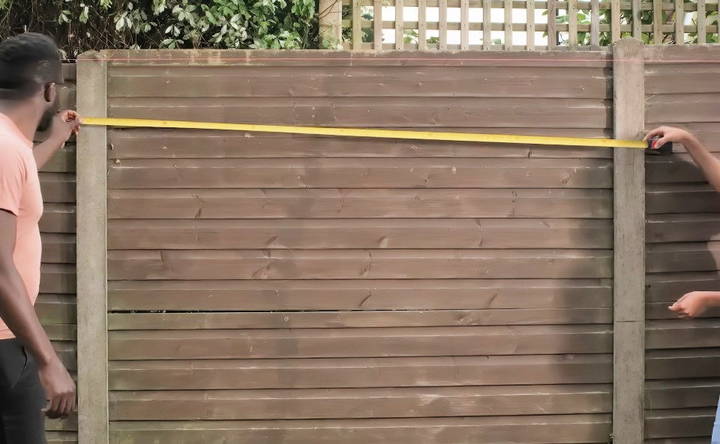
- Tape measure – for precise measurements.
- Spirit level – to ensure your posts and slats are level.
- Chop saw – to cut your slats and uprights to size.
- Nail gun or hammer – to attach the slats to the uprights.
- Drill and screws – for securing posts and uprights.
- Clamps – to hold your uprights and slats in place as you work.
- Staple gun – for attaching a membrane if privacy is needed.
- Safety gear – including gloves, safety goggles, and ear protection.
Materials:
- Timber slats – choose high-quality wood that's resistant to outdoor elements (e.g., cedar or treated pine).
- Upright posts – to support the slats.
- Packers – small pieces of material used to align and space the slats evenly.
- Waterproof wood glue – for extra bonding strength.
- Masonry screws – if attaching posts to a solid surface like concrete.
- Fabric membrane (optional) – to enhance privacy and build a visually striking contrast behind the slats.
- Wood preservative – to treat the cut ends of the slats and prevent water damage.
Step by Step Instructions
Build your DIY horizontal slat fence with our step-by-step guide. From planning to installation, enhance your space with easy, detailed instructions.
Planning and Prepping
optimize your planning and prepping process with steps to measure your space, consider your purpose, and order your timber efficiently.
Step 1: Measure Your Space
Begin by measuring the area where you'll install the fence. Decide whether you'll use existing posts or need to install new ones. The height and length of your fence will determine how many slats and upright posts you need.
- Pro tip: If you're sharing the fence with a neighbor, it's a good idea to check in with them about your plans before you start building.
Step 2: Consider Your Purpose
Decide whether your fence is for privacy or simply to define a space. This will affect the gap size between the slats:
- For more privacy: Use smaller gaps between the slats.
- For a more open look: Space the slats farther apart to allow more light and airflow.
Step 3: Order Your Timber
Once you know the dimensions of your fence, calculate the amount of timber you'll need. Keep in mind that horizontal slats typically span multiple panels, so you'll need longer pieces of wood to minimize waste.
Installation Process
Now that your tools and materials are prepared, and your space is measured, it's time to start the installation process.
Step 1: Align and Install Upright Posts
First, you'll need to ensure your upright posts are level and plumb (perfectly vertical). Use a string guide to make sure all the posts are aligned with each other.
- Tip: If your ground is uneven, you may need to use packers to level out minor imperfections in the posts.
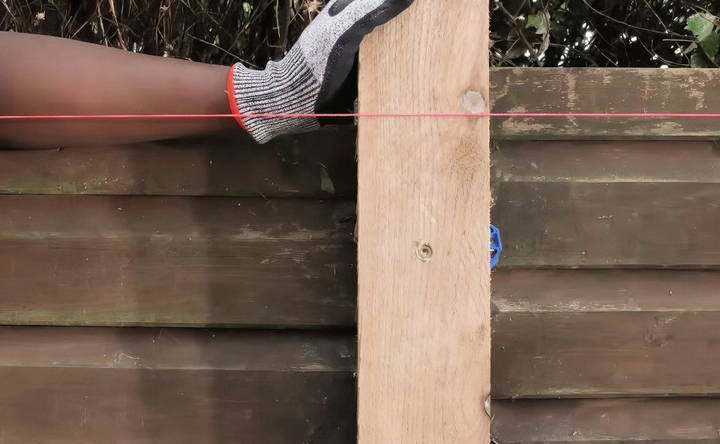
Step 2: Secure the Uprights
Position oversized uprights where they need to go. Clamp them in place, pre-drill holes, and countersink screws to secure the uprights. This will help prevent the wood from splitting and ensure a smooth surface.
- Use masonry screws if you're securing the uprights to a solid surface like concrete.
- For posts that are already plumb, waterproof glue can be used as a quick alternative to screws.
Step 3: Attach Temporary Slats
To keep everything in place and maintain the correct alignment, install temporary slats across the top of the oversized uprights. These will act as a guide for the rest of the slats.
- Attach a second row of temporary slats higher than any ground-level obstructions, such as planters or raised beds.
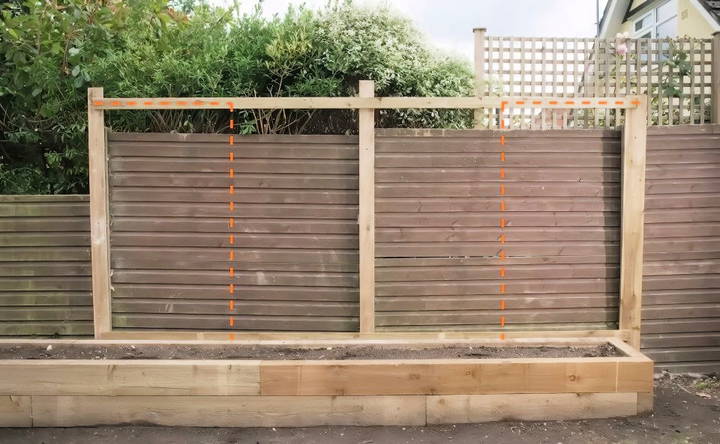
Adding the Slats
This is the fun part—installing the slats that will form the main body of your fence.
Step 1: Install the First Row of Slats
Mark the center point of each upright post to ensure everything lines up. Then, begin attaching the slats.
- Start by fixing the top slat, ensuring it is level. Attach the slat to the upright posts using your nail gun or hammer.
- Work your way down, using packers or spacers to maintain consistent gaps between the slats. A common spacing is around 15mm, but this can be adjusted based on your privacy preferences.
Step 2: Cut and Treat the Slats
Cut the slats to the desired length using a chop saw. Be sure to treat the cut ends of the slats with a wood preserver to prevent moisture damage and extend the life of your fence.
- Tip: Stagger the joins between slats to make the fence stronger and build a more visually appealing finish. This will also allow the wood to expand and contract naturally.
Step 3: Install the Remaining Slats
Continue installing slats row by row. As you work, move your spacer along to ensure even gaps. The last slat in each row will likely need to be cut to fit.
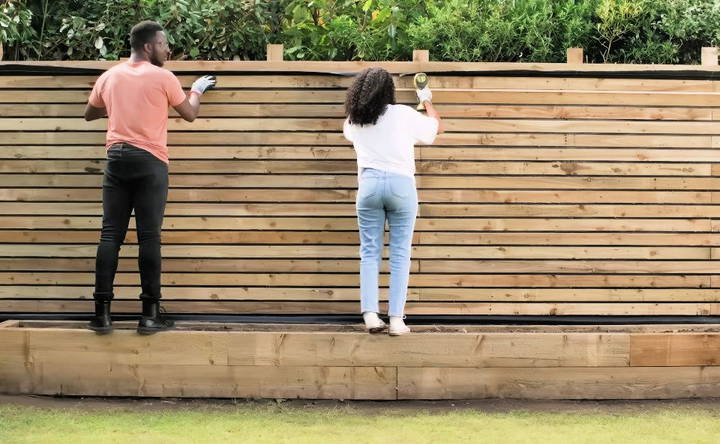
Finishing Touches
Once the slats are installed, it's time to take care of the finishing details.
Step 1: Reposition Temporary Slats
Now that the main slats are installed, remove the temporary slats. You can now reposition them higher or lower on the fence, depending on your design preferences.
Step 2: Trim and Sand the Fence
Trim any excess wood from the uprights, slats, or membrane using a saw. Sand down rough edges for a smooth finish.
Step 3: Add a Membrane for Privacy (Optional)
If you're adding a privacy membrane, now's the time to attach it. Simply staple the fabric to the uprights behind the slats. This will not only provide privacy but also make the slats stand out against the dark backdrop.
Decorative Enhancements
Now that your horizontal slat fence is built, consider adding some decorative touches to make the most of your new outdoor feature:
- Lighting: Install outdoor string lights or solar-powered LED lights along the fence to build a cozy, inviting ambiance in the evening.
- Plants: Hang potted plants or install climbing vines to soften the look of the fence and bring nature into your outdoor space.
- Outdoor Decor: Attach hooks for hanging lanterns, wind chimes, or other outdoor decor to personalize your fence and make it a functional part of your garden design.
Maintenance Tips
To keep your slat fence looking great and extend its lifespan, follow these maintenance tips:
- Clean regularly: Use a soft brush or cloth to remove dirt and debris from the slats.
- Treat the wood: Reapply wood preservative or sealant every few years to protect the timber from weather damage.
- Inspect for damage: Check for any signs of wear, such as cracks or warping, and replace or repair damaged slats as needed.
Conclusion
Building a DIY horizontal slat fence is a rewarding project that adds both aesthetic appeal and functionality to your outdoor space. With careful planning, attention to detail, and the right materials, you can build a custom fence that perfectly suits your needs. Not only will it enhance the look of your yard, but it will also provide privacy and a touch of contemporary style.
So gather your tools, take some measurements, and get ready to transform your garden with a beautiful horizontal slat fence.
FAQs About DIY Horizontal Slat Fence
Discover answers to common questions about DIY horizontal slat fences, including materials, installation tips, and maintenance advice.
Slats typically come in various lengths, but 3-meter slats are commonly used for horizontal fences as they minimize waste and are long enough to span several panels. You can cut them to size based on the dimensions of your fence.
A standard width for timber slats is 70mm, though this can be adjusted based on the design you prefer. Narrower slats offer a more delicate look, while wider slats build a bolder aesthetic.
Use a string guide and a spirit level to ensure all posts are level before installing the slats. If the posts are slightly uneven, you can use packers or shims to make adjustments and correct minor imperfections.
It's best to keep your slat fence independent from any existing fence panels. This prevents damage to the neighbor's fence and ensures your installation is stable without relying on other structures.
Cedar and treated pine are both excellent choices for outdoor use, as they resist rot and weathering. Be sure to apply a wood preservative to the cut ends to protect against moisture.
To prevent warping, leave a small gap between each slat (about 15mm). This allows room for the natural expansion and contraction of the wood, reducing the risk of slats becoming damaged over time.


