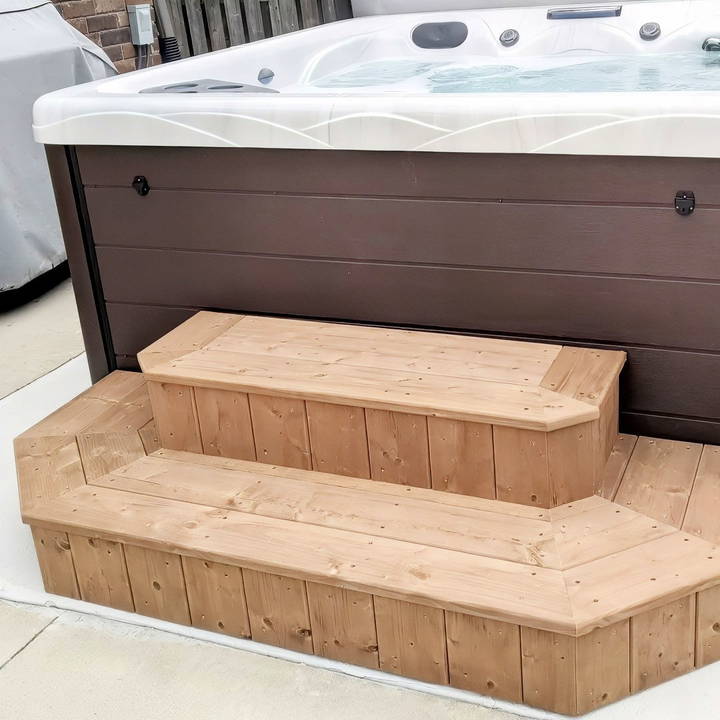
Having a hot tub in your backyard is a wonderful way to unwind and relax, but it's important to ensure safe and easy access. One great solution is to build your own DIY hot tub steps, tailored to the style of your home and spa. With a bit of woodwork and planning, you can build a set of durable, aesthetically pleasing, and functional steps that enhance your outdoor space.
This guide will lead you step-by-step through the process of constructing your own DIY hot tub steps. We'll cover materials, tools, construction techniques, and some design tips to ensure the final product is not only practical but also stylish. Follow these steps, and you'll be soaking in your hot tub with ease in no time.
Tools and Materials You'll Need
Before you begin, gather all the necessary tools and materials. Having everything on hand makes the building process smoother.
Materials:
- 2x8x12 pressure-treated lumber (2 pieces)
- 2x10x12 pressure-treated lumber (1 piece)
- 1x6x12 decking material of choice (5 pieces)
- Galvanized deck screws (2.5-3 inches long)
- Exterior wood glue (optional for extra hold)
- Sandpaper (120 grit)
- Wood finish or paint (optional for added protection and style)
You can use pressure-treated lumber for durability, especially if your hot tub steps will be exposed to the elements. Decking materials like composite boards or cedar also work great for the treads.
Tools:
- Circular saw or miter saw
- Measuring tape
- Carpenter's square
- Power drill with drill bits and screwdriver attachments
- Router (optional, for rounded edges)
- Sanding block or electric sander
- Level
- Clamps (optional for precision work)
Step by Step Instructions
Learn how to build DIY hot tub steps with our easy-to-follow instructions. From measuring to installation, make safe and stylish steps effortlessly.
Step 1: Measure and Plan the Size of Your Steps
The first and most important step is to decide how tall and wide your steps need to be. Ideally, the steps should be wide enough to comfortably step on and deep enough to provide a secure surface to stand on without slipping.
General Guidelines:
- Height: Most hot tubs are elevated between 24 to 36 inches off the ground, so you'll need at least two to three steps to reach the top.
- Step Depth: Aim for 10 to 12 inches of depth for each step. This ensures your feet have enough room to fully rest on each step.
- Width: The steps should span the width of your hot tub or wider. A 36 to 48-inch wide set of steps allows for comfortable access.

Use a carpenter's square and measuring tape to ensure your dimensions are precise. You can customize these measurements to fit your specific needs, but safety and comfort should be your top priorities.
Step 2: Cut the Stringers
The stringers are the side supports of your steps. These pieces determine the rise (height) and run (depth) of each step, so it's crucial to measure and cut them accurately.
- Start by marking the rise and run on the 2x8x12 boards. The rise should be 6 to 8 inches, and the run should be 10 to 12 inches.
- Use a carpenter's square to mark out the angles for each step on the stringer.
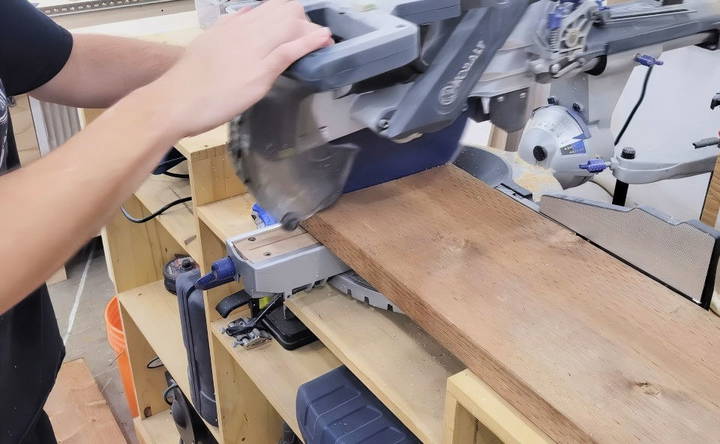
- Once marked, carefully cut along the lines with a circular saw or miter saw.
You'll need two stringers—one for each side of the steps. Ensure that the cuts are identical to maintain balance.
Step 3: Prepare and Cut the Treads
Treads are the horizontal part of the steps, where your feet will step. You'll want to cut these pieces to the desired width of your stairs, typically between 36 to 48 inches.
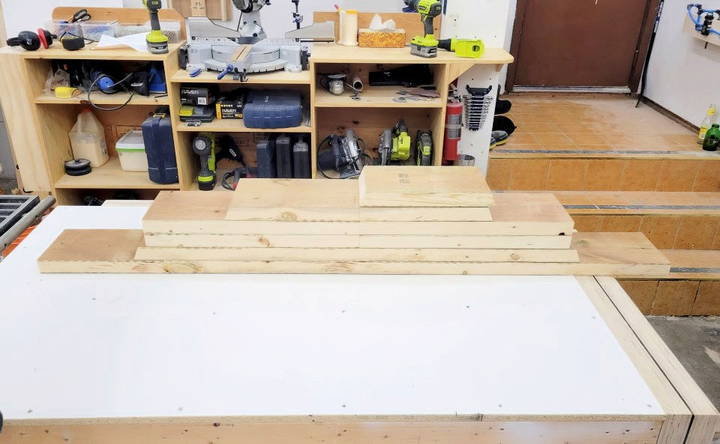
- Cut the 1x6x12 decking boards into the appropriate lengths for the treads. Each step will require at least two boards side by side to cover the full depth.
- Sand the edges and surfaces of the boards to remove any splinters. This is especially important since the steps will be used by bare feet.
- Optional: Use a router to round off the edges of each tread for a smoother, safer finish.
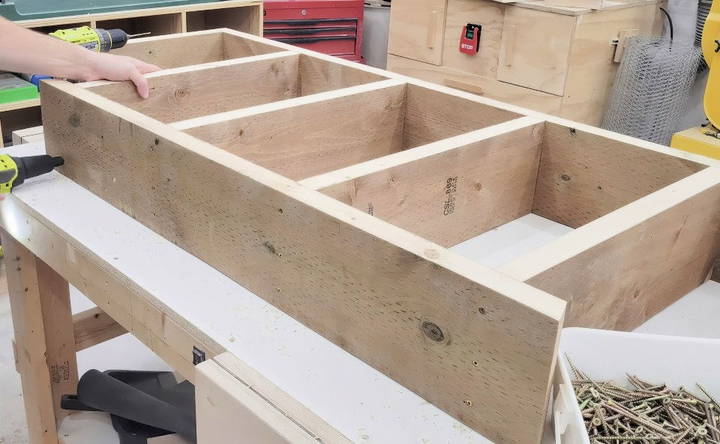
Step 4: Assemble the Frame
Once your stringers and treads are prepared, you can start assembling the steps.
- Position the stringers on a flat surface, ensuring they are level and parallel.
- Attach the treads to the stringers using 2.5- to 3-inch galvanized deck screws. Place screws at each end of the tread to ensure it is securely fastened to both stringers. Use two screws per side for each tread.
- Start from the bottom step and work your way up, attaching each tread one by one.
- Optional: Apply exterior wood glue along the joints for added durability.
Make sure each tread is level before securing it completely. You can use a clamp to hold the treads in place while you work.
Step 5: Sand and Finish the Steps
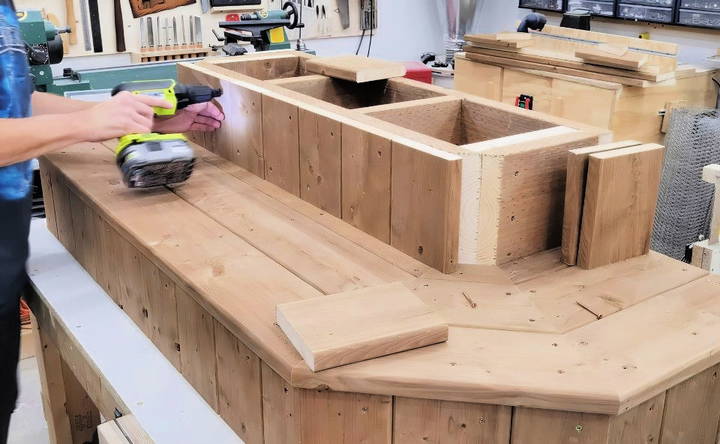
Once the assembly is complete, it's time to sand down any rough spots and finish the wood. Proper sanding is essential for safety, especially if you plan to use the steps barefoot after exiting the hot tub.
- Use 120-grit sandpaper to smooth all surfaces, focusing on edges and corners where splinters might form.
- If you routed the edges earlier, sand them for a clean, professional look.
- After sanding, you can apply a weatherproof wood finish or paint to protect the steps from the elements. If you prefer a natural look, use a clear sealant to keep the wood protected without changing its appearance.
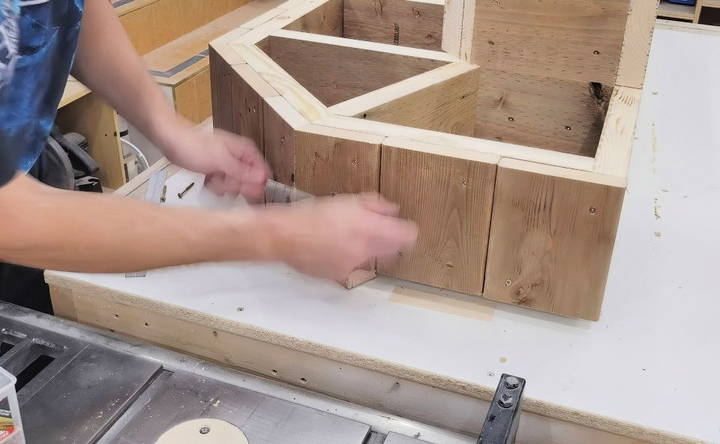
Step 6: Install the Steps
Once the finishing touches are complete, it's time to install your steps next to your hot tub.
- Position the steps where you want them. Ensure they are stable and sitting level on the ground.
- If you want added security, you can attach the steps to the hot tub's base or deck using additional screws or brackets.
- For uneven ground, you may need to add small shims under one side of the steps to keep them level.
Optional Add-ons and Design Tips
- Handrails: For added safety, especially if children or older adults will be using the hot tub, consider installing handrails on either side of the steps.
- Non-slip Treads: Applying anti-slip strips or a textured finish to the treads can help prevent slips, especially when wet.
- Lighting: LED strip lighting under each tread can build a beautiful and functional accent, making the steps easier to see at night.
Maintenance Tips
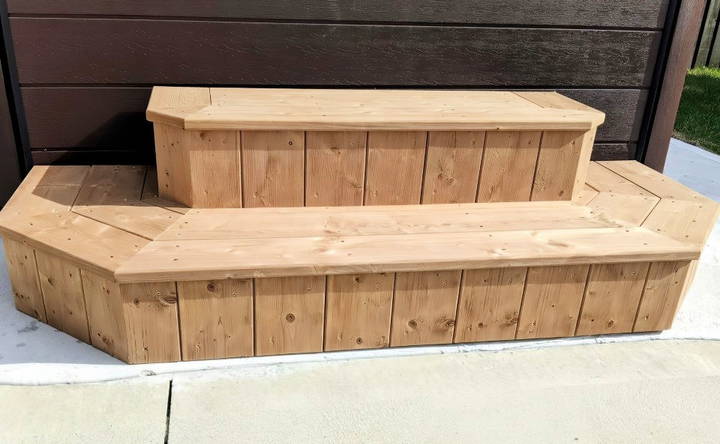
Your DIY hot tub steps will likely be exposed to water, weather, and varying temperatures, so routine maintenance is key to extending their lifespan.
- Inspect regularly: Check for loose screws, splinters, or any signs of wear, especially on the treads.
- Clean frequently: Keep the steps free of debris, dirt, and algae buildup. Use a mild detergent and water to clean the steps when needed.
- Reapply sealant: Depending on the finish you used, you may need to reapply sealant or wood protector annually to prevent the wood from rotting or cracking.
Conclusion: Enjoy Your Custom Hot Tub Steps
Building your own hot tub steps is a rewarding project that enhances both the safety and aesthetic of your outdoor spa area. With careful planning and attention to detail, you can build sturdy and beautiful steps that will last for years. Whether you're looking for a basic design or want to add some custom features like handrails or lighting, the process is straightforward and accessible for most DIY enthusiasts.
So grab your tools, gather your materials, and start building those steps to ensure you can enjoy your hot tub safely and stylishly. Happy building!
FAQs About DIY Hot Tub Steps
Learn all about DIY hot tub steps with our comprehensive FAQs. Discover tips, materials, and safety advice for your perfect project!
To accommodate a taller hot tub or swim spa, you can add an additional step or adjust the height of each step. Increase the rise of each step to about 8 inches and ensure that the total height matches the height of your hot tub. You may also need to adjust the stringers accordingly.
If your steps are unstable, check that the stringers are cut accurately and placed on level ground. You can use shims to level them if necessary. Make sure that all screws are tight and the structure is well-supported at the base.
Yes, Trex or composite decking can be used for the treads to enhance durability and appearance. These materials are weather-resistant, require less maintenance, and can offer a modern look. Ensure the stringers and support are strong enough to handle the heavier material.
Yes, you can modify the design to add storage beneath the top step. Build a removable panel or hinge the top step to access a compartment below, which is ideal for storing hot tub chemicals and accessories.
The diagonal pieces (stringers) are essential for supporting the treads. Use a carpenter’s square to measure a standard 90-degree angle. Depending on your hot tub’s height, adjust the rise and run to ensure a safe and comfortable slope for the steps.
Ripping the lumber to a uniform width ensures cleaner lines and a more polished finish. This technique can also improve the overall stability and strength of the steps by ensuring all pieces fit together evenly.
To extend the life of your steps, apply a weatherproof finish or sealant, especially if you're using natural wood. Reapply the sealant annually and regularly check for any signs of wear or rot. Keep the steps clean and free of debris to prevent buildup.
Yes, you can use cedar or composite materials for the treads. Cedar is naturally resistant to rot, while composite materials require less maintenance and offer longevity, though they can be more expensive.
Use galvanized or weather-resistant deck screws. These are designed to withstand moisture and outdoor conditions, preventing rust and prolonging the life of your steps.
Yes, you can adjust the width of the steps to fit smaller spaces by cutting the treads shorter. Just ensure that the stringers are placed correctly to provide adequate support for each tread.


