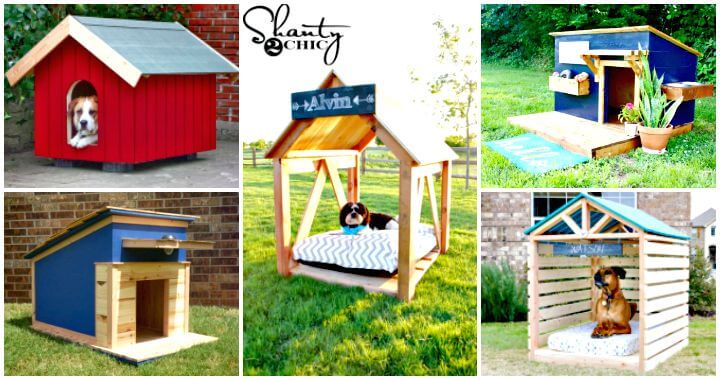
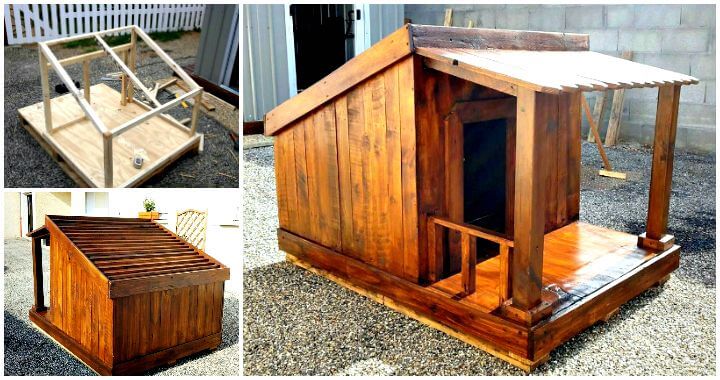
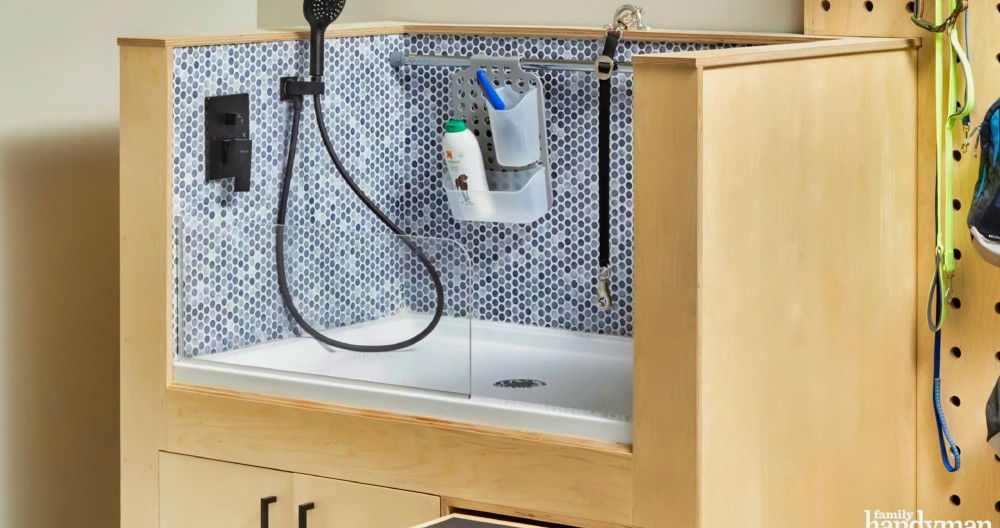
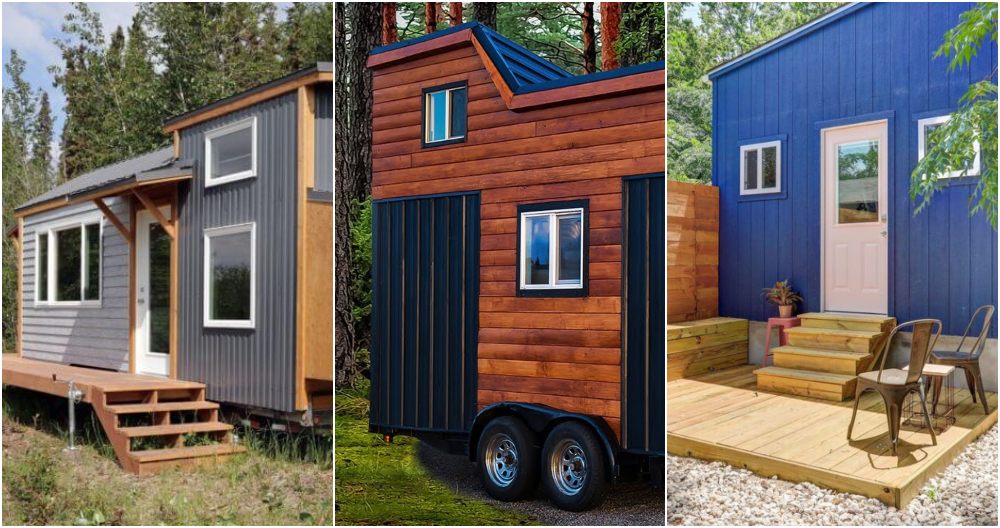
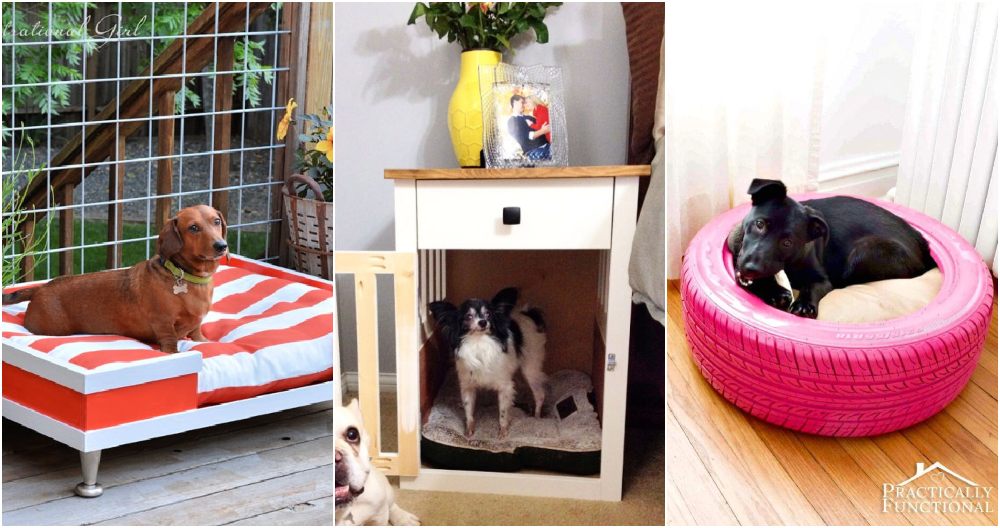
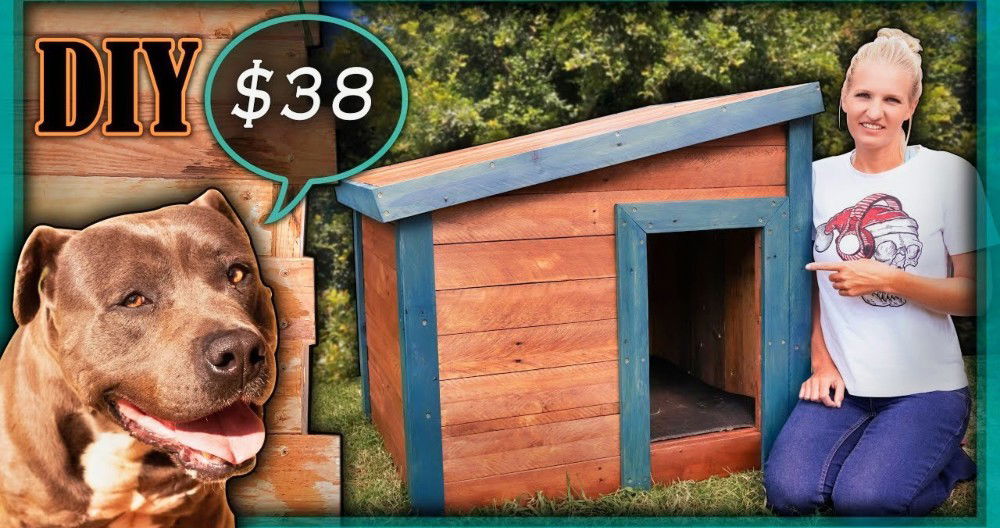
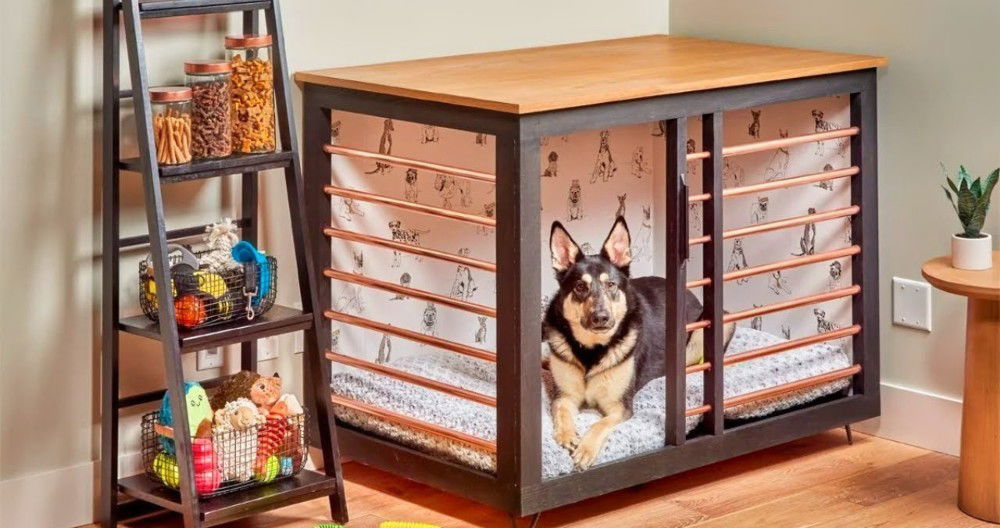
Building a comfortable, heated dog house is a great project to ensure your furry friend stays warm during the harsh Canadian winters. This step-by-step guide will take you through the process, from framing to the final touches, making sure your dog enjoys a cozy retreat. Whether you're a seasoned DIY enthusiast or a beginner, these detailed steps, based on the YouTube video "building a heated dog house for Canadian winters," will help you build a perfect home for your pet.
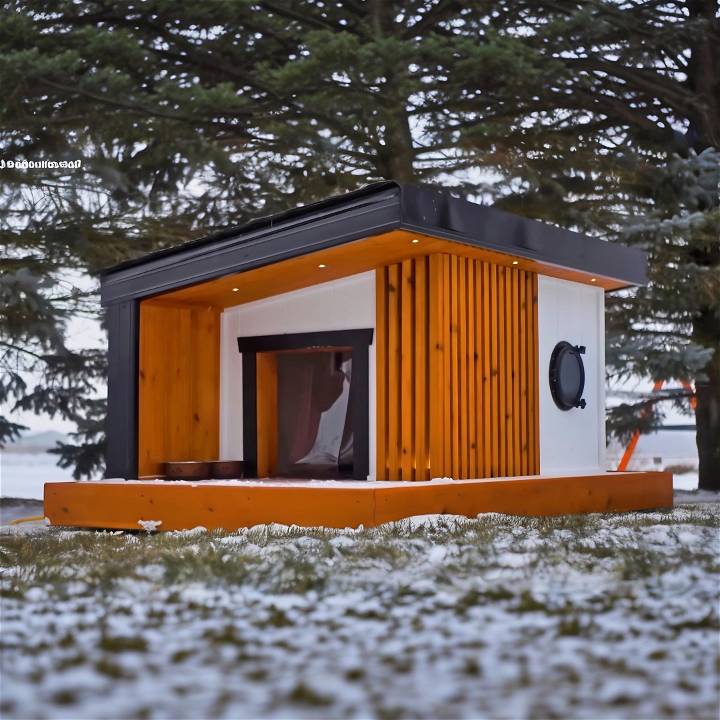
Materials and Tools Needed
- Cedar two-by-fours and deck boards
- Rigid insulation and spray foam
- Electrical supplies for heating and lighting
- Heated floor panel and Wi-Fi thermostat
- Vinyl plank flooring and silicone sealant
- Siding panels, paint, and roofing materials
- Various tools (saw, router, nail gun, etc.)
Preparing the Base
- Construct the Frame: Start by building a frame with cedar two-by-fours. Cedar is chosen for its durability and resistance to outdoor elements. The frame serves as the foundation for the dog house.
- Install Decking: Use cedar deck boards for the flooring. Space the boards evenly using popsicle sticks and fasten them with screws for a sturdy base.
- Insulate the Base: Place rigid insulation under the deck, cutting it slightly smaller than the space to allow for spray foam around the edges, ensuring a weatherproof seal.
Building the Frame
- Frame Construction: Use standard two-by-fours for the walls, spacing the studs about 24 inches apart. Ensure the bottom board of each wall is cedar to prevent water damage.
- Assemble the Walls: Construct the walls to the desired height, with one wall taller to support a lean-to roof. Frame the door and any windows at this stage.
- Install Wall Insulation: Before closing up the walls, insert rigid insulation, using spray foam around the edges to seal gaps.
Installing Electrical and Heating
- Run Electrical Wiring: Safely install electrical wiring for the heated floor and lighting. Consider consulting with an electrician for this step to ensure safety and compliance with local codes.
- Set Up the Heated Floor: Roll out the heated floor panel according to the size of the dog house. Connect it to the Wi-Fi thermostat, allowing you to control the temperature remotely.
Finishing Touches
- Apply Interior and Exterior Siding: Choose appropriate materials for both the interior and exterior siding. Paint and seal the exterior siding to protect it from the elements.
- Install Roofing: Add a drip edge, roofing underlay, and shingles (or your chosen roofing material) to the roof. Ensure it's securely fastened and waterproof.
- Add Insulation and Flooring: Lay down additional layers of underlay for insulation, then install the vinyl plank flooring. Seal edges with silicone to prevent water damage.
- Doors and Windows: Install any doors and windows, ensuring they are sealed and can keep out the cold. Consider adding a vinyl flap to the door for extra insulation.
- Exterior Lighting: Install deck lights and LED strip lights for visibility and aesthetics. This step requires careful electrical work, so follow safety guidelines.

Video Tutorial
For a step-by-step video tutorial on building a heated dog house, check out this YouTube video. It pairs well with this written guide, offering a visual representation of the construction process in a way that is straightforward and easy to grasp.
Building a warm dog house for your pet is a fulfilling project that guarantees their comfort in winter. Just follow the steps and watch the video tutorial to build a cozy, safe, and stylish shelter for your dog. A sturdy dog house offers warmth and security for your furry friend.
FAQs About Building an Insulated Dog House
Building a DIY insulated dog house can be a rewarding project that provides comfort and safety for your pet. To help you navigate through the process, here's a detailed FAQ section based on common inquiries and concerns.
Why is Insulation Necessary in a Dog House?
Insulation is crucial as it helps maintain a stable temperature inside the dog house, ensuring it stays cool in summer and warm in winter. Proper insulation can prevent your dog from suffering due to extreme weather conditions.
What Materials Are Best for Insulation?
The most effective materials for insulation are:
- Polystyrene sheets: They offer excellent thermal resistance and are easy to install.
- Rigid foam: It's lightweight and provides good insulation.
- Fiberglass batts: While effective, they must be covered to prevent your dog from touching them.
How Do I Ensure Proper Ventilation?
Even with insulation, ventilation is key to prevent moisture buildup and ensure fresh air circulation. Include at least one vent or a small window that can be opened or closed as needed.
Can I Build an Insulated Dog House on a Budget?
Yes, building on a budget is possible by:
- Choosing affordable materials like recycled wood.
- Doing the work yourself to save on labor costs.
- Looking for deals or discounts at local hardware stores.
What Tools Will I Need?
The basic tools required include:
- Measuring tape and pencil for accurate measurements.
- Saw for cutting materials to size.
- Drill and screwdriver for assembly.
- Hammer and nails for additional fastening.
How Big Should the Dog House Be?
The size should allow your dog to:
- Stand up and turn around comfortably.
- Lie down and stretch out fully.
- Have a little extra space for toys or blankets.
Is It Better to DIY or Hire a Professional?
This depends on your skill level and confidence. DIY can be more cost-effective and personalized, while hiring a professional ensures a quick and professional finish.
How Do I Maintain the Dog House?
Regular maintenance includes:
- Checking for any damage or wear.
- Cleaning the interior and exterior as needed.
- Reapplying weatherproofing treatments annually.
By addressing these common questions, you can approach your DIY insulated dog house project with more confidence and clarity. Remember, the goal is to build a safe, comfortable, and durable shelter for your furry friend. 🐶🏠
Conclusion:
In conclusion, building your DIY insulated dog house is a rewarding project that can keep your furry friend cozy and comfortable. Follow the steps outlined to ensure a warm and safe space for your beloved pet.


