An ironing board is an essential tool for anyone who wants to keep their clothes crisp and wrinkle-free. However, store-bought ironing boards often don't meet all your needs. They may be too big, too small, or too flimsy. Building your own ironing board allows you to customize the size, strength, and style to suit your needs. This DIY ironing board guide will walk you through the process step by step, ensuring you build a board that fits your specific preferences.
Why Make Your Own Ironing Board?
Before we dive into the details, let's talk about why you might want to make your own ironing board. The benefits include:
- Customization: You can make it any size you need, whether it's a small board to place next to your sewing machine or a large board for bigger projects like quilting.
- Durability: By using high-quality materials, you can ensure your ironing board lasts for years.
- Cost-Effective: With scrap materials and a little time, you can build a functional ironing board at a fraction of the cost of a store-bought one.
- Satisfaction: There's something immensely rewarding about making something with your own hands, and this project is simple enough for beginners but rewarding enough for experienced DIY enthusiasts.
Materials You'll Need
To build your ironing board, you'll need the following materials:
- Plywood (3/4 inch thick): This will be the core of your ironing board. A 3/4-inch plywood is recommended for its sturdiness, but you can opt for 1/2-inch plywood if you prefer something lighter. If you don't have plywood lying around, you can get it cut to size at your local hardware store.
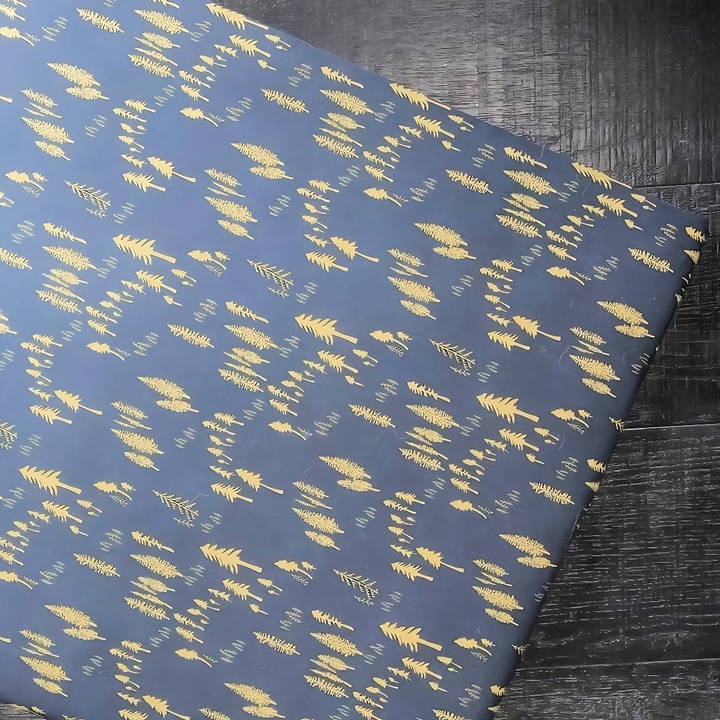
- Fabric: You will need fabric to cover the board. Choose one that's 10-12 inches larger than your plywood on all sides so you can wrap it around the edges. Make sure the fabric is heat-resistant.
- Batting (optional): If you want extra padding on your ironing board, you'll need two layers of batting. A blend of cotton and polyester batting (such as Hobbs 80/20) works well.
- Staple Gun: This will be used to secure the fabric and batting to the plywood. If your staple gun isn't powerful enough to fully sink the staples into the wood, keep a hammer on hand to finish the job.
- Scissors and Sandpaper: Scissors for trimming fabric, and sandpaper to smooth any rough edges on the plywood.
- Measuring Tape and Marker: For measuring and marking the plywood and fabric to your desired size.
- Hammer (optional): If the staples don't go in all the way, use a hammer to sink them in completely.
Choosing the Right Fabric
The fabric you choose should be both durable and heat-resistant. Cotton is an excellent choice because it can withstand high temperatures. Some people opt for fabrics with decorative patterns, but keep in mind that it's best to choose a fabric that will resist staining from frequent use.
Step by Step Instructions
Learn how to make a DIY ironing board with these easy, step-by-step instructions. Perfect for customizing and saving money!
Step 1: Prepare Your Plywood
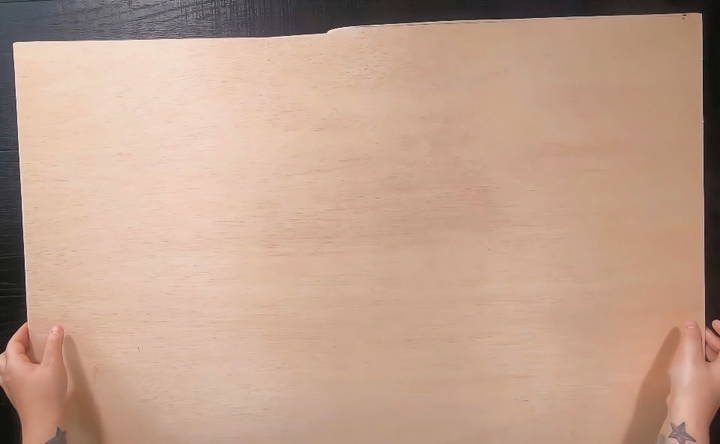
Start by determining the size of your ironing board. A standard ironing board is around 54 inches long and 15 inches wide, but feel free to customize the size based on your needs. If you're working on quilting projects or other large-scale sewing tasks, you might want a larger surface area.
If you have scrap plywood, use it to avoid extra costs. When working with the plywood, ensure that the edges are smooth. If there are any rough or splintering edges, use sandpaper to smooth them down. This is particularly important if you'll be moving the ironing board frequently, as splinters could damage fabrics or cause injury.
If you're having your plywood cut at a hardware store, ensure they cut it to your desired dimensions.
Step 2: Cut and Prepare the Fabric
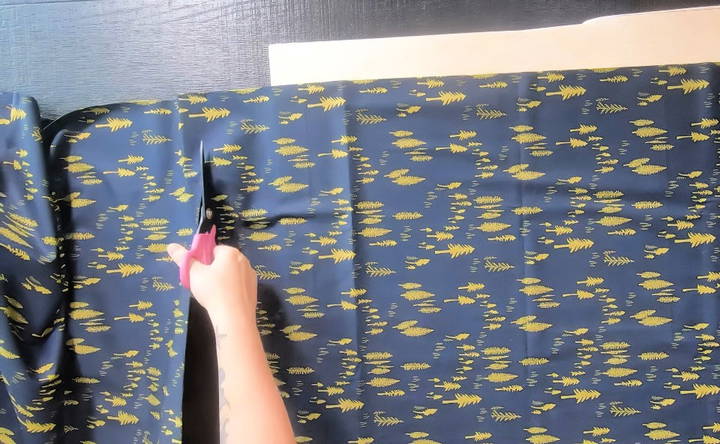
Next, cut your fabric. You'll want to cut it about 10 to 12 inches larger than the plywood on all sides. This extra fabric will allow you to wrap it around the edges and staple it securely.
For example, if your plywood is 20 inches wide, cut your fabric to 30-32 inches wide to give yourself enough material to work with.
Step 3: Iron the Fabric
Before attaching the fabric to the plywood, take a moment to iron it flat. Wrinkles in the fabric can cause problems during the stapling process and make the surface of your ironing board uneven. Make sure the fabric is smooth and free of any creases before proceeding to the next step.
Step 4: Attach the Fabric to the Plywood
Once the fabric is prepared, lay it out on a flat surface with the wrong side facing up. Place the plywood on top, centered on the fabric. Begin stapling the fabric to the plywood, starting with one of the long sides.
Fold the fabric over the edge of the plywood and use your staple gun to secure it in place. Start in the center of the side and work your way outward. Staple every 2-3 inches to ensure the fabric is tightly secured.
Once you've stapled one long side, pull the fabric taut and repeat the process on the opposite side. This will help keep the fabric tight and smooth across the surface of the board.
Step 5: Wrap the Corners
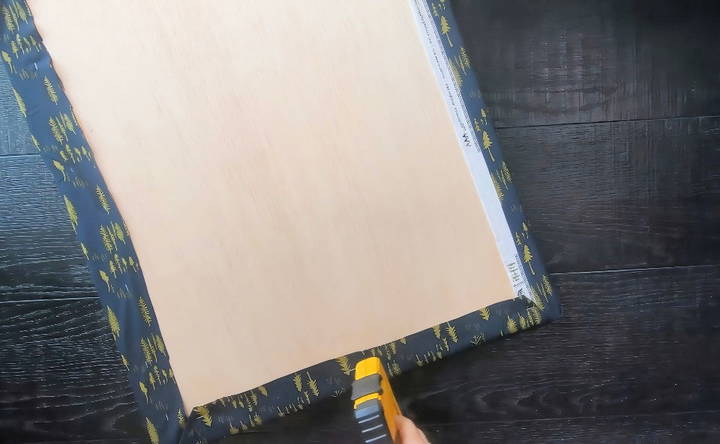
Wrapping the corners of the board is similar to wrapping a gift. Fold the fabric neatly, ensuring there are no wrinkles or bunching, and staple the fabric into place. If there is excess fabric, trim it off with scissors to keep the edges neat.
Step 6: Add Batting for Padding (Optional)
For added comfort and functionality, you can add a layer of batting under the fabric. Batting helps build a smooth, soft surface that makes ironing more efficient, especially for delicate fabrics.
Cut two layers of batting to fit over the plywood. The batting should be large enough to cover the board and wrap around the edges, just like the fabric. Place the batting over the plywood and staple it into place using the same method as before. Start with the long sides, then move to the short sides, and finally staple the corners.
If you choose not to add batting, the ironing board will still function well, but it may not be as soft.
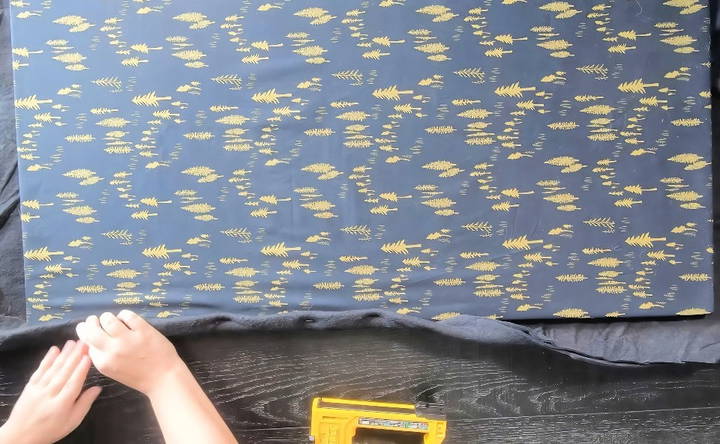
Step 7: Final Fabric Layer
Once the batting is secure, place the final fabric layer on top. Repeat the same steps as before, stapling the fabric securely to the plywood.
Make sure the fabric is smooth and the edges are neatly wrapped, with no loose areas or bunching. Start in the middle of each side and work your way to the corners, pulling the fabric tight as you go.
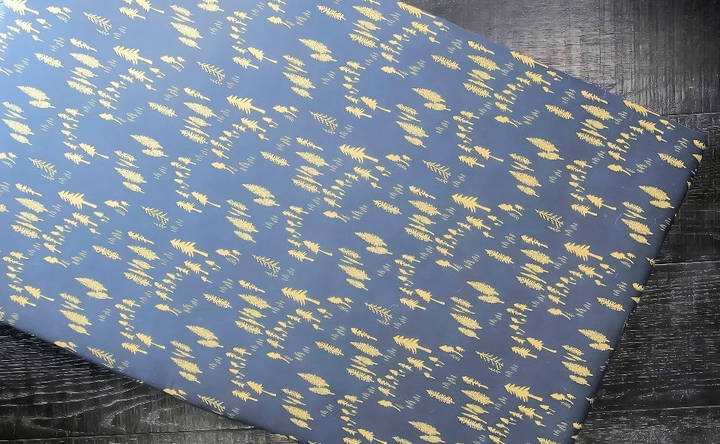
Step 8: Hammer in the Staples
After stapling all the sides, go back over your work and hammer in any staples that may not have sunk all the way into the plywood. This will ensure a smooth finish, and prevent the staples from scratching any surfaces when you move the board.
Step 9: Inspect and Finalize
Once you've finished attaching the fabric, flip your ironing board over and inspect it. Ensure the fabric is tight and smooth across the surface. If everything looks good, you're ready to iron! You can place your new ironing board on any sturdy surface, or even build a custom stand for it if you want it to be freestanding.
Tips for Customizing Your Ironing Board
- Size Adjustments: If you need a larger ironing board, you can extend the dimensions of the plywood. Alternatively, you could make a smaller board for more portable or specialized tasks, like pressing small fabric pieces while sewing.
- Additional Padding: If you do a lot of ironing with delicate fabrics, consider adding more layers of batting for extra softness and protection.
- Surface Texture: For added durability, you might consider using a heat-resistant fabric, such as canvas or duck cloth, as the top layer of your board.
Conclusion: The Perfect DIY Ironing Board
Making your own ironing board is a simple and rewarding project that ensures you get exactly what you need in terms of size, sturdiness, and function. By following these steps, you can build a custom ironing board that meets your specific requirements—whether it's for day-to-day ironing or special projects like sewing and quilting.
Not only is it a cost-effective solution, but you'll also take pride in using a board you built yourself. Plus, with the right materials, your ironing board will last for years. Now that you've completed your board, you can enjoy smoother, faster ironing with a tool designed perfectly for you.
FAQs About DIY Ironing Board
Discover quick answers to common questions about DIY ironing boards, from materials to assembly. Enhance your ironing experience with expert tips!
A great tip is to hot glue over the tops of the staples. This not only prevents scratches on the surfaces but also helps keep the board from sliding around, especially on smooth surfaces.
Yes! You can lay the fabric, batting, and board together in one step. However, be cautious of bunching or creasing. Taking it one step at a time helps keep everything taut and smooth.
While cotton is ideal due to its heat resistance, you can also use upholstery fabric, which is durable and washable. Some DIYers even build removable sleeves for easy washing.
In addition to hot gluing the staples, consider using non-slip material on the bottom of the board, or place it on a textured surface to prevent movement.
Feel free to customize the size! Some prefer a small, sturdy board to use next to their sewing machine, while others opt for larger boards for bigger projects.


