Setting up an efficient irrigation system can make your gardening routine easier and more effective. Not only does it save time, but it also helps conserve water, ensuring your plants get the right amount of moisture without waste. This comprehensive guide will take you through the process of setting up a simple DIY garden irrigation system using easily accessible tools and materials. Whether you're new to gardening or an experienced green thumb, these steps will help you make an irrigation system tailored to your garden's needs.
Why Install a Garden Irrigation System?
Before we dive into the setup, let's talk about the benefits of using a garden irrigation system:
- Time-Saving: No need to spend hours watering your plants manually. With an automated system, the job gets done for you.
- Water Conservation: Irrigation systems deliver water directly to the roots of your plants, reducing evaporation and runoff.
- Plant Health: Regular and even watering promotes healthier plants, ensuring they receive consistent moisture without being overwatered or underwatered.
- Customization: You can easily adjust and expand your system as your garden grows or changes.
Now that we understand the advantages, let's get started with setting up your system.
Materials Needed for Your Irrigation System
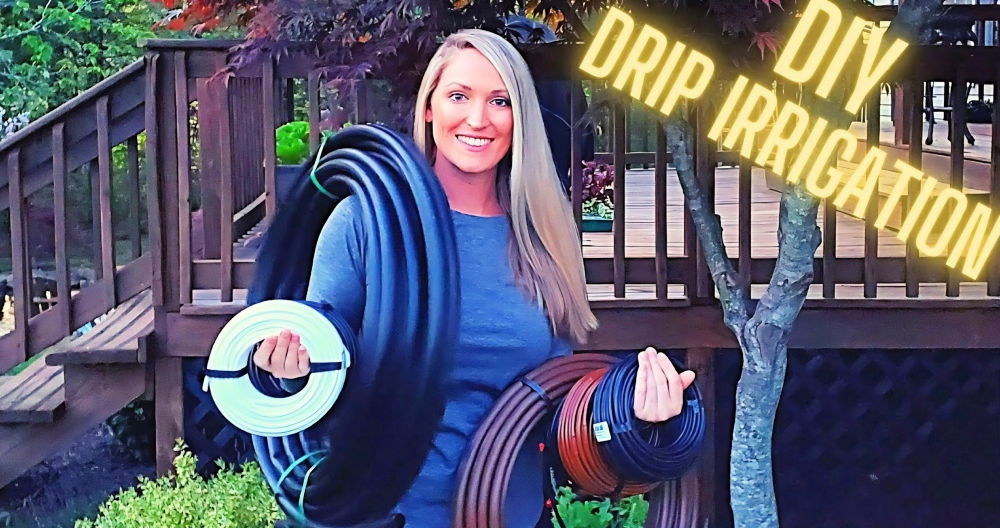
To build a basic drip irrigation system, you'll need the following materials:
- 280 Pcs Barbed Connectors: These are small connectors that help link the various pieces of tubing.
- Pressure Regulator: Helps control the water pressure, preventing damage to the system.
- 1/2 Inch Hose Adapter: Used to connect your irrigation tubing to your water source.
- Drip Emitters: These control the flow of water to your plants. They can be adjustable or fixed.
- Irrigation Tubing Hole Punch Tool: Used to punch precise holes in your tubing for the emitters.
- 1/2 Inch Irrigation Tubing: The main supply line through which water travels.
- 1/4 Inch Distribution Tubing: Smaller tubing that distributes water from the main supply to individual plants.
These components are easy to find at most garden centers or online, and they form the backbone of a drip irrigation system.
Step by Step Instructions
Learn how to make a DIY garden irrigation system with our step-by-step guide. Perfect your garden's watering with easy installation and tips.
Step 1: Planning Your Irrigation Layout
Before purchasing your materials, take some time to plan where you want your irrigation system to run. Identify the areas in your garden that need consistent watering, such as flower beds, vegetable patches, or pots. Make a rough sketch of your garden layout and mark where the main supply line will go and where the plants are that will require emitters.
Step 2: Installing the Main Supply Line
The main supply line is typically made from 1/2 inch irrigation tubing. Here's how to install it:
- Measure and Cut: Measure the length of tubing you need to reach from your water source to the farthest point in your garden. Cut the tubing to the required length using a sharp blade for a clean cut.
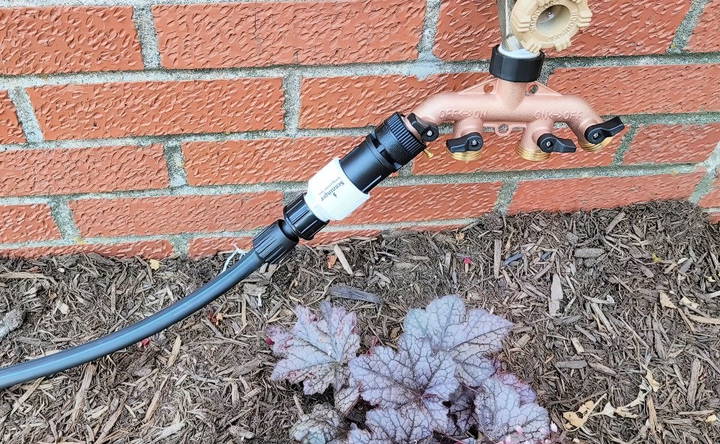
- Attach the Hose Adapter: Connect one end of the supply tubing to the water source using a 1/2 inch hose adapter. This adapter screws onto your outdoor faucet, providing a secure connection for the water to flow into the system.
- Pressure Regulator: Attach a pressure regulator to the hose adapter. This component is crucial for managing water pressure and preventing blowouts in the system.
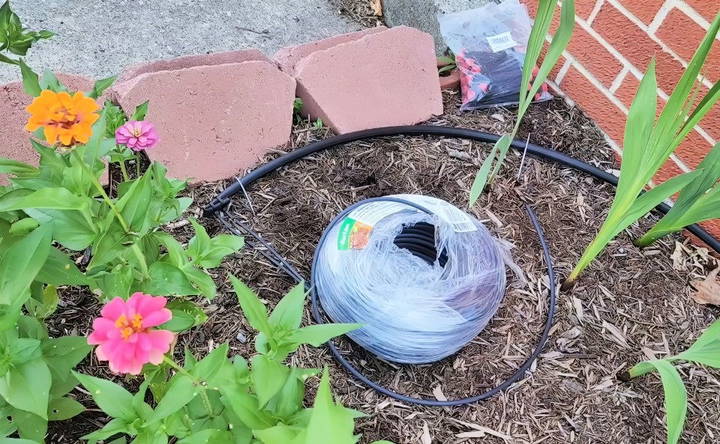
- Lay Out the Tubing: Run the tubing along the areas where your plants are located. Keep the tubing straight and avoid sharp turns that could kink the tubing and disrupt water flow. Use stakes or wire ties to secure the tubing in place.
Step 3: Installing the Distribution Tubing
Now that your main supply line is in place, it's time to install the 1/4 inch distribution tubing. This smaller tubing carries water from the main line to individual plants or plant groups.
- Punch Holes in the Main Tubing: Use the irrigation tubing hole punch tool to make holes in the 1/2 inch supply line. Space the holes according to where your plants are located. Typically, you'll want a hole for every plant or cluster of plants.
- Attach the Connectors: Insert barbed connectors into the holes. These connectors allow you to attach the 1/4 inch distribution tubing securely.
- Cut and Attach Distribution Tubing: Measure the distance from each hole to the plants, then cut the 1/4 inch tubing to the correct length. Attach one end to the barbed connector and the other end to the drip emitter.
Step 4: Installing the Drip Emitters
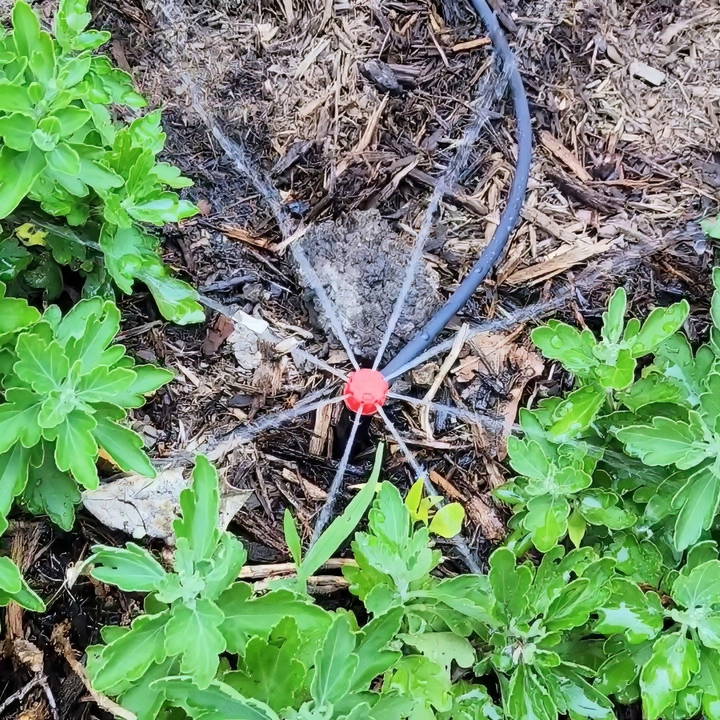
Drip emitters control how much water reaches each plant. They come in various flow rates and designs, including adjustable models that let you fine-tune the amount of water delivered.
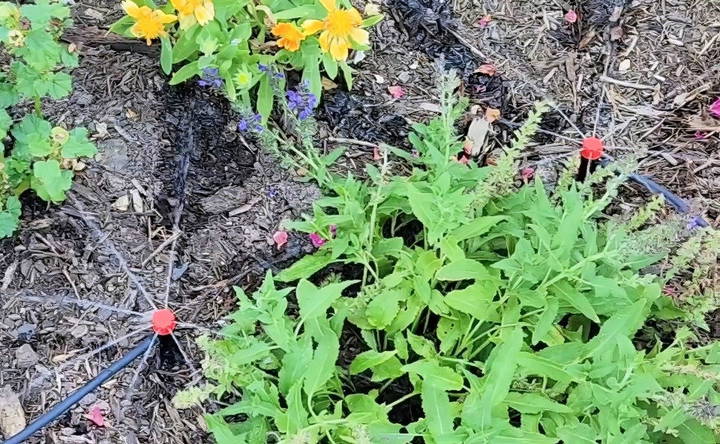
- Place the Emitters: Position emitters near the root zones of your plants. This ensures that water gets directly to where it's needed most.
- Insert Emitters into Tubing: Insert the emitters into the end of the 1/4 inch distribution tubing. If using adjustable emitters, set the desired flow rate by turning the top.
- Secure the Emitters: Use stakes or clips to secure the tubing and emitters so they stay in place.
Step 5: Capping the Tubing
Once all your emitters are in place, you'll need to cap off the end of the main supply line to prevent water from escaping.
- Fold the Tubing: Fold the last few inches of the 1/2 inch tubing back onto itself to make a tight seal.
- Secure with Zip Ties: Use zip ties to keep the fold in place, ensuring no water can leak from the end.
Step 6: Testing and Adjustments
With everything connected, it's time to test the system.
- Turn On the Water: Slowly turn on the water to your system. Start with low pressure to check for leaks or loose connections.
- Check for Leaks: Walk along the length of the system, looking for any spots where water is leaking. If you find any leaks, turn off the water and fix the issue before continuing.
- Adjust Emitters: If you're using adjustable emitters, tweak the settings to ensure each plant gets the right amount of water. You can fine-tune the flow rate based on the size and water needs of each plant.
- Automate with a Timer: Consider adding a water timer to your faucet. This way, you can automate your irrigation system to water your plants at regular intervals, even when you're away.
Maintenance Tips for Your Irrigation System
Once your irrigation system is up and running, maintaining it will ensure it continues to function effectively:
- Clean the Emitters: Over time, dirt and debris can clog your emitters. Clean them periodically to ensure a smooth flow of water.
- Inspect for Leaks: Regularly check your system for leaks, particularly around the connections and the end caps. Fixing leaks early prevents water wastage.
- Store in Winter: If you live in an area that experiences freezing temperatures, drain the system and store the tubing and emitters during the winter to prevent damage.
Expanding Your System
One of the great things about drip irrigation systems is that they are scalable. If your garden expands, it's easy to add new lines of tubing and more emitters. Simply punch additional holes in the main supply line, connect new distribution tubing, and install emitters where needed. You can also add more complex configurations with T-connectors or four-way manifolds.
Final Thoughts
Building a DIY garden irrigation system is a rewarding project that pays off in saved time, reduced water usage, and healthier plants. Whether you have a small backyard garden or a sprawling flower bed, setting up a simple drip system is a straightforward task that can be accomplished in a few hours.
By following this guide, you'll have all the information you need to make a customized irrigation system that keeps your garden thriving year-round. Happy gardening!
FAQs About DIY Garden Irrigation System
Discover answers to common questions about DIY garden irrigation systems for efficient watering and healthier plants.
You can use a timer with separate zones to water different areas of your garden simultaneously. However, remember that the supply line has limitations. If the distance is too far, you may experience a drop in pressure, affecting water flow to certain areas.
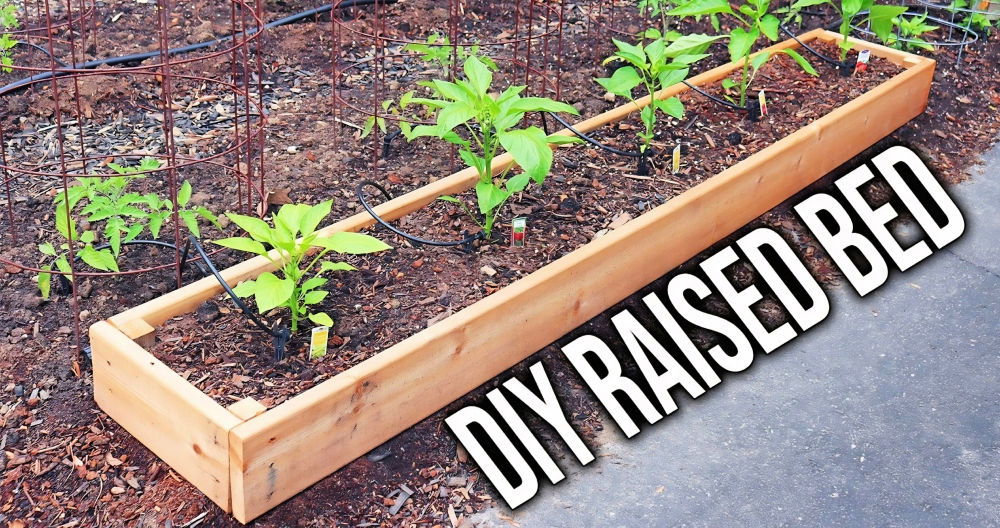
Yes, drip irrigation systems work exceptionally well in raised beds. You can run the main supply line along the perimeter and use drip emitters to ensure even watering for all plants in the bed.
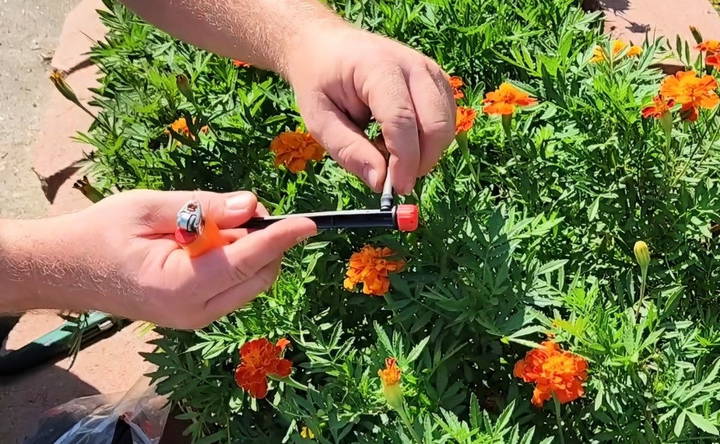
Yes, instead of a lighter, you can use boiling water to soften the plastic tubing. Dip the end of the tubing in a cup of hot water for a few seconds to make it more pliable. This method is equally effective in getting the tubing to fit snugly onto connectors.
To prevent kinks, make sure you have a smooth, wide radius when turning corners with the tubing. Avoid sharp bends as they can restrict water flow. Securing the tubing with stakes or clips can also help maintain its position and prevent movement.
If you notice low water pressure, first check for leaks in the system. Also, ensure that your supply line is not too long or overloaded with too many emitters. Installing a pressure regulator can help maintain consistent pressure throughout the system.
It’s best to drain and store your irrigation system during winter, especially in areas prone to freezing. Frozen water inside the tubing can cause cracks and damage the system. Disconnect the system, roll up the tubing, and store it in a dry place until spring.
It's a good idea to clean your drip emitters at least once a season, or more frequently if you notice reduced water flow. Dirt and debris can accumulate and clog the emitters, reducing their efficiency. Regular maintenance will ensure consistent water distribution.
Yes, adjustable emitters allow you to fine-tune the water flow to suit the needs of different plants. You can increase the flow for plants that require more water and reduce it for plants that need less. Simply twist the top of the emitter to make adjustments.


