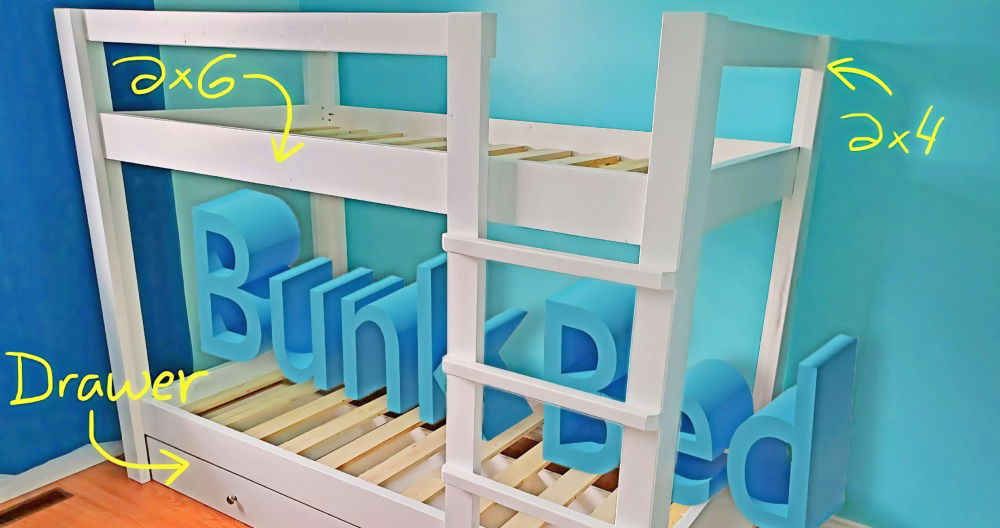
I've been passionate about DIY projects for as long as I can remember. Transforming simple materials into something functional and beautiful gives me an immense sense of achievement. Following Angela Marie's guide, I embarked on a project to build a DIY king size bed frame, aiming to breathe new life into my bedroom without breaking the bank. Here's how I did it, broken down step-by-step.
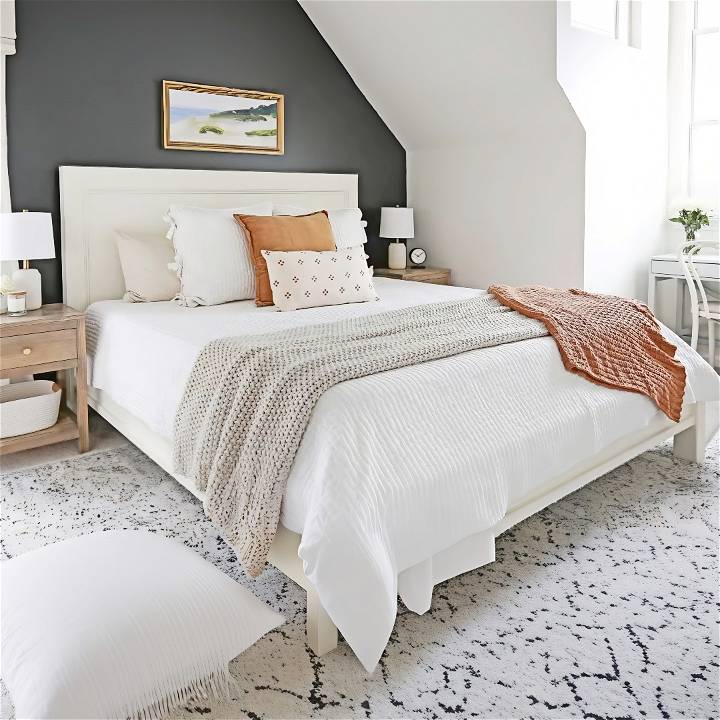
Materials Needed and Why
- Lumber: 4x4s, 2x4s, 2x2s, 1x4s, and a 4'x8' sheet of 3/4 inch thick plywood. These provide the structural foundation.
- Plywood: Chose formaldehyde-free for health considerations. It forms the large flat surfaces.
- Kreg Jig: For drilling pocket holes, crucial for joining the pieces discreetly and securely.
- Wood glue and screws: For assembling the pieces. Wood glue offers a strong bond, and screws ensure stability.
- Circular saw or table saw: Necessary for making precise cuts to your lumber.
- Measuring tape, pencil, clamps: For accurate measurements and to hold pieces in place during assembly.
- Brad nailer: For attaching trim without visible screw heads.
Preparatory Steps: Cutting and Drilling
I started by making all my initial lumber cuts, adhering closely to Angela's cut list. Cutting the materials correctly is half the battle in DIY projects. Then, I proceeded to drill pocket holes using the Kreg Jig. Setting it up for the correct thickness of wood is vital for making sturdy joints.
Building the Headboard
1. Attaching Horizontal Bars to Posts
I began the headboard assembly by attaching the horizontal 2x4 bars to the 4x4 posts using wood glue and screws. It's essential to ensure everything is square and level at this stage.
2. Fitting the Plywood
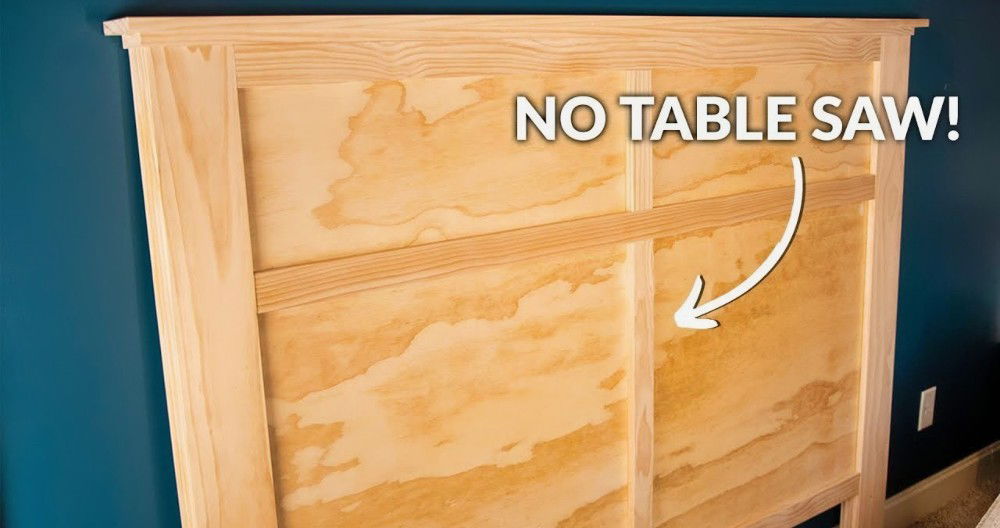
Next, I secured the large plywood piece to build the headboard's main panel. I made sure it was centered, leaving space for the trimming which would add a detailed finish later.
3. Adding the Trim
Trimming was perhaps the most satisfying part. It involved precise cuts to ensure it fit perfectly within the headboard framework, enhancing its overall look with a touch of elegance.
Constructing the Footboard
The footboard followed a similar assembly pattern to the headboard, albeit on a smaller scale. The focus here was on ensuring that all components were flush and square, providing a uniform look with the headboard.
Side Rails and Slat Supports
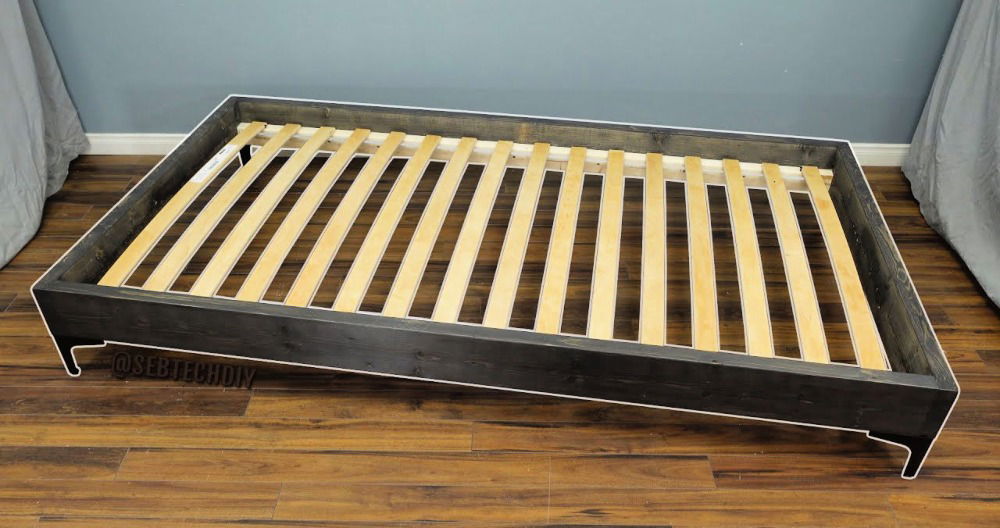
The side rails and slat supports were next. This part required attention to the placement of pocket holes to ensure they wouldn't be visible in the final product. The support slats were crucial in providing a stable base for the mattress.
Final Steps: Staining and Assembly
Painting or Staining
I opted to stain my bed frame to highlight the natural grain of the wood. The process involved filling any holes with stainable wood filler, sanding for a smooth finish, and then applying the stain evenly.
Assembling the Bed Frame
Assembling the bed in its final location was a bit challenging but definitely worth it. The side rails were attached to the headboard and footboard carefully, making sure everything was aligned correctly. Not using wood glue at this stage meant I could disassemble the bed for future moves.
Adding the Slats
The last step was laying out the slats and screwing them into place. This provided a strong foundation for the mattress, ensuring a good night's sleep.
Customization Ideas for Your Budget-Friendly Bed Frame
When it comes to making a budget-friendly bed frame, there are plenty of creative ways to personalize your project without breaking the bank. Whether you're a seasoned DIY enthusiast or a beginner, these customization ideas will help you craft a unique and stylish bed frame that suits your taste and budget.
1. Paint and Finish Options
- Color Splash: Transform your bed frame by adding a fresh coat of paint. Choose a color that complements your bedroom decor. Light pastels build a serene ambiance, while bold hues add vibrancy. Consider chalk paint for a rustic, matte finish.
- Distressed Look: Embrace the shabby-chic trend by distressing your wood bed frame. Use sandpaper to gently wear down edges and corners. The result? A charming, weathered appearance that adds character.
- Stain and Seal: Enhance the natural beauty of wood with a stain. Opt for warm tones like walnut or honey. Seal the wood with a clear polyurethane finish to protect it from scratches and moisture.
2. Headboard Designs
- Minimalist Elegance: Craft a simple yet elegant headboard using plywood or reclaimed wood. Sand it smooth, round the edges, and attach it securely to the frame. Minimalist headboards work well in modern and Scandinavian-inspired bedrooms.
- Tufted Upholstery: If you crave comfort, consider a tufted headboard. Cover a plywood panel with foam and fabric. Add button tufting for a luxurious touch. Velvet or linen fabrics build a cozy feel.
- Bookshelf Headboard: Combine storage and style by integrating a bookshelf into your headboard. Arrange books, decorative items, or even potted plants. It's functional and visually appealing.
3. Hardware Accents
- Drawer Pulls: Replace standard screws with decorative drawer pulls. Vintage knobs, sleek handles, or crystal accents instantly elevate the look. Check thrift stores or online marketplaces for affordable options.
- Metal Corner Brackets: Reinforce the corners of your bed frame with metal brackets. They add an industrial flair and provide extra stability. Spray-paint them to match your chosen color scheme.
4. Fabric Inserts
- Upholstered Panels: Build a cozy vibe by upholstering sections of your bed frame. Attach fabric panels to the sides or footboard. Use upholstery staples or adhesive. Velvet, linen, or patterned fabric all work beautifully.
- Macrame or Woven Inserts: For a boho-chic touch, weave macrame or natural fibers (such as jute) through the slats of your bed frame. It adds texture and visual interest.
5. Bed Legs and Feet
- Hairpin Legs: Swap out standard legs for hairpin legs. These sleek, mid-century-inspired metal legs provide a minimalist look. Available in various heights, they're easy to install.
- Wooden Bun Feet: Add a touch of elegance with wooden bun feet. Attach them to the corners of your bed frame. Choose a stain or paint that complements your overall design.
Remember, customization doesn't have to be expensive. Get creative, explore thrift stores, and repurpose materials to make your DIY bed frame uniquely yours. Happy crafting!
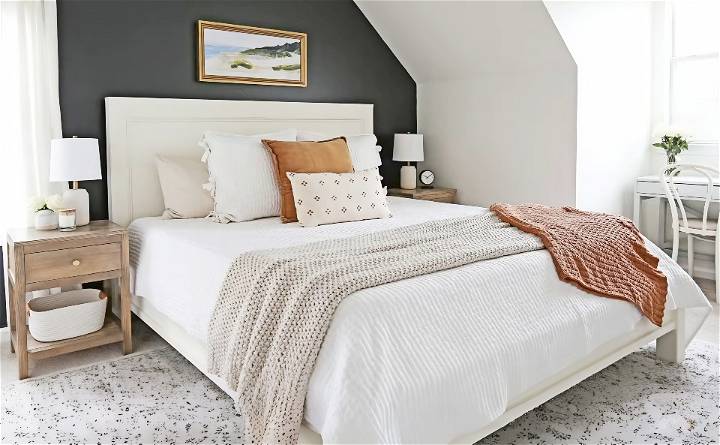
FAQs About DIY King Bed Frame
Get all your questions answered about DIY king bed frames in this comprehensive FAQ guide. Perfect for beginners and experienced DIYers alike!
1. How Do I Choose the Right Wood for My Bed Frame?
When selecting wood for your DIY king bed frame, consider durability, aesthetics, and budget. Common choices include pine, oak, or plywood. Pine is affordable and easy to work with, while oak offers a timeless look. Plywood is budget-friendly and versatile. Opt for hardwoods if you want long-lasting quality.
2. Can I Modify the Bed Frame Size?
Absolutely! Adjust the dimensions to fit your space. Measure your mattress and room carefully. Keep in mind that standard king mattresses are approximately 76 inches wide and 80 inches long. Adapt the frame length and width accordingly.
3. Should I Add a Center Support Beam?
For a king bed frame, a center support beam is crucial. It prevents sagging and ensures even weight distribution. Use a sturdy piece of wood or metal. Attach it horizontally across the middle of the frame, supporting the slats or platform.
4. What Type of Joinery Should I Use for My Bed Frame?
Choosing the right joinery method ensures the stability and longevity of your bed frame. Consider these options:
- Pocket Holes: Pocket screws build strong connections between wood pieces. Use a pocket hole jig to drill angled holes and secure the joints with screws.
- Mortise and Tenon: This traditional method involves cutting a mortise (hole) in one piece and a tenon (protrusion) on another. Glue and clamp them together for a sturdy joint.
- Dowels: Dowels provide hidden and reliable connections. Drill matching holes in the pieces and insert dowel pins with wood glue.
5. Can I Convert an Existing Bed Frame to a King Size?
Absolutely! If you have a smaller bed frame, follow these steps:
- Measure and Plan: Assess the existing frame's dimensions. Determine how much you need to extend it to fit a king-size mattress.
- Extend Side Rails: Add length to the side rails using additional wood pieces. Secure them with screws or dowels.
- Modify the Headboard and Footboard: Adjust the headboard and footboard height to match the new mattress size.
- Center Support: Ensure proper support by adding a center beam or additional slats.
- Paint or Refinish: Give the frame a fresh look with paint or stain.
6. How Can I Make My Bed Frame More Storage-Friendly?
Maximize storage space without compromising aesthetics:
- Under-Bed Drawers: Build pull-out drawers beneath the bed frame. Use them for clothes, shoes, or extra bedding.
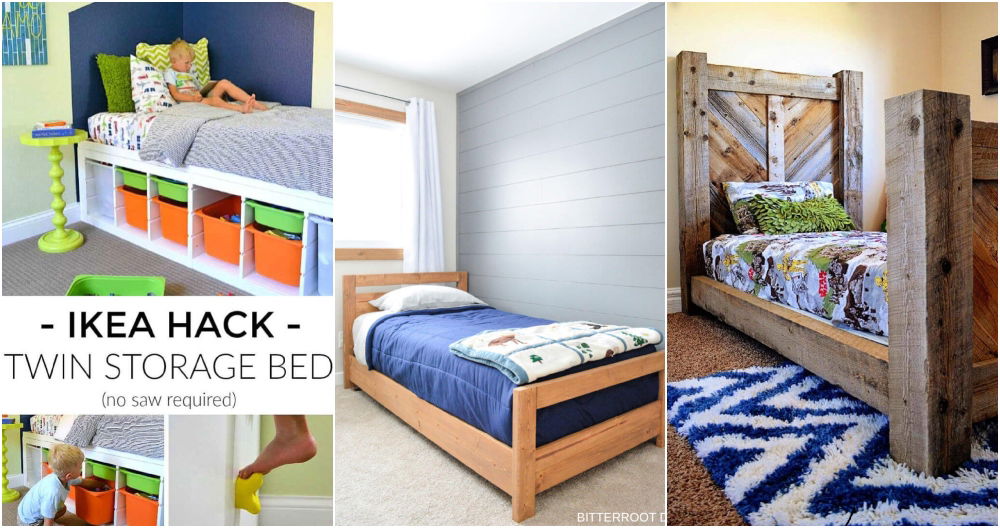
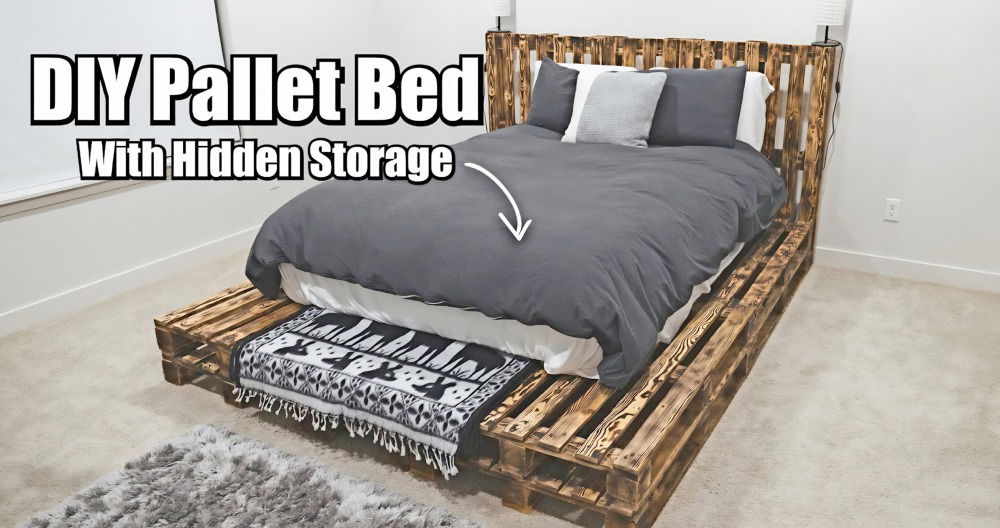
- Platform Bed with Cubbies: Build a platform-style bed with built-in cubbies or shelves. Perfect for books, baskets, or decorative items.
- Floating Nightstands: Attach small floating shelves to the sides of the bed frame. They serve as convenient nightstands.
Remember, adapt these answers based on your specific project and preferences. Happy woodworking!
Conclusion
Building my DIY king size bed frame was a rewarding project that not only saved me money but also gave me a custom piece of furniture I'm proud of. The process taught me patience, precision, and the importance of planning. Whether you're a seasoned DIY enthusiast or a beginner, I highly recommend giving such a project a try. It's a great way to personalize your space and gain new skills along the way.


