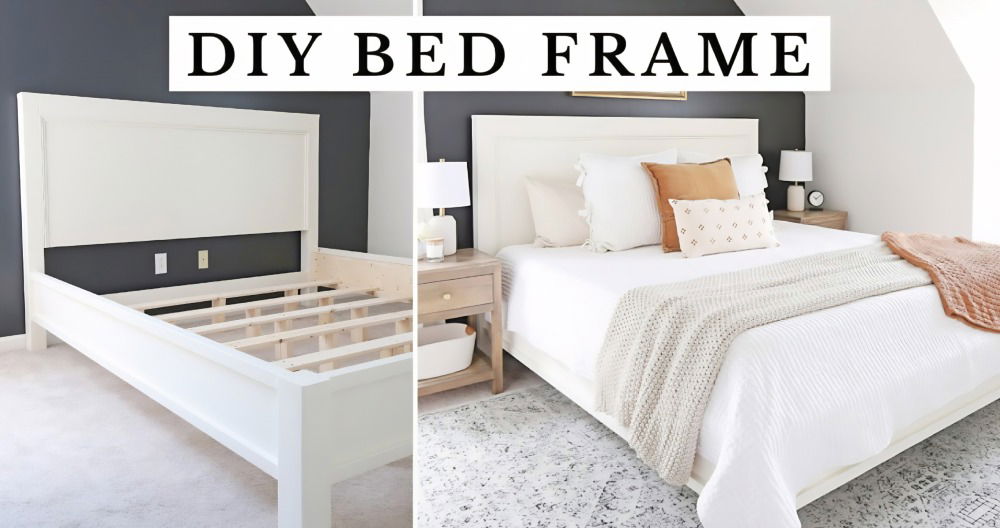
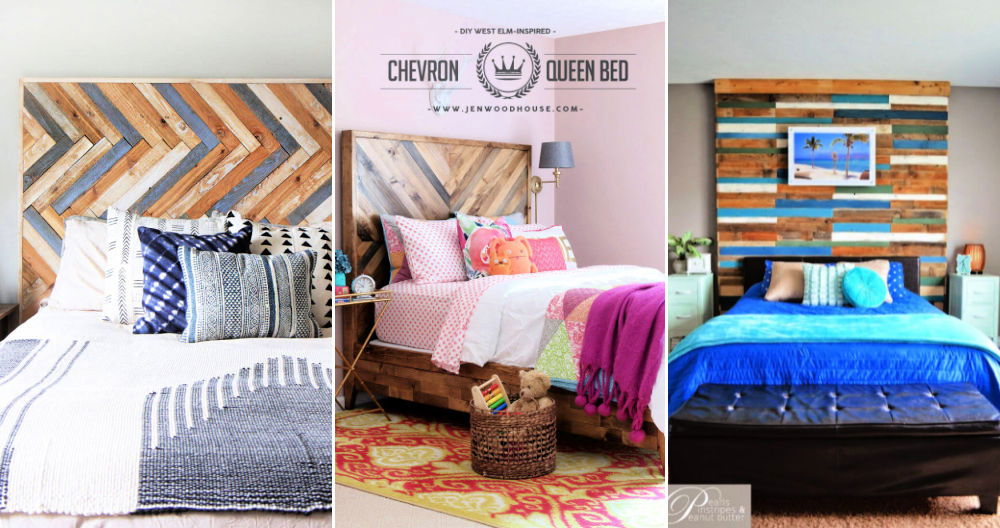
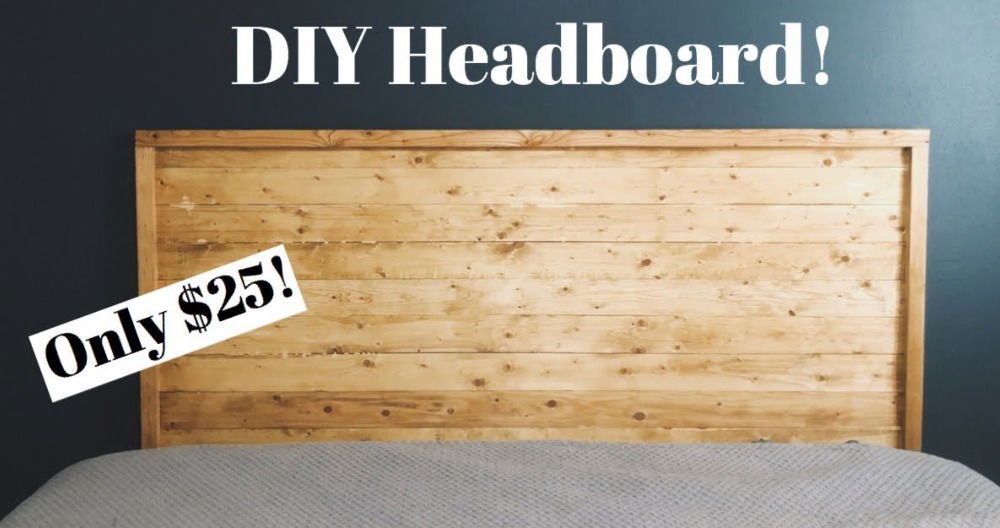
Making a DIY king headboard is a rewarding project that adds a unique and personal touch to your bedroom. With the right guidance, making a king-size headboard can be a straightforward and enjoyable process. Our guide is designed to help you through each step, from selecting materials to the final installation. The sense of accomplishment that comes with building something beautiful for your home is unmatched.
In the following sections, you'll find detailed instructions on how to make a king-size headboard. We cover essential tools and materials, preparation steps, assembly advice, detailing, finishing touches, and even tips for maintaining your newly crafted headboard. To ensure your project is a success, we've also included design customization ideas to inspire your creativity.
Keep reading to unlock the full potential of your DIY king headboard project.
How to Make a King-Size Headboard - Step by Step
Learn how to make a king-size headboard with our step-by-step guide below:
Tools and Materials Needed
- Circular Saw
- Miter Saw
- Drill
- Clamps
- Plywood (3/4 inch)
- Dimensional Lumber (Premium Pine recommended)
- Wood Glue
- Screws
- Sandpaper
Preparation
- Planning: Begin by reviewing the plan for the king headboard. Draft or download a detailed plan to follow, taking note of all dimensions and required cuts.
- Cutting the Plywood: Use your circular saw to cut the plywood base to size. A homemade track can be handy for accurate and straight cuts. Refer to specific instructions for building a saw track if needed.
- Preparing the Legs: Cut the dimensional lumber to the correct length using the miter saw. Clamp pieces together to ensure uniformity in length, trimming as necessary.
Assembly
- Leg Construction: Adhere the back leg piece to the middle leg piece using wood glue, and reinforce with screws for added durability.
- Attaching the Base to Legs: Apply glue to the leg assembly and attach the plywood base. Although it may seem unconventional, this joinery, when reinforced with screws, makes a sturdy bond.
- Adding Leg Details: Measure and cut additional pieces of lumber to fill any gaps at the bottom of each leg. This not only serves as a design enhancement but also strengthens the attachment of the top part of the leg.
- Final Leg Assembly: Now, glue and, if necessary, screw the top pieces to the legs, ensuring you do not disrupt the aesthetic of the front face of the headboard.
Detailing and Finishing
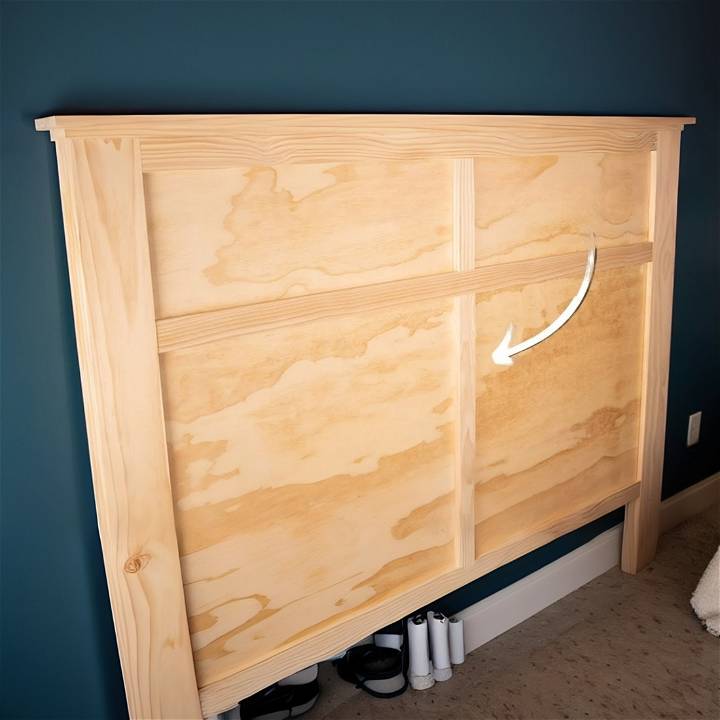
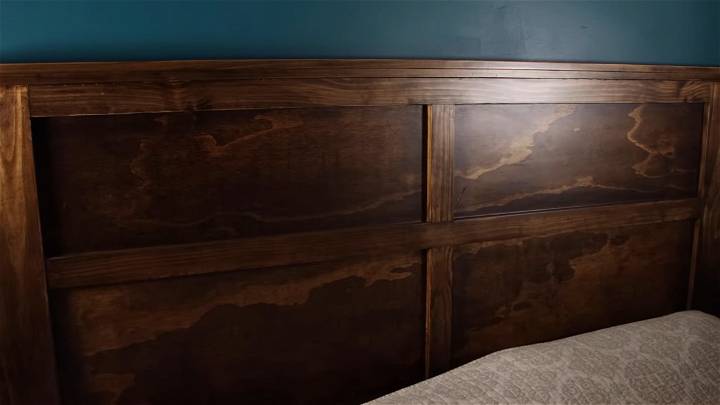
- Design Features: To add character to the headboard, you can make a simple design with cross pieces and a central stripe using pine boards. Any boards with a crook can be straightened as needed.
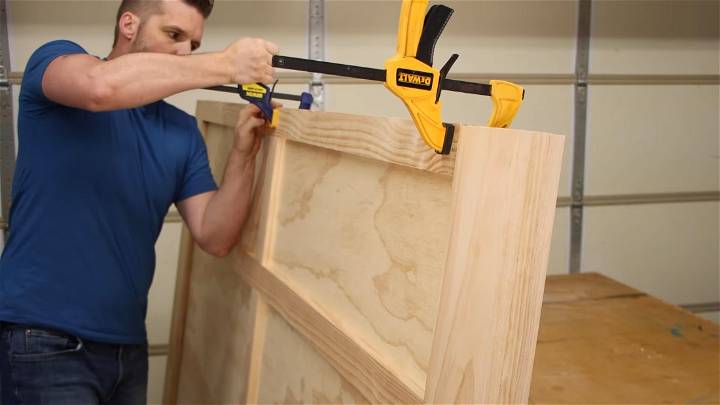
- Securing the Decorative Pieces: Measure and mark the placement of the front pieces from the back to allow for screws to be inserted without being visible. Clamp the pieces in place, mark them, then glue and reattach each, using pre-inserted screws for alignment.
- Sanding: Before adding the top cap, sand the top of the headboard for a smooth finish. Use a sanding block wrapped in sandpaper, moving with the grain to avoid scratches.
- Installing the Top Cap: Construct the top cap by gluing a 1x4 to a 1x3, ensuring they are flush on one edge. Sand, then glue this cap onto the top of the headboard, clamping it in place until dry.
Installation
- Mounting Your Headboard: Decide how you want to mount your headboard. It can be anchored to the wall, hung, or attached directly to a bed frame. Ensure the legs offer enough flexibility for a secure fit.
Finishing Touches
- Finishing: Choose a finish that complements your decor. Apply wood conditioner, followed by your chosen stain, and seal with a polyurethane top coat for durability.
Maintaining Your Headboard
- Regular dusting and occasional reapplication of furniture polish or oil will help keep your headboard looking new.
- Check annually for any loose screws or wear and re-tighten or repair as needed.
Video Tutorial
For a step-by-step video tutorial, watch this video on building a king headboard with 4 tools.
It pairs well with this written guide, offering a visual representation of each step to enhance your understanding and execution of the project.
Happy building! Your new custom king headboard is sure to add charm and comfort to your bedroom for years to come.
Design Customization Ideas for Your DIY King Headboard
Making a headboard that reflects your personal style can be a rewarding DIY project. Here are some design customization ideas to help you craft a headboard that's both unique and stylish:
Choose Your Theme
Start by deciding on a theme that resonates with your bedroom's decor. Whether it's modern chic, rustic charm, or vintage elegance, your theme will guide your choice of materials and design elements.
Selecting Materials
Consider using reclaimed wood for a rustic look or upholstered panels for a soft, luxurious feel. For a modern touch, metal or acrylic accents can add a sleek edge to your headboard.
Color It Up
Painting your headboard is an easy way to add a pop of color. Choose a shade that complements your bedding and wall color. Soft pastels can make a calming effect, while bold hues can make a statement.
Add Texture
Incorporate texture by adding tufting, quilting, or even a woven fabric like burlap or linen. Textured elements can add depth and interest to your headboard.
Personal Touches
Personalize your headboard with unique touches like stenciling a favorite quote, attaching decorative knobs, or integrating built-in reading lights.
Mix and Match
Don't be afraid to mix materials and textures. Combining wood with metal, or fabric with leather, can result in a headboard that's truly one-of-a-kind.
Functionality
Consider adding shelves or storage compartments to your headboard for functionality. This can be especially useful for small spaces where every inch counts.
By following these tips, you can make a headboard that's not only a centerpiece for your bedroom but also a reflection of your personal style. Remember, the key to a successful DIY project is to have fun and let your creativity shine!
Troubleshooting Common Issues in DIY Headboard Projects
When crafting a DIY headboard, you may run into some common challenges. Here's how to solve them:
Uneven Edges
If your headboard edges don't align, check your measurements and cuts. Use a square to ensure accuracy and clamps to secure pieces before final assembly.
Material Warping
Select materials carefully to prevent warping. Consult with experts at your local hardware store for the best options for your design.
Upholstery Difficulties
Upholstering can be complex. If you encounter wrinkles, stretch the fabric evenly and staple from the center outward. A layer of foam can help achieve a smooth surface.
Stability Issues
A shaky headboard needs reinforcement. Use additional brackets or mounting hardware for stability, and make sure it's firmly attached to the bed or wall.
Finishing Touches
For a professional finish, sand rough edges and apply paint or stain uniformly. Allow each coat to dry thoroughly before applying the next.
Addressing these issues will help ensure your DIY headboard is both beautiful and functional.
Environmental Impact of DIY Headboard Projects
DIY projects can have a positive environmental impact when approached responsibly:
Sustainable Materials
Choose eco-friendly materials like recycled wood or organic fabrics. This reduces waste and supports sustainable practices.
Energy Efficiency
Incorporate energy-saving elements like LED reading lights into your design. This not only adds functionality but also conserves energy.
Upcycling
Repurpose old materials for your headboard. This not only gives a unique look but also minimizes waste and reduces your carbon footprint.
Waste Reduction
Plan your project to minimize offcuts and use leftovers for smaller projects. This approach helps to reduce the amount of waste generated.
By considering these factors, you can make a headboard that is not only stylish but also environmentally conscious.
FAQs About DIY King Headboards
Discover all you need to know about DIY king headboards with our comprehensive FAQs. Find tips, tricks, and inspiration for your next project.
What materials are best for a DIY king headboard?
The best materials for a DIY king headboard depend on your desired style and budget. Reclaimed wood is great for a rustic look, while upholstered headboards with foam padding offer a plush feel. For a durable option, consider using hardwoods like oak or maple.
Can I build a headboard without advanced woodworking tools?
Yes, you can build a headboard with basic tools like a drill, circular saw, sander, and miter saw. There are many plans available that are designed for beginners and do not require advanced tools.
How do I ensure my headboard fits my king bed properly?
Measure the width of your bed frame and add any additional width for overhang if desired. The height of the headboard can vary based on preference, but make sure it's tall enough to be seen above your pillows and mattress.
What's the best way to attach a headboard to the bed frame?
Most bed frames have headboard brackets for attachment. If yours does not, you can use sturdy bolts to attach the headboard directly to the frame or mount it to the wall behind the bed for stability.
How can I customize my headboard for a unique look?
Customize your headboard by painting it in a color that matches your room, adding decorative trim or molding, or using unique materials like metal or fabric. Personal touches like stenciling or attaching decorative hardware can also make your headboard stand out.
By addressing these FAQs, you'll be better prepared to tackle your DIY king headboard project with confidence.
Conclusion:
In conclusion, crafting your DIY king headboard is not just a fulfilling project but a chance to add a personal touch to your bedroom. With detailed steps from preparation to finishing touches, and a plethora of design customization ideas, this guide offers everything you need to make a beautiful and functional king-size headboard.
Remember, the key to a successful DIY project lies in patience, creativity, and attention to detail. So, go ahead, gather your tools and materials, and start on the journey of making a king-size headboard that reflects your style and enhances your bedroom's comfort and aesthetic appeal. Happy crafting!


