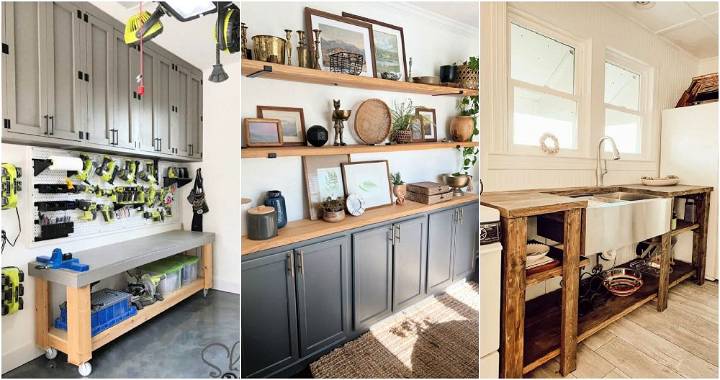
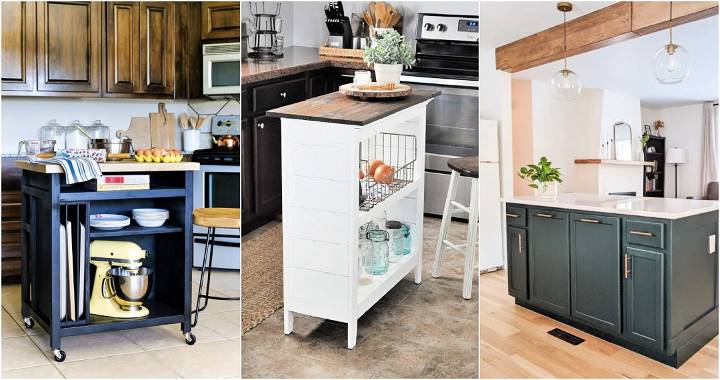
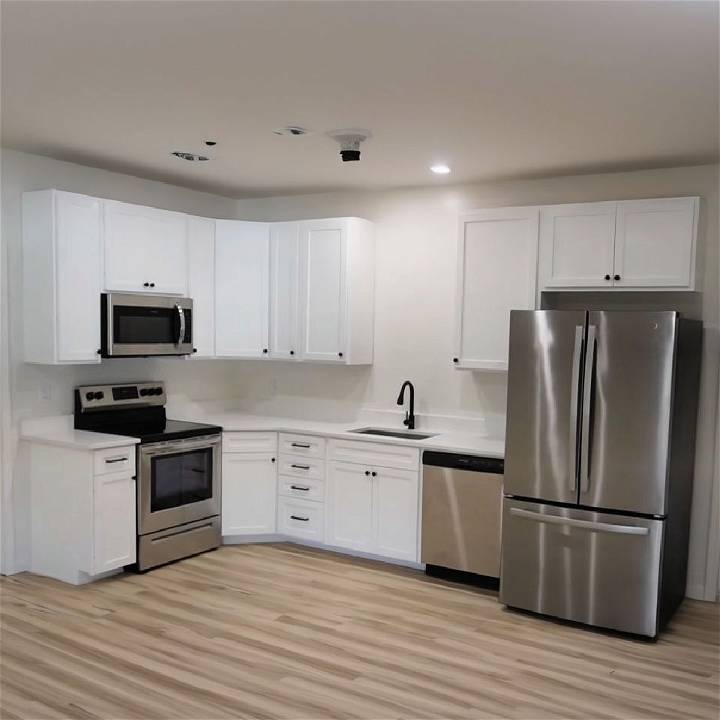
Building my kitchen cabinets from scratch was a journey filled with challenges, learnings, and, ultimately, great satisfaction. Here's my step-by-step guide on how I turned sheets of plywood into a fully functional kitchen, hopefully making the process clearer and more accessible for you.
Materials Needed and Their Importance
- 3/4 inch Plywood: For cabinet carcasses, providing structure.
- 1/4 inch Plywood: For back panels, offering support and stability.
- Solid Maple: Used for face frames, ensuring durability and a premium look.
- Circular Saw & Table Saw: Essential for cutting the plywood accurately.
- Kreg Accu-Cut Jig: This affordable tool transformed my circular saw into a track saw, letting me make precise cuts without splintering.
- Pocket Hole Jig: For securely joining pieces, it is crucial to have a sturdy assembly.
- Router & Bits: To build grooves and dados necessary for assembling shaker-style doors.
- Brad Nailer & Wood Glue: This is for quick assembly and strong bonds.
- Paint & Primer: Finish the cabinets to provide protection and aesthetic appeal.
- Soft Close Hinges & Drawer Slides: For functionality and a high-end feel.
Step by Step Instructions
Learn how to build your own kitchen cabinets with this step-by-step DIY guide. Includes cost analysis and final thoughts on the process.
Step 1: Cutting the Plywood
My journey began with cutting the plywood sheets. I opted for a blend of using a table saw for the smaller pieces and a circular saw equipped with the Kreg Accu-Cut Jig for the larger pieces. This setup was budget-friendly and effective. Ensuring accurate measurements and straight cuts was crucial for the integrity of the final product.
Step 2: Assembling the Cabinet Carcasses
The assembly started with drilling pocket holes, applying wood glue, and joining the pieces with brad nails and screws. I meticulously checked for squareness after each step to ensure accuracy. Building a solid carcass was foundational to the kitchen's structure, and this step demanded patience and precision.
Step 3: Adding the Face Frames
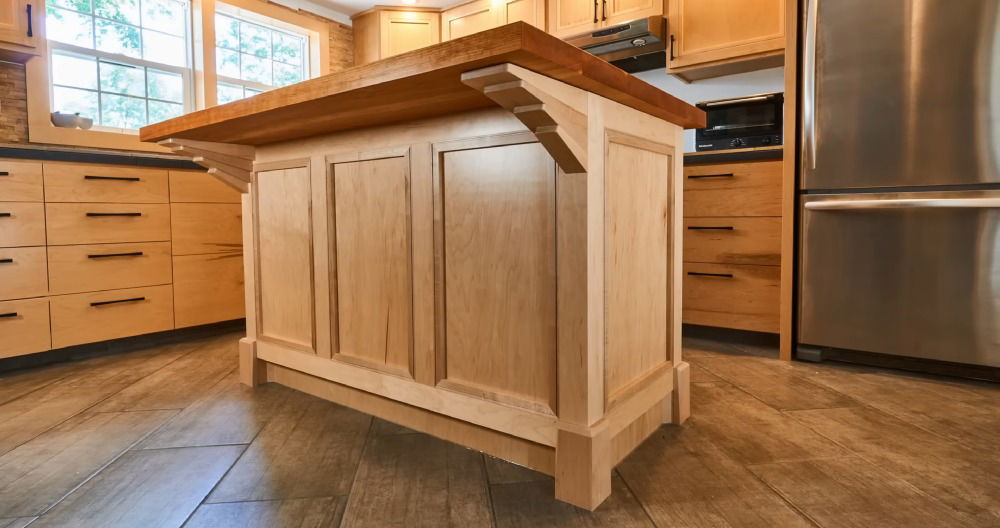
Using solid Maple gave the cabinets a premium look and feel. I joined the face frame pieces with pocket screws and glue, ensuring a tight fit. Aligning the frames perfectly with the carcasses was pivotal for the overall aesthetics and functionality of the cabinets.
Step 4: Building Doors and Drawer Faces
The shaker-style doors were a challenge I particularly enjoyed. The process involved meticulous routing to build tenons and grooves for a snug fit. Assembling the doors without metal fasteners but relying on precise woodworking techniques added to the authenticity and quality of the work.
Step 5: Painting and Finishing Touches
Opting for a high-quality primer followed by two coats of cabinet paint was a decision I don't regret. The painting process, though time-consuming, was the transformative step that brought the cabinets to life. Adding soft-close hinges and drawer slides was the cherry on top, elevating the functionality of my kitchen.
Cost Analysis
Upon reflection, the financial savings were significant. I spent roughly $2,000 in materials, a stark contrast to the $5,000 quote for pre-made cabinets. More importantly, the DIY route allowed me to build far superior cabinets in terms of materials and durability.
Customization Tips for DIY Kitchen Cabinets
When it comes to DIY kitchen cabinets, customization is key to making a space that's both functional and reflective of your personal style. Here are some tips to help you tailor your cabinetry to your needs and tastes:
Understand Your Space
Before you start, measure your kitchen carefully. Consider the placement of appliances and how cabinet doors will open. Think about the workflow and how you move in the kitchen. This will help you design cabinets that are not only beautiful but also practical.
Choose a Style That Reflects You
Do you prefer a modern look or a more traditional feel? Shaker-style doors are timeless and work well in many kitchens. If you're after a contemporary look, consider flat-panel doors. For a rustic touch, distressed finishes can add character.
Selecting Colors and Finishes
Colors can dramatically affect the look of your kitchen. Lighter colors make a space feel larger, while darker hues build a more intimate atmosphere. When it comes to finishes, matte or satin finishes hide fingerprints and smudges better than glossy ones.
Functional Add-Ons
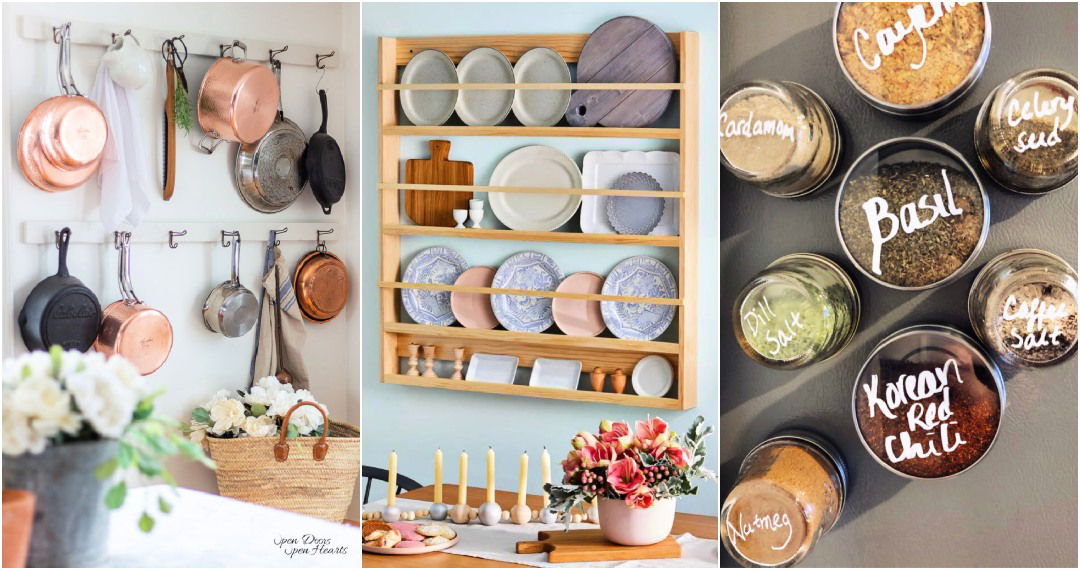
Think about what would make your kitchen more functional. Pull-out shelves, lazy Susans, and built-in spice racks can make your space more efficient. Soft-close hinges and drawer slides add a touch of luxury and prevent slamming.
Hardware as Jewelry
Cabinet hardware is like jewelry for your kitchen. It can completely change the look of your cabinets. Choose pulls and knobs that complement your style. Mixing metals can add depth and interest to your design.
Incorporate Open Shelving
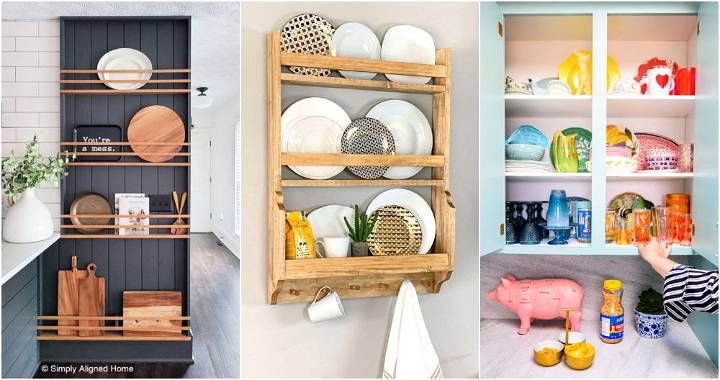
Open shelving can break up the monotony of continuous cabinets and allow you to display your favorite dishes or collectibles. It also makes items more accessible.
Personal Touches
Finally, add personal touches. This could be glass door inserts to display fine china or unique decorative elements that tell a story about your family or interests.
Common Mistakes to Avoid in DIY Kitchen Cabinet Projects
Embarking on a DIY kitchen cabinet project can be an exciting endeavor, but it's also one where a few missteps can lead to less-than-desirable results. To ensure your project is successful, here are some common mistakes to avoid:
Skipping the Planning Phase
Don't rush into cutting and assembling without a solid plan. Take the time to measure your space accurately, consider the placement of appliances, and think about the best layout for functionality and aesthetics.
Overlooking Cabinet Functionality
Cabinets aren't just for storage; they need to be functional. Avoid making cabinets too deep where items can get lost at the back. Consider the inclusion of drawers and pull-out shelves for better accessibility.
Ignoring the Importance of Leveling
Cabinets that aren't level can lead to doors and drawers that don't close properly. Use a spirit level during installation to ensure everything is perfectly horizontal and vertical.
Choosing the Wrong Materials
Using materials not suited for kitchen environments can lead to warping and damage. Opt for moisture-resistant materials and hardware that can withstand the kitchen's humidity and temperature changes.
Neglecting Ventilation
Cabinets near appliances like stoves and ovens need proper ventilation to prevent heat damage. Make sure there's enough clearance and consider heat shields to protect your cabinets.
Forgetting to Account for Lighting
Good lighting is crucial in a kitchen. Plan for under-cabinet lighting to illuminate workspaces and avoid shadows cast by overhead lights.
Underestimating the Project Timeline
DIY projects often take longer than expected. Allocate more time than you think you'll need to avoid rushing and making mistakes.
Not Preparing for the Mess
Sanding, sawing, and painting can build a lot of dust and debris. Set up a work area with proper ventilation and use dust sheets to protect your space.
Overcomplicating the Design
Keep it simple, especially if you're a beginner. Complex designs can lead to frustration and errors. Start with a basic cabinet design and add details as you gain confidence.
Failing to Ask for Help When Needed
Don't be afraid to seek assistance. Whether it's a second pair of hands to help with lifting or advice from a more experienced woodworker, getting help can ensure a smoother process.
FAQs About DIY Kitchen Cabinets
Building your own kitchen cabinets is a rewarding DIY project that can add personal flair and value to your home. Here are five frequently asked questions to help guide you through the process:
What materials should I use for my DIY kitchen cabinets?
The most common materials for kitchen cabinets are plywood and MDF (Medium Density Fiberboard) for the structure, with hardwoods like maple or oak for doors and visible parts. Choose materials that fit your budget and style, and make sure they are suitable for the kitchen environment, which can be humid and prone to spills.
How do I ensure my cabinets are installed level and plumb?
Use a spirit level to check that your cabinets are level horizontally and plumb vertically. Start by installing the upper cabinets first, securing them to wall studs. Shims can be used to adjust for any irregularities in the wall or floor to ensure your cabinets are perfectly aligned.
Can I customize my cabinets to fit my kitchen's unique layout?
Absolutely! One of the benefits of DIY is the ability to tailor everything to your space. Measure your kitchen carefully, and don't be afraid to design custom solutions for corners, awkward spaces, or to incorporate special features like a built-in wine rack or plate holders.
What's the best way to finish my DIY kitchen cabinets?
For a durable and cleanable finish, consider using a high-quality paint in a semi-gloss or gloss finish. If you prefer a natural wood look, a clear polyurethane varnish will protect the wood while showcasing its beauty. Always sand between coats for the smoothest finish.
How can I maximize storage and functionality in my DIY cabinets?
Think vertically by using stackable shelves and drawers. Incorporate pull-out baskets, lazy Susans for corner cabinets, and organizers for utensils and spices. Consider the placement of items you use frequently and make sure they are easily accessible.
Final Thoughts
Building kitchen cabinets from scratch was a demanding but hugely rewarding project. Not only did I save money, but I also ended up with a kitchen that had a personal touch and a sense of accomplishment attached to it. For those considering this DIY path, patience, precision, and persistence are key. And remember, the beauty of building it yourself is not just in the finished product, but in the skills and confidence you build along the way.


