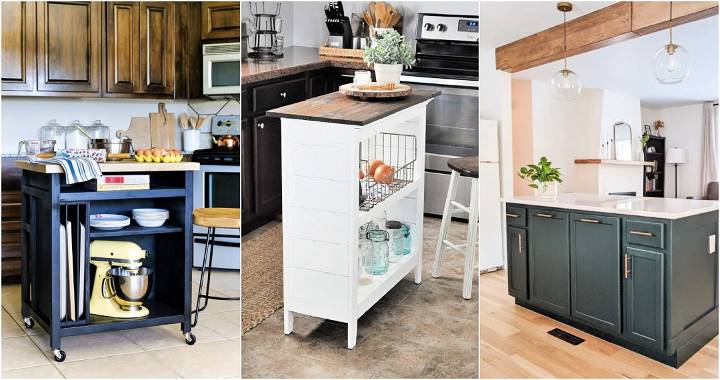
Making a modern kitchen island was quite an adventure and process, but the outcome was absolutely worth it. Whether you're a keen do-it-yourself enthusiast or someone looking to try your hand at a bit more of an ambitious project, I'll share insights into how I built a stylish and functional kitchen island from the ground up. This guide comes packed with practical advice, ensuring a valuable experience for everyone ready to embark on a similar journey.
Preparing the Materials
Why Quality Materials Matter
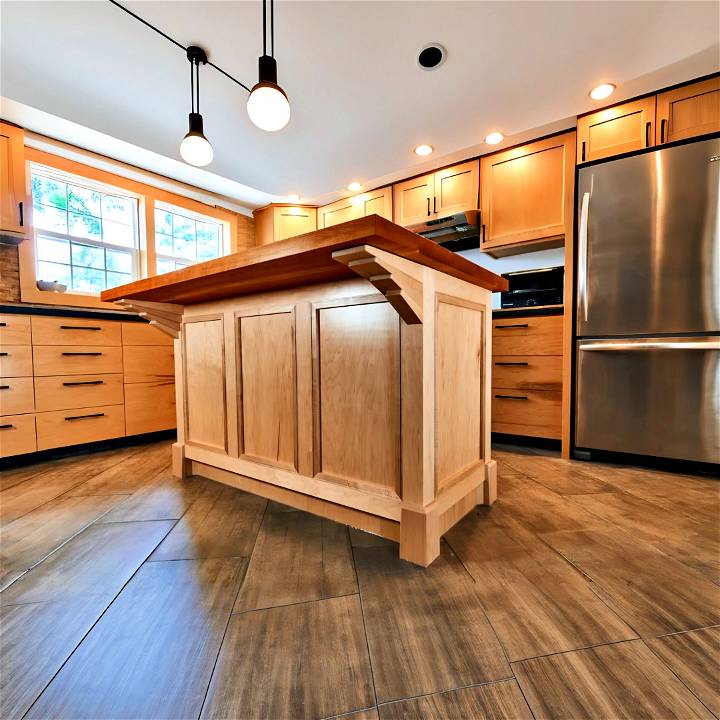
For this project, I chose half-inch maple plywood, 5/8 inch melamine for the cabinet bottom, and solid cherry wood for the top. These materials were selected for their durability, aesthetics, and the texture they bring to the kitchen space.
- Maple Plywood: Its smooth surface makes for a great base and side panels of the island. It's visually appealing and sturdy.
- Melamine: This was used for the bottom of the cabinet. It's moisture-resistant, making it perfect for kitchen environments where spills happen.
- Solid Cherry Wood: Selected for the island top for its hard-wearing properties and beautiful grain, it's the centerpiece of the kitchen.
Steps to Follow
Learn the steps to follow for making your own DIY kitchen island, from building the base to adding finishing touches for a cherry wood top.
Building the Base
- Cleaning and Cutting the Plywood: Even new plywood has impurities. I wiped it down and used a random orbit sander with a 220-grit disc for a smooth finish. Then, I cut it to size.
- Assembling the Toe Kick: Important for the cabinet base, I cut pieces for the toe kick, ensuring the grain ran vertically for aesthetic purposes. I joined pieces using biscuits and glue for added length where necessary.
- Building the Base Structure: To avoid a dust-trapping 90-degree angle at the base, I cut additional pieces at a slight angle. This thoughtful detail simplifies cleaning.
- Pre-Finishing: Before final assembly, I sprayed three coats of water-based polyurethane on the base. This method is faster than brushing and yields a smoother finish.
Working on the Cabinet
- Bottom and Panels: I used melamine for the bottom for a lightweight yet durable choice. The side and front panels were cut from the same maple plywood as the base, maintaining consistency in appearance.
- Attaching Panels: With the base secured (using blocks glued to the tile floor for stability), I attached the pre-finished panels using glue and brads for a sleek look.
Adding Details and Finishing Touches
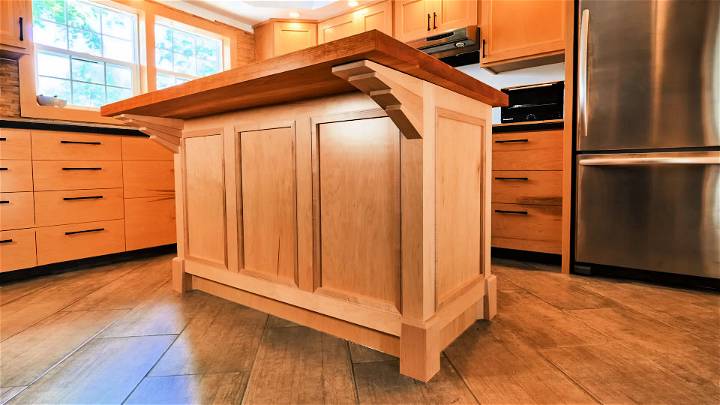
- Legs and Trim: To build a cohesive look, the legs and trim were cut from maple plywood, featuring a bend for a smooth wrap-around at the corners. A miter joint ensured a perfect 90-degree corner.
- Solid Wood Trims: For durability and style, I added solid wood trim around the panel edges, blending with the cabinet doors I previously made.
- Brackets for the Top: Crafted from solid maple to support the cherry wood top, these were not only functional but also matched the overall design aesthetic, echoing the trim in the doorway to my basement.
The Cherry Wood Top
- Preparing the Wood: I chose two-inch thick cherry wood for a robust and heavy countertop. Flattening and trimming these pieces required patience and precision. I aimed for uniformity in thickness across all the pieces.
- Assembly: Joining the wood required glue and domino slots for alignment. I assembled the pieces on the base cabinet directly, gluing two pieces at a time and allowing each section to dry thoroughly.
- Sanding and Finishing: After assembly, I sanded down the top for a smooth finish. I opted for boiled linseed oil for its natural look and feel, applying several coats for protection and aesthetics.
Customization Ideas for Your DIY Kitchen Island
Building a DIY kitchen island is not just about adding extra counter space—it's about adding your personal touch and making the space truly yours. Here's how you can infuse character and functionality into your kitchen island.
Storage Solutions
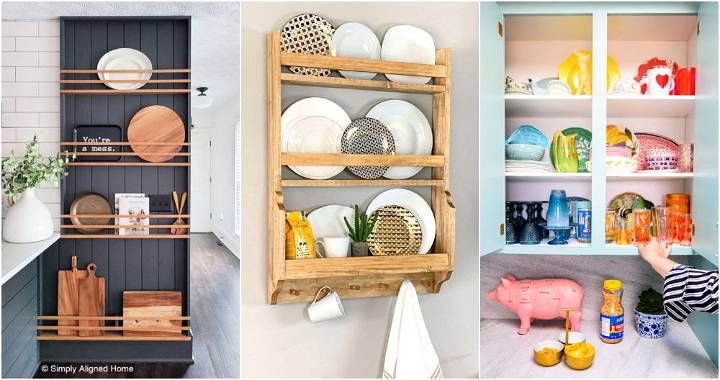
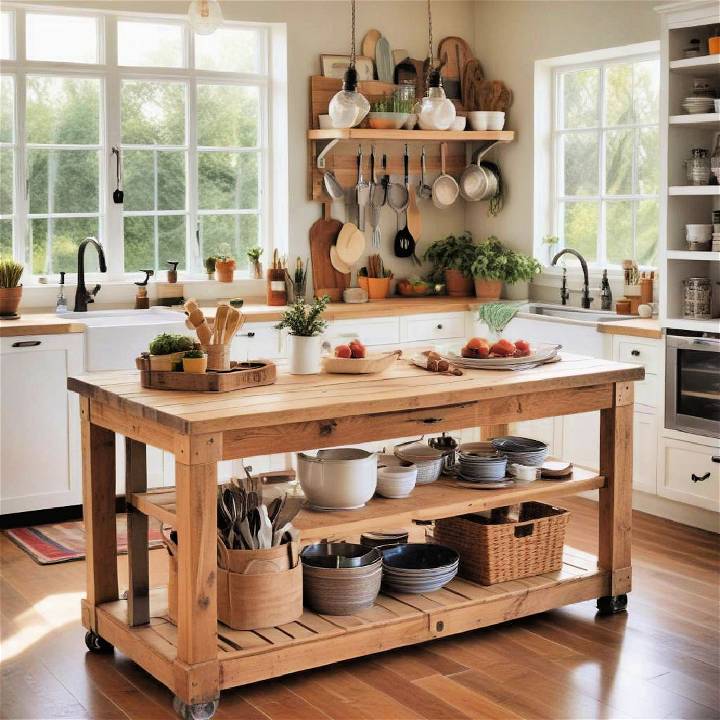
- Maximize Space: Think vertically to make the most of your island. Add shelves above for cookbooks or racks below for pots and pans.
- Hidden Compartments: Incorporate drawers or cabinets for utensils and appliances, keeping them out of sight but within easy reach.
- Open Shelving: Use open shelves for quick access to everyday items or to display decorative pieces.
Seating Options
- Comfortable Seating: Choose chairs or stools that complement the island's height and ensure they're comfortable for longer sittings.
- Space-Saving: Consider foldable or retractable seating that can be tucked away when not in use.
- Bar or Counter Height: Decide on the seating height that best suits your family's needs and the island's design.
Decorative Touches
- Personal Style: Select colors and finishes that reflect your personal style and tie the room together.
- Hardware Choices: The right knobs and pulls can transform the look of your island. Opt for hardware that matches your kitchen's decor.
- Lighting: Good lighting is essential. Install pendant lights above the island for task lighting and to enhance the ambiance.
By focusing on these customization options, you'll build a kitchen island that's not only functional but also a reflection of your unique style and needs.
FAQs About DIY Kitchen Islands
When tackling a DIY kitchen island project, it's important to have clear information at your fingertips. Here are some of the most common questions and straightforward answers to help guide you through the process.
What is the recommended size for a DIY kitchen island?
Ideal Size: The size of your kitchen island should be proportional to your kitchen's dimensions. A good rule of thumb is to allow for at least 36 to 48 inches of open space around the island for comfortable movement.
How do I choose the right materials for my kitchen island?
Material Selection: Opt for materials that are durable and match your kitchen's aesthetic. Common choices include hardwood for a classic look or stainless steel for a modern touch. Consider the maintenance and longevity of the materials as well.
Can I incorporate appliances into my kitchen island?
Appliance Integration: Yes, you can include appliances like a sink, dishwasher, or cooktop. Plan for proper electrical and plumbing connections, and ensure there's enough space for operation and ventilation.
What are some cost-effective ways to build a kitchen island?
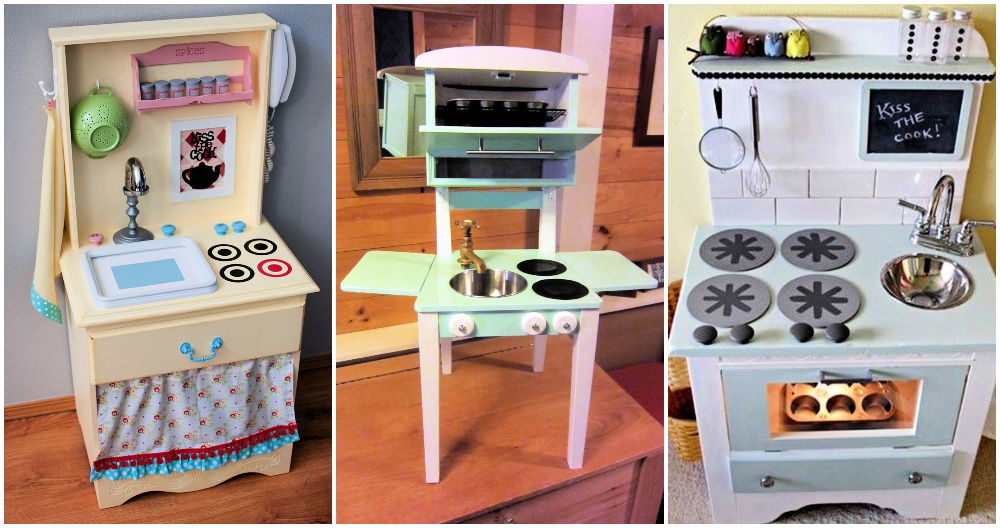
Budget-Friendly Tips: To save money, consider repurposing old furniture or using off-the-shelf cabinets. Look for deals on countertops and materials, and do as much of the work as you can yourself.
How can I make my kitchen island more functional?
Enhancing Functionality: Add features like pull-out trash bins, built-in spice racks, or a drop-leaf section to increase workspace. Think about your cooking habits and what would make tasks easier for you.
Final Thoughts
Constructing a kitchen island from scratch was a fulfilling process, requiring attention to detail, patience, and creativity, especially when faced with unexpected challenges like worm damage in the cherry wood. Choosing quality materials and focusing on function and form resulted in a standout piece of furniture.
This project shows that anyone can build beautiful pieces for their home with the right approach and effort.


