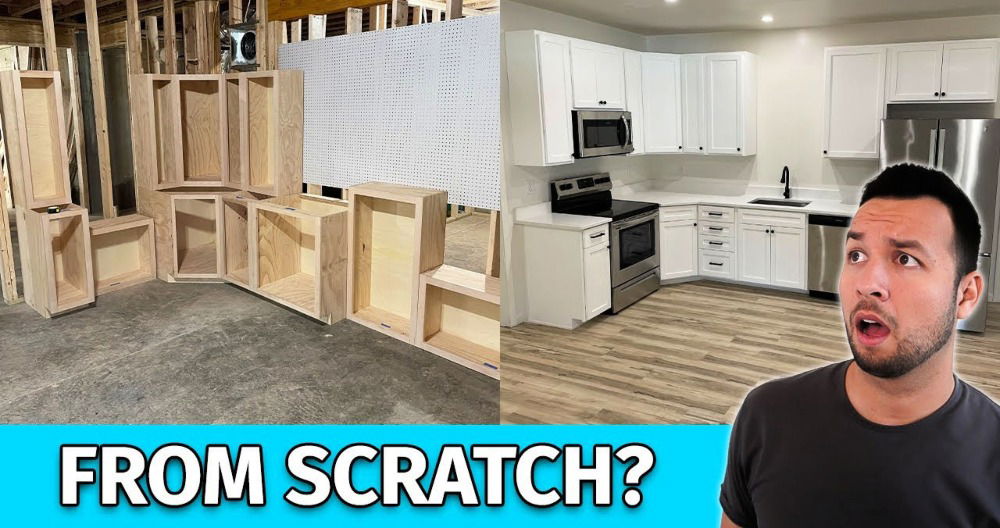
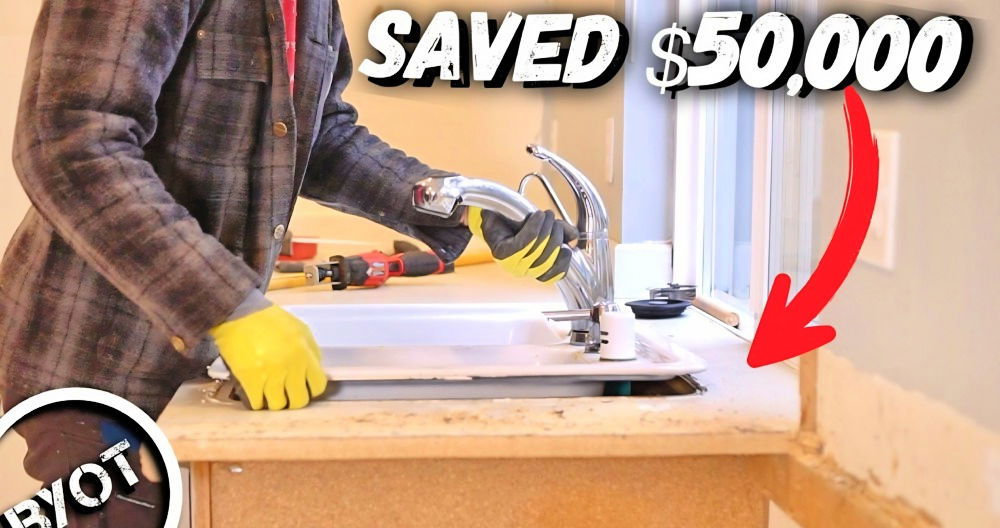
Building a DIY kitchen island with seating can transform both the functionality and look of your kitchen. By building it yourself, you can customize the design to fit your specific needs and preferences. This project can add much-needed workspace and make your kitchen more comfortable for casual dining. Making your own island may also be more affordable than purchasing a pre-made one, and the sense of accomplishment is priceless.
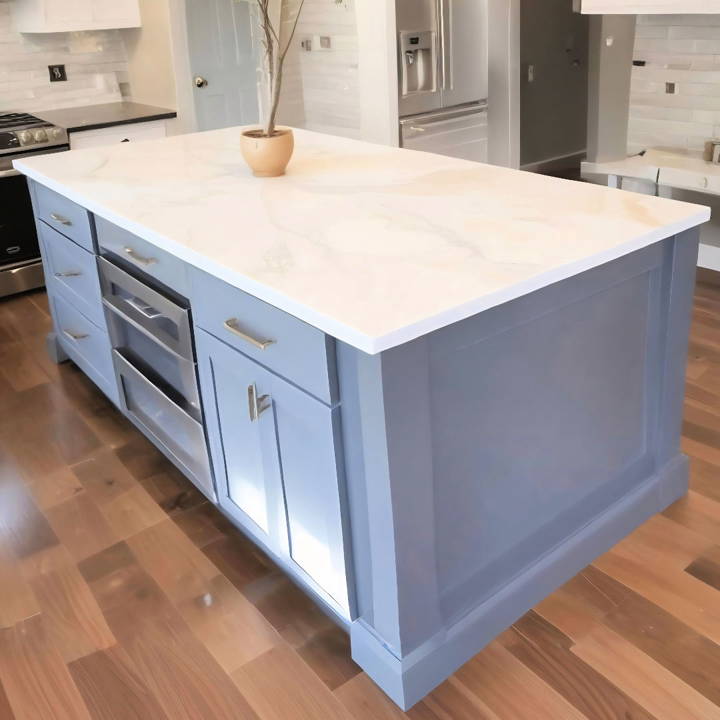
With a DIY kitchen island with seating, you can choose materials that match your existing décor and build a cohesively styled space. Whether you need extra storage, additional counter space, or a place for friends and family to gather, this project can meet those needs.
Ready to start your project? Explore the next section for detailed instructions and helpful tips to bring your vision to life.
Materials Needed and Why
- Grey Cabinets: These formed the base of the island, providing essential storage space.
- Marble Quartz Countertop: Chosen for its durability and sleek appearance, enhancing the island's aesthetic.
- Wood (2x4s and Plywood): Needed for constructing the island's frame and exterior structure.
- Screws and Nails: For assembling the frame securely.
- Primer and Paint: To achieve a professional and lasting finish.
- Tools (Miter Saw, Drill, Circular Saw, Orbital Sander, Brad Nailer, Level, Speed Square): Essential for accurate cutting, assembling, and finishing of the island.
Step by Step Instructions
Learn how to build a DIY kitchen island with seating in 6 simple steps, including flooring protection, structure building, priming, painting, and final touches.
Step 1: Protecting the Flooring
Before starting, I laid down protective sheets over my kitchen floor. This crucial step prevented any damage from tools, materials, or spills during construction.
Step 2: Building the Exterior Structure
The core of the island began with constructing four rectangular frames out of 2x4s, which I then attached to the exterior walls of the would-be island. Accuracy in measurements was key here to ensure everything aligned perfectly.
Step 3: Attaching Plywood
Next, I used two sheets of plywood to cover the frames, making the island's outer structure. I made sure to get the screw heads below the surface for a smooth finish before moving on to sanding and cleaning off all sawdust.
Step 4: Priming and Painting
An all-purpose primer was applied first. This step was crucial for achieving a flawless paint job later. After priming, I carefully painted the exterior to match the grey cabinets, sanding between coats for that professional touch.
Step 5: Installing Cabinets and Countertop
Installing the grey cabinets was the most exciting part, seeing the island take shape. I ensured they were level and securely fastened. Cutting the marble quartz countertop required precision and patience, especially when making space for the under-cabinet microwave.
Step 6: Final Touches
After installing the countertop, I moved on to the final paint touch-ups and cleaning. The last step was adding seating and ensuring ample storage was accessible.
Lessons Learned
- Precision is Key: Taking accurate measurements at every step can't be overstressed. Any small error could snowball into a bigger problem later.
- Patience Pays Off: Rushing through steps, especially painting and cutting the countertop, can lead to mistakes. Taking my time ensured better results.
- The Right Tools Make a Difference: Investing in or borrowing the right tools saved me a lot of frustration. It's about using the right tool for the right job.
Design Customization Ideas
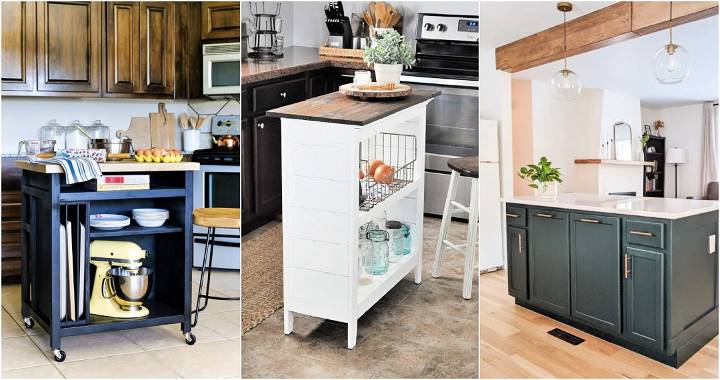
When it comes to making a DIY kitchen island with seating, the design is key to ensuring that the island not only fits seamlessly into your kitchen's aesthetic but also reflects your personal style. Here are some customization ideas to inspire you:
- Choose a Theme: Start by selecting a theme that resonates with your taste. Whether it's modern minimalism, rustic charm, or a vibrant retro look, your theme will guide all your design decisions.
- Color Palette: Pick a color scheme that complements your kitchen. Neutral tones offer versatility, while bold colors can make a statement. Consider the color of your cabinets and walls to build a cohesive look.
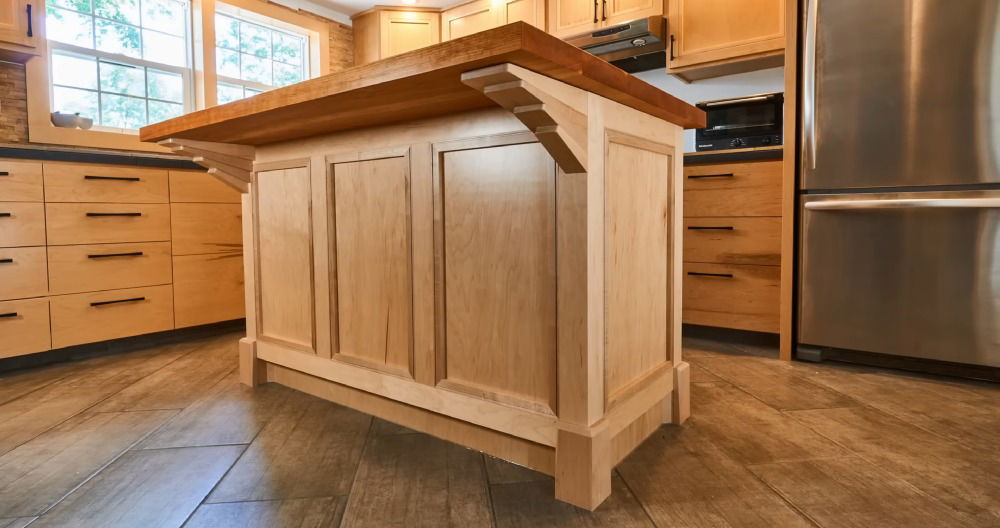
- Countertop Material: The countertop is the centerpiece of your island. Options like quartz, granite, or butcher block provide durability and style. Think about maintenance and the kind of cooking tasks you'll perform there.
- Island Shape: Go beyond the traditional rectangle. An L-shaped or T-shaped island can provide more seating and work areas. Tailor the shape to your kitchen's layout and your family's needs.
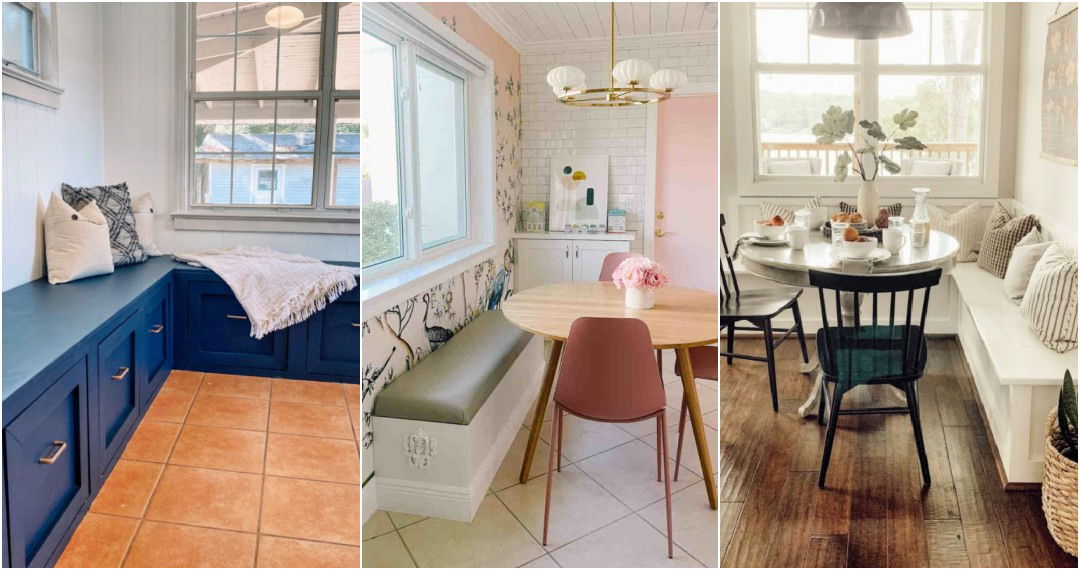
- Seating Style: Chairs or stools? Upholstered seats or wooden benches? Choose seating that's comfortable and matches the height of your island. Remember, the right seating can turn your island into a cozy dining spot.
- Decorative Elements: Add personality with decorative features like unique drawer pulls, fancy trim, or a striking tile backsplash. These small touches can have a big impact on the overall look.
- Lighting: Good lighting is crucial. Pendant lights above the island can serve as both a light source and a design element. Choose fixtures that align with your theme and provide ample illumination.
- Functional Features: Think about built-in amenities like a prep sink, a wine fridge, or a rack for pots and pans. These can enhance the functionality of your island and make cooking and entertaining easier.
Build a kitchen island that looks great and meets your needs. Plan and personalize it for a centerpiece you'll love for years. Keep it simple, focus on quality, and let your creativity shine!
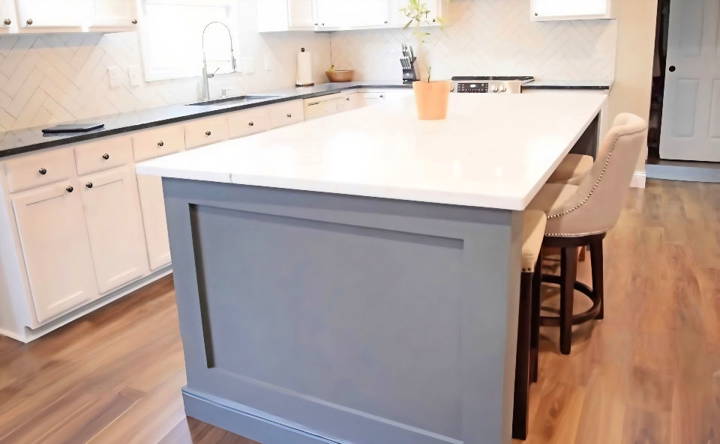
Storage Solutions
Building efficient storage solutions with seating on your DIY kitchen island is essential for a tidy and functional space. Here's how you can maximize storage while maintaining style:
- Drawers and Cabinets: Incorporate deep drawers for pots and pans and cabinets for larger appliances. Use drawer dividers to organize utensils and small items.
- Pull-Out Bins: Install pull-out bins for waste and recycling. This keeps them hidden and easily accessible.
- Open Shelving: Use open shelves for quick access to everyday items. This can also be a place to display decorative pieces.
- Vertical Storage: Take advantage of vertical space with hanging racks for pots and utensils, which can free up cabinet space.
- Corner Solutions: Utilize corner spaces with carousel shelves that spin to allow easy access to items at the back.
- Custom Compartments: Design custom compartments for specific items like cutting boards, baking sheets, or spices. This keeps them organized and within reach.
- Seating with Storage: If your island includes seating, consider benches with lift-up seats for additional hidden storage.
- Integrated Appliances: Plan for appliances like a microwave or wine cooler to be built into the island, saving on counter space.
- Adjustable Shelving: Use adjustable shelving within cabinets to customize storage as your needs change.
By focusing on these practical yet stylish storage solutions, you'll ensure your kitchen island is not only a beautiful focal point but also a highly functional part of your kitchen.
Lighting and Electrical Setup
When designing your DIY kitchen island, lighting and electrical setup are crucial for functionality and ambiance. Here's how to ensure your island is well-lit and conveniently powered:
- Choosing the Right Fixtures: Pendant lights are a popular choice for islands as they provide direct lighting for tasks and can be a design statement. Consider the size of your island and ceiling height to determine the number and size of pendants. The general rule is to hang lights 30-36 inches above the countertop.
- Uniform Lighting Distribution: Aim for a uniform light distribution that aligns with your island's dimensions. This avoids shadows and dark spots, making food prep safer and easier.
- Electrical Outlets: Plan for enough electrical outlets to accommodate small appliances and charging devices. Outlets can be installed on the sides of the island or even pop-up from the countertop for a sleek look.
- Avoiding Glare: Choose fixtures with diffusers or shades to minimize glare, which can be uncomfortable and impede visibility.
- Accent Lighting: In addition to task lighting, consider adding accent lighting, such as under-cabinet LEDs, to highlight your island's features.
- Safety First: Ensure all electrical work complies with local codes and regulations. It's often best to hire a professional electrician for installation to ensure safety and functionality.
By carefully planning your kitchen island's lighting and electrical setup, you'll build a space that's both beautiful and practical, enhancing your overall kitchen experience.
FAQs About DIY Kitchen Island with Seating
Discover FAQs about DIY kitchen island with seating: get essential tips, design ideas, and step-by-step guides for a perfect kitchen upgrade!
The size and design of your kitchen island should be based on your kitchen’s dimensions, your storage needs, and how you plan to use the island. Think about the prep space you need and the number of seats you want to accommodate. Design options can include a raised breakfast bar, an L-shaped arrangement, or even a round or curved island for a unique look.
Yes, even small kitchen islands can have seating. You can create an overhang on one side of the island for stools or chairs. For tighter spaces, consider banquette seating or a pull-out bench that can be tucked away when not in use.
Seating at your kitchen island adds versatility and multi-functionality to your kitchen. It builds a central gathering spot for dining, socializing, and even working. It's also a great way to make your kitchen feel more inviting and functional.
Absolutely! You can add unique features like a built-in aquarium, a mini-fridge, or even a sink to transform your island into an entertainment hub. These features can make your kitchen island a standout piece in your home and a convenient spot for hosting gatherings.
To ensure your DIY kitchen island is both functional and stylish, focus on ergonomics and aesthetics. For functionality, make sure there's enough knee space for seated guests and that the height of the island suits the seating. Incorporate storage solutions like drawers or shelves for utensils and appliances. For style, choose materials and colors that complement your kitchen's decor. Adding accent lighting or decorative elements like corbels or beadboard can also enhance the island's look.
Conclusion
In conclusion, building a DIY kitchen island with seating is an affordable way to enhance your kitchen's functionality and style. This project not only provides additional workspace but also adds a cozy seating area. By following simple steps and using the right materials, you can customize the island to fit your specific needs and aesthetic. Start your project today and enjoy the added convenience and beauty of your new kitchen island!


