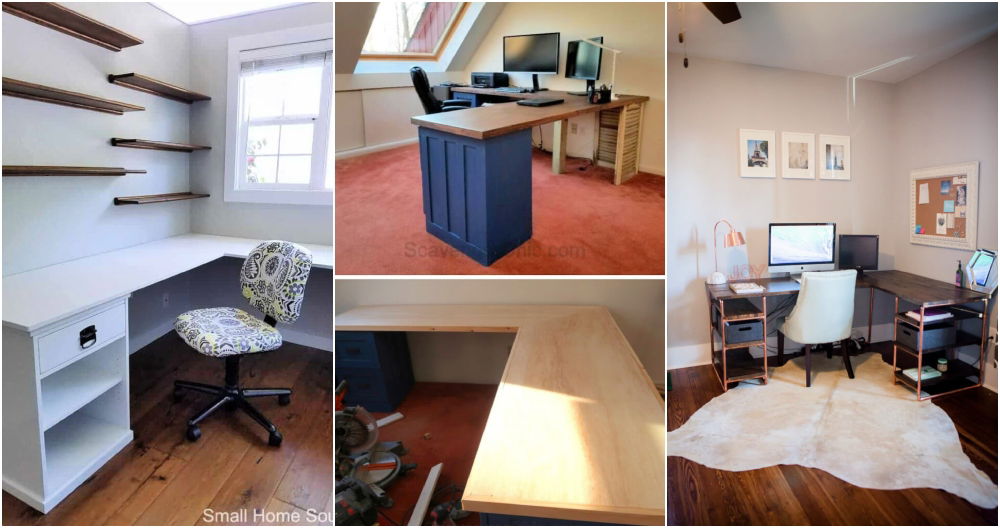
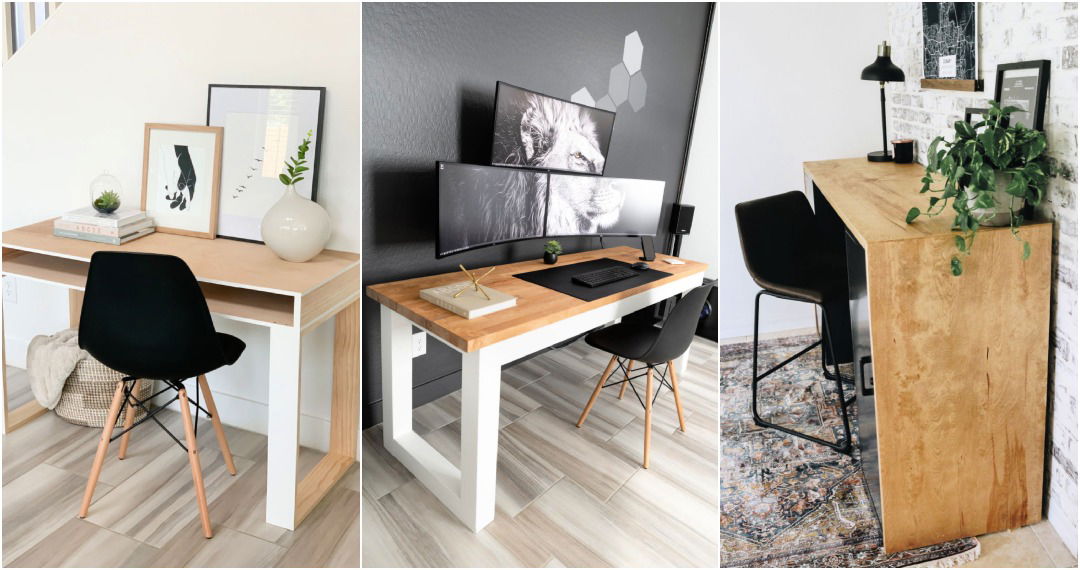
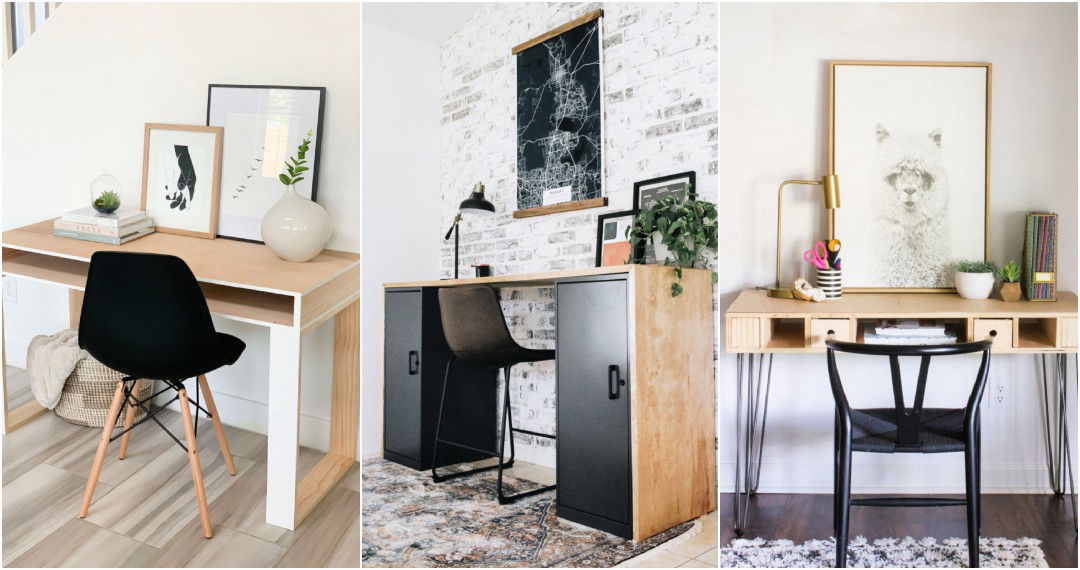
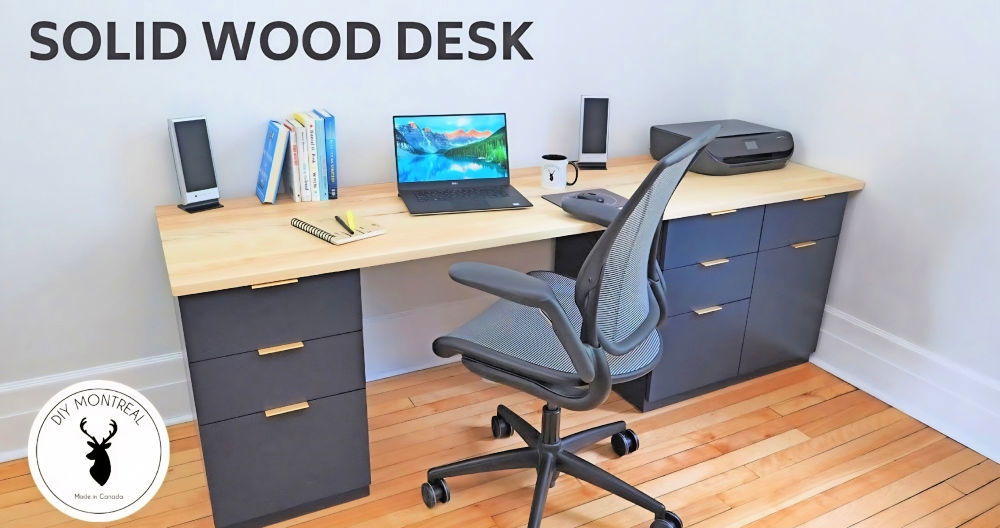
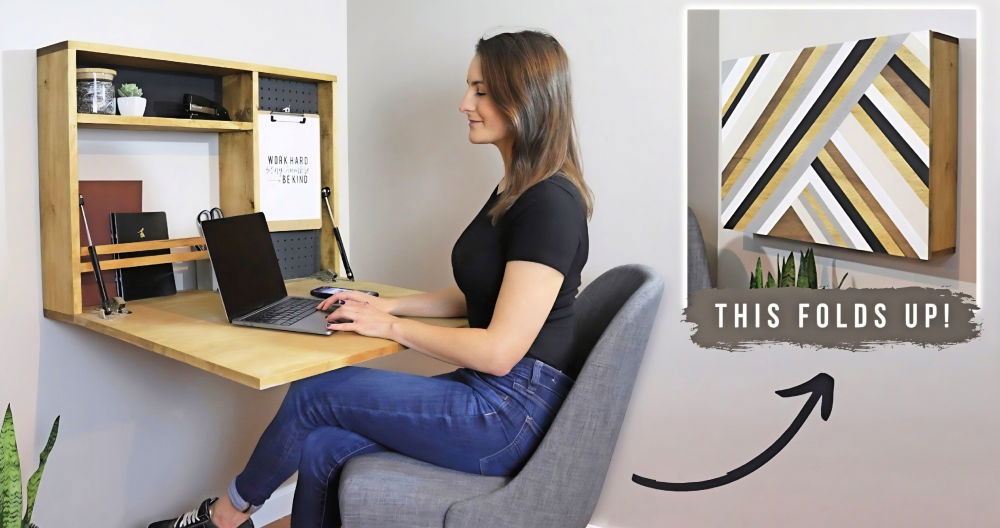
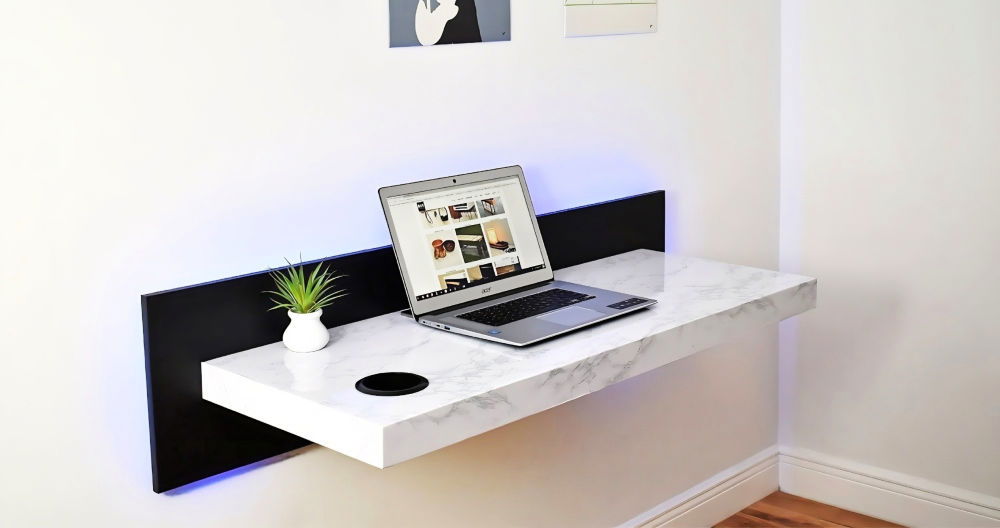
Building a DIY L-shaped desk can transform your workspace, giving you more room and a layout that fits neatly into corners. This kind of desk provides ample surface area for your computer, paperwork, and other items, making it perfect for optimizing your home or office setup. Building it yourself also means you can customize it to your exact needs and preferences.
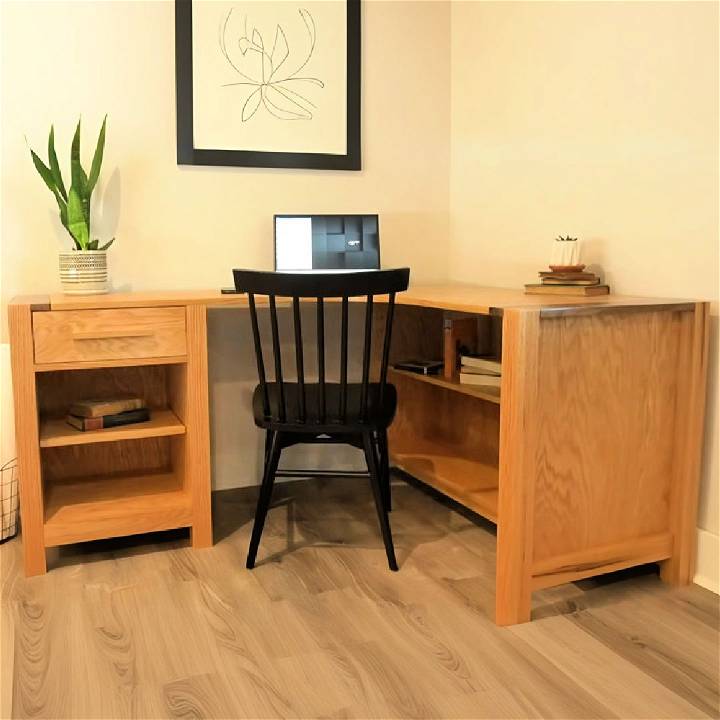
Making a DIY corner desk is a straightforward project that doesn't require professional carpentry skills. With a few materials and some basic tools, you can assemble a functional and stylish desk. Explore easy-to-follow steps and tips to build a desk that suits your space and workflow perfectly.
Learn how to build a DIY l-shaped desk with step-by-step instructions. Perfect for home offices, maximize your space, and customize your setup.
Why I Chose an L-Shaped Desk
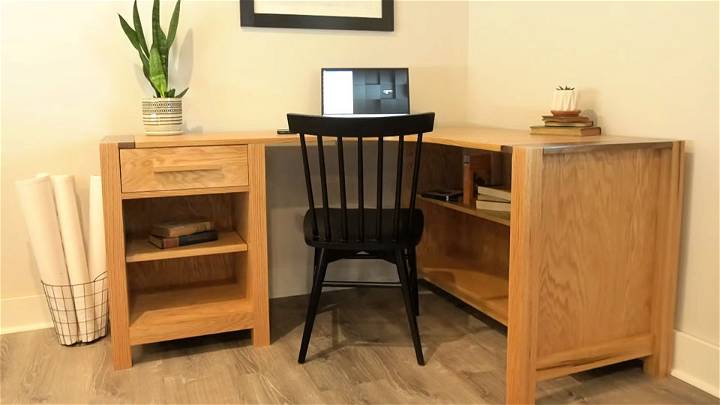
I needed a workspace that could comfortably fit into the corner of my room, offer ample surface area for my computers and paperwork, and have additional storage for books and supplies. An L-shaped desk with shelves seemed like the perfect solution.
Materials And Tools Needed
- Red Oak Plywood and Solid Wood: For the majority of the desk, I used plywood because of its cost-effectiveness, reserving solid wood for the legs and trim pieces.
- Kreg Rip Cut, Miter Saw, and Accu-Cut: Essential for cutting the wood accurately.
- Clamps, Dowel Jig, and Wood Glue: For assembling the legs and panels.
- Pocket Hole Jig: For securing parts of the desk together invisibly.
- Circular and Jigsaw: For shaping the desktop and decorative elements.
- Sandpaper, Polyurethane, and Paintbrushes: These are used to finish the desk beautifully.
Step by Step Instructions
Build a stylish DIY l-shaped desk with our step-by-step instructions. Design, build, assemble, and finish your custom desk with ease.
Step 1: Designing the Desk
I sketched out my design, taking into account the dimensions of my room and how much workspace I needed. I decided on the size of the desk and the height and depth of the shelves.
Step 2: Building the Legs
I started by cutting 1x3 oak boards to about 31 inches and gluing them in sets of three. I needed eight legs in total. Once dried, I trimmed them to the desired lengths—four at 29.25 inches and four at 30 inches for the different sections of the desk.
Step 3: Assembling the Desk Base
Using red oak plywood, I cut strips for the base cabinets with my Kreg Rip Cut and Miter Saw. The sides were assembled first using dowels and wood glue, ensuring that one set of legs was flush with the top for the desk surface to sit on seamlessly.
Step 4: The Shelves
For practicality, I decided one side of the desk would have a narrow inset shelf to allow for more legroom. I crafted this using similar methods but adjusted the dimensions to suit the narrower design.
Step 5: Drawer and Adjustable Shelf
The right side cabinet featured an inset drawer. I installed drawer slides, then built and inserted a drawer box made from more plywood. Adding an adjustable shelf on both cabinets, I drilled shelf pin holes and cut plywood to size for the shelves.
Step 6: Crafting the Desktop
Cutting the desktop from oak plywood, I decided to add a unique touch by curving one corner. This step required careful measurement and cutting to ensure it fit snugly over the cabinets.
Step 7: Finishing Touches
After assembling, it was crucial to address any gaps or imperfect fits, especially around the legs. This involved cutting walnut strips for a two-tone effect, gluing them in place, and then trimming the plywood top to match. This accident turned into my favorite design feature.
Step 8: Finishing
I sanded everything smoothly, applied several coats of Minwax Helmsman Poly for durability, and crafted a simple drawer pull from a scrap piece.
The desk turned out functional, sturdy, and uniquely mine. I learned about woodworking, patience, and the joy of making. Filled it with books and supplies, organized it, and admired my work. The two-tone design, a happy accident, is now my favorite feature.
Customization Ideas for Your DIY L-Shaped Desk
Customization is key to making a DIY L-shaped desk. Here are some ideas to help you tailor your desk to your needs and preferences:
Choose Your Style
- Pick a design that reflects your personal style. Whether you prefer a modern look with clean lines or a rustic charm with reclaimed wood, your desk should make you feel comfortable and inspired.
Select the Surface Material
- The top surface of your desk is not only about aesthetics but also functionality. Consider using materials like laminate for durability, wood for a classic look, or even glass for a sleek touch.
Add a Personal Color Scheme
- Colors can influence your mood. Choose a color palette that you love and that energizes you. You can paint the legs, the surface, or add colorful accessories.
Integrate Technology
- Plan for tech integration. Think about where you’ll place your computer, monitor, or any other devices. Include built-in USB ports or a cable management system to keep your workspace tidy.
Enhance Comfort
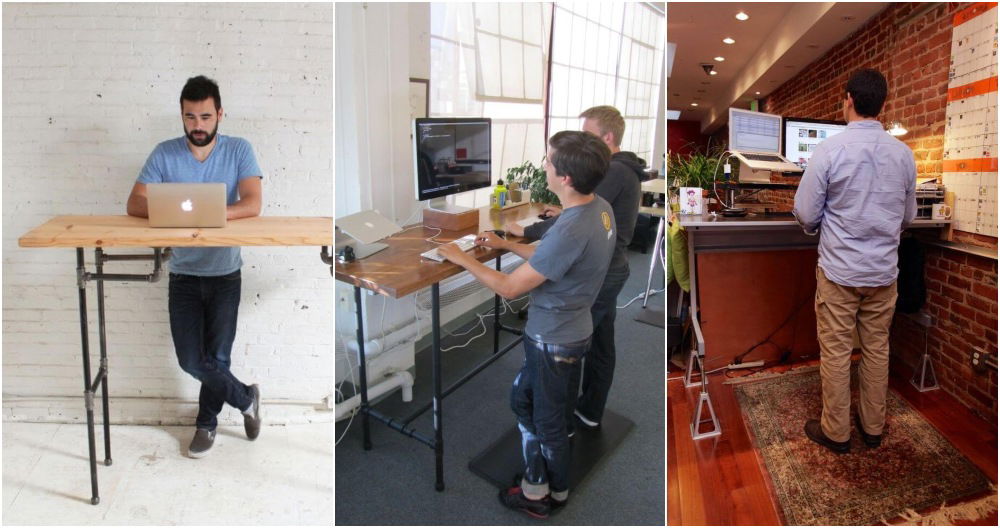
- Adjust the height of your desk to fit your ergonomic needs. Consider a height-adjustable feature if you want the flexibility to stand or sit.
Maximize Space
- Utilize the L-shape to your advantage. Add shelves or cabinets underneath for storage, or build a dual workstation if you share your space with someone else.
Personal Touches
- Finally, add personal touches. This could be a photo frame, a plant, or a unique desk organizer. These small details make the space truly yours.
Build a desk that looks great and meets your needs. Use these ideas for a functional, personalized workspace. Keep it simple, practical, and a place for your best work.
Storage Solutions for Your DIY L-Shaped Desk
Building an L-shaped desk gives you the perfect opportunity to incorporate smart storage solutions that keep your workspace organized and clutter-free. Here’s how you can maximize storage in your DIY desk:
Utilize Vertical Space
- Install shelves above the desk to take advantage of vertical space. This is ideal for books, decorative items, or equipment that you don’t use frequently.
Under-Desk Cabinets
- Consider adding cabinets or drawers under the desk. They’re great for storing papers, office supplies, and other essentials that you want to keep out of sight.
Corner Shelving
- The corner of the L-shaped desk is often underutilized. Add a tiered corner shelf for easy access to items you need regularly.
Pull-Out Trays
- Pull-out trays can be installed under the desk for additional surface area when needed. They’re perfect for extra writing space or to hold your keyboard and mouse.
Cable Management
- Keep cables organized with a built-in cable management system. This could be as simple as a cable tray under the desk or clips along the legs.
Customizable Drawer Dividers
- Use adjustable drawer dividers to keep your drawers tidy. They allow you to build compartments that fit your specific storage needs.
Pegboard Accessory
- Attach a pegboard to one side of the desk. Hang small baskets, holders, and hooks to store various items within arm’s reach.
Hidden Compartments
- For a sleek look, design hidden compartments within the desk. These can be secret drawers or pop-up sections to store valuables or less frequently used items.
Transform your DIY L-shaped desk into an organized workspace. Prioritize ease of use for storage. With these tips, everything will have its place, keeping your desk functional and tidy.
Troubleshooting Common Issues
Building a DIY L-shaped desk can come with its set of challenges. Here are some common issues you might encounter and how to solve them:
Uneven Desk Surface
- If your desk surface is uneven, check the legs for equal length and ensure the floor is level. Use adjustable feet or add shims under the legs to achieve a balanced surface.
Wobbly Desk
- A wobbly desk often results from loose connections. Tighten all screws and bolts. If the issue persists, reinforce the structure with brackets or corner braces.
Difficulty in Aligning
- Aligning the desk parts can be tricky. Use a carpenter’s square to ensure right angles and clamps to hold pieces in place as you work.
Drawer Installation
- Drawers that don’t fit well can be frustrating. Double-check your measurements and drawer slides. Make sure to install slides parallel to each other.
Scratches on Surface
- To prevent scratches, apply a protective finish to the desk surface. For existing scratches, use a wood filler or touch-up marker that matches the desk’s color.
Sticking Drawers
- Drawers that stick can be eased with candle wax or silicone spray on the tracks. Ensure the drawers are not overloaded and operate smoothly.
Misplaced Holes
- If you’ve drilled a hole in the wrong spot, fill it with a wood plug or putty. Sand it down and finish it to match the rest of the desk.
By anticipating these issues and knowing how to address them, you’ll be better prepared to handle any hiccups during your DIY project. Patience and careful planning are your best tools for a successful build.
Maintenance and Care Tips
Keeping your DIY L-shaped desk in top condition is essential for longevity and aesthetics. Here are some straightforward maintenance and care tips:
Regular Cleaning
- Dust regularly with a soft, dry cloth. For deeper cleaning, use a damp cloth with mild soap, but avoid harsh chemicals that can damage the finish.
Protect the Surface
- Use coasters and desk pads to protect the surface from scratches and spills. If you’re using a computer, a mouse pad is also a good idea.
Manage Spills Immediately
- If spills occur, wipe them up as soon as possible to prevent stains or damage to the wood.
Avoid Direct Sunlight
- Place your desk away from direct sunlight to prevent discoloration or warping of the material.
Check for Loose Parts
- Periodically check for loose screws or bolts and tighten them as needed to ensure stability.
Refresh the Finish
- Every few years, consider sanding down the surface and applying a new coat of finish to keep the desk looking new.
Handle with Care
- When moving the desk, lift it rather than dragging it to avoid damaging the legs or the floor.
By following these simple tips, you can ensure that your DIY L-shaped desk remains a functional and beautiful piece of furniture for years to come.
FAQs About DIY L-Shaped Desk
Discover answers to faqs about DIY l-shaped desks. Learn about materials, instructions, and tips for making your perfect workspace.
Building your own L-shaped desk allows for customization to your specific needs and preferences. It can be more cost-effective than buying a pre-made one, and you’ll have the satisfaction of making something unique and tailored just for you.
Use quality materials and ensure all joints are securely fastened. Brackets or additional support beams can enhance stability. Following a detailed plan can also help ensure structural integrity.
Absolutely! One of the main benefits of a DIY desk is the ability to adjust the dimensions and design to fit your space perfectly. You can add shelves, drawers, or other features to meet your needs.
The time it takes can vary widely based on your skill level, the complexity of the design, and whether you have all the necessary materials and tools at hand. On average, it could take a weekend to complete.
Regular maintenance is key to keeping your L-shaped desk in top condition. Dust it often, avoid placing hot items directly on the surface, and use coasters to prevent water rings. If it’s made of wood, consider reapplying a sealant or finish every few years to protect against wear and tear. Additionally, tighten any loose screws or bolts periodically to ensure the desk remains stable and secure.
Conclusion
Wrapping up, building a DIY l-shaped desk is a rewarding project that can fit perfectly in a corner and optimize your space. Following the steps and tips provided, you can build a personalized and functional workspace. Enjoy the process of bringing your DIY corner desk ideas to life!


