Making DIY labels for your products is a rewarding experience. One day, I decided to try it myself. I gathered some paper, scissors, and markers. I designed my labels using my favorite colors and patterns. It was both fun and relaxing. I cut each label carefully, making sure they were all the same size.
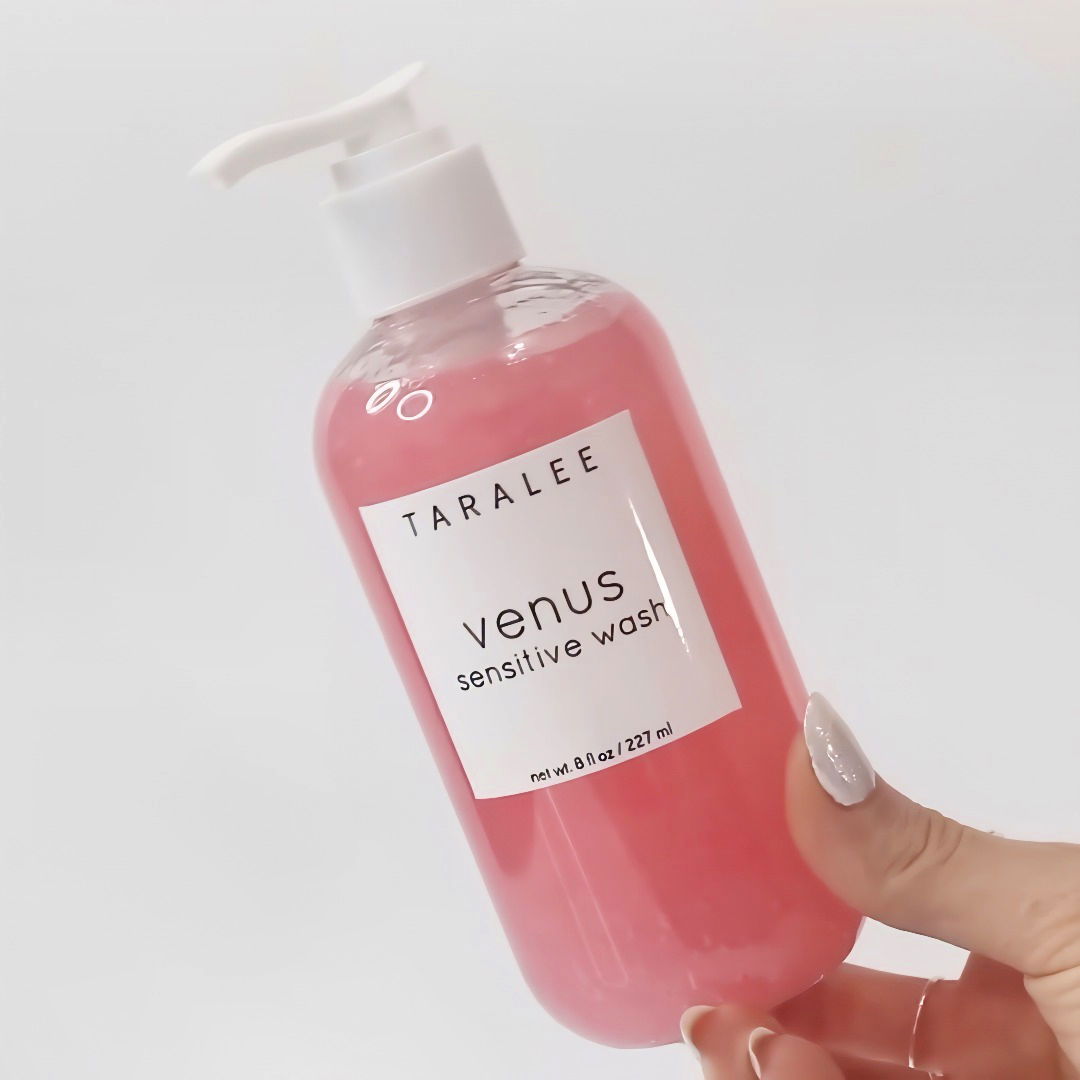
With the labels ready, I applied them to my jars and bottles. It felt satisfying to see my work on display. My products looked professional and creative. This simple task brought a sense of accomplishment. If you want to try this, too, get your supplies ready and start crafting. These tips will help you make unique and beautiful labels.
Step by Step Instructions
Learn how to make custom DIY labels with our step-by-step instructions. From designing to making them scratch-resistant, we've got you covered!
Step 1: Custom Size Your Label
Start by setting the custom size for your label. You can use either PicMonkey or Canva for this job. I personally prefer PicMonkey, which costs $7.99 a month, but both have free trials you can use.
Materials Needed:
- PicMonkey/Canva Account: For designing your label.
- Printer Paper (8.5 x 11 inches): To visualize your label size.
- Laser Printer: Essential for smudge-free labels.
Steps:
- Choose a Blank Canvas: Once in PicMonkey, select "Make New" and then choose an 8.5 x 11-inch canvas. This matches the size of standard printer paper.
- Visualize the Label Size: Use a piece of printer paper to estimate the ideal size for your label. This gives you a tangible reference.
- Design the Shape: Click on Graphics > Basic > Rectangle (or any shape you prefer). Adjust the size of the canvas.
- Add an Outline: Go to Shadows & Outline, select "Outline," and choose a color (I prefer black for clarity). Save this as a JPG file.
Step 2: Print and Adjust
You'll need a Laser Printer for this step. Laser printers are crucial because they don't have ink that smears.
Materials Needed:
- Laser Printer: For durable, smudge-free prints.
- Scissors: To cut out your label.
Steps:
- Print the Design: Print your saved JPG file.
- Check the Size: Compare the printed label with your container. Trim as needed using scissors.
- Refine: If adjustments are needed, go back to PicMonkey, modify the size, and reprint until it fits perfectly.
Step 3: Design Your Label
Now that you have the size sorted, it's time to get creative.
Materials Needed:
- Computer: For design.
- Internet Access: To download or import images and fonts.
Steps:
- Crop the Canvas: Go to Edits and select "Crop Canvas" to remove everything but the label area.
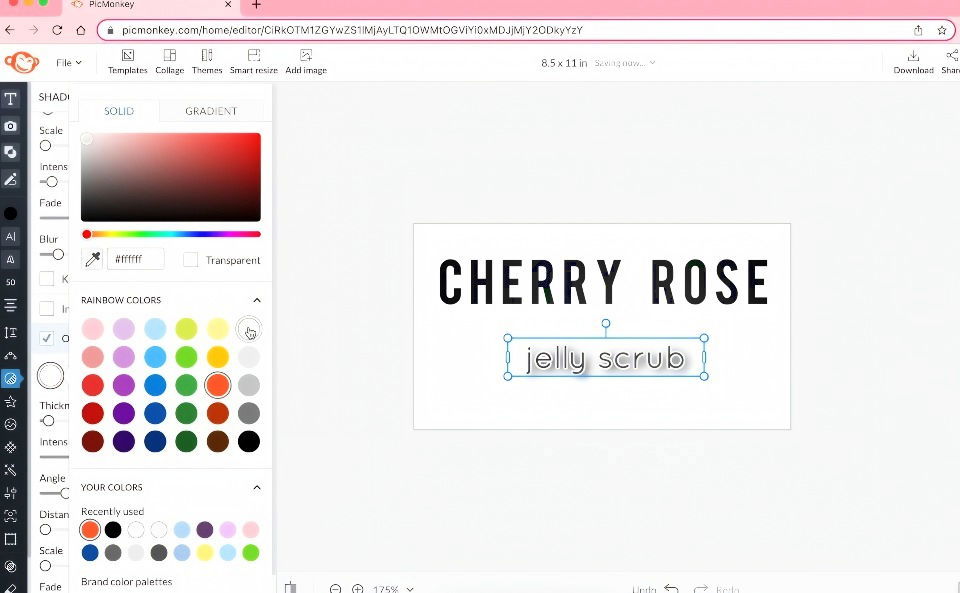
- Add Text & Images: Click on the "T" for text in PicMonkey, add your desired text, and adjust fonts.
- Alignment Tools: Use the alignment options (Align & Snap, Grid on Canvas, Text Spacing) for a polished look.
- Save Your Final Design: Save this as a new JPG file.
Step 4: Print on Special Paper
To make your labels waterproof, you'll need sticker paper.
Materials Needed:
- Clear Sticker Paper: For a transparent look.
- White Vinyl Waterproof Sticker Paper: For a white background.
- Laser Printer: Again, to ensure the labels aren't smudged.
- Scissors: For cutting.
Steps:
- Load Paper into Printer: Carefully place the clear or white vinyl sticker paper in your laser printer.
- Print: Print your saved label design.
- Cut Out Labels: Use scissors to cut around the labels. Note: for clear labels, precision isn't as critical since minor imperfections are less noticeable.
Step 5: Make Labels Scratch-Resistant
Your labels are now waterproof, but we need to make them scratch-proof.
Materials Needed:
- Laminating Sheets: To add a protective layer.
- Cricut Squeegee or any smoothing tool: To remove air bubbles.
Steps:
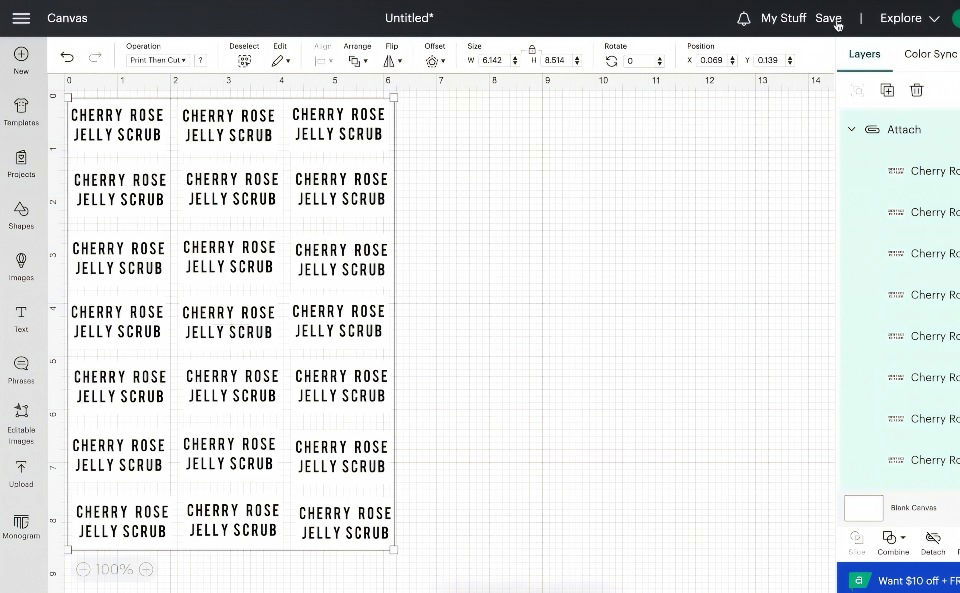
- Print Multiple Labels: Print more than one label on a single sheet to utilize space effectively.
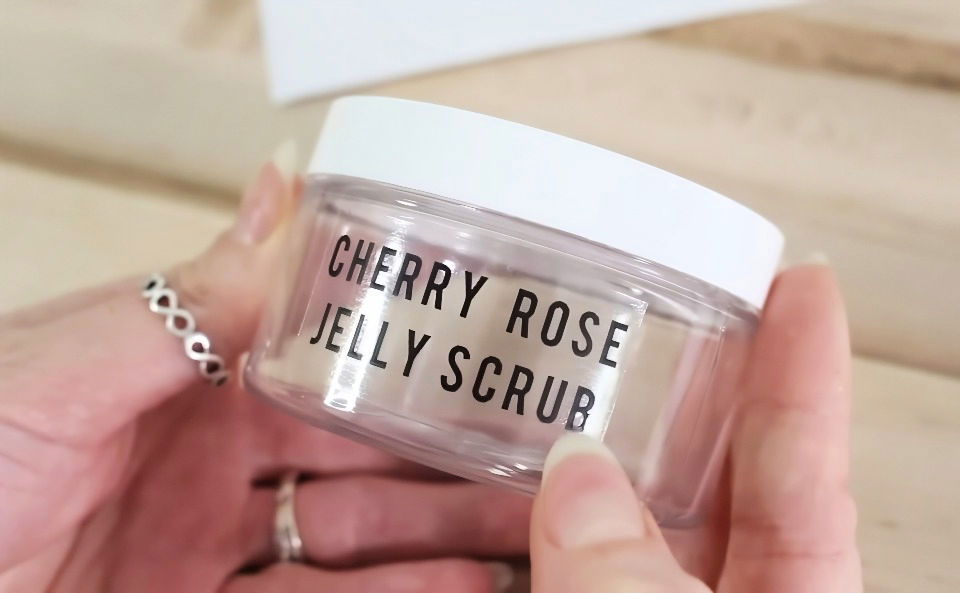
- Apply Laminating Sheet: Carefully peel and place the laminating sheet over your printed labels.
- Smooth Out Air Bubbles: Use the Cricut squeegee or a similar tool to smooth out any air bubbles.
Additional Tips for Cricut Users
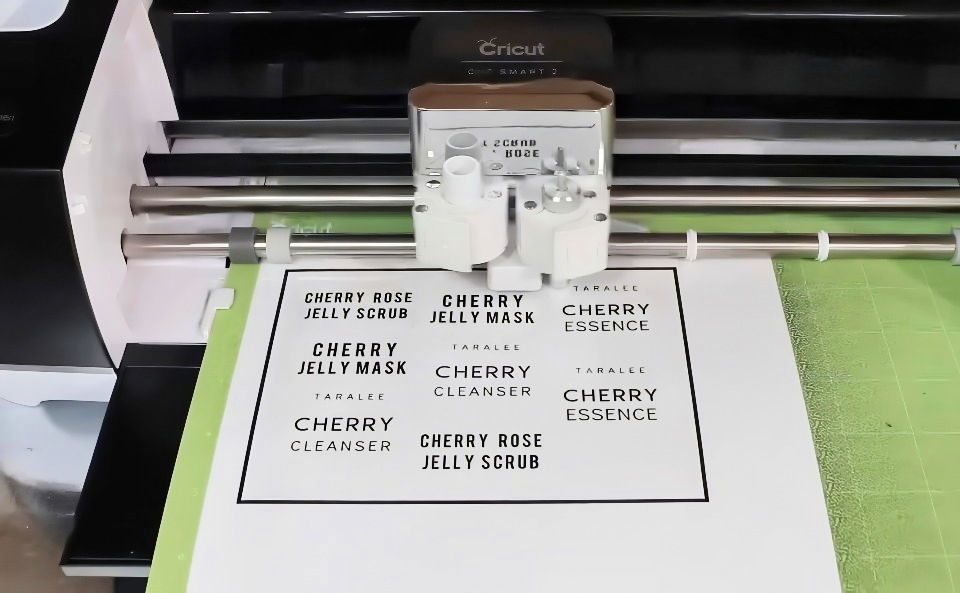
If you plan to use a Cricut machine, it can make the cutting process easier and more precise.
Materials Needed:
- Cricut Machine: For precise cutting.
- Cricut Mat: To hold the paper in place.
Steps:
- Upload Design: Open Cricut Design Space and upload your label design.
- Adjust Size: Use the built-in rulers to adjust the size precisely.
- Print and Cut: Follow Cricut's instructions to print and cut your labels.
Common Issues and Solutions
- Paper Jams: All label papers can jam. Baby-sit your printer and assist the paper through if needed.
- Shadowing: For clear labels, half the sheet may show weird shadows. Use smaller labels to avoid this issue.
- Precision Cutting: The Cricut can sometimes over-cut. Adjust the cut settings for better accuracy.
Organize Your Labels
To store your labels effectively, use a binder with clear sleeves. This method keeps your labels organized and easy to find.
Materials Needed:
- Binder and Clear Sleeves: These are for organizing your printed labels.
Troubleshooting Common Issues
When making DIY labels, you might encounter a few hiccups along the way. Here's a helpful guide to troubleshooting some of the most common issues, ensuring your labels turn out just as you envisioned.
Text Legibility
Sometimes, the text on your labels may not be as clear or legible as you'd like. This often happens if the font size is too small. To fix this, use a font size between 8 and 12 points for clear readability. If your design allows, opt for simple fonts over script fonts for longer texts to enhance legibility.
Blurry Designs
If your label design appears blurry, it's likely due to low image resolution. Ensure all images used are at a 300 dpi resolution to maintain clarity when printed.
Printing Edge to Edge
Not getting that full-bleed look? Make sure to include a bleed in your design. This means extending the design slightly beyond the edge of the label to ensure no unprinted edges appear after cutting.
Text or Design Cut Off
Keep all essential text and design elements within the safety line of your label template. This prevents important details from being trimmed off during the cutting process.
White Outline on Labels
A white outline can occur when the label background doesn't match the application surface. Using clear labels for dark surfaces or ensuring your design's background color matches the application surface can solve this.
Design Not Centered
If your design isn't centered on the label, it could be a printer setting issue. Check your printer's alignment settings and adjust accordingly.
Incorrect Label Size
Measure twice, print once! Use a size guide to ensure your labels match the intended dimensions before printing.
Labels Not Water-Resistant
If your labels need to withstand moisture, choose a waterproof material. This will prevent ink from running and labels from peeling off when exposed to water.
Colors Don't Match Expectations
Colors can vary between screens and printers. To get the closest match, provide your design files in CMYK color mode, which is standard for printing.
Adhesive Problems
Labels peeling off or not sticking well can be due to the wrong type of adhesive for your surface. Ensure you're using the right adhesive for your specific application, considering factors like temperature and surface texture.
The key to successful DIY label-making is patience and attention to detail. Don't rush the process, and always do a test print before committing to a full batch.
FAQs About DIY Labels
Discover answers to common questions about DIY labels, covering materials, printing tips, and application techniques.
You can use Adobe Acrobat to create and print your DIY labels. It allows you to type your information directly onto the label template. If you don’t have Adobe Acrobat, you can use any word processor like Microsoft Word or Google Docs to design your labels.
Circular labels may appear larger than their intended size to ensure that the background color extends to the edges. This design choice helps to maintain the label’s appearance even if cutting is slightly imprecise.
The grey line serves as a guide for cutting. It's particularly useful if you're using a circle cutter, as it helps you center the label and trim off excess paper.
Yes, you can make clear labels at home using heavy-duty packing tape and an inkjet printer. Print your design, cover it with packing tape, soak in water, and then remove the paper to reveal your clear label.
Absolutely! You can make sustainable DIY plant labels using materials like wooden popsicle sticks, old wine corks, or even smooth stones. These materials can be written on and placed in your garden as eco-friendly markers.
Conclusion
Remember, crafting your own DIY labels not only saves money but also adds a personal touch to your products. Dive into the simple steps and enjoy making something beautiful today.


