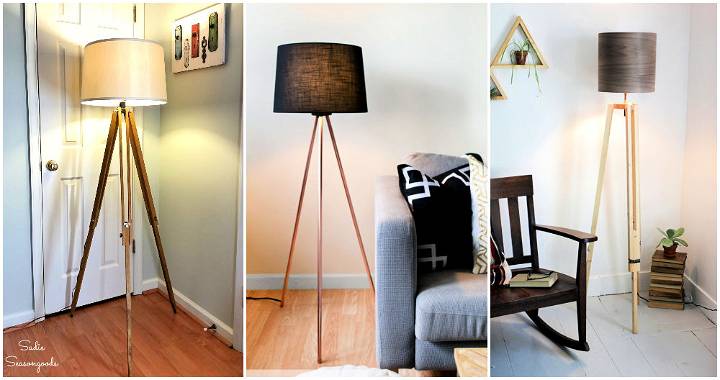
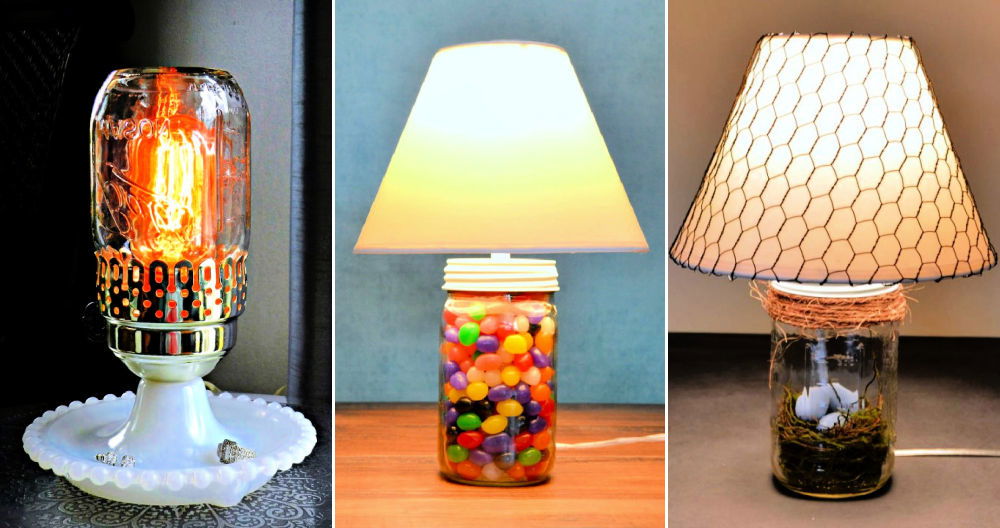
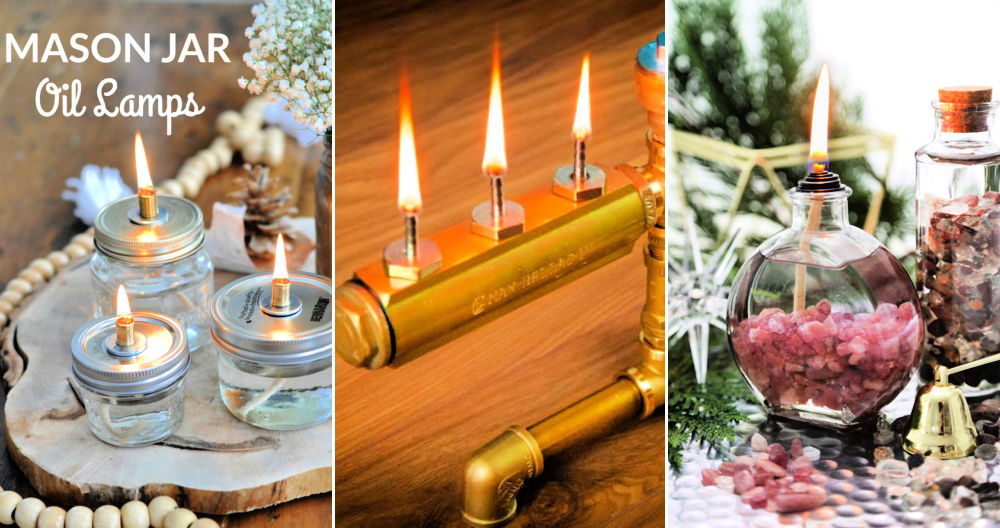
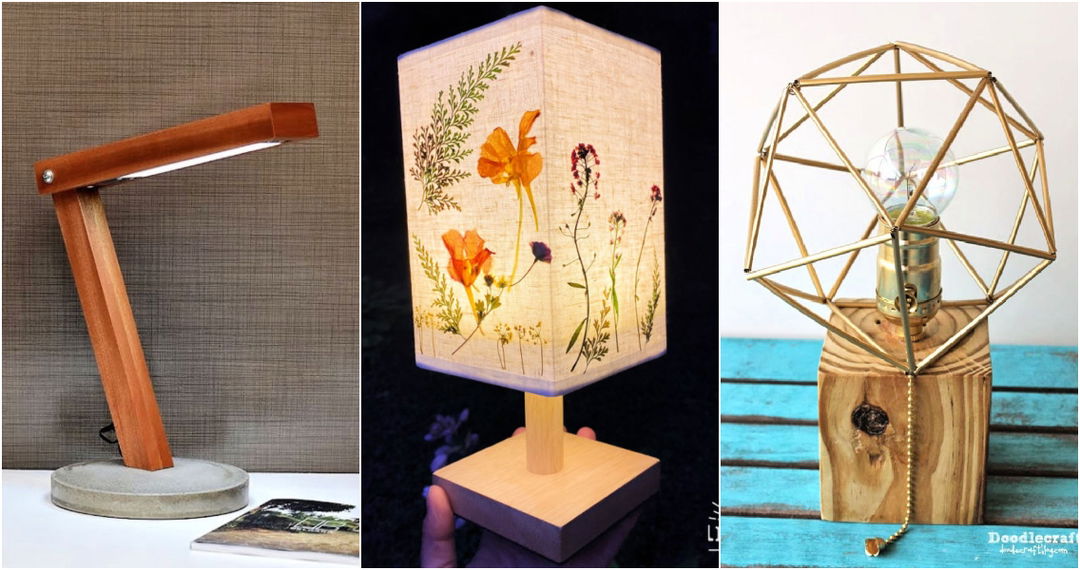
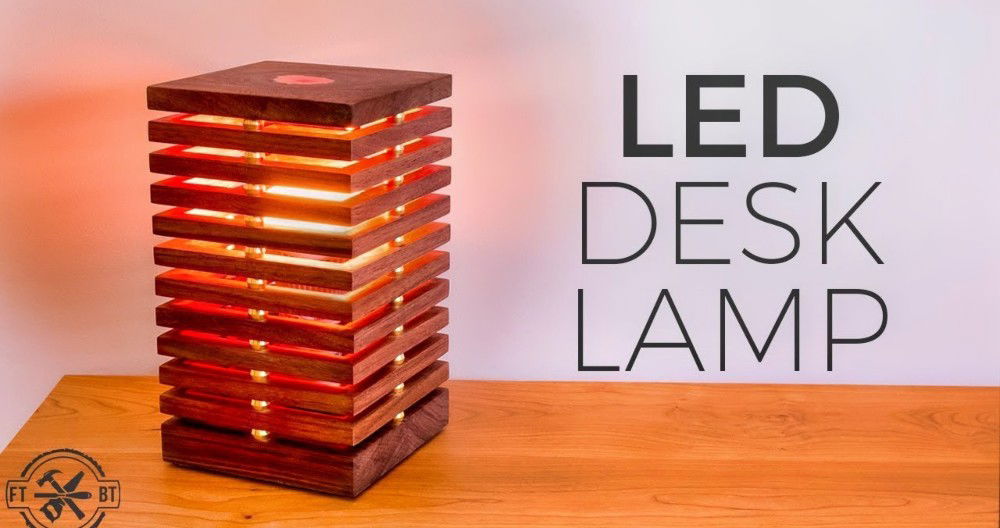
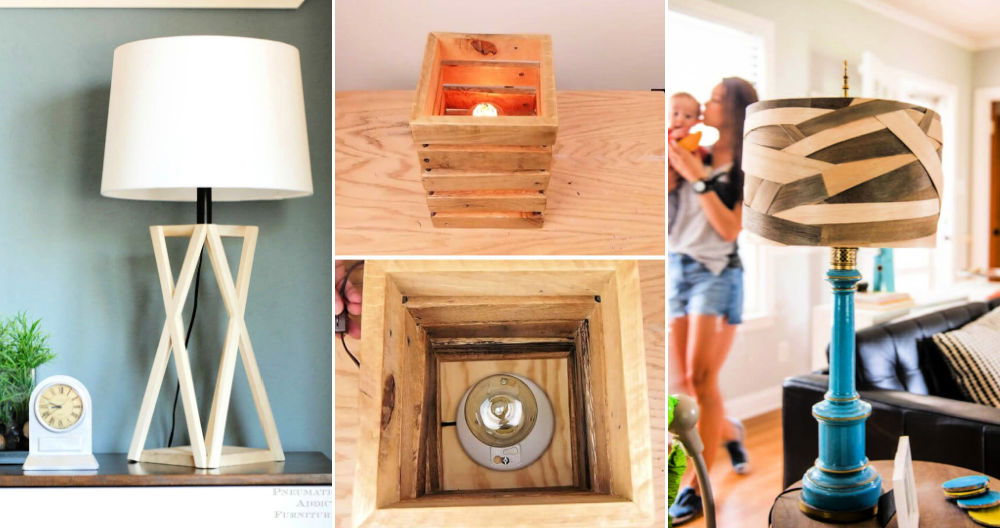
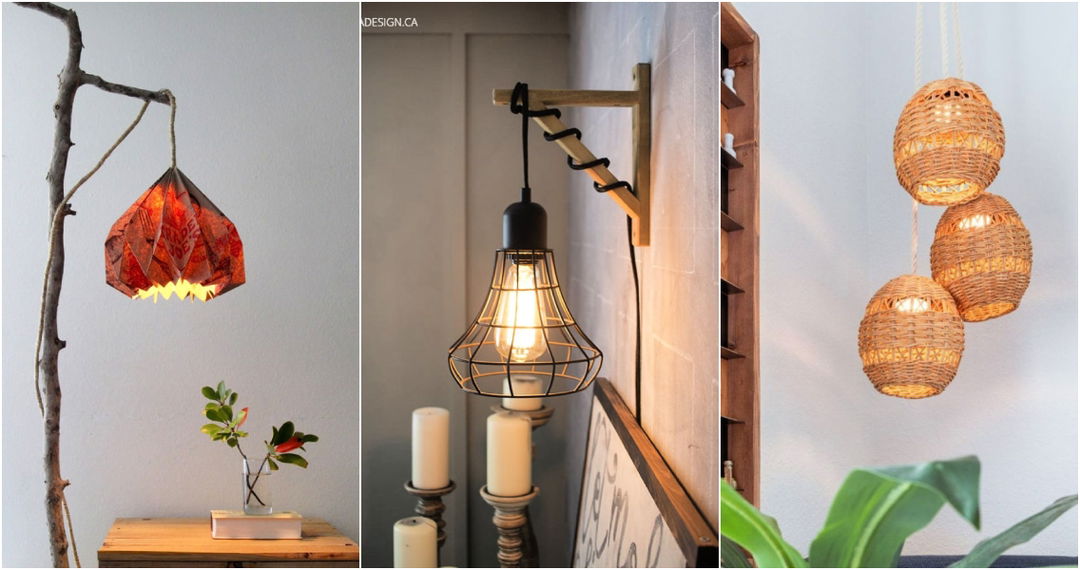
Building a DIY lamp was one of the most rewarding projects I've ever done. I found an old jar at home and decided to transform it into something unique. With a bit of creativity and a few materials, I managed to build a beautiful and functional lamp. It didn't require much time or experience, just a bit of patience and enthusiasm.
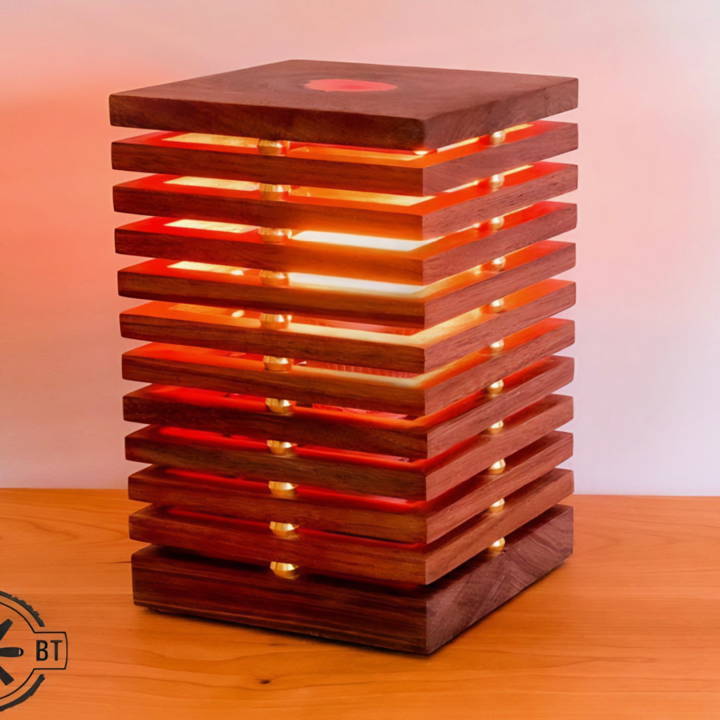
Furthermore, I was pleasantly surprised at how customizable the project was. I got to choose the colors, designs, and how bright I wanted the light to be. By the end, I had a lamp that not only lit up my room but also brought a sense of personal achievement. Making a DIY lamp is easier than you might think, and it's an excellent way to add a personal touch to your space.
I'm helping with this: so you can build your own unique DIY lamp and add a personal glow to your home. Use the steps below to get started and enjoy the process!
Materials Needed and Their Importance
Before starting, collecting the right materials is crucial. Here's what I used:
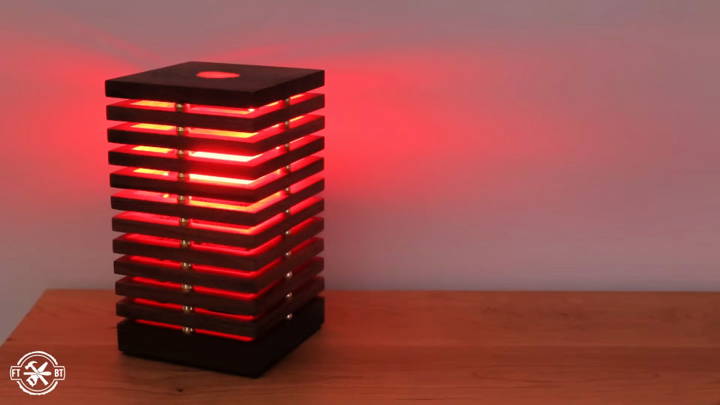
- Rough Walnut Boards: I chose walnut for its durability and rich color. It's ideal for making a sturdy and aesthetically pleasing lamp base and frames.
- Color Changing LED Light Bulb: Essential for the lamp's functionality. I opted for a smart bulb that can change colors and adjust brightness.
- Porcelain Socket and Adapter: To securely hold the LED bulb and connect it to the lamp structure.
- Wiring Components: For powering the lamp. Safety comes first, so ensure you're comfortable with electrical work or get help from someone who is.
- Epoxy with Gold Pigment: To fill any gaps in the wood, adding a beautiful detail that complements the walnut and brass.
- Brass Hardware: For decorative accents. I found some excellent pieces in the plumbing section that added a unique touch.
- Dowel Rods and Brass Sleeves: To assemble the frame of the lamp and add to its design.
Each material plays a specific role in the construction and aesthetics of the desk lamp, contributing to its overall functionality and style.
Step by Step Instructions
Learn how to make a beautiful DIY lamp with our step-by-step guide. Follow detailed instructions from preparing walnut wood to the final finishing touches.
Preparing the Walnut Wood
I started with rough walnut boards that I had in my workshop. Despite their imperfections, they were perfect for a smaller project like this. I aimed to build a series of open-mitered frames and a sturdy base for the lamp.
- Milling the Boards: Using my planer, jointer, and bandsaw, I milled the boards to half-inch thickness. Note that you can start with half-inch stock if you don't have these tools.
- Ripping Half-Inch Strips: On my table saw, I cut the boards into half-inch strips. These strips would form the frames of the lamp.
Making the Mitered Frames
- Cutting 45-Degree Angles: I set my miter gauge to 45 degrees to cut mitered angles on each strip's ends, which is crucial for assembling the frames.
- Measuring and Cutting: I then marked 5 inches from each miter cut, using a stop block for accuracy. Initially, I tried using the table saw, but eventually, I found the miter saw to be safer and more comfortable for this step.
Gluing the Frames
- Using Painter's Tape: I laid out the mitered strips on painter's tape to hold them in place for gluing.
- Applying Glue: I opted for a thick, clear-drying glue, applying a small amount on each joint. The tape ensured the frames stayed tightly closed without gaps.
Working on the Base
- Glue-Up for Thickness: I glued two 1-inch thick walnut boards together to build a strong 5x5 base.
- Adding Epoxy: Filling the knots and cracks with gold-pigmented epoxy not only solidified the base but also added a beautiful aesthetic that matched the brass hardware.
- Step 5: Assembling the Lamp
- Drilling for Dowels: I drilled holes in every frame for the dowel rods, using a stop block for consistent placement.
- Setting Up the LED Light: Drilling a hole in the base for the wiring and mounting hardware was next. I then wired the porcelain socket and assembled it onto the base.
Finishing Touches
- Sanding and Sealing: I sanded all parts smoothly and sealed the walnut with an oil-based polyurethane for a durable finish.
- Assembly: Starting with the dowel rods, I slid each frame onto them, separating them with brass sleeves for a decorative touch. No glue was required due to the tight fit.
Design Customization Ideas
When making your own DIY lamp, the design is where you can truly let your personality shine through. Here are some ideas to inspire your creativity and help you craft a lamp that's not only functional but also a reflection of your style.
Choose a Theme
Start by deciding on a theme that resonates with you. It could be anything from vintage charm to modern minimalism. Once you have a theme in mind, it will guide your choices in materials, colors, and shapes.
Play with Colors
Colors can dramatically alter the mood of a room. Consider the ambiance you want to build. Soft, warm colors can evoke a cozy atmosphere, while bold, bright colors might add a playful touch to your space.
Mix and Match Materials
Experiment with different materials. Combine wood with metal for an industrial look, or pair glass with ceramic for a more refined style. The contrast between materials can add depth and interest to your lamp.
Add Textures
Textures bring a tactile dimension to your design. A lampshade made from woven fabric or a base wrapped in rope can introduce a new layer of sensory experience to your lamp.
Personalize with Patterns
Incorporate patterns that you love. Whether it's geometric shapes, floral prints, or abstract art, a patterned lampshade can be a statement piece in your decor.
Incorporate Nature
Bring the outdoors inside by using natural elements. A base made from driftwood, a shade adorned with pressed flowers, or pebbles filling the lamp's base can build a serene, earthy feel.
Adjust the Light
Think about the type of light you need. A dimmer switch allows you to adjust the brightness, while colored bulbs can change the hue of the light for different effects.
Make it Multi-Functional
Consider adding features that increase the lamp's utility. A built-in USB port for charging devices or a shelf for holding books can make your lamp more than just a light source.
Build a DIY lamp that lights up your room and showcases your personal style. Enjoy the fun process of making something uniquely yours.
Advanced Techniques
For those who are ready to take their DIY lamp projects to the next level, mastering advanced techniques can add both functionality and flair. Here's how you can elevate your lamp-making skills:
Understanding Electrical Components
Get familiar with the different parts of a lamp's electrical system. Learn about wires, sockets, switches, and plugs. Knowing how these components work together safely is crucial for any advanced lamp project.
Working with Dimmers
Dimmers are a great way to control the mood of a room. Installing a dimmer switch allows you to adjust the brightness of your lamp. Make sure to use a bulb that is compatible with dimming.
Incorporating Smart Home Features
Smart home technology can make your lamp more convenient and energy-efficient. Consider adding features like voice control or remote access through a smartphone app.
Customizing Lamp Shades
If you're skilled in crafts, try making your own lampshades. Use materials like fabric, paper, or metal to build custom designs. Be mindful of the heat that bulbs can generate, and choose materials that are safe and heat-resistant.
LED Integration
LEDs offer a wide range of possibilities due to their size and efficiency. Embedding LED strips into your lamp can build unique lighting effects and patterns.
Solar Power Adaptation
For an eco-friendly option, explore how to power your lamp using solar energy. This can involve attaching a solar panel to your lamp or using rechargeable batteries that are solar-powered.
Experimenting with Shapes
Move beyond traditional lamp shapes. Try geometric forms or organic shapes that challenge the norm and become a focal point in your decor.
Advanced Wiring Techniques
Learn more sophisticated wiring techniques, such as making multiple light sources within one lamp or wiring a lamp to have several switches controlling different parts.
Use these techniques to make your DIY lamp a display of skill and creativity. Prioritize safety with electrical parts and seek professional advice if needed.
Troubleshooting and Maintenance
Keeping your DIY lamp in top condition ensures it not only lasts longer but also remains safe to use. Here's a guide to help you troubleshoot common issues and maintain your lamp effectively.
Regular Cleaning
Dust and debris can accumulate on your lamp, affecting its performance and appearance. Gently clean the lampshade and base regularly with a soft cloth. For tougher stains, use a mild cleaner suitable for the material of your lamp.
Checking for Loose Connections
Over time, the screws and fittings on your lamp may become loose. Inspect and tighten them periodically to prevent any wobbling or instability.
Replacing Bulbs
When a bulb burns out, replace it promptly with one that has the correct wattage for your lamp. Using a bulb with too high wattage can overheat the lamp and pose a fire risk.
Inspecting the Cord
Check the power cord for any signs of wear or damage. If you notice any fraying or exposed wires, replace the cord immediately to avoid electrical hazards.
Testing the Switch
If your lamp isn't turning on, the issue might be with the switch. Test the switch by plugging in another device to see if the outlet is working. If the outlet is fine, you may need to replace the switch.
Dealing with Flickering
Flickering can be caused by a loose bulb or faulty wiring. Ensure the bulb is screwed in tightly. If the problem persists, it might be time to seek professional help to check the wiring.
Upgrading for Efficiency
Consider upgrading to LED bulbs if you haven't already. They are more energy-efficient and last longer than traditional bulbs, saving you money and maintenance effort in the long run.
Seasonal Adjustments
If your lamp has a fabric shade, it may be prone to moisture damage in humid conditions. During rainy seasons, keep the lamp in a dry area and consider using a dehumidifier to protect it.
Follow these maintenance tips to keep your DIY lamp shining safely. For complex issues, consult a qualified electrician.
FAQs About DIY Lamp
Unlock answers to common questions about DIY lamps. Discover tips, materials, and step-by-step guides for making your own unique lighting.
Select a light bulb that matches the voltage and wattage requirements of your lamp socket. Consider the type of lighting you want, such as incandescent, fluorescent, LED, or halogen. Think about the brightness and color temperature to build the desired ambiance.
Absolutely! You can craft a lampshade using materials like fabric, paper, or metal. The design can range from simple to complex, depending on your skill level and the style you’re aiming for. Ensure the size and fit match your lamp base and socket.
Yes, but you must follow safety guidelines. Always disconnect the power before you start. Use the correct wire gauge, and ensure all connections are secure. If you’re unsure, consult with a professional or refer to detailed guides available online.
Get creative by upcycling items like bottles, jars, or books. You can also use natural elements like branches or rocks. For a modern look, consider using geometric shapes or industrial materials. The key is to ensure the base is stable and complements your decor.
When making a DIY lamp, stability is crucial for safety and functionality. Start by choosing a heavy and wide base that can support the weight of the lampshade and socket. Materials like wood, ceramic, or metal are ideal for a sturdy foundation. If you're repurposing an object, consider adding weight to the bottom or attaching it to a larger base. Test the lamp by gently nudging it from different angles to ensure it doesn't wobble or tip easily. If necessary, adjust the base or add non-slip pads underneath to enhance stability.
Final Thoughts:
Making a DIY lamp can be a fun and fulfilling experience. Take your time with each step, experiment with different designs, and you will have a lamp you're proud of.


