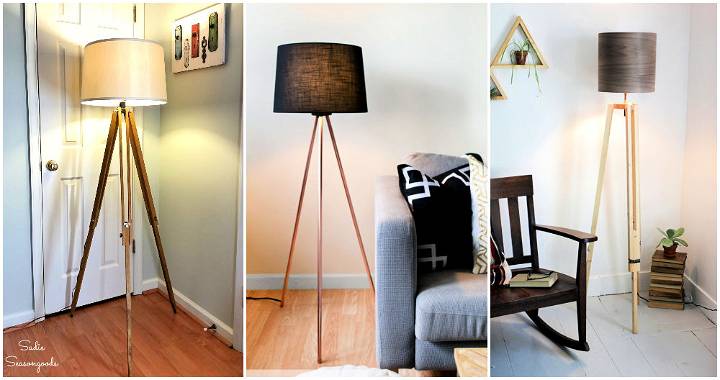
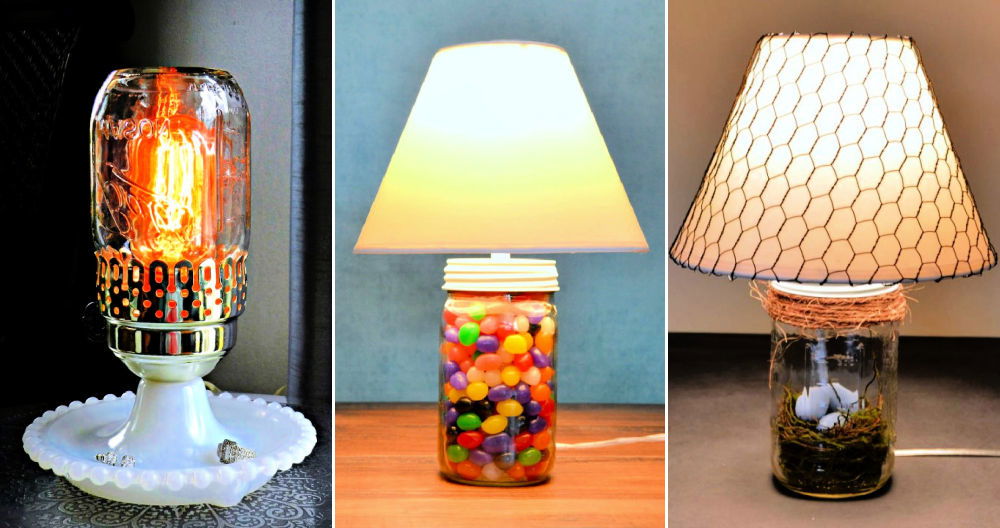
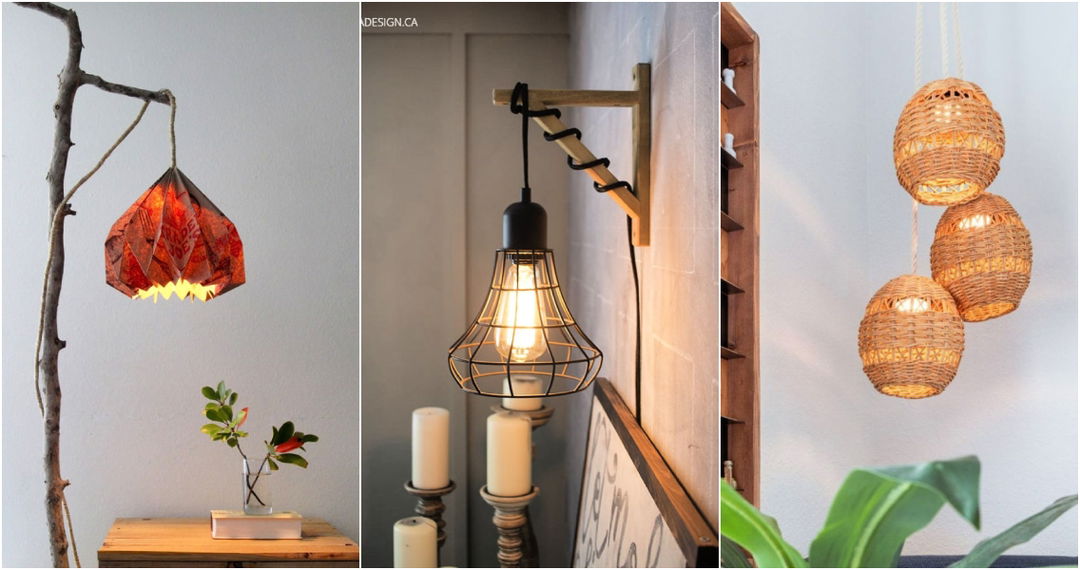
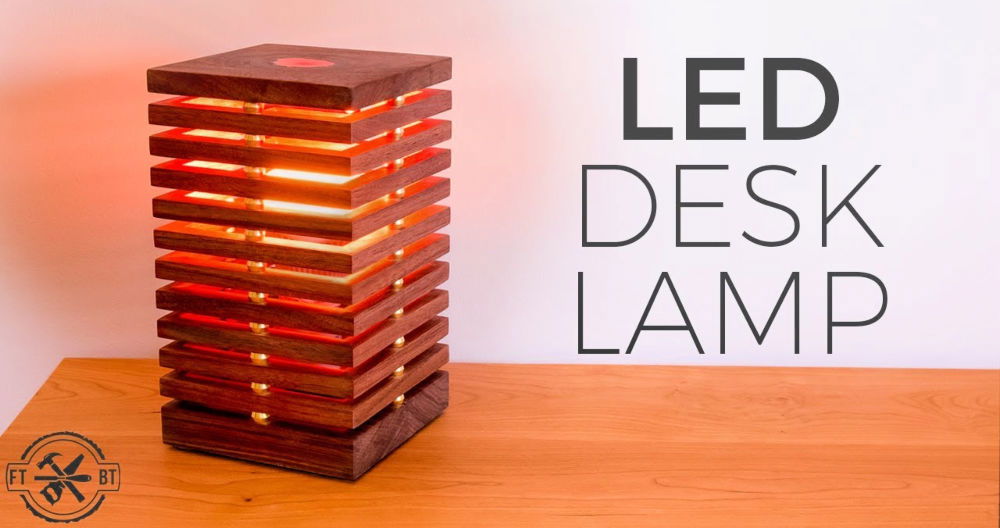
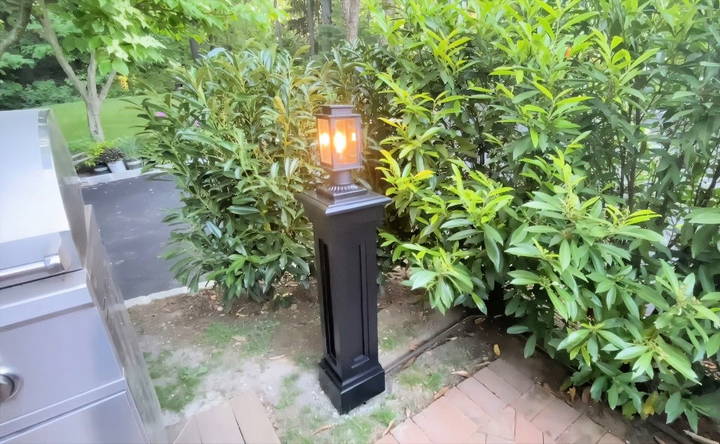
Building a DIY lamp post is a fulfilling woodworking project that adds charm and functionality to your outdoor space. In this guide, I'll walk you through the process of constructing a decorative lamp post, sharing my personal experience and tips to help you along the way.
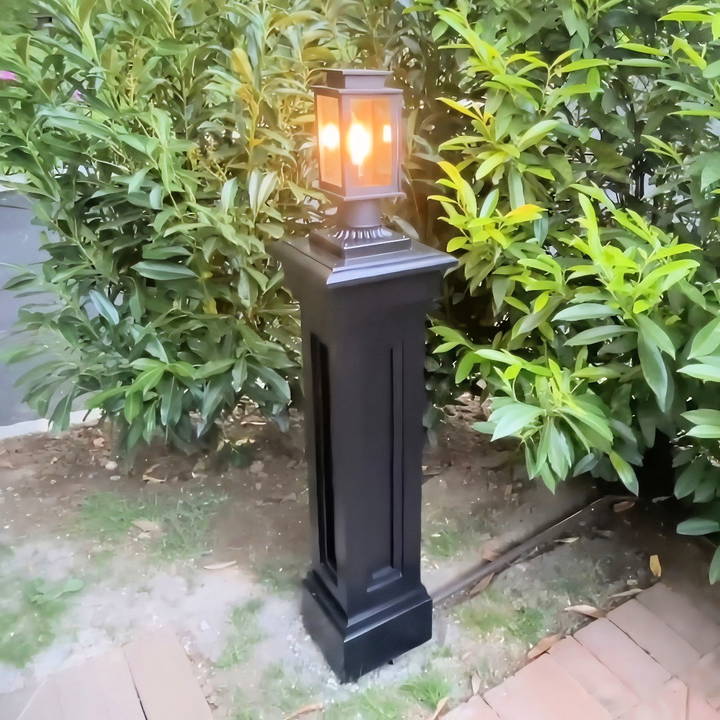
We'll use straightforward materials, including PVC and wood, to make a durable and attractive structure. Let's dive in!
Materials You'll Need
Before we start building, it's important to gather all the necessary materials. Each item plays a specific role in the project, and I'll share some personal insights about working with them.
- Azec (PVC Material): This is ideal for exterior projects because it's resistant to weather and rot. In my experience, it's easier to work with compared to wood for outdoor purposes.
- 4x4 Wooden Post: This serves as the core of the lamp post. I recommend selecting treated wood to withstand the elements.
- Biscuits and Biscuit Joiner: These are great for aligning pieces, though not strictly necessary. If you don't have a biscuit joiner, don't worry—you can still achieve a strong joint using screws and nails.
- Nail Gun and Screws: A nail gun speeds up the process, while screws provide additional strength.
- Wood Glue: Essential for ensuring solid and lasting joints.
- Face Frame Moldings and Cap Molding: These decorative elements add detail and refinement to the lamp post.
- Primer and Paint: Protects the lamp post from moisture and weathering. I prefer using Stix primer and Benjamin Moore's Command paint for their fast-drying properties.
- Roofing Tar: This is for sealing the base of the post to prevent moisture damage.
- Light Fixture: This is the crowning piece of the project. I chose a classic-looking fixture to match the overall aesthetic of my yard.
Step by Step Instructions
Learn how to build a DIY lamp post with step-by-step instructions, from cutting the base to installing the light fixture for stunning outdoor decor.
Step 1: Cutting and Preparing the Base Box
The base of the lamp post is made from Azec, a PVC material that's great for exterior projects. If you've never worked with Azec before, you'll find that it cuts much like wood but won't splinter or absorb moisture.
- Measure and Cut the Sides: I cut the Azec pieces to 35 inches, aiming for a final height of 36 inches. This size is perfect for a garden or patio area, providing ample lighting without overwhelming the space.
- Rip the Sides for the Right Fit: At the table saw, I rip two sides at 3.5 inches to fit snugly over a 4x4 post. This step is crucial; a well-fitted box ensures the lamp post looks clean and professional. I made sure all cuts were precise to avoid gaps later on.
- Join the Sides Together Using Biscuits: I used a biscuit joiner to help align the sides. If you don't have one, screws and nails will work just as well. The key is to ensure the sides are flush when assembling. I tacked the pieces together with a nail gun and reinforced them with screws for added stability.
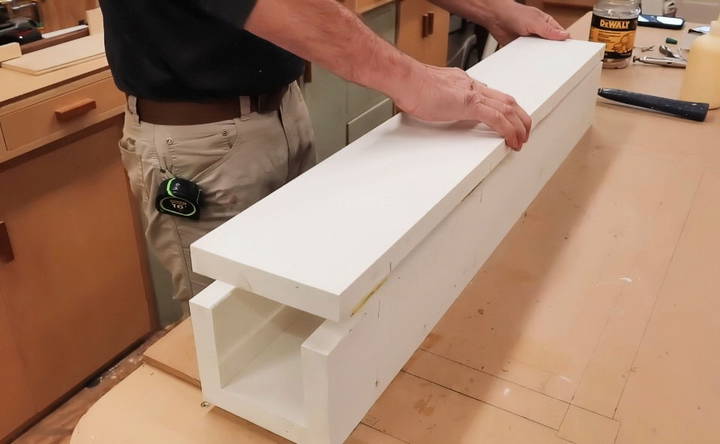
Step 2: Adjusting the Fit
After assembling the box, I noticed it was a bit tight when sliding over the 4x4 post. Rather than forcing it, I opted to run the post through a planer, removing about a sixteenth of an inch from two sides. This minor adjustment made all the difference. Here's a pro tip: always test fit before committing to the next steps.
Step 3: Building the Face Frames
Face frames make the visual structure and appeal of the lamp post. They help to form the flat panel look, giving the post a classic style.
- Build the Face Frames with Biscuits or Pocket Hole Screws: If you have a biscuit joiner, use it to align the frames. Otherwise, pocket hole screws work just as effectively. I prefer biscuits for their ease of use and clean finish.
- Attach the Frames to the Box: I started by attaching the thinner 1-inch face frames on two opposite sides of the box. The trick is to keep them flush on one side, allowing any excess to be trimmed later with a flush-cut bit on a router. The thicker, 1 ¾ inch frames were then attached on the remaining sides, ensuring a consistent look.
- Secure with Glue, Nails, and Screws: This combination provides maximum strength. The nails hold everything in place while the glue sets, and the screws add long-term durability.
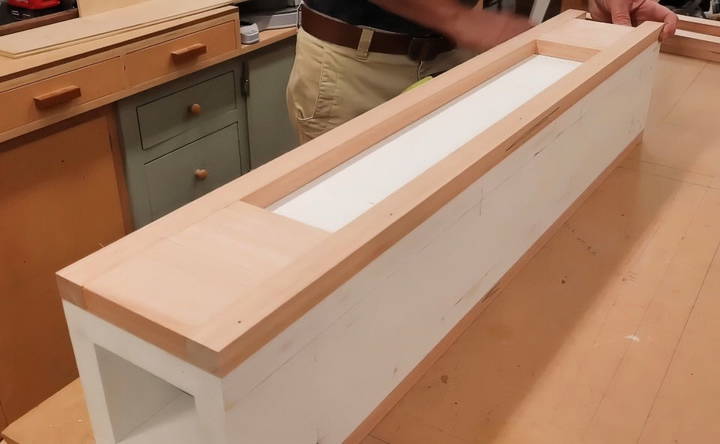
Step 4: Adding Decorative Moldings
Adding moldings enhances the lamp post's design, giving it a refined and finished appearance.
- Prepare the Moldings: I used simple moldings for the base and cap, along with a custom molding with a seven-degree angle for the flat panels. By ripping a few sticks to an inch and an eighth, setting the saw blade at seven degrees, and carefully cutting, I was able to produce consistent moldings.
- Attach the Moldings to the Lamp Post: The base molding goes at the bottom, the cap molding at the top, and the angled molding around the panels. Here's a tip: always start with a small amount of glue and adjust as needed before nailing. This prevents the molding from sliding around and ensures a precise fit.
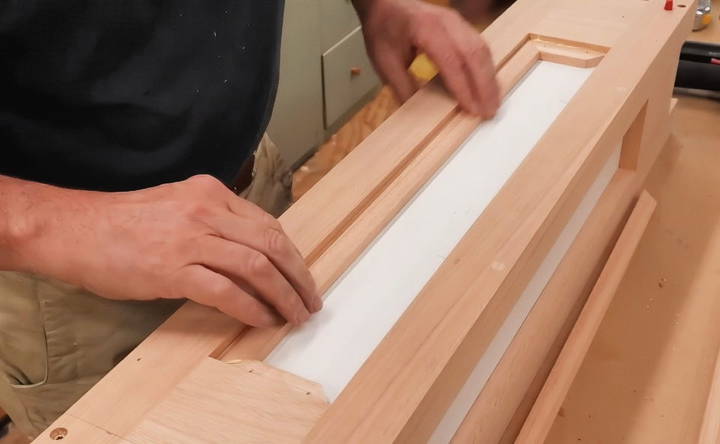
Step 5: Finishing Touches and Painting
The final step is all about protecting and beautifying your new lamp post.
- Round Over Sharp Edges: For a more polished look, I used a small round-over bit in the router to soften the edges. This not only improves the appearance but also reduces the risk of splinters.
- Prime and Paint: I started with a coat of Stix primer, particularly on the bottom of the post, to prevent moisture from being absorbed into the end grain. Then, I applied Benjamin Moore's Command paint, which dries quickly and is easy to work with.
- Seal the Bottom with Roofing Tar: For extra protection against moisture, I coated the bottom of the post with roofing tar. This step is optional but highly recommended if your lamp post will be exposed to the elements.
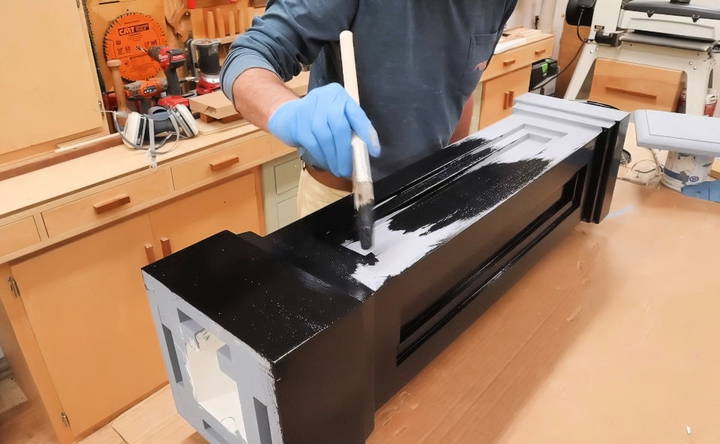
Step 6: Installing the Light Fixture
With the lamp post constructed and painted, the final step is installing the light fixture. I chose a classic-looking fixture from Van Dyke's Restorers, which complements the traditional design of the lamp post.
- Attach the Fixture: Follow the manufacturer's instructions for wiring and attaching the fixture. I found it helpful to have a partner hold the lamp in place while I secured it, ensuring it was perfectly centered and level.
- Test the Light: Before declaring the project complete, make sure to test the light fixture to ensure everything is functioning properly. This is the moment when all your hard work pays off!
Creative Ideas and Inspirations
Building a DIY lamp post can be a fun and rewarding project. Here are some creative ideas and inspirations to help you design a unique and beautiful lamp post for your home or garden.
Themed Lamp Posts
- Seasonal Themes: Change your lamp post design to match the seasons. For example, you can decorate it with flowers and butterflies in spring, beach themes in summer, pumpkins and leaves in autumn, and snowflakes and lights in winter.
- Holiday Decorations: Customize your lamp post for holidays like Halloween, Christmas, or Easter. Use themed decorations like spooky figures, festive lights, or colorful eggs to make your lamp post stand out.
Upcycling and Repurposing
- Recycled Materials: Use old materials to make your lamp post. For instance, you can use an old bicycle frame, metal pipes, or wooden pallets. This not only saves money but also gives your lamp post a unique look.
- Vintage Style: Repurpose vintage items like old lanterns, metal buckets, or antique tools. These items can add a charming and rustic feel to your lamp post.
Integrated Planters
- Flower Pots: Attach flower pots to your lamp post to make a beautiful and functional garden feature. You can plant colorful flowers, herbs, or even small vegetables.
- Vertical Garden: Build a vertical garden by adding shelves or hooks to your lamp post. This allows you to hang multiple pots and make a lush, green space.
Solar-Powered Lamp Posts
- Eco-Friendly Lighting: Use solar-powered lights to make your lamp post environmentally friendly. Solar lights are easy to install and save on electricity costs.
- Decorative Solar Lights: Choose decorative solar lights that match your style. There are many options available, from classic lantern designs to modern, sleek lights.
Artistic Designs
- Paint and Stencils: Use paint and stencils to add patterns and designs to your lamp post. You can make anything from simple geometric shapes to intricate floral patterns.
- Mosaic Tiles: Decorate your lamp post with mosaic tiles. This can add a colorful and artistic touch to your garden.
Interactive Elements
- Bird Feeders: Attach a bird feeder to your lamp post to attract birds to your garden. This adds life and movement to your outdoor space.
- Wind Chimes: Hang wind chimes from your lamp post to make soothing sounds. This can make your garden a more relaxing place to be.
By incorporating these creative ideas and inspirations, you can design a DIY lamp post that is not only functional but also a beautiful addition to your home or garden.
Maintenance and Troubleshooting
Maintaining your DIY lamp post ensures it stays in good condition and functions properly. Here are some simple tips and solutions for common issues.
Regular Maintenance
- Cleaning: Regularly clean your lamp post to remove dirt, dust, and debris. Use a soft cloth and mild soap. Avoid harsh chemicals that can damage the finish.
- Inspecting: Check your lamp post for any signs of wear and tear. Look for rust, loose parts, or damaged wiring. Address these issues promptly to prevent further damage.
- Painting: If your lamp post is painted, touch up any chipped or faded areas. This helps protect the material and keeps it looking fresh.
- Lubricating: For lamp posts with moving parts, like adjustable arms or hinges, apply a light lubricant to keep them operating smoothly.
Electrical Safety
- Checking Connections: Regularly inspect electrical connections to ensure they are secure. Loose connections can cause flickering lights or electrical hazards.
- Replacing Bulbs: Replace burnt-out bulbs promptly. Use bulbs that match the recommended wattage for your lamp post to avoid overheating.
- Testing GFCI Outlets: If your lamp post is connected to a Ground Fault Circuit Interrupter (GFCI) outlet, test it monthly. Press the “test” button to ensure it trips, then press “reset” to restore power.
Weatherproofing
- Sealing: Ensure all electrical components are properly sealed to protect against moisture. Use weatherproof gaskets and sealant around joints and connections.
- Protecting from Elements: If your lamp post is exposed to harsh weather, consider adding a protective cover or shield. This can extend the life of your lamp post.
Troubleshooting Common Issues
- Flickering Lights: Flickering can be caused by loose connections, faulty bulbs, or voltage fluctuations. Check and tighten connections, replace bulbs, and consult an electrician if the problem persists.
- Rust and Corrosion: Rust can weaken the structure of your lamp post. Sand off rust spots and apply a rust-resistant primer and paint. For severe corrosion, consider replacing affected parts.
- Dim Lights: Dim lights may indicate a problem with the power supply or bulb. Ensure you are using the correct wattage and check the power source. If the issue continues, consult an electrician.
- Short Circuits: If your lamp post trips the circuit breaker, there may be a short circuit. Inspect the wiring for damage and replace any faulty components. If unsure, seek professional help.
Seasonal Care
- Winter Preparation: In colder climates, prepare your lamp post for winter by checking for cracks or gaps where water could enter and freeze. Use weatherproof covers to protect against snow and ice.
- Spring Check-Up: After winter, inspect your lamp post for any damage caused by cold weather. Clean and repair as needed to get it ready for the warmer months.
Maintain your DIY lamp post to keep it looking good and working safely for years. Regular care ensures its appearance and functionality.
FAQs About DIY Lamp Posts
Discover answers to common questions about DIY lamp posts, including materials, installation tips, and benefits for your outdoor space.
Selecting the right location is crucial for both functionality and aesthetics. Consider the following:
Visibility: Place the lamp post where it can provide maximum light coverage.
Safety: Ensure it does not obstruct pathways or driveways.
Proximity to power source: The closer it is to your home’s electrical panel, the easier the installation.
Landscape design: Choose a spot that complements your garden or yard layout.
In many areas, you may need a permit to install a lamp post. It’s important to:
Check local regulations: Contact your local building authority to find out if a permit is required.
Follow safety codes: Ensure your installation complies with local electrical and building codes to avoid fines or having to remove the post.
Maintaining your lamp post ensures it remains functional and attractive. Here are some tips:
Regular cleaning: Wipe down the post and fixture to remove dirt and debris.
Check the wiring: Periodically inspect the wiring for any signs of wear or damage.
Repaint or seal: If your post is made of wood, repaint or reseal it every few years to protect against the elements.
Replace bulbs: Use energy-efficient bulbs and replace them as needed.
Yes, you can use solar power for your DIY lamp post. Here are some benefits and considerations:
Eco-friendly: Solar-powered lamp posts use renewable energy, reducing your carbon footprint.
Cost-effective: After the initial investment, solar lamp posts have minimal operating costs.
Easy installation: No need for complex wiring or connection to your home’s electrical system.
Placement: Ensure the lamp post is in a location that receives ample sunlight during the day to charge the batteries.
There are many creative design ideas for a DIY lamp post. Here are a few to consider:
Rustic wood: Use reclaimed wood for a rustic, vintage look.
Modern metal: Opt for sleek metal posts with minimalist fixtures for a contemporary style.
Decorative elements: Add decorative elements like hanging planters, house numbers, or seasonal decorations.
Paint and finishes: Customize the color and finish to match your home's exterior or garden theme.
Conclusion
Making a lamp post from scratch is a rewarding DIY woodworking project that enhances the beauty and functionality of your outdoor space. Throughout this process, I've shared my personal tips and experiences, hoping they guide you smoothly from start to finish. Remember, woodworking is about precision, patience, and creativity. Don't rush; enjoy the journey, and soon you'll have a stunning lamp post that stands as a testament to your craftsmanship.


