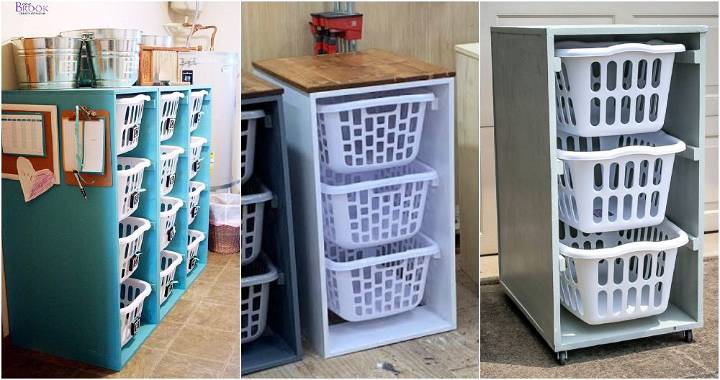
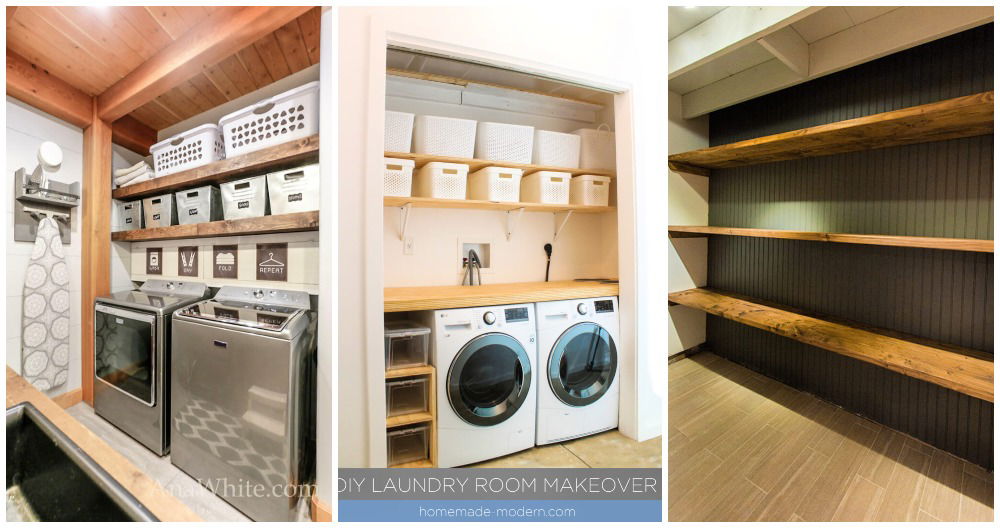
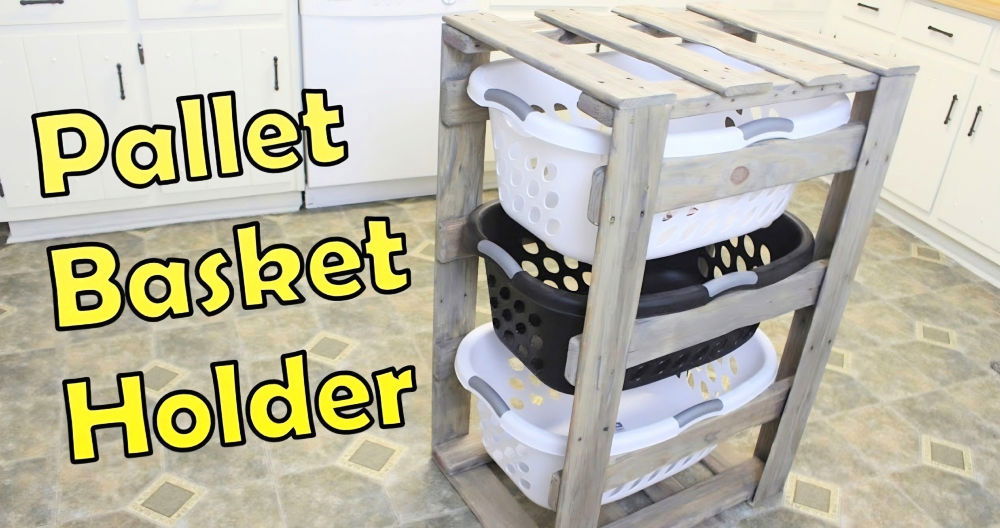
A laundry chute is a convenient addition to any home, especially if you're looking for a way to keep dirty clothes out of sight and eliminate the need to carry laundry from one floor to another. In this guide, I'll cover everything you need to know to build your own DIY laundry chute, from planning and materials to step-by-step construction and installation tips. With a little planning and effort, you can add this practical feature to your home, streamlining your laundry routine.
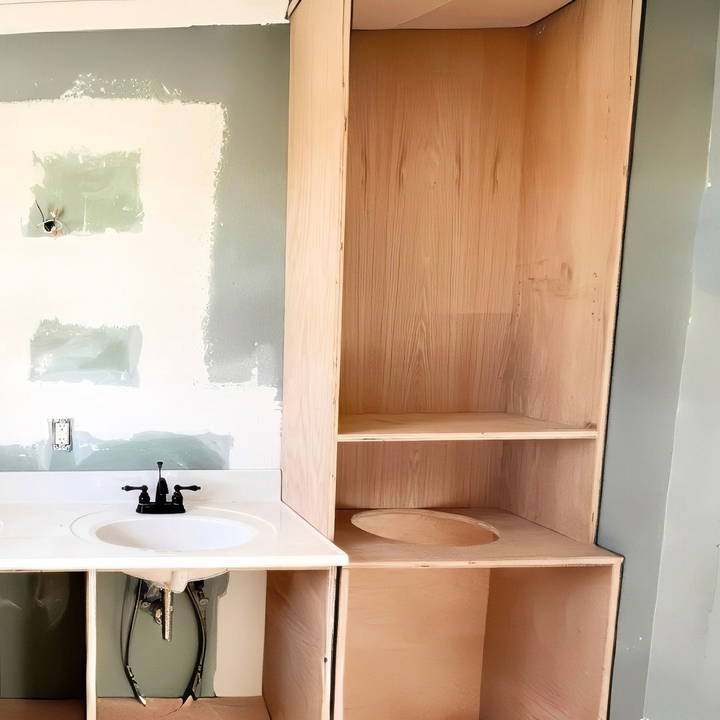
Why Build a DIY Laundry Chute?
A laundry chute offers several benefits:
- Convenience: Quickly toss dirty clothes down the chute to the laundry room.
- Tidiness: Keeps laundry organized and out of sight.
- Efficiency: Saves you the effort of carrying heavy laundry baskets up and down the stairs.
Adding a laundry chute might seem complex, but by breaking it down into manageable steps, you can make it a realistic and rewarding DIY project.
Step by Step Instructions
Learn how to build a DIY laundry chute with our step-by-step guide. From planning to installation, our tips ensure safety and efficiency.
Step 1: Planning Your Laundry Chute
Optimize your home's efficiency with our guide to planning your laundry chute. Learn about location, space measurement, and safety precautions.
Consider the Location
The first step is finding the right location for your chute. Here are some things to consider:
- Direct Path: Ensure a clear vertical line from the laundry area on the upper floor to the laundry room below.
- Accessibility: Position the chute in a convenient place, such as a bathroom, closet, or hallway.
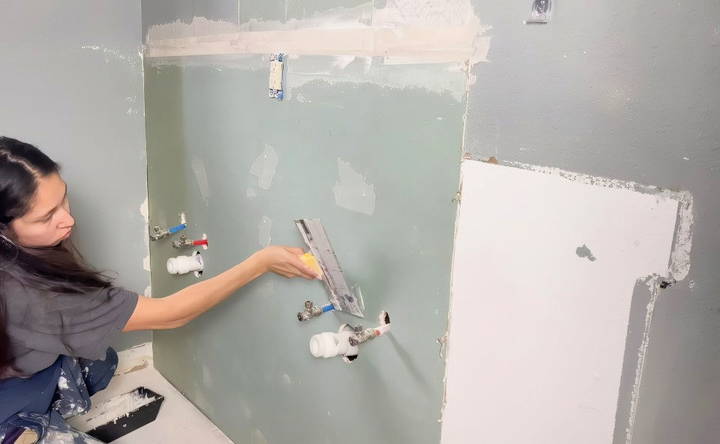
- Structural Check: Verify there are no structural barriers in the wall cavity, like plumbing or electrical wiring, in the path of your chute.
Measure the Space
A typical laundry chute requires a 6 to 10-inch-wide opening, but it should be wide enough to allow clothes to slide down easily without clogging.
Safety Precautions
- Avoid kitchen placement: Avoid placing the chute in the kitchen due to hygiene considerations.
- Childproofing: Install a locking door if young children are in the home to prevent accidents.
Step 2: Gathering Materials and Tools
Here's a list of materials and tools you'll need for the project:
Materials
- Sheetrock or drywall for building the chute passage if building inside an existing wall.
- Wood panels for the chute's structure (choose a durable material like plywood).
- Wood glue for assembling the chute frame.
- Pocket hole screws for a secure connection.
- Sandpaper for smoothing edges.
- Silicone sealant for securing and sealing the edges.
Tools
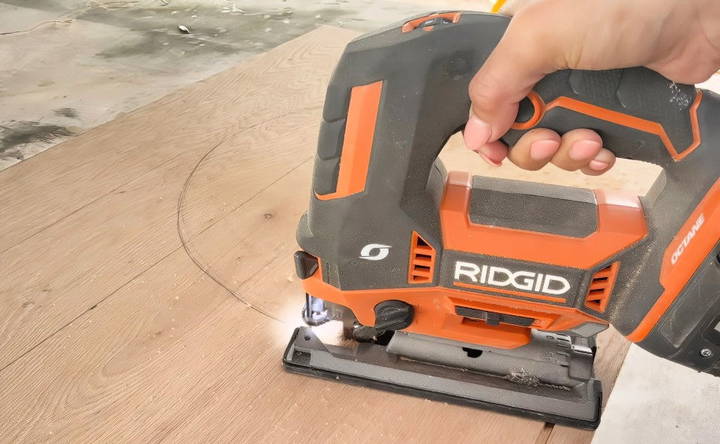
- Jigsaw for cutting out the chute hole.
- Drill and pocket hole jig for building stable connections.
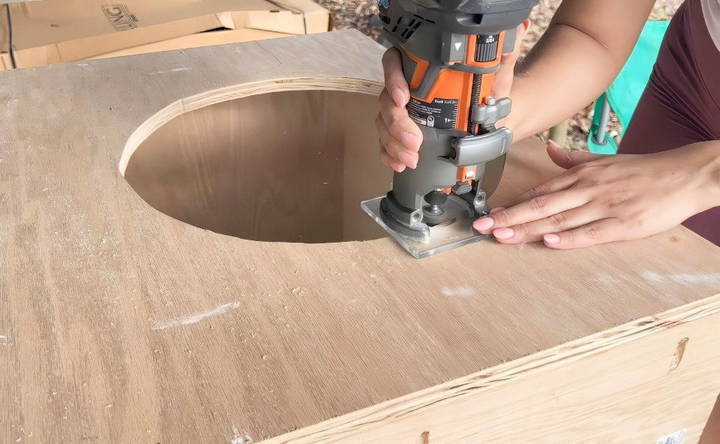
- Router for rounding out edges and cutting clean openings.
- Measuring tape for accurate measurements.
- Sanding tools for smooth finishing.
Step 3: Preparing the Opening
- Locate Studs: Use a stud finder to identify studs in the wall. Avoid them when cutting your opening to ensure you're not compromising the wall structure.
- Mark the Chute's Outline: Draw a circle or square outline on the wall for where the laundry chute will go.
- Cut the Opening: Use a drill to build a starter hole, then follow the outline with a jigsaw. Ensure the hole is smooth and clear.
Step 4: Building the Chute Structure
To keep clothes flowing smoothly, construct a chute frame that will guide the laundry downward.
Steps to Build the Chute
- Cut the Wood Panels: Cut the panels to the size of your opening, typically 16 inches wide for an average chute.
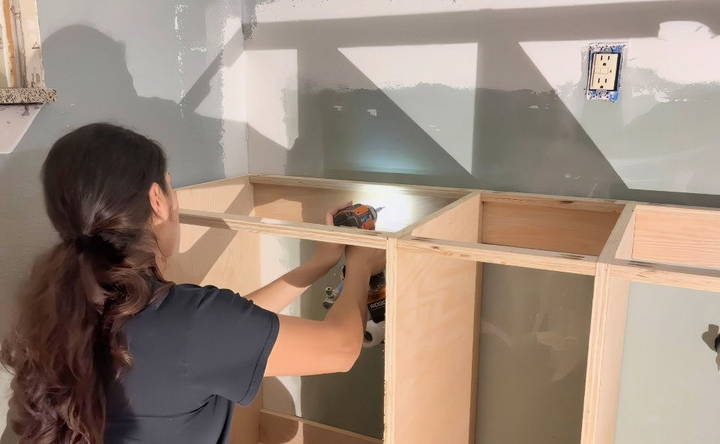
- Assemble the Frame: Apply wood glue along the edges and secure with pocket hole screws. This will form the base of your chute frame.
- Sand the Edges: Use a router and sandpaper to round the edges of the frame to avoid snagging clothes.
- Fit the Back Panel: Cut a backboard to size and secure it to the frame using wood glue and screws.
Step 5: Installing the Chute
- Position the Frame: Place the assembled chute frame inside the wall opening.
- Secure the Chute: Use screws to anchor the chute frame securely within the wall. Check that the chute's pathway is straight and clear.
- Seal the Edges: Apply silicone sealant around the edges of the chute to prevent any gaps that could catch or damage clothing.
Step 6: Adding a Door for Safety and Accessibility
To keep the chute accessible but safe, add a door with a latch.
- Measure and Cut Door Panel: The door should cover the opening entirely to prevent accidental falls or items from entering the chute unintentionally.
- Install Hinges and Latch: Attach hinges to one side of the door and install a latch on the other for secure closure.
- Childproof if Necessary: If you have small children, add a lock or secure latch to keep the chute door safe.
Step 7: Finishing Touches
- Smooth Out Rough Edges: Use sandpaper on any remaining rough surfaces to prevent clothing from catching.
- Paint or Stain the Chute: To protect the chute frame and make it visually appealing, apply a paint or stain of your choice.
- Test the Chute: Before you declare the project complete, test the chute with a few pieces of laundry to ensure smooth operation.
Troubleshooting Common Issues
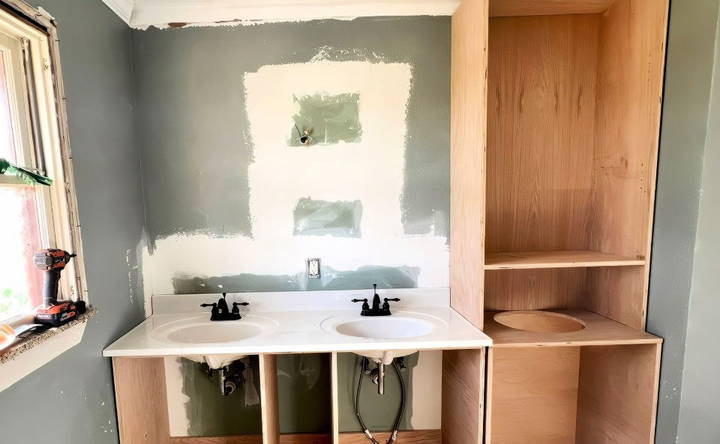
- Clogging: If clothes are clogging the chute, widen the opening slightly or sand down rough spots inside.
- Noise Control: Laundry chutes can echo sound. Consider adding foam padding inside the chute to reduce noise.
- Misalignment: If clothes don't drop straight, realign the chute's frame to ensure a smoother descent.
Maintenance Tips for Your Laundry Chute
Regular maintenance will ensure the chute operates smoothly for years to come:
- Clean Periodically: Dust and debris can build up inside the chute. Use a vacuum attachment to clean the chute regularly.
- Inspect for Damage: Look for any wear or loosened connections, and repair promptly.
- Check the Door: Ensure the door remains secure, especially if childproofing is a priority.
Cost Considerations
The total cost for a DIY laundry chute can vary depending on materials and tools you already have. Basic expenses include:
- Wood panels and backboard: Around $50–$100
- Hardware (screws, hinges, and latch): $20–$30
- Tools (if not already owned): Can vary, but renting is an affordable option if needed.
On average, a DIY laundry chute project can cost anywhere from $100 to $200, making it an affordable upgrade for added convenience.
DIY Laundry Chute Safety Considerations
Safety is essential in any home improvement project. Here are some safety tips specific to laundry chutes:
- Mind the Drop Distance: If your home has multiple floors, ensure the chute is properly enclosed to avoid falls or injuries.
- Install a Latch: Always have a locking mechanism on the door, particularly if young children are in the home.
- Avoid Overcrowding the Chute: Don't overload the chute to prevent clothes from getting stuck. Drop items in gradually if necessary.
A Practical Addition for Any Home
Installing a DIY laundry chute is a practical, convenient, and rewarding project that can streamline your home's laundry routine. By following these steps, you'll have a clear understanding of the tools, materials, and steps involved to build and maintain your chute successfully.
Whether you're looking to cut down on trips to the laundry room or add an element of organization to your home, a laundry chute is a valuable addition that can make a big difference.
FAQs About DIY Laundry Chute
Discover essential FAQs about DIY laundry chute design, installation, and safety tips to streamline your home's laundry process effortlessly.
To prevent clothing from snagging, make sure the chute’s interior is smooth and free of obstructions. Sand down any rough edges and consider using a silicone or plastic liner to build a seamless slide for the laundry.
Adding a lock or latch to the chute door can help keep young children safe. Ensure that the door is high enough on the wall to be out of children’s reach. Additionally, choose a chute location that isn’t in a child’s bedroom or play area.
Yes, plywood is common, but other materials like PVC or metal sheeting can also work if you want a more durable, slippery surface that reduces friction, preventing clothes from getting stuck.
Adding foam padding or a rubber lining inside the chute can help absorb sound as clothes fall. You can also try padding the bottom area where clothes land in the laundry room.
If you encounter wiring or plumbing, consult a professional before proceeding. You may need to reroute pipes or wiring, which requires expertise to ensure it’s done safely and up to code.
Allow 1–2 inches of extra space around the chute inside the wall cavity to avoid any tight spots that might cause friction. This space also makes future adjustments easier.
Seal any gaps along the chute’s edges with silicone and regularly clean the interior to prevent dust buildup. You might also add a vent cover at the top or bottom to help airflow without compromising the seal.
While possible, it’s not recommended due to noise and potential vibrations. Opt for walls adjoining bathrooms, hallways, or closets where noise won’t disturb anyone.
Yes, if you have rooms on multiple floors, you can add additional chute doors. Each door should have a secure latch, and you'll need to ensure all openings align vertically to avoid jams.
A hinged door with a latch is ideal for easy access and safety. For a sleeker look, you could use a flush-mounted door that blends with the wall but still allows secure closure.


