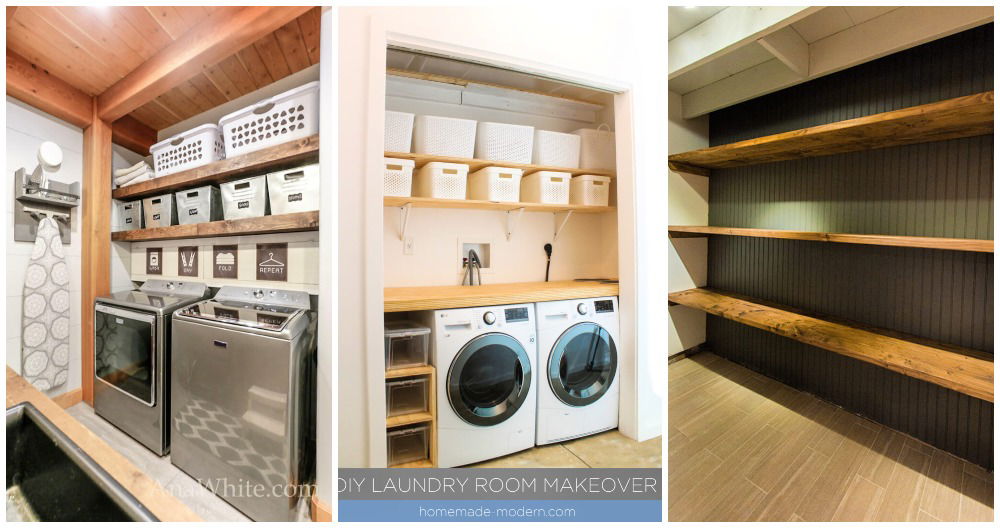
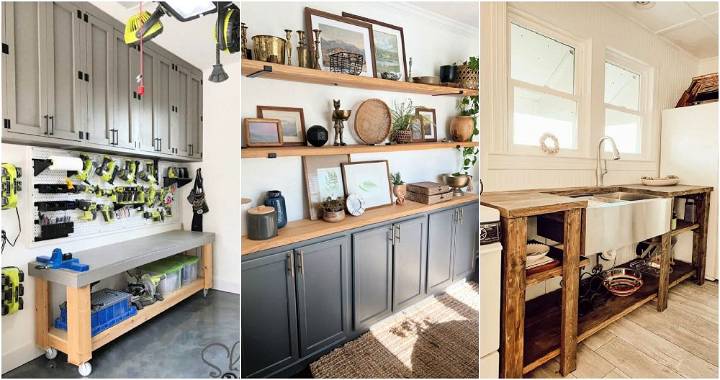
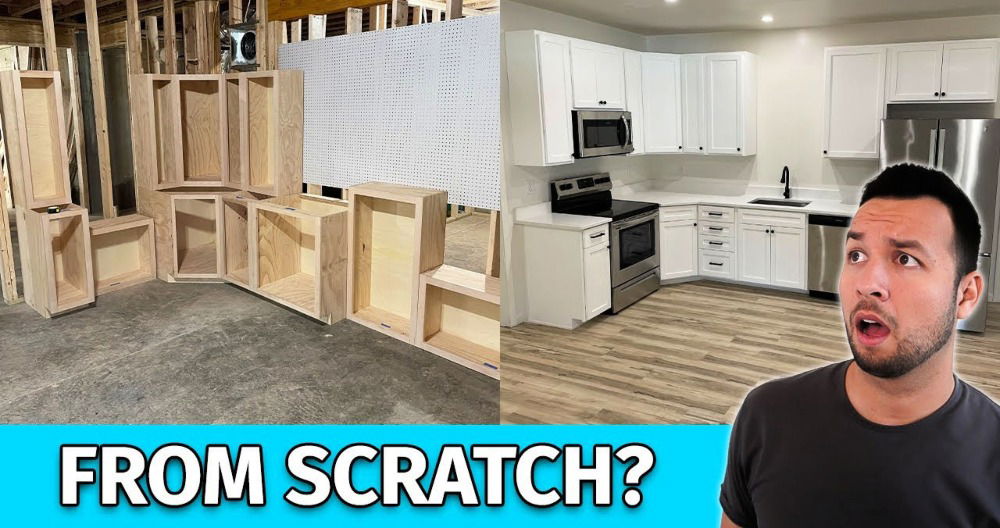
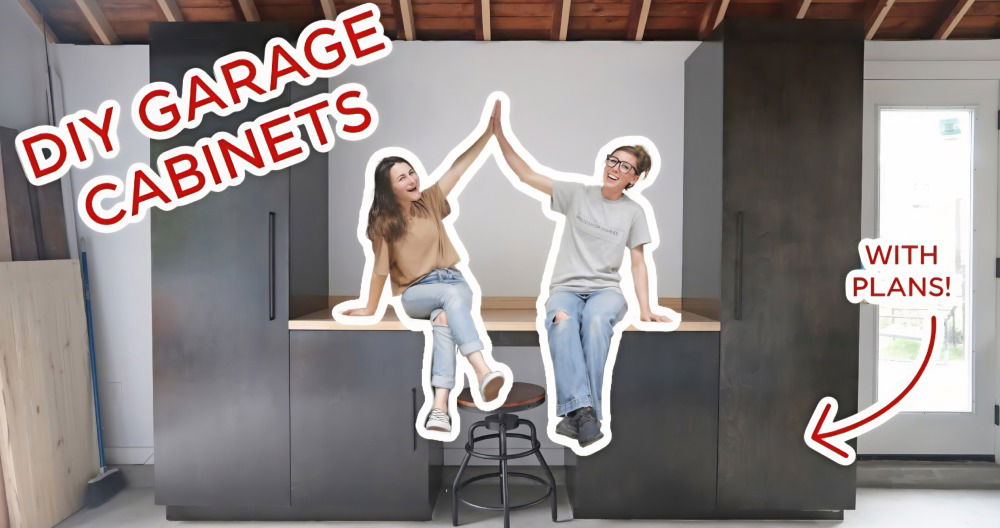
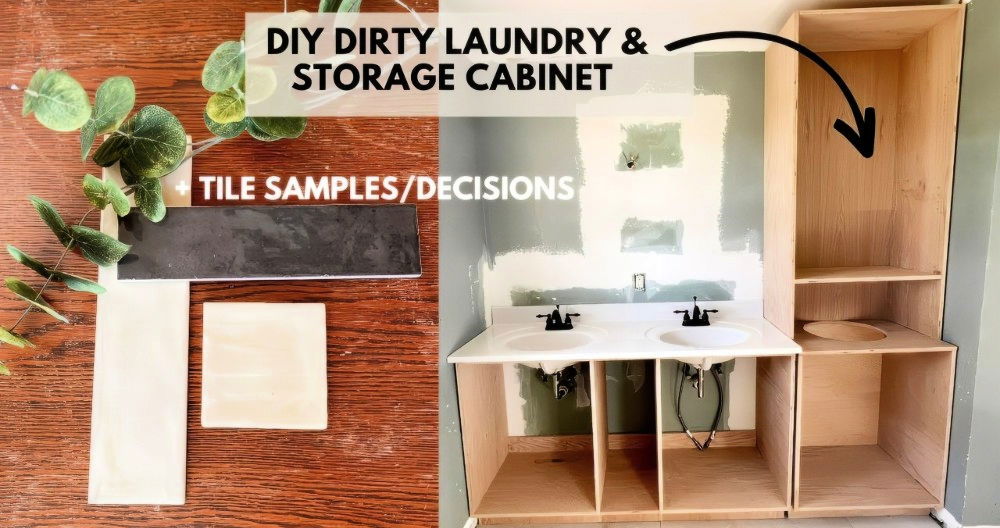
Build functional and stylish DIY laundry room cabinets with this step-by-step guide. Maximize storage, organize supplies, and transform your laundry space. With the right tools, materials, and a touch of patience, you can transform an ordinary laundry space into an organized, aesthetic, and highly functional room. This guide, inspired by a complete laundry room makeover, walks through the process from planning to execution, including tips, tricks, and essential details to build your cabinets.
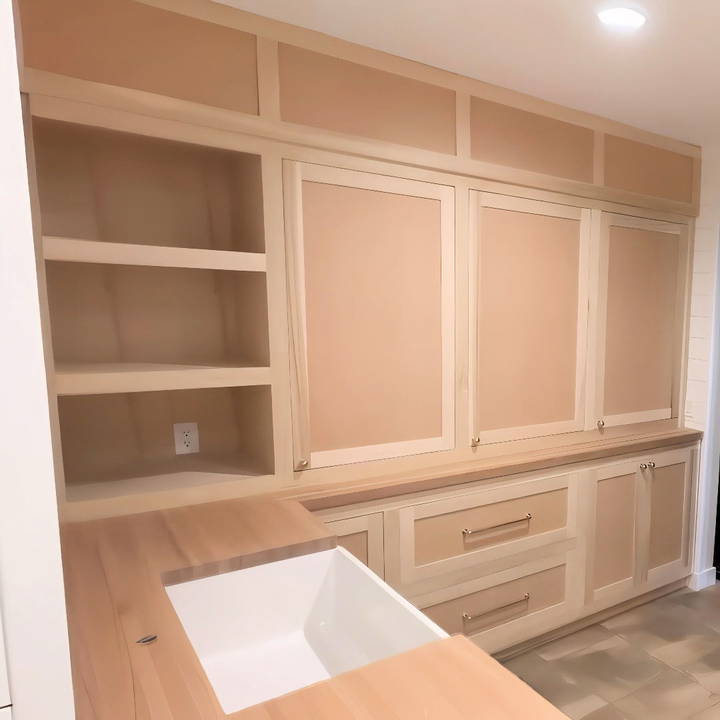
Why DIY Laundry Room Cabinets?
Building your own laundry room cabinets offers several advantages:
- Custom Fit: Tailor the cabinets to fit your space, maximizing storage and aesthetics.
- Cost-Effective: DIY cabinets are more affordable than purchasing custom or pre-made options.
- Creative Control: Choose your design, materials, finishes, and layout to build a cohesive look.
- Enhanced Functionality: Design features such as shelves, compartments, or even laundry shoots can be customized to meet your unique needs.
Step by Step Instructions
Learn to build DIY laundry room cabinets with step-by-step instructions. From planning to final touches, optimize your space with custom storage!
Step 1: Planning Your Design
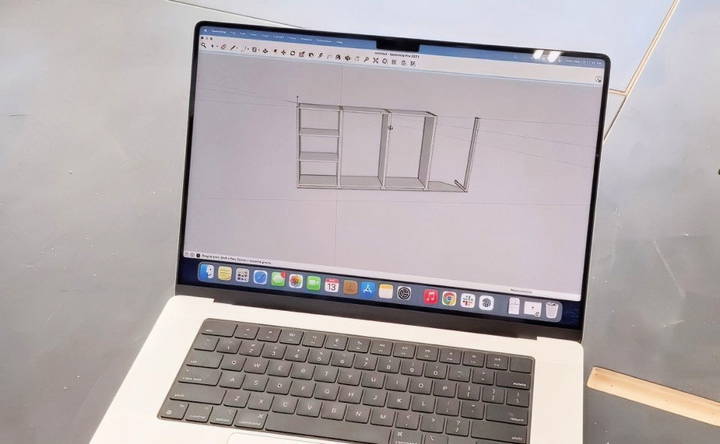
Start with a clear design plan for your cabinets. Using design software like SketchUp can help you visualize the layout. For this project, the laundry room cabinet design includes:
- Upper and Lower Cabinets: Building balance in the space with storage above and below the countertops.
- Shelving and Compartments: Open shelves for easy access to laundry items and closed cabinets for concealing supplies.
- Soffit Cover: Custom-built cabinetry designed to cover any unattractive soffit areas and integrate with the cabinetry layout.
Step 2: Gathering Tools and Materials
You'll need specific tools and materials for this project, particularly for woodworking tasks. Here's a comprehensive list to get started:
Essential Tools
- Table saw and miter saw
- Drill and driver set
- Brad nailer and pin nailer
- Clamps
- Router with a rabbeting bit
- Sander and sandpaper (various grits)
- Track saw (for precise cuts)
- Edge band trimmer
- Measuring tape and T-square
- Screwdrivers and wrenches
- Level and spirit level
- Safety gear (goggles, ear protection)
Recommended Materials
- ¾-inch unfinished or pre-finished birch plywood (for the main cabinet structure)
- ¼-inch birch plywood for backing panels
- Wood glue (preferably a thick variety)
- Edge banding (to finish the edges of plywood)
- 2-inch GRK screws (or similar wood screws)
- Hinges and drawer slides (choose sturdy, adjustable options for ease of use)
- Paint or finish of your choice
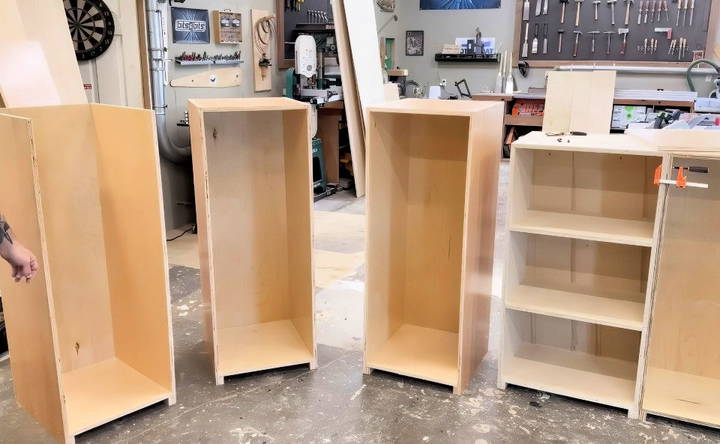
Step 3: Building the Cabinet Carcass
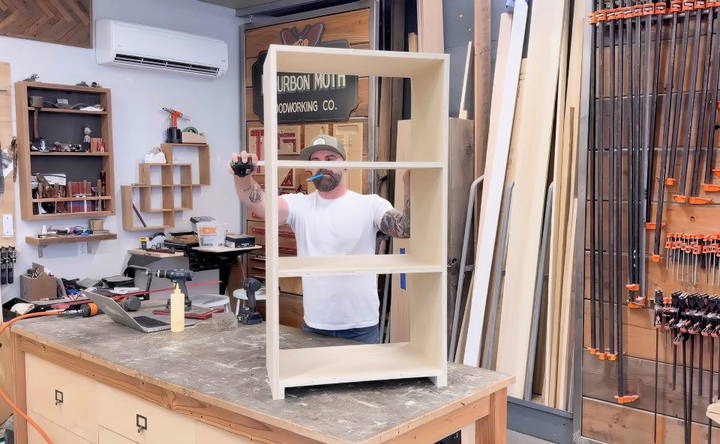
The carcass, or the main frame of the cabinets, is the foundation. Begin with cutting plywood sheets for the carcass pieces, ensuring accurate dimensions based on your plan.
Step-by-Step Instructions for the Carcass
- Cut Plywood Panels: Measure and cut all carcass pieces using the table saw. Stick closely to your cut list.
- Bottom Shelf Support: Attach small wooden scraps as support for the bottom shelf of each cabinet, which ensures the shelf sits evenly without needing clamps.
- Assemble the Sides and Bottoms: Spread glue along the bottom edge of the side panels, position the bottom shelf on top, and use brad nails to secure it.
- Top Shelf and Divider Installation: Attach the top shelf similarly to the bottom. If the cabinet includes fixed shelves, secure them using wood glue and screws.
- Adding the Back Panel: Use ¼-inch plywood as the back panel to square up the cabinet and add stability. Glue and tack it into place with nails.
Step 4: Customizing the Shelving
For a functional laundry room, you'll need both open and closed shelving. Here's how to prepare your shelves for installation:
Fixed vs. Adjustable Shelves
- Fixed Shelves: For sections of the cabinets that will not need flexibility, add fixed shelves to provide a sturdy structure.
- Adjustable Shelves: Drill peg holes along the inside walls of the cabinet for adjustable shelves, offering versatility for storing various items.
Edge Banding the Shelves
- Cut the shelves to size using pre-finished plywood if you prefer. Edge banding, which covers raw plywood edges, is a necessary step for a polished look:
- Apply Edge Banding: Using an iron, apply the edge banding along the edge of each shelf, securing it with heat.
- Trim and Sand: Trim the excess using an edge band trimmer, then lightly sand the edges for a smooth finish.
- Optional Finish: Apply a finish or poly coat to match the rest of the cabinet if your edge banding isn't pre-finished.
Step 5: Fitting the Cabinets in the Laundry Room
Once the carcass and shelves are complete, it's time to fit the cabinets in place. Here's a step-by-step guide to install them in your laundry room:
Preparing for Installation
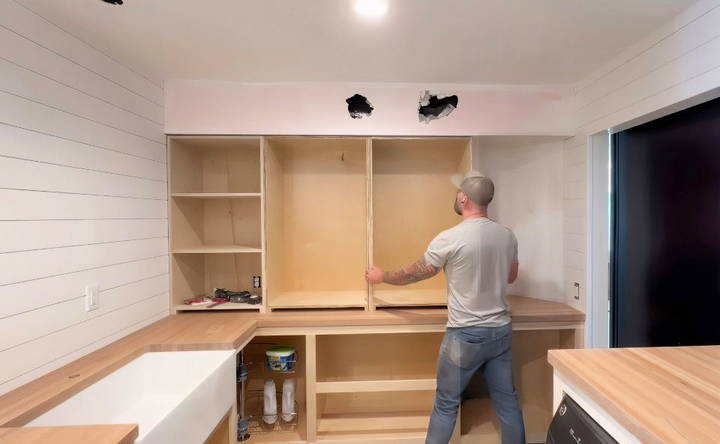
- Check Cabinet Fit: Before securing, test-fit the cabinets in the space. This step prevents issues during final installation.
- Adjustments: If cabinets are too tight due to measurement discrepancies, use a track saw to trim the base slightly. Ensure all edges are square and even.
- Securing the Cabinets: Using clamps and screws, fasten each cabinet to its neighboring cabinet for a seamless appearance.
- Anchoring to the Wall: Use screws to secure the cabinets into wall studs, ensuring stability and a flush fit.
Installing the Soffit Cover
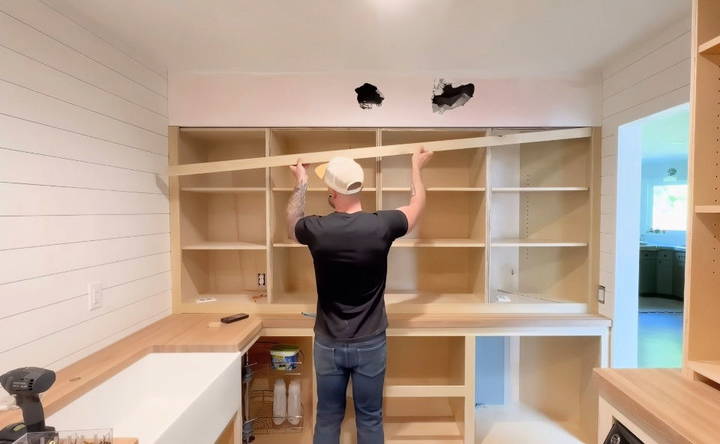
If your laundry room has an exposed soffit, a custom cover can help blend it with the cabinetry:
- Build a Decorative Frame: Construct a frame that fits around the soffit using plywood. You can add MDF inserts or moldings to build an integrated look.
- Attach the Frame: Use wood glue and brad nails to fix the frame around the soffit area. Ensure it aligns perfectly with the cabinetry for a unified look.
Step 6: Building and Attaching Face Frames
Face frames add a finished look to cabinet fronts, covering plywood edges and adding structure. Here's how to make and install face frames on laundry room cabinets:
Face Frame Assembly
- Cut Rails and Stiles: Prepare vertical stiles and horizontal rails for each cabinet. Use poplar wood for durability.
- Assembly: Attach rails and stiles using pocket screws. For large cabinets, consider building the frame in sections for easier handling.
- Attach to Cabinets: Apply wood glue along the cabinet edges, position the frame, and secure it with brad nails. For a tighter fit, use clamps as the glue dries.
Finishing Touches
- Filling and Sanding: Fill any nail holes or gaps in the face frames. Sand the entire frame smooth, preparing it for painting or staining.
- Corner Details: Use mitered edges for corner joints on face frames to give a more professional appearance.
Step 7: Crafting Doors and Drawers
With the main cabinet boxes and face frames complete, focus on building doors and drawer fronts. This is essential for a clean, finished look.
Panel Doors
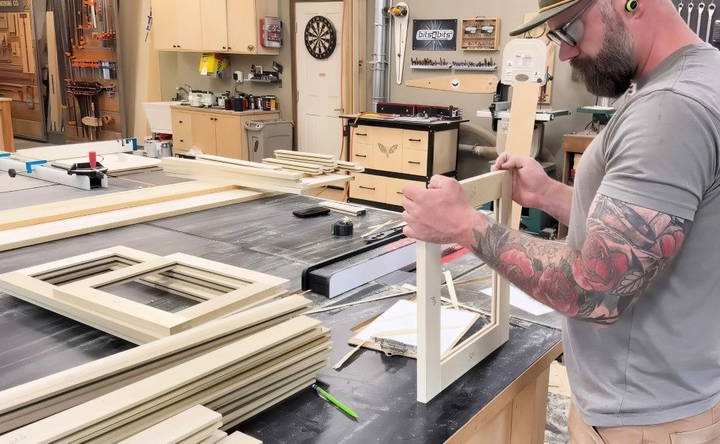
- Rails and Stiles: Cut rails and stiles for each door frame, ensuring they match the dimensions of the cabinets.
- Center Panels: Cut MDF or plywood for the center panels. Insert into the rails and stiles for a shaker-style door.
- Assembly: Use glue and clamps to assemble each door. Sand the edges and surfaces for a smooth finish.
Drawer Fronts
- Measure Drawer Openings: Measure the drawer opening and add a slight overlay for the drawer front to cover the edges.
- Attach Drawer Fronts: Position the drawer fronts onto the drawer boxes using playing cards or spacers for even gaps. Secure them with screws from inside the drawer box.
Step 8: Finishing and Installing Cabinet Hardware
Adding the final touches is both satisfying and transformative. Follow these steps to complete the project:
Hinges and Drawer Slides
- Install Hinges: Attach soft-close or inset hinges to the cabinet doors. Adjust for a snug, even fit within the frame.
- Drawer Slides: Install drawer slides on the drawer boxes and cabinet interior. Test each drawer to ensure it glides smoothly.
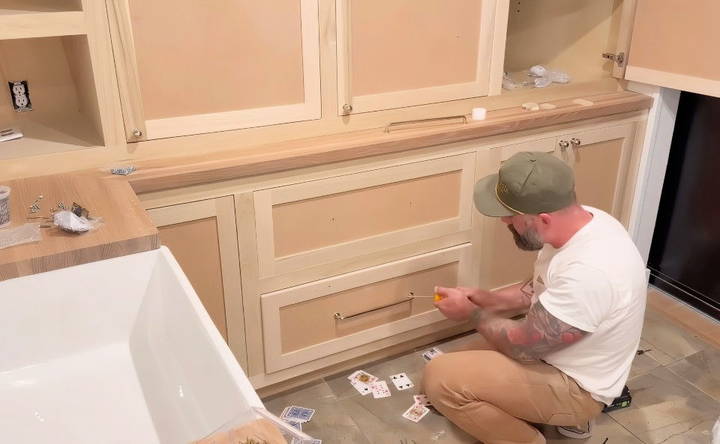
Handles and Knobs
- Pre-drill Holes: Pre-drill for handles or knobs to avoid splitting the wood.
- Align Hardware: Measure carefully to ensure even spacing on each door and drawer face.
Continuing from where we left off, let's dive into the final steps of your DIY laundry room cabinet project, covering door installation, painting, and adding finishing touches for a polished, professional result.
Step 9: Installing the Cabinet Doors and Drawer Fronts
After crafting your cabinet doors and drawer fronts, it's time to install them. Properly aligned doors and drawers are crucial to achieving a finished look. Follow these steps for precise installation:
Door Installation
- Attach the Hinges: Begin by attaching the hinges to the cabinet frame, referencing your earlier measurements for positioning. Many DIYers find it helpful to build a simple jig to ensure consistent hinge placement across all doors.
- Install Doors: Align the door in the frame, and attach it with screws, securing it to the hinge plates you installed. For inset doors (doors that sit within the frame), ensure they align perfectly within the face frame with a slight gap around each edge for clearance.
- Adjust for Even Gaps: Use the adjustment screws on the hinges to fine-tune each door. This step is essential for ensuring each door is level and has even spacing on all sides.
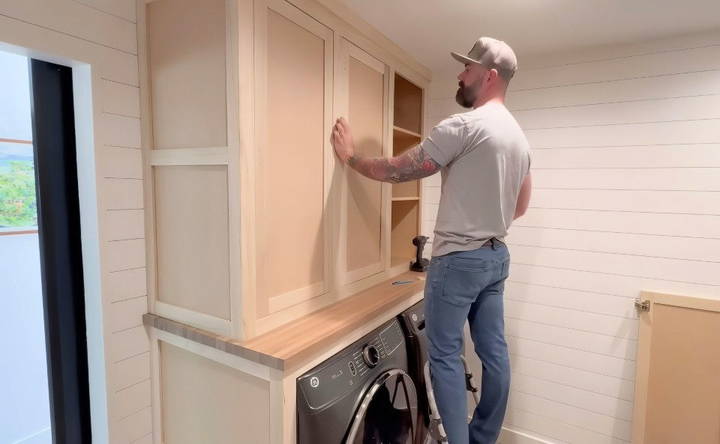
Drawer Front Installation
- Spacer Setup: Position drawer fronts with the aid of spacers, such as playing cards, to ensure even gaps around each drawer front.
- Attach Fronts: Secure the drawer fronts temporarily by placing screws from inside the drawer box. After confirming the alignment, add more screws for a permanent hold.
- Handle Installation: Once your drawer fronts and doors are attached, install knobs or handles by pre-drilling holes based on your measurements and fastening the hardware securely.
Step 10: Building a Seamless Look for Soffit Covers
Laundry room soffits often look out of place, but customizing a cover to blend seamlessly with your cabinets can make them look like a natural part of the room's design.
Building a Custom Soffit Cover
- Frame Construction: Use plywood or MDF to construct a “ladder” or frame structure that fits around the soffit. If your soffit extends outward, this frame will encase it, giving it a boxed-in appearance that aligns with the rest of your cabinetry.
- Detailing with Molding: Attach trim or molding around the soffit cover frame for added style. Molding can hide seams and make the soffit cover look like an extension of the cabinetry.
- Attach to Wall and Ceiling: Secure the soffit cover to the wall and ceiling with screws, ensuring a tight fit. This addition will give the illusion of a single, unified cabinet set.
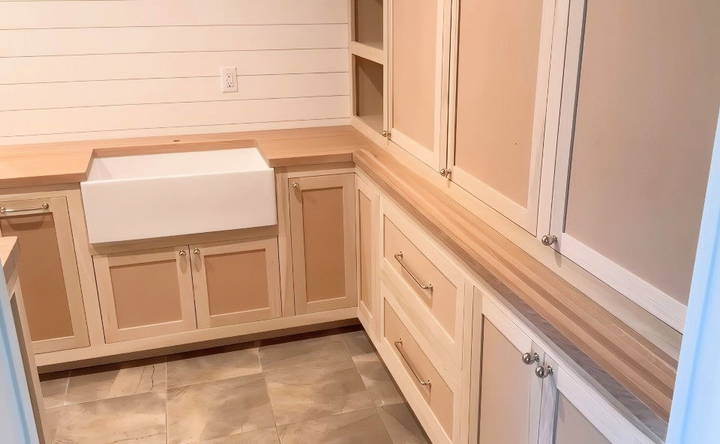
Step 11: Sanding and Prepping for Finish
Sanding is a critical step for achieving a professional look. It's also essential for ensuring that the paint or stain adheres smoothly to the wood.
Sanding Techniques
- Coarse Sanding: Begin with coarse-grit sandpaper (e.g., 80 or 120 grit) to remove any rough spots or glue residue.
- Fine Sanding: Gradually work up to a finer grit (e.g., 220 grit) for a smooth finish on all surfaces. Pay special attention to corners and edges, as rough spots here can interfere with the final finish.
- Dust Removal: After sanding, wipe down all surfaces with a tack cloth or vacuum to remove dust, as even small particles can ruin a paint job.
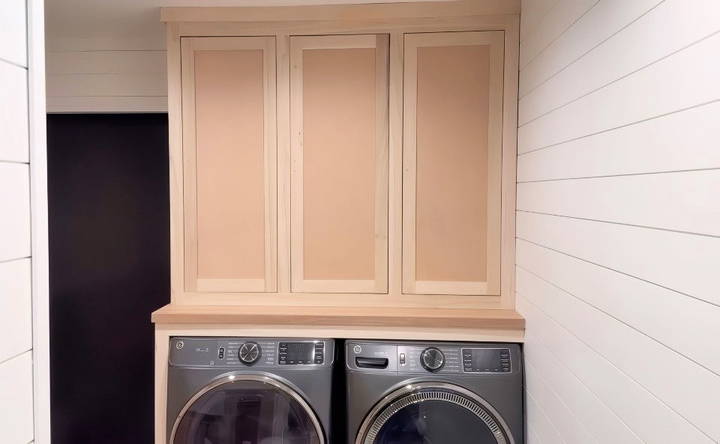
Step 12: Painting or Staining the Cabinets
Painting or staining gives your cabinets the final look and protects the wood from moisture and wear. For laundry room cabinets, durable, moisture-resistant finishes are recommended.
Choosing Your Finish
- Paint: A semi-gloss or gloss paint finish works well in laundry rooms because it's moisture-resistant and easy to clean.
- Stain and Polyurethane: If you prefer a natural wood look, apply stain first, then seal with a polyurethane topcoat for protection.
Applying Paint or Stain
- Primer Application (if painting): Apply a primer coat to ensure the paint adheres smoothly and lasts longer. Use a roller or brush for a smooth finish.
- Paint/Stain Coats: Apply 2-3 coats of paint or stain, allowing sufficient drying time between coats. Sand lightly with 220-grit sandpaper between each coat for a smooth finish.
- Sealing (if staining): For stained wood, apply a clear polyurethane coat to seal and protect the wood.
Step 13: Final Installation and Clean-Up
Once your finish has dried, it's time to complete the installation by attaching all parts and performing final adjustments.
- Reinstall Doors and Drawers: Attach the doors and drawers to their hinges and slides if they were removed for painting. Adjust as necessary to ensure smooth operation.
- Attach Hardware: Secure knobs, pulls, or other hardware pieces.
- Shelving Installation: Insert adjustable shelves on their pegs, adjusting height as desired.
- Final Clean-Up: Wipe down all surfaces to remove any dust, sawdust, or fingerprints. Ensure the room is clean and free of debris for a polished look.
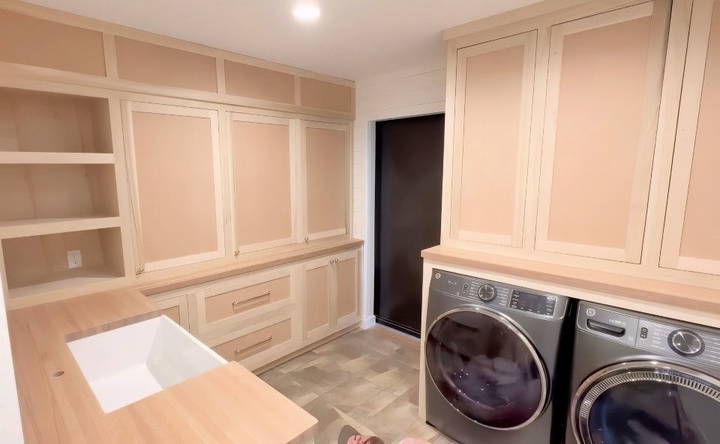
Step 14: Adding Functional Details and Organizing Your Laundry Room
With the cabinets in place, consider adding organizational elements to maximize the functionality of your new laundry space.
- Storage Bins and Baskets: Use bins to categorize items like detergents, fabric softeners, or cleaning supplies, making them easy to access while keeping the shelves tidy.
- Hooks and Hangers: Add hooks to the sides of cabinets or install a hanging rod for clothes that need drying.
- Built-In Hampers: If you have the space, consider adding a pull-out hamper or designated laundry basket storage within the cabinetry.
- Folding Station: If your laundry room is large enough, add a designated folding surface, either as a pull-out or a countertop on top of the lower cabinets.
Benefits of DIY Laundry Room Cabinets
Reflecting on the process, DIY cabinets bring several benefits to your laundry room:
- Increased Storage: Well-organized cabinets allow you to store all laundry essentials neatly.
- Enhanced Aesthetics: Custom cabinets elevate the look of your laundry room, making it a more pleasant space.
- Durability: Quality wood cabinets are more durable and can withstand the humidity often present in laundry rooms.
Final Thoughts
Building your own laundry room cabinets may seem challenging, but with careful planning and a step-by-step approach, it's achievable. Taking the time to understand each step, from carcass assembly to finishing touches, can ensure a polished, professional result that lasts for years.
If you're ready to take on this project, remember to enjoy the process and take pride in your work – the end result will not only be a functional laundry space but a testament to your DIY skills.
FAQs About DIY Laundry Room Cabinets
Discover essential FAQs about DIY laundry room cabinets. Get expert tips and step-by-step guides to enhance your laundry space today.
Covering a large portion of the butcher block was a design choice aimed at maximizing cabinet storage. The goal was to build a space with ample storage options, even if it reduced folding and countertop space. While this approach may limit surface area, it's ideal for homeowners prioritizing organization over workspace in the laundry room.
It's essential to leave access points for utilities. Consider installing an access panel in the cabinetry near the washing machine for the water shutoff and drain. For outlets behind cabinets, cut small access holes and install cover plates where necessary, ensuring they remain reachable in case of maintenance or emergencies.
Yes, an alternative is to install shorter cabinets or wall-mount them higher to keep countertop space clear. This design maintains usable surface area for folding laundry or placing baskets without compromising too much storage space.
If you anticipate replacing appliances with taller models, design the cabinets with adjustable feet or build an extra inch of clearance above them. This allows some flexibility for future appliance replacements without risking a tight fit.
Inset hinges, like Blum or another high-quality brand, are ideal for face-framed cabinets in laundry rooms. These hinges allow easy adjustment to ensure a flush fit with the frame, which is essential for both appearance and functionality.
If you have a laundry chute cabinet, adding small air vents or slots can prevent trapped odors from building up in the closed space. A vented design also helps to avoid mold and mildew issues that can arise from damp laundry.


