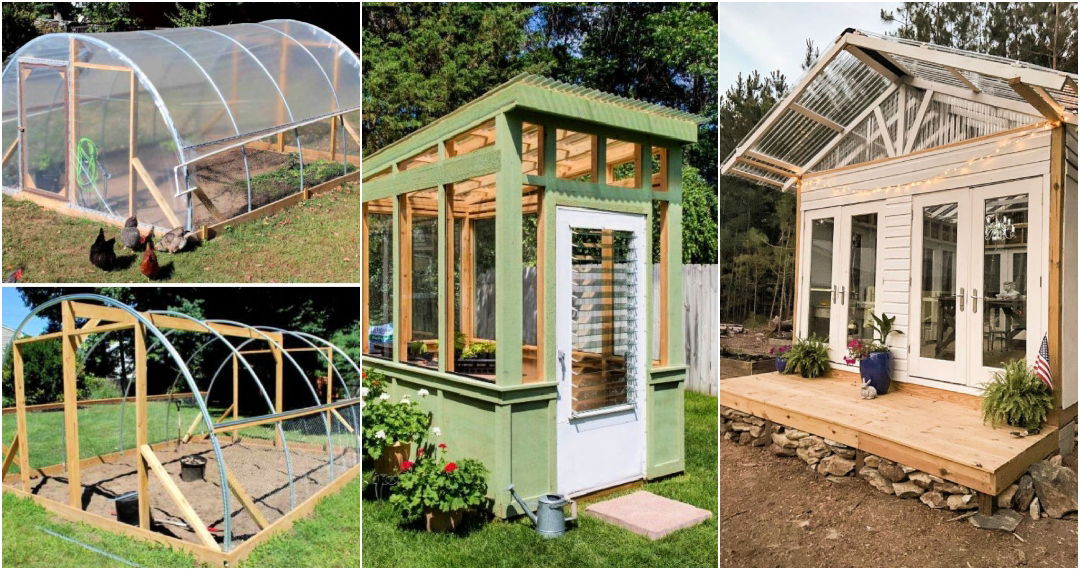
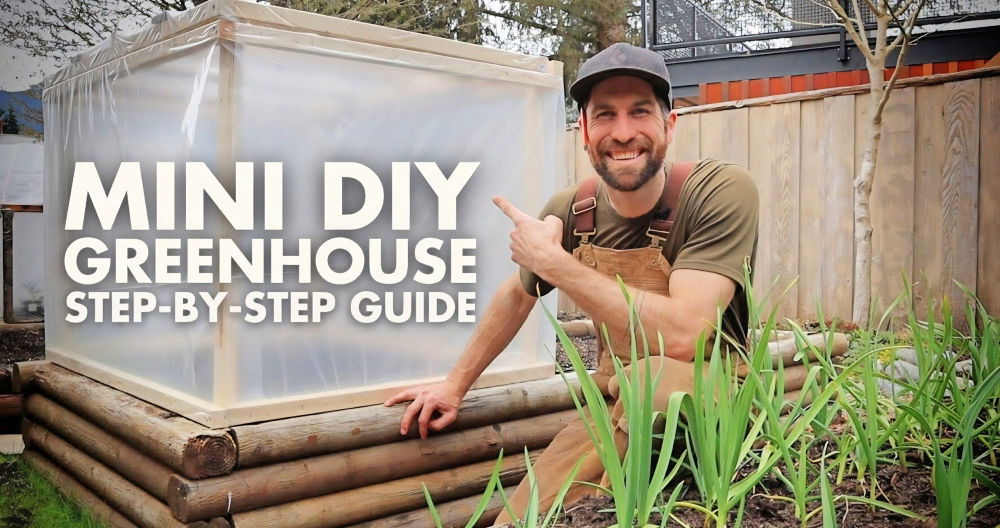
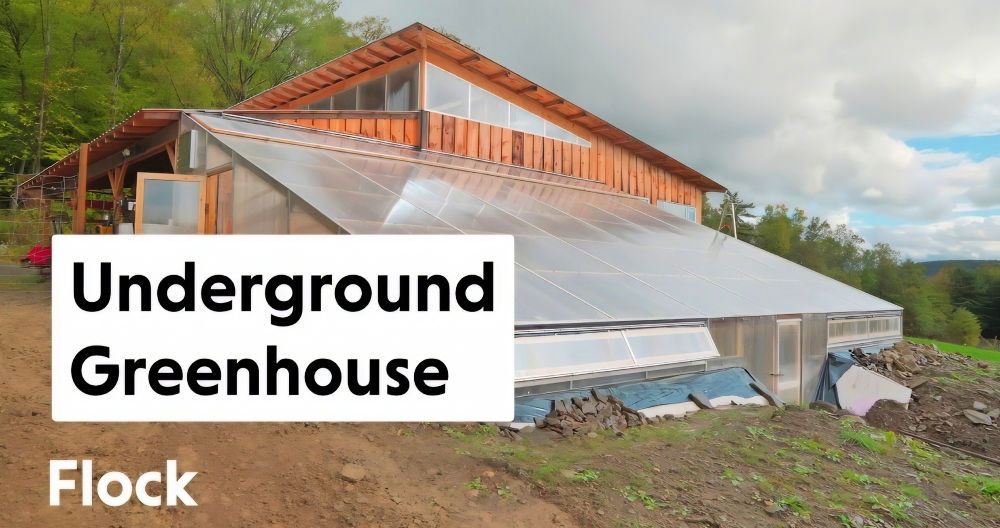
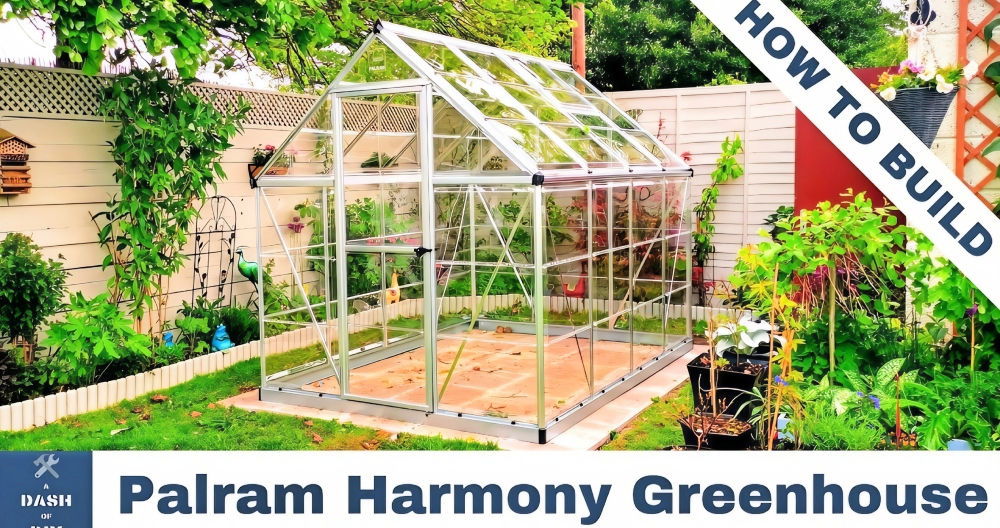
Making a DIY lean-to greenhouse was one of the most satisfying projects I've ever taken on. I started with simple plans that I found online and got to work gathering materials. Building it step by step made me feel connected to the process and excited about what I was making. Now, I want to share my experience so it can help you, too.
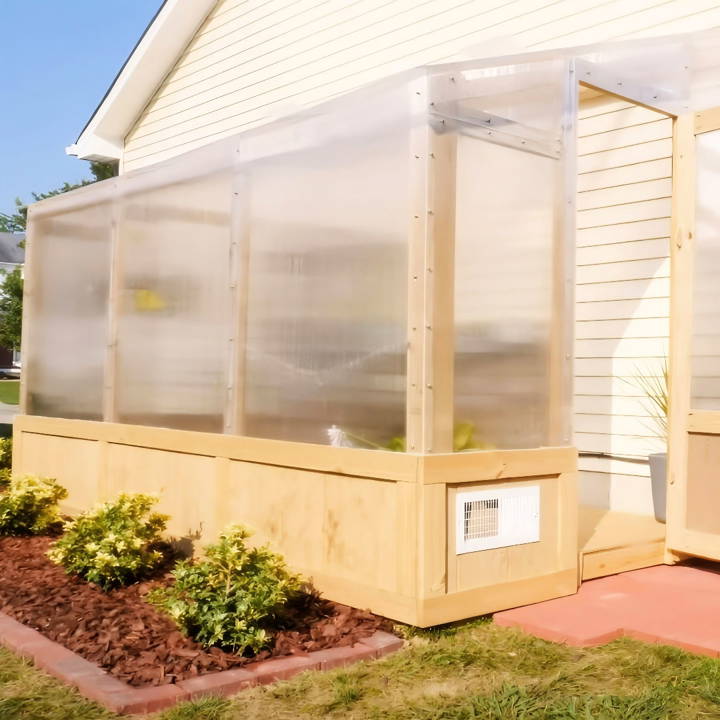
Having your own lean-to greenhouse has many benefits. It extends your growing season, making it easy to grow herbs, vegetables, and flowers all year. Plus, it's a nice way to enjoy gardening even when the weather isn't perfect.
I'm thrilled with how it turned out, and I believe you'll find this DIY lean-to greenhouse project as rewarding as I did.
Materials Needed and Why
- 2x4 lumber: Serves as the skeleton of the greenhouse, providing structural support.
- Pneumatic framing nailer: Useful for quickly and securely assembling the frame.
- Pressure-treated plywood: Used for the floor, it withstands moisture well.
- Composite outdoor siding: Chosen for the floor to build a durable and visually appealing surface.
- Polycarbonate sheets: These sheets cover the greenhouse, allowing light in but keeping the elements out.
- Screws and roofing screws with gaskets: To securely attach the materials together, ensuring durability.
- Hinges and hardware for doors and vents: To ensure doors and vents operate smoothly and last long.
- Decking screws: To fix the plywood floor securely to the frame.
Step by Step Instructions
Learn how to build a DIY lean-to greenhouse step by step, from building the frame to installing ventilation and doors. Perfect for any gardening enthusiast!
Building the Frame: The Foundation of the Project
I started by cleaning the chosen space next to my house, a spot perfect for a lean-to style greenhouse. I decided on a 12 by 6 feet dimension for my project. The key here was to ensure the space was clear of any debris or obstructions that could hinder the construction.
Constructing the Base and Walls
Using the 2x4 lumber, I began constructing the base frame, ensuring it measured exactly 12 by 6 feet. The importance of this step can't be overstressed - a solid and level base is crucial for the rest of the greenhouse to be stable. I spaced the floor joists 16 inches apart, a standard distance that provides sufficient support for the flooring.
Once the base was laid out, I started framing the back and front walls. This involved cutting the 2x4s to the correct height and nailing them into position. Getting the walls up was exciting but seeing them wobble without the cross supports was a stark reminder of how much work was still ahead.
Leveling the Ground
After framing the outer walls, I realized the ground was uneven. To address this without extensive grading, I used additional 2x4s as feet, cutting them to various lengths to level the base frame perfectly. This step required patience and precision but was essential for the overall stability of the greenhouse.
The Flooring
For the floor, I chose a dual-layer approach using pressure-treated plywood topped with composite outdoor siding. Not only did this combination promise durability, but the composite siding added an aesthetic appeal to the otherwise utilitarian structure. The plywood was notched to fit around the base frame and screwed into place, followed by the siding which was cut to fit and laid on top.
Framing the Greenhouse
With a level base and floor in place, the next step was framing the roof. The process was similar to wall construction but required additional attention to ensure the angle of the roof was sufficient for rainwater runoff and light optimization for the plants inside.
Covering: Bringing It All Together
Choosing the covering was a critical decision. I went with polycarbonate sheets for their durability, light transmission properties, and insulation benefits. Measuring, cutting, and affixing these sheets to the frame was a meticulous process. I used roofing screws with gaskets to prevent water ingress and ensure a snug fit against the framing.
Ventilation and Doors
Ventilation was a key consideration given the hot summers in my region. I installed vents at the top of the greenhouse and used AC registers at the base to allow for adjustable airflow. For the door, I constructed a simple frame and covered it with the same polycarbonate used for the rest of the greenhouse, attaching it with spring hinges for a self-closing mechanism.
Final Touches
After securing the greenhouse panels and ensuring everything was firmly in place, I added trim around the edges for a polished look. The last step involved making a secure attachment to my house to protect against wind and ensuring all moving parts, like vents and doors, operated smoothly.
Advanced Features and Customizations
Enhance your DIY lean-to greenhouse with advanced features for better efficiency, easier management, and a wider variety of plants. Here's how to upgrade it:
Automated Ventilation Systems
Ventilation is key to controlling the temperature and humidity inside your greenhouse. An automated system can open and close vents based on the temperature and humidity levels you set. This means your plants will always have the ideal growing conditions, and you won't have to adjust the vents manually.
Drip Irrigation
A drip irrigation system ensures your plants get the water they need without wasting a drop. It delivers water directly to the base of each plant, which can help prevent diseases caused by excess moisture on the leaves. Plus, it's water-efficient and can be automated to save you time.
Grow Lights
If your greenhouse doesn't get enough natural light, or you want to extend the growing season, grow lights can be a game-changer. They provide the necessary light spectrum for plant growth, ensuring your plants remain healthy and productive even during the shorter days of the year.
Temperature and Humidity Sensors
Keeping track of the temperature and humidity is crucial for plant health. Sensors can provide real-time data that you can monitor from your smartphone or computer. With this information, you can make informed decisions about when to heat or cool your greenhouse and when to water your plants.
Solar Power
Harnessing the power of the sun, solar panels can provide energy to run your ventilation, irrigation, and lighting systems. It's a sustainable option that can reduce your greenhouse's carbon footprint and save on electricity costs.
Rainwater Harvesting
Collecting rainwater is an eco-friendly way to water your plants. A rainwater harvesting system can be as simple as a barrel that collects runoff from your greenhouse roof. You can use this water for irrigation, which is not only good for the environment but also better for your plants since it's naturally soft and free of chlorine and other chemicals.
Adding these features will make your lean-to greenhouse more advanced, sustainable, and easier to maintain, making a thriving space for your plants.
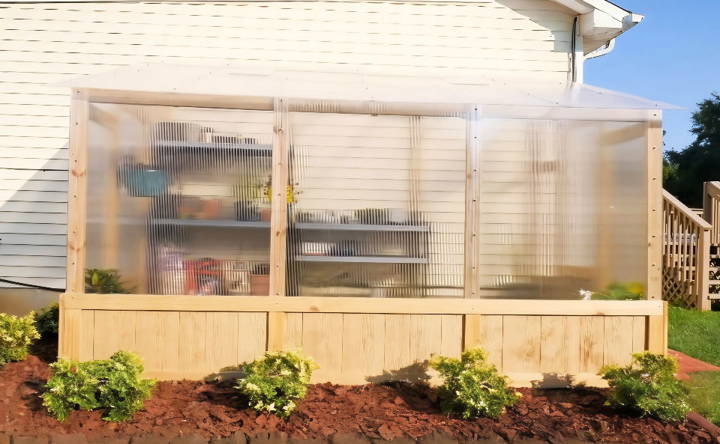
Seasonal Planting Guides
Building a seasonal planting guide for your lean-to greenhouse will help you maximize its use throughout the year. By understanding what plants thrive in each season, you can plan your planting schedule to ensure a continuous supply of fresh produce. Here's a simple guide to help you decide what to plant and when:
Spring
As the days start to lengthen and temperatures begin to rise, your greenhouse is the perfect place to start seeds. Hardy vegetables like lettuce, peas, and cabbage can be sown early in the season. They don't mind the cooler temperatures and will give you a head start on the growing season.
Summer
During the warmer months, focus on plants that love the heat. Tomatoes, peppers, and cucumbers are ideal for growing in the summer greenhouse. They benefit from the consistent temperatures and protection from pests that a greenhouse provides.
Fall
As the weather cools, it's time to plant crops that can handle the dropping temperatures. Leafy greens like spinach and kale are excellent choices for fall. They can tolerate the cooler weather and even improve in flavor after a light frost.
Winter
In many climates, winter is a time when outdoor gardening comes to a halt. However, with a greenhouse, you can continue to grow a variety of plants. Consider planting herbs such as parsley and chives, which can withstand the cold and provide fresh flavors for your winter dishes.
Use this seasonal planting guide to enjoy fresh produce from your greenhouse year-round. Adjust planting times for your specific climate and greenhouse conditions.
Maintenance and Upkeep of Best Practices
Keeping your lean-to greenhouse in top condition is essential for the health of your plants and the longevity of the structure. Regular maintenance ensures that your greenhouse remains a productive and safe environment for your gardening activities. Here are some best practices for maintaining your greenhouse:
Regular Inspections
Check the structure of your greenhouse periodically. Look for any signs of wear or damage to the frame, panels, and foundation. Tighten any loose bolts and replace or repair damaged parts promptly to maintain the integrity of the greenhouse.
Cleanliness is Key
A clean greenhouse is a healthy greenhouse. Remove plant debris, soil spills, and any other waste to prevent pests and diseases. Disinfect surfaces and tools regularly, especially after dealing with sick plants, to keep your greenhouse environment sanitary.
Climate Control
Monitor the temperature and humidity levels to build the optimal growing conditions for your plants. Use thermometers and hygrometers to keep track of these variables. Adjust heating, cooling, or ventilation as needed to maintain a stable environment inside the greenhouse.
Pest and Disease Management
Be vigilant about pests and diseases. Inspect your plants often for any signs of trouble. Implement preventive measures such as proper spacing, quarantine of new plants, and use of natural predators to manage pests. Treat any infestations or infections early to prevent them from spreading.
Watering Wisely
Water your plants according to their needs, and avoid overwatering. Ensure that your irrigation system is functioning correctly and that water is distributed evenly. Check for leaks or blockages and repair them to prevent water waste and potential plant stress.
Seasonal Adjustments
Prepare your greenhouse for the changing seasons. Install insulation for the colder months and shade clothes for the hotter periods. Make sure that all moving parts, like vents and doors, operate smoothly to adapt quickly to weather changes.
Adhering to these upkeep tips ensures a thriving year-round greenhouse and abundant plants.
FAQs About DIY Lean-To Greenhouse
Explore essential FAQs about DIY lean-to greenhouses. Learn tips, benefits, and key steps for efficient greenhouse building and maintenance.
A lean-to greenhouse is a structure that shares a wall with another building, utilizing that building’s heat and shelter. It’s an excellent choice for gardeners with limited space. It’s cost-effective, customizable, and extends your growing season by protecting plants from harsh weather.
Select a spot that receives at least six hours of direct sunlight daily, is sheltered from strong winds, and has well-drained, fertile soil. Avoid areas prone to flooding. If your yard slopes, you may need to level the ground or construct a retaining wall.
You'll need a sturdy frame, which can be made from wood, metal, or PVC. Cover this with a durable greenhouse plastic or glass. Don't forget the foundation, which can be concrete or cinder blocks, and consider adding shelves, grow lights, and fans for plant health.
Yes, if you have basic DIY skills, you can build a lean-to greenhouse. It involves constructing a frame, installing a cover, and ensuring proper ventilation. However, check local building codes before starting, as permits may be required.
Regular cleaning, monitoring temperature and humidity, and ensuring adequate ventilation are key. Use organic pest control methods like introducing beneficial insects or applying neem oil to keep pests at bay.
Reflections
With this guide and some effort, you'll see the value it adds to your gardening adventures. I'm confident this will help you get the most out of your DIY projects. Take the first step today, and you'll soon be reaping the rewards of your own DIY lean-to greenhouse.


