If you've ever admired the stunning texture and rustic elegance of limewash walls, you're not alone. Limewash has been a staple in European homes for centuries, known for its natural, chalky look that brings depth and warmth to spaces. But traditional limewash can be expensive and somewhat tricky to apply. Luckily, there's a much easier and cost-effective way to achieve the same look using regular wall paint.
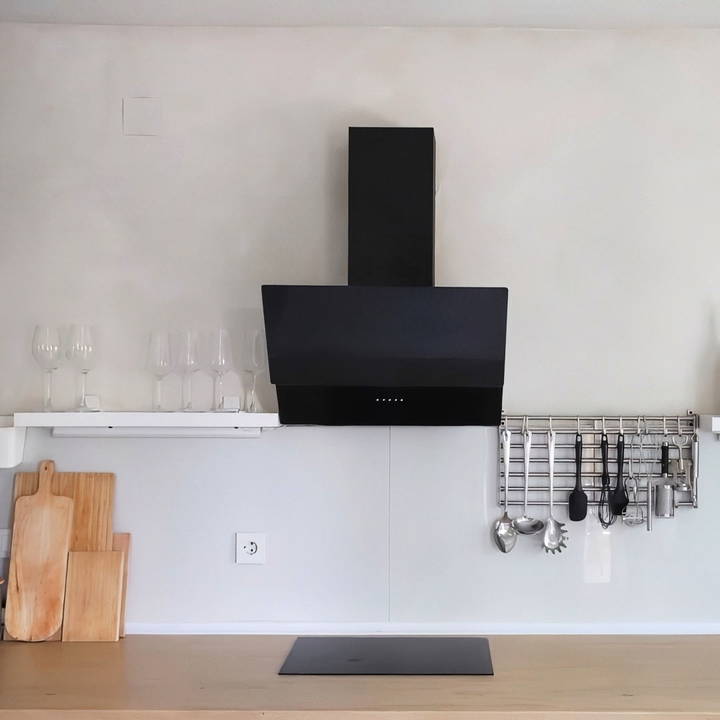
In this guide, we'll walk you through everything you need to know to make stunning DIY limewash walls using materials you probably already have at home. This technique is simple enough for beginners, so whether you're a seasoned DIY enthusiast or just starting, you can transform your space into something truly unique.
What Is Limewash, and Why DIY It?
Limewash is a paint made from limestone that's been crushed, burned, and mixed with water to make a thin, natural paint. When applied, limewash gives a soft, textured appearance that enhances the architectural features of walls. It also has antimicrobial and anti-fungal properties, making it a durable and healthy option for homes.
However, authentic limewash can be expensive, and it's not always easy to find. Plus, the process of applying traditional limewash can be labor-intensive. That's where this DIY method comes in. By using water-based, matte-finish wall paint, you can replicate the look of limewash at a fraction of the cost, and without the hassle.
Why You Should Try This DIY Method
- Cost-Effective: All you need is some leftover wall paint and a few tools.
- Beginner-Friendly: This technique is forgiving and easy to master.
- Customizable: You can choose any colors that fit your decor.
- Low-Risk: If you don't love the result, it's easy to paint over.
What You'll Need
For this project, the materials are minimal, making it accessible for anyone. Here's what you'll need:
- Two shades of water-based matte finish paint: Choose colors from the same palette but with slight variations for a layered effect. Neutral tones like beige, cream, or light grays work best.
- A bowl of water: This will help you dilute the paint for a smoother application.
- A large, thick brush: Ideally, one with natural bristles, but any wide, thick brush will work. The thicker the brush, the easier it is to apply the paint in broad strokes.
- Painter's tape and protective sheets: To cover surfaces and protect your floor or furniture.
- Plaster and plastering tools: Optional, for patching up any holes before painting.
- Acrylic wall primer: Optional but recommended for prepping the wall.
Additional Tools
- A small touch-up brush: For getting into tight corners and around edges.
- A painting tray: To hold and separate your paints.
Step by Step Instructions
Learn how to limewash walls with our step-by-step DIY instructions. From prepping to final touch-ups, achieve a stylish finish easily.
1. Prep Your Space
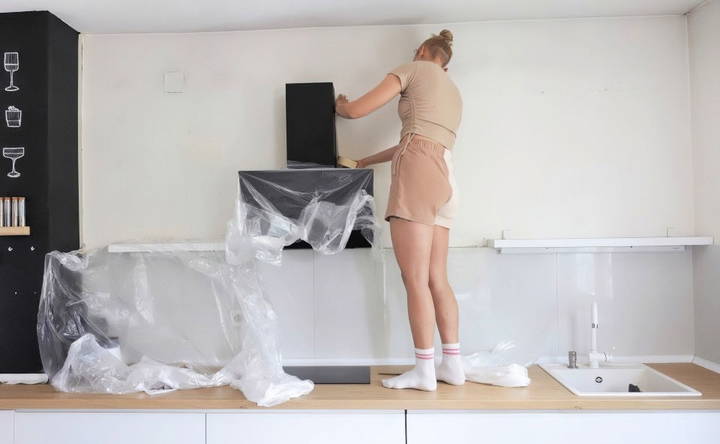
Before you begin, clear the area and cover your furniture, floors, and any other items you don't want to get paint on. This is especially important because the limewash technique involves a lot of water, which can drip.
Pro Tip: Don't skip this step! Covering the area properly will save you time and frustration later.
- Use painter's tape around the edges of your walls and ceilings.
- Lay down protective sheets to cover the floor and any nearby furniture.
- Patch any holes or imperfections in the wall with plaster. This will give you a smooth surface to work with, ensuring the best possible finish.
2. Prime the Walls
While this step is optional, priming your walls can help the paint adhere better and ensure a longer-lasting finish. If you have some leftover acrylic wall primer, now is the time to use it. Apply a thin coat of primer and let it dry completely before moving on to the painting process.
3. Mix Your Paint
The key to achieving the perfect limewash effect is to use two different shades of paint. These should be slightly different but still within the same color family. For example, two shades of cream or beige will give a subtle yet textured finish.
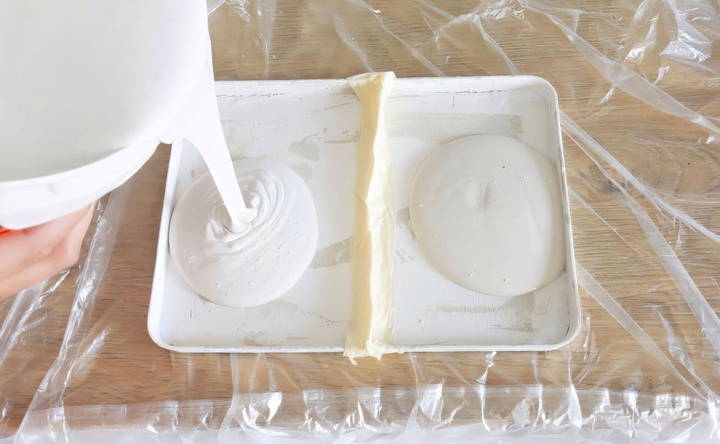
- Pour both colors into a painting tray. Try to keep the colors separate on the tray, using a divider if necessary, so you can dip your brush into each one individually.
- Have a bowl of water nearby. This will help you achieve the diluted, chalky look that limewash is known for.
4. Begin Painting
Now, the fun begins! Follow these steps for the actual application:
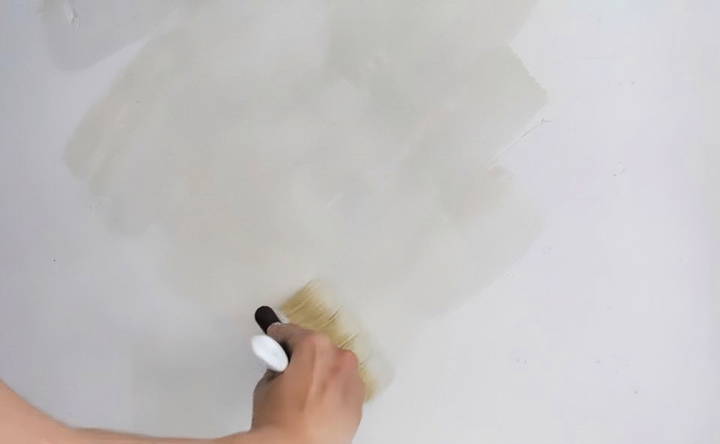
- Wet your brush: Dip your brush into the bowl of water. You want it damp but not dripping.
- Dip in both colors: Take the damp brush and dip half of it into one shade of paint and the other half into the second shade. This dual-color technique is what gives the limewash effect its depth and texture.
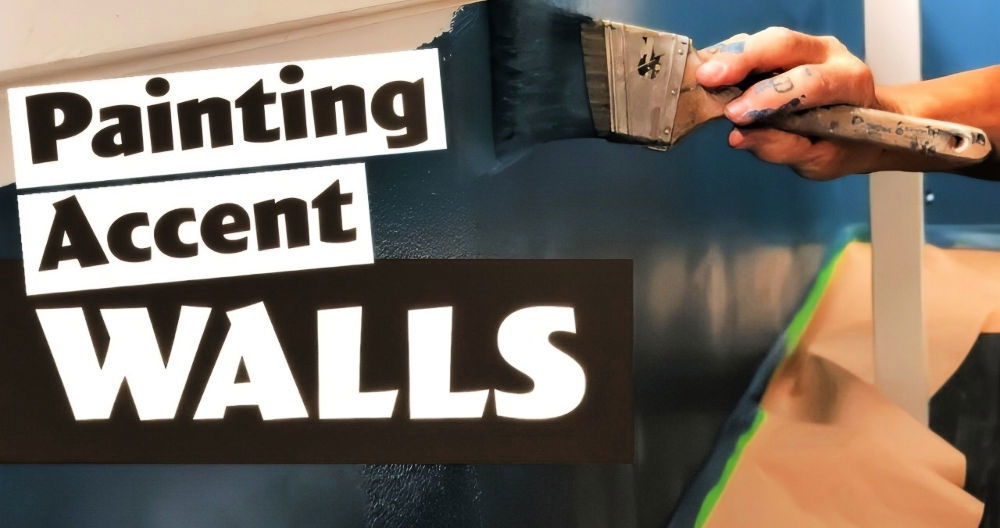
- Apply in X patterns: Begin painting by making broad, sweeping X shapes across the wall. This is where the magic happens. The random nature of the strokes makes that beautiful, organic texture that limewash is known for.
- Pro Tip: Don't worry about making it perfect! The beauty of this technique is in its imperfection.
- Re-dip frequently: Every time you need more paint, repeat the process of wetting the brush and dipping it into both shades. This keeps the texture consistent and prevents the paint from drying too quickly.
5. Let It Dry
Once you've covered the entire wall, let the first coat dry for about two hours. The paint will lighten as it dries, giving you a better sense of how the final product will look.
6. Apply a Second Coat
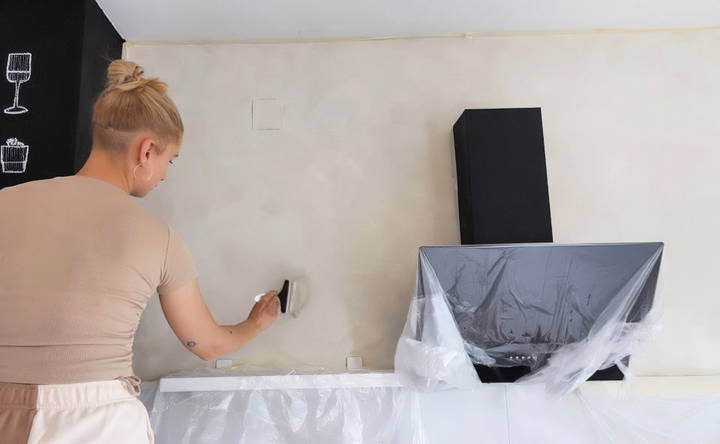
After the first coat has dried, go back in with the same technique for a second coat. This step is optional, but it can add more depth and texture to the finish. If you're happy with the way it looks after one coat, you can stop here. If you want a richer look, apply a second coat in the same X-pattern technique.
7. Remove Tape and Touch Up
Once the second coat has dried, carefully remove the painter's tape and protective sheets. Use a smaller brush to touch up any areas you may have missed or where the paint bled into the edges.
Styling and Final Touches
Now that your limewash wall is complete, it's time to enjoy the results. Here are a few ideas for styling your newly limewashed walls:
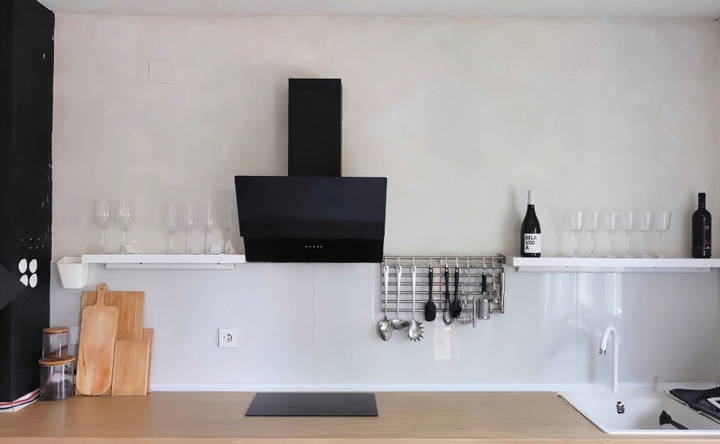
- Minimalist Decor: Limewashed walls have a subtle texture that pairs beautifully with minimalist decor. Consider adding a few simple pieces, like framed art or a floating shelf, to let the wall be the focal point.
- Rustic Accents: Limewash lends itself well to rustic design. Pair it with natural wood furniture, wicker baskets, and other organic elements to enhance the earthy, cozy feel.
- Modern Touches: You can also use limewash in more contemporary settings. Add sleek, modern furniture and metallic accents to make a contrast between the soft, textured walls and sharp, modern lines.
FAQs About DIY Limewash Walls
Discover answers to common FAQs about DIY limewash walls, including application tips, benefits, and maintenance for a stunning, natural finish.
Yes! You can absolutely use darker colors. Many users have successfully used shades like dark green and blue with great results. Just make sure to blend two similar shades to achieve the textured look.
Yes, this technique should work on textured walls. However, keep in mind that the texture of the wall might slightly affect the finish, possibly adding even more depth.
Matte paint is recommended for the limewash look because it mimics the chalky finish of traditional limewash. However, silk or satin finishes can be used if you prefer a subtle sheen, though it may alter the overall texture.
Yes, as long as you use acrylic paint, which is more durable and wipeable than traditional limewash, it will hold up well in areas with steam or cooking splashes.
If the colors blend into one, you might be using too much paint or not enough water. Try diluting the paint further and reapplying to achieve a distinct textured effect.
The finish is flat, especially because the paint is watered down before application. The visual texture comes from the technique, not the actual surface texture.
For small to medium walls, you can start with sample sizes of paint. Larger surfaces will require more, but this technique tends to be forgiving and does not use as much paint as traditional methods.
This method works best with water-based acrylic paints. Oil-based paints may not create the same limewash effect and can be harder to clean up.
A second coat is optional but recommended for a richer, more consistent finish. If you're happy with the look-after one coat, you can skip the second one.
It's possible, but results may vary depending on the wallpaper material. Test a small patch first to ensure it adheres well and doesn't peel or bubble.
If your paint has a built-in primer, you likely won’t need an additional one. However, if you’re painting over a bold color, a separate primer might be necessary to ensure good coverage.
A wider brush (around 8–10 cm) is recommended for easier application and to make broader, more textured strokes. However, any thick brush can work with the proper technique.
Take regular breaks. You can also alternate hand positions or use lighter pressure to reduce strain. There’s no rush to complete the project in one session!
No, you don't need to clean the brush between strokes. Simply wet the brush slightly before dipping it into the paints to keep the colors blending nicely.
To prevent cracking, make sure to prime the wall before applying the plaster. You can also use drywall mesh tape underneath for added stability.
Final Thoughts
Limewashing walls is a fantastic way to add texture, warmth, and character to any room in your home. This DIY method using regular wall paint makes it accessible, affordable, and easy for anyone to achieve. With just a few materials and a little time, you can transform an ordinary wall into something truly extraordinary.
Ready to give it a try? Grab some paint, a brush, and get started! The results will be a beautifully textured wall that looks high-end, all for a fraction of the cost of traditional limewash.


