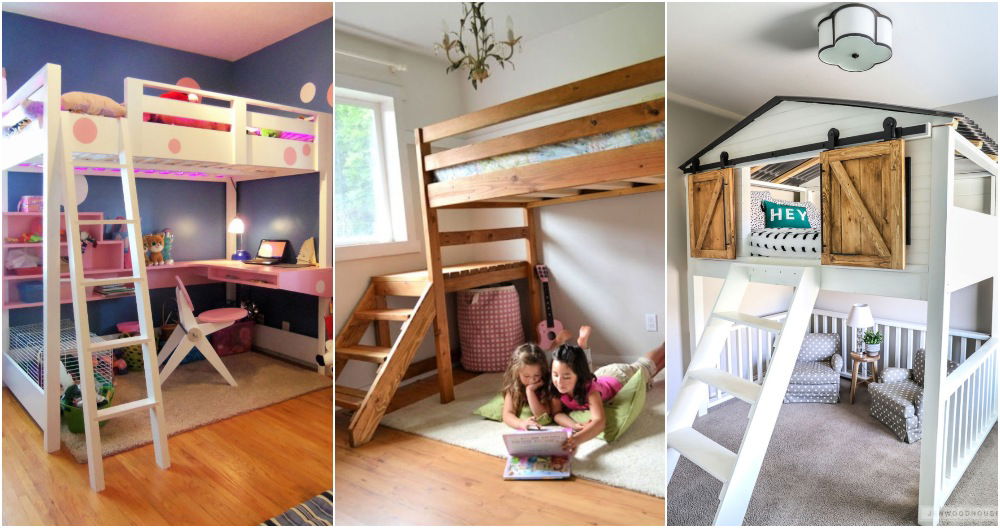
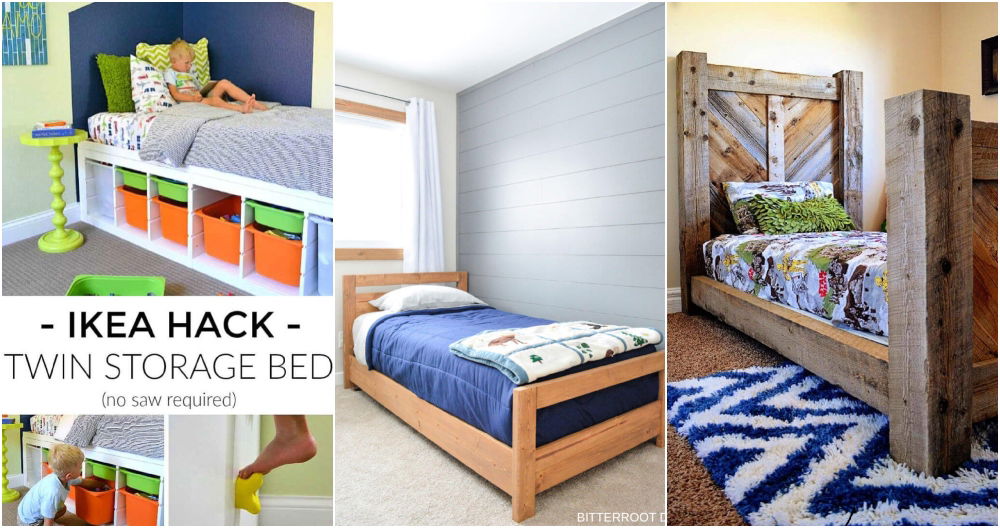
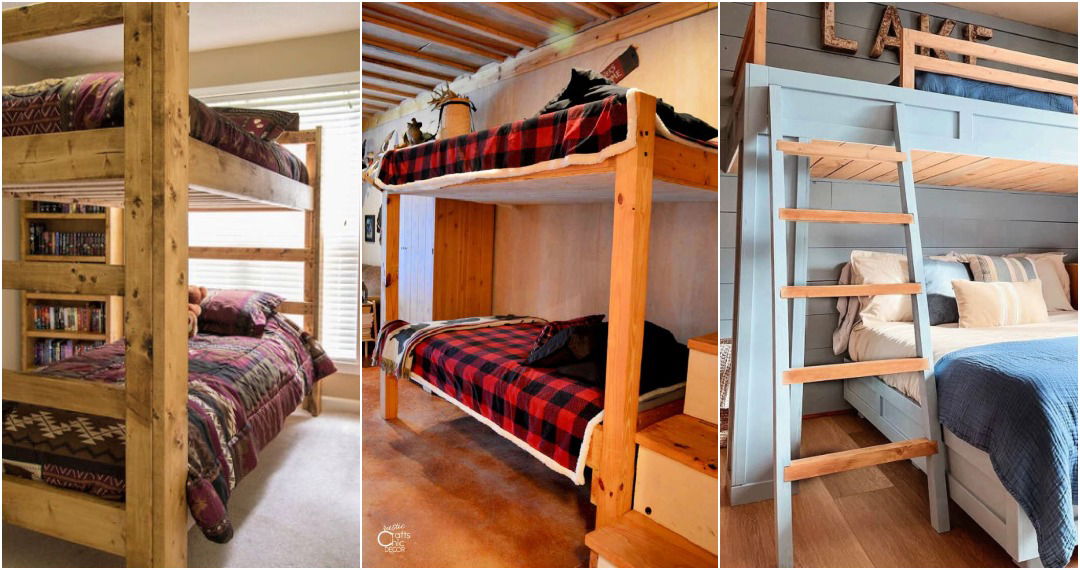
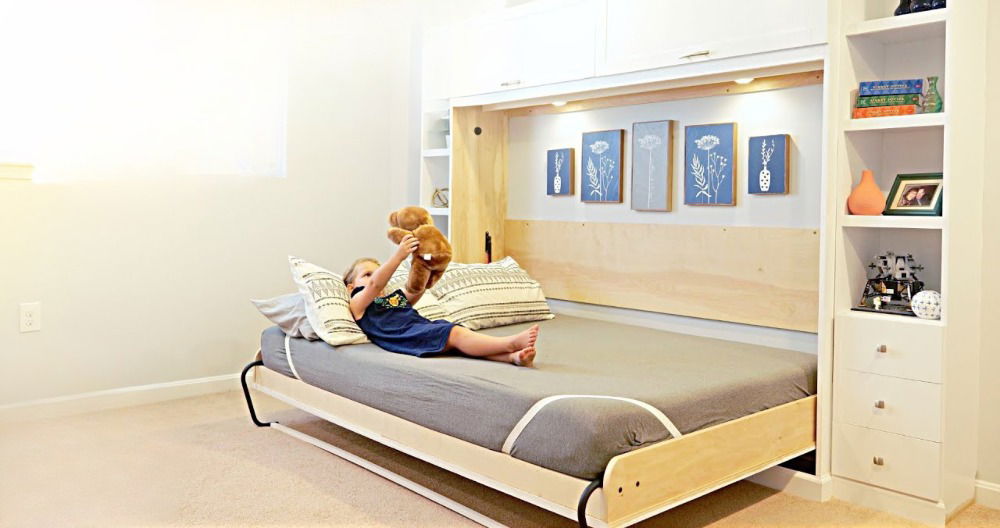
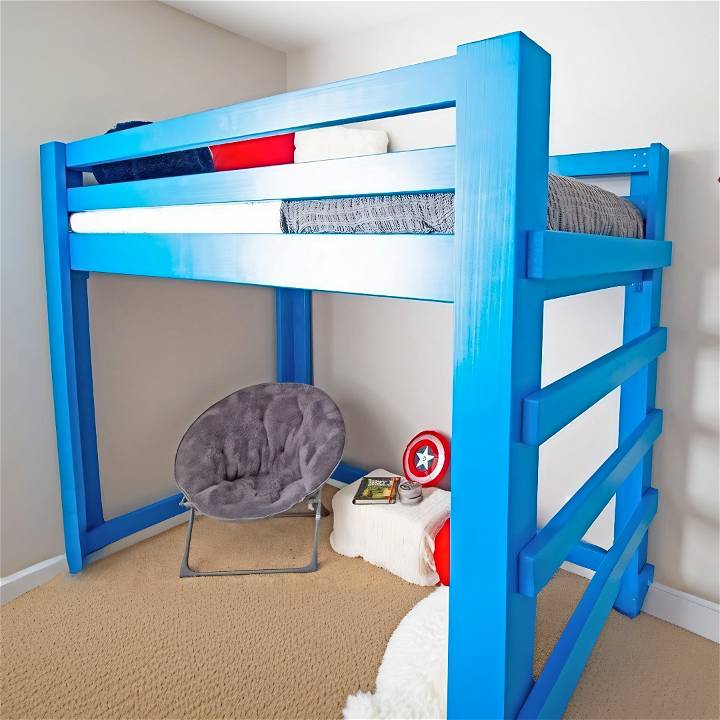
Let me take you through a surprisingly easy yet adventurous DIY journey where I transformed my child's bedroom with a loft bed made entirely from 2x4s. Inspired by a video from FixThisBuildThat, I embarked on this journey with minimal woodworking experience, ensuring to include practical tips and challenges I faced, so you're better prepared than I was.
Why a Loft Bed?
The idea sprang up when my middle child expressed his dream of having a loft bed. His relentless plea and the realization that this could be a wonderful family project pushed me to dive into the world of DIY woodworking.
Materials Needed and Why
- 2x4s and 2x6s (or 2x12s if ripping down): These are the bones of the bed. I chose 2x12s for cleaner boards despite the challenge of ripping them down.
- Wood glue and biscuits or pocket hole screws: Essential for strong joints.
- Handheld router with a quarter-inch roundover bit: For smoothing edges, vital for safety and aesthetics.
- Paint (primer and color of choice): To add a personalized touch.
- LED lights (optional): For cool factor and practical lighting under the bed.
Every material was chosen with functionality, safety, and aesthetics in mind, aiming to build a sturdy, appealing, and kid-friendly loft bed.
Step-by-Step Guide
Learn how to build a DIY loft bed for small spaces with our step-by-step guide. From prepping wood to final installation, conquer challenges and personalize your space.
Step 1: Prepping and Cutting the Wood
With enthusiasm, I watched tutorials, took notes, and prepped myself for the crucial first step: cutting the wood. I followed the process of ripping 2x12s into 2x4s and 2x6s to save costs and achieve cleaner boards. Despite a few hiccups with the wood binding in the saw, I learned the importance of patience and precision.
Step 2: Smoothing and Shaping
Using a planer, I smoothed the boards, a step you can substitute with thorough sanding. Then, I rounded the edges with a router, ensuring all parts were kid-friendly and splinter-free.
Step 3: Crafting the Frame
The excitement was palpable as I started to see the bed take shape. Constructing the frame involved gluing 2x6s to 2x4s for the legs and assembling the bed frame with pocket hole joinery. It was a moment of pride to see the frame standing, albeit in need of more work.
Overcoming Challenges
From wrestling with warped boards to the realization that my workspace was too small for such a large project, each challenge was a learning curve. I adapted by clearing out space and was reminded of the importance of preparation and flexibility in DIY projects.
Step 4: Painting and Personalization
Choosing a vibrant blue, my wife and I painted the bed, making it truly ours. This step, though seemingly straightforward, added a personal touch that made all the effort worthwhile.
Step 5: Final Assembly and Installation
The final steps took place in my son's bedroom, where we assembled the bed. This process underscored the importance of teamwork, especially when securing the frame and ensuring everything was perfectly square and sturdy.
Tips for Future Builders
- Space is Key: Ensure you have a large enough area to work in.
- Material Quality: Opt for cleaner lumber if possible; it saves time in the long run.
- Safety First: Don't skip on rounding edges and consider the bed's height in relation to your ceiling.
- Patience Pays Off: Some steps may be frustrating, but the result is incredibly rewarding.
Customization Ideas for Your DIY Loft Bed
Building a loft bed that perfectly fits your space and needs can be both fun and rewarding. Here's how you can add a personal touch to your DIY project.
Choose a Theme
Start by deciding on a theme that reflects your personality or the ambiance of the room. Whether it's a minimalist design, a princess castle for a child's room, or a rustic look for a cozy feel, the theme will guide your customization choices.
Add Functional Elements
Maximize space by incorporating elements that serve multiple purposes:
- Desks: A study area under the bed is perfect for work or school tasks.
- Shelves: For books, decor, or storage, shelves utilize vertical space efficiently.
- Wardrobes: Use the end of the bed for a built-in wardrobe to save floor space.
Personalize with Decor
Make it your own with decorative touches:
- Paint: Choose colors that match your room's palette or go bold with contrasting hues.
- Wallpaper: Apply wallpaper to the bed's panels for an instant visual upgrade.
- Lighting: String lights or LED strips can add warmth and ambiance.
Consider Room Size
Adapt the bed to the room's dimensions:
- For small rooms, focus on vertical storage solutions.
- In larger rooms, you can add a seating area or a larger desk under the loft bed.
Safety First
Ensure safety while customizing:
- Rails: Install high rails to prevent falls, especially in children's beds.
- Sturdy Materials: Use robust materials for any added elements to ensure they can support weight safely.
By following these tips, you'll build a loft bed that's not only unique but also practical and safe. Remember, the key is to balance creativity with functionality.
Maintenance and Care for Your DIY Loft Bed
Ensuring your DIY loft bed remains in great condition requires regular maintenance and care. Here's a straightforward guide to help you keep your loft bed sturdy and safe over time.
Regular Inspections
Check the bed's stability every few months:
- Tighten any loose bolts or screws.
- Look for signs of wear or damage, especially on the ladder and joints.
Cleaning Tips
Keep the bed clean to prevent dust buildup:
- Wipe down surfaces with a damp cloth.
- Use wood polish or metal cleaner appropriate for your bed's materials.
Protecting the Material
Preserve the material of your loft bed:
- For wood, avoid excessive moisture to prevent warping.
- For metal, check for rust spots and treat them promptly.
Immediate Repairs
Address issues immediately to avoid further damage:
- Fix splinters or sharp edges on wood surfaces.
- Replace any damaged or worn-out parts as soon as possible.
Weight Limit Adherence
Respect the weight limit to maintain structural integrity:
- Do not overload the bed with too much weight.
- Ensure that the mattress and any added elements do not exceed the recommended weight capacity.
By following these steps, your DIY loft bed will last longer and stay safe and comfortable. The effort pays off in maintaining DIY projects. Happy maintaining!
Final Thoughts
Watching my children's excitement as they explored their new loft bed made every moment of frustration, every challenge, and every learning curve absolutely worth it. This project not only provided my child with his dream bed but also taught me valuable woodworking skills and the joy of making something with my own hands.
If you're considering a similar project, my advice is: go for it. With patience, the right materials, and a bit of elbow grease, you can build something wonderful. And when it's for your child, the reward is even greater.


