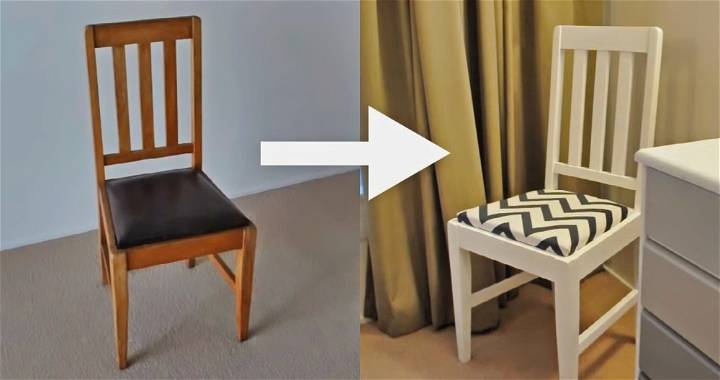
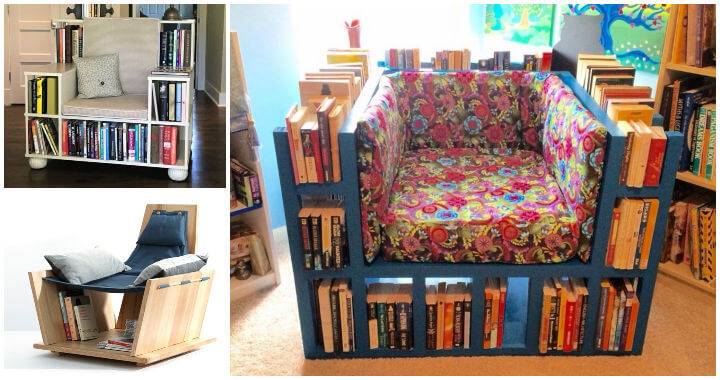
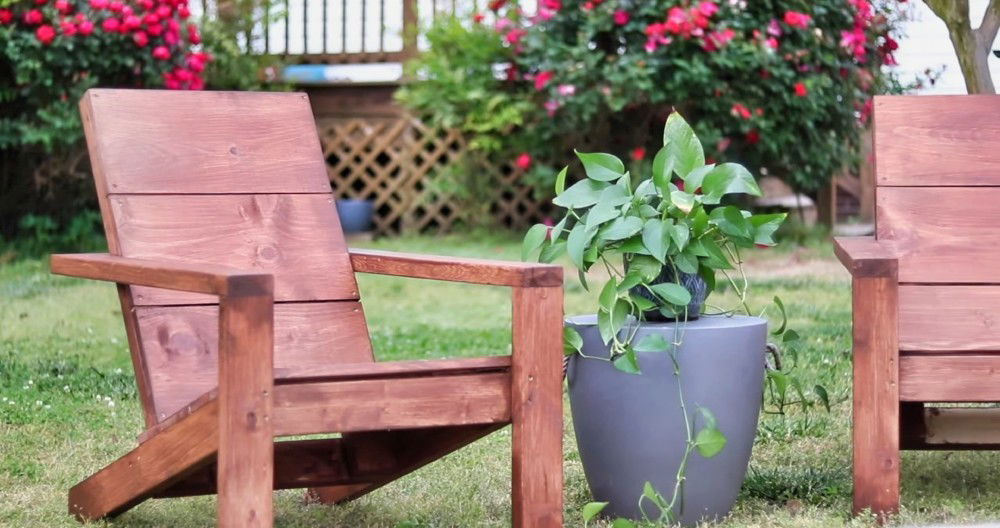
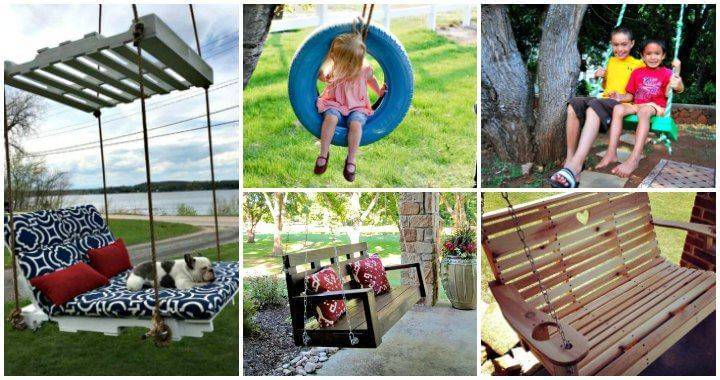
For those who are passionate about woodworking and looking to embark on a fulfilling DIY project, building a DIY lounge chair can be an incredibly rewarding experience. Today, I want to take you on a detailed journey of how I designed and crafted one of my most beloved pieces—my custom lounge chair. This chair marks a significant chapter in my furniture-building adventure and holds a special place in my heart.
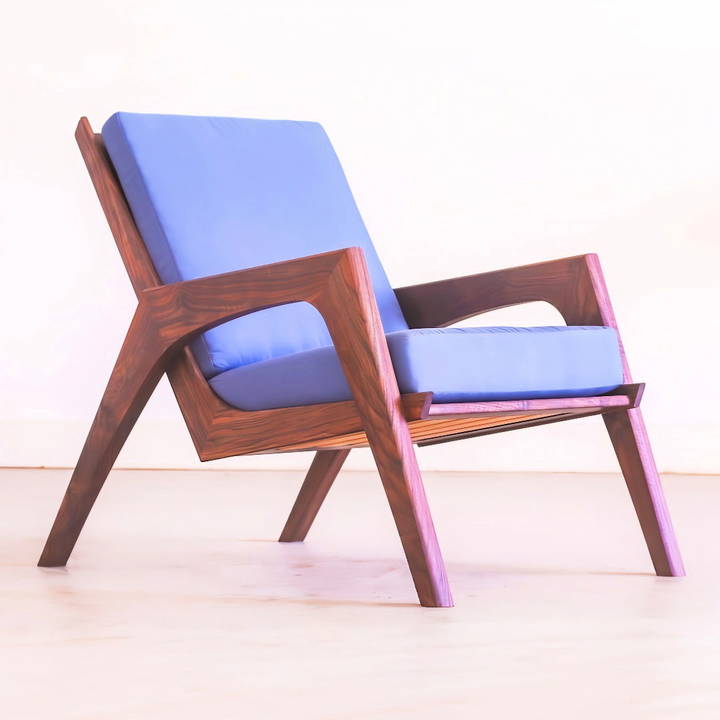
The Genesis of My Lounge Chair Design
When I first ventured into the realm of custom furniture design, I was eager to build a piece that would stand the test of time and resonate with both my aesthetic preferences and advanced woodworking techniques. Enter the lounge chair—a piece of furniture that seamlessly blends form and function. Over time, I've refined and improved upon my original design, leading to the version I am now sharing with you.
Gathering Materials and Tools
Before diving into the actual building process, it's essential to gather all the necessary materials and tools. This preparation is crucial for a smooth construction experience.
Materials Needed
- Lumber (Walnut and Beech): These materials are chosen for their strength and aesthetic appeal. Walnut provides a rich, deep color, while beech offers a sturdy complement.
- Dominoes (Floating Tenons): Essential for joint stability, dominoes ensure robust connections throughout the chair structure.
- Wood Glue and Clamps: High-quality wood glue is pivotal for fortifying your joints, and clamps maintain pressure during curing.
- Furniture Templates: Custom templates help ensure precision cutting and shaping of each chair component.
- Router and Bits: These are necessary to achieve smooth edges and detailed profiles.
Tools Required
- Table Saw: For making precise cuts and shaping the wood.
- Track Saw: Useful for cutting larger pieces of wood for the seat assembly.
- Router Table: Ideal for adding edge profiles and round overs.
- Table Saw Sled: Helps in making accurate crosscuts efficiently.
Armed with this collection, you're ready to transform raw materials into a masterfully crafted lounge chair.
Step by Step Instructions
Learn how to build a DIY lounge chair with our step-by-step guide. From preparing lumber to final assembly, build a chair with ease.
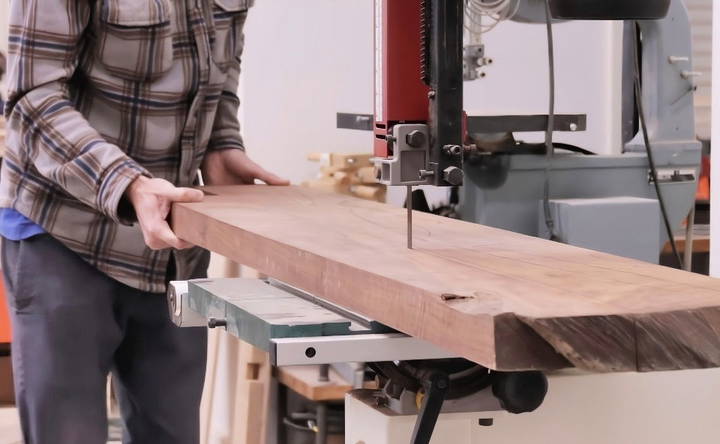
Step 1: Preparing the Lumber
My process began with selecting the right pieces of walnut and beech, breaking down the larger stock into smaller, manageable pieces. Each rough-cut part was milled to the precise thickness needed for the project, with one edge jointed for a clean starting line.
Step 2: Shaping Each Component
For the initial shaping, I used my customized furniture templates. These allowed me to follow a predetermined contour for each part of the chair. Utilizing both a template bit and a flush trim bit in my router produced a smooth and consistent edge on every component.
Step 3: Cutting the Joints
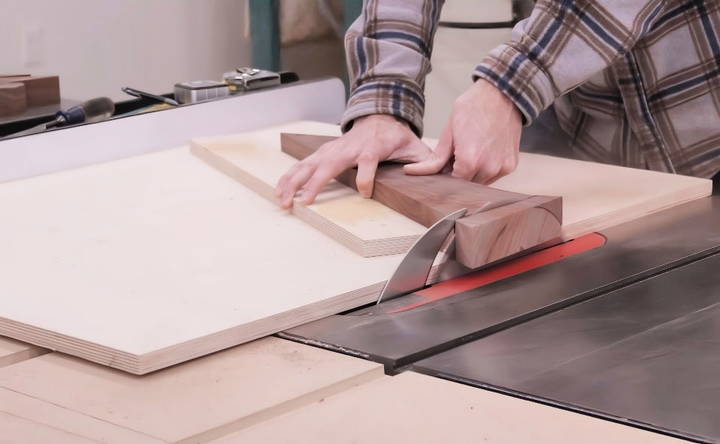
This step is where the lounge chair begins to take form visibly. I first focused on the chair legs, which required precisely cut joint faces. Using a table saw sled makes this part straightforward, allowing me to ensure both edges are clean and exact before fine-tuning the cuts.
Here, it is also crucial to maintain symmetry, specifically when cutting the arms, as they will heavily influence the comfort and visual balance of the final chair.
Step 4: Assembling the Components
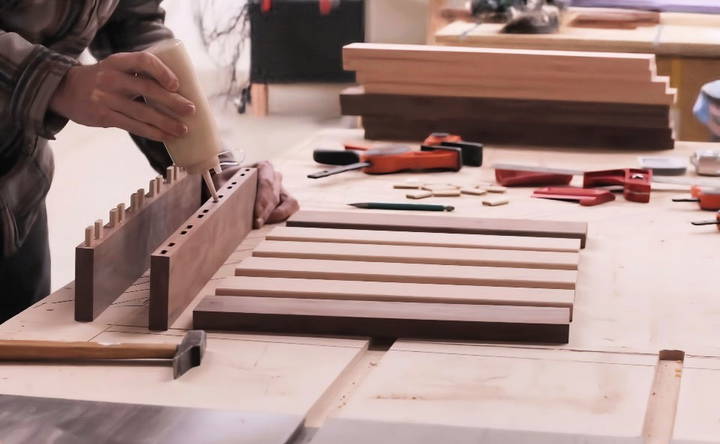
With the correct lengths cut, the next task was cutting in the mortises for the dominoes. This part of the build heavily utilized the domino joiner, an indispensable tool for ensuring the chair's durability and structural integrity without using traditional wooden joining techniques. By doubling up the dominoes, the strength of each connection point was significantly increased.
Step 5: Gluing and Finishing the Leg Assemblies
After carefully cutting and matching each portion, I started assembling the individual pieces, beginning with the leg components. By employing clamping blocks during glue-ups, I ensured that pressure was evenly distributed throughout the joint, leading to a sturdy final product. Once dried, each leg assembly needed further trimming to reach its final length—a task I performed using a track saw.
Step 6: Building the Seat and Back Panels
For the seat panels, I used a combination of walnut for the frame and beech for the slats. Ensuring everything was cut to the correct size was vital here. Each piece was methodically ordered to avoid any mistakes during assembly. Again, the domino joiner came in handy, securing each connection.
Adding a round over to certain edges before assembly meant no difficult-to-reach spots after the panels were glued together. The miter joint was then used to attach the seat and seat-back panels, enabling a seamless visual transition.
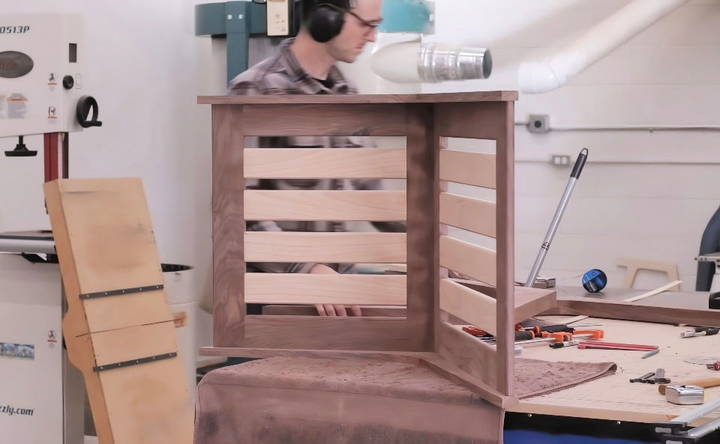
Step 7: Final Assembly and Details
Once the seat assembly was completed, I attached it to the leg assemblies. This called for properly aligning the parts before any glue was applied to avoid misalignment. Additionally, final touches, such as applying round overs using a router, were handled at this stage to improve comfort and aesthetics.
Final Touches: Sanding, Finishing, and Cushioning
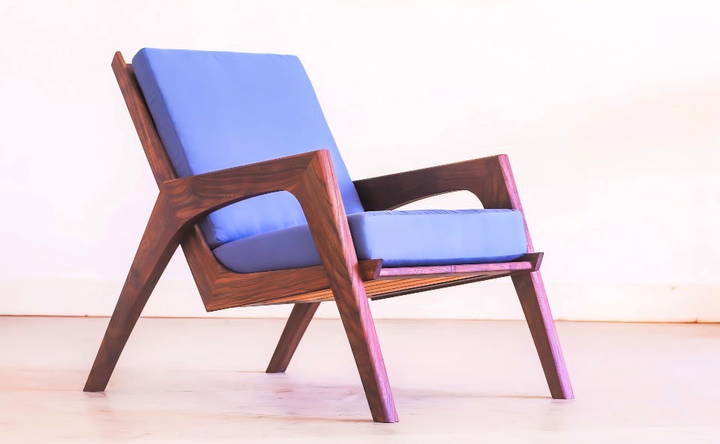
Sanding each joint and edge to a smooth finish and applying an appropriate outdoor-grade finish ensures the chair stands up to time and use. Finally, adding custom-made cushions completes the piece, enhancing both comfort and style.
The Emotional Journey
Crafting this lounge chair was more than just a woodworking project; it was a journey filled with learning, adaptation, and a sense of accomplishment. Each step is meticulously detailed to guide even a novice to potentially replicate this crafted piece. Naming this chair after John Glenn, the first American astronaut to orbit Earth, symbolizes my hope for its continued impact on the woodworking community.
Through this lounge chair, I have experienced tangible satisfaction in building with my own hands, making a legacy piece that evokes both fond memories of my early furniture-building days and showcases the culmination of years of skill development. I invite you to embark on this journey and share the joys and challenges.
Customization Ideas
Customizing your DIY lounge chair can make it uniquely yours and fit perfectly with your style and home decor. Here are some easy-to-follow ideas to help you personalize your lounge chair:
Design Variations
- Modern Style: Use sleek lines and neutral colors. Opt for metal or polished wood for a contemporary look.
- Rustic Style: Choose reclaimed wood and natural finishes. Add a distressed look by sanding the edges and using a matte varnish.
- Minimalist Style: Keep it simple with clean lines and a monochromatic color scheme. Use light wood and white or black cushions.
Personal Touches
- Paint and Stain: Paint your lounge chair in your favorite color or use a wood stain to highlight the natural grain. You can also use stencils to add patterns or designs.
- Cushions and Upholstery: Choose cushions in bold colors or patterns to add a pop of color. You can also reupholster old cushions with new fabric to match your decor.
- Engravings and Carvings: If you have the tools and skills, add engravings or carvings to the wood. This can be as simple as your initials or as intricate as a floral design.
Functional Additions
- Built-in Storage: Add a small storage compartment under the seat for magazines, books, or remote controls.
- Cup Holders and Trays: Attach a cup holder or a small tray to the armrest for convenience. This is perfect for holding drinks, snacks, or a book.
- Adjustable Features: Make the backrest adjustable for added comfort. You can also add wheels to the legs for easy movement.
Eco-Friendly Options
- Sustainable Materials: Use eco-friendly materials like bamboo or reclaimed wood. These materials are not only good for the environment but also add a unique look to your chair.
- Natural Finishes: Opt for natural oils and waxes instead of chemical varnishes. These finishes are safer and give the wood a beautiful, natural look.
Seasonal Decorations
- Summer Vibes: Add bright, tropical-themed cushions and a light throw blanket. You can also hang small string lights around the chair for a festive look.
- Winter Warmth: Use cozy, warm-toned cushions and a thick, soft blanket. Add a small, portable heater nearby for extra warmth.
By incorporating these customization ideas, you can make a lounge chair that is not only functional but also a reflection of your personal style.
Common Mistakes and How to Avoid Them
Building a DIY lounge chair can be a rewarding project, but it's easy to make mistakes along the way. Here are some common pitfalls and tips on how to avoid them:
Incorrect Measurements
- Mistake: Not measuring accurately can lead to parts that don't fit together properly.
- Solution: Double-check all measurements before cutting. Use a tape measure and a square to ensure accuracy. Measure twice, cut once.
Using the Wrong Materials
- Mistake: Choosing materials that are not suitable for outdoor use or that don't match the design.
- Solution: Select materials based on where you will use the chair. For outdoor chairs, use weather-resistant wood like teak or cedar. For indoor chairs, you can use softer woods like pine.
Poor Joinery
- Mistake: Weak joints can make the chair unstable and unsafe.
- Solution: Use strong joinery techniques like mortise and tenon, dowels, or screws with wood glue. Ensure all joints are tight and secure.
Skipping Sanding
- Mistake: Not sanding the wood can result in a rough finish and splinters.
- Solution: Sand all wooden parts thoroughly before assembly. Start with coarse-grit sandpaper and finish with fine-grit for a smooth surface.
Ignoring Safety Precautions
- Mistake: Not wearing safety gear can lead to injuries.
- Solution: Always wear safety glasses, gloves, and a dust mask when cutting, sanding, or painting. Keep your workspace clean and organized to avoid accidents.
Improper Finishing
- Mistake: Applying paint or stain unevenly can ruin the look of your chair.
- Solution: Apply paint or stain in thin, even coats. Allow each coat to dry completely before applying the next. Use a brush or cloth to apply the finish, and follow the manufacturer's instructions.
Rushing the Project
- Mistake: Trying to complete the project too quickly can lead to mistakes and a lower-quality chair.
- Solution: Take your time and follow each step carefully. Allow adequate drying time for glue and finishes. Patience will result in a better-finished product.
Not Testing for Stability
- Mistake: Failing to test the chair's stability can result in a wobbly or unsafe chair.
- Solution: Once assembled, test the chair by sitting on it and gently rocking it. If it wobbles, check and tighten all joints. Ensure the legs are even and the chair sits flat on the ground.
Overlooking Maintenance
- Mistake: Not considering how to maintain the chair can shorten its lifespan.
- Solution: Regularly check for loose joints and tighten them as needed. Reapply finish or paint as necessary to protect the wood from the elements.
By being aware of these common mistakes and taking steps to avoid them, you can ensure your DIY lounge chair is both beautiful and durable.
FAQs About DIY Lounge Chair
Discover everything you need to know about DIY lounge chairs with our comprehensive FAQs. Tips, materials, and steps all covered!
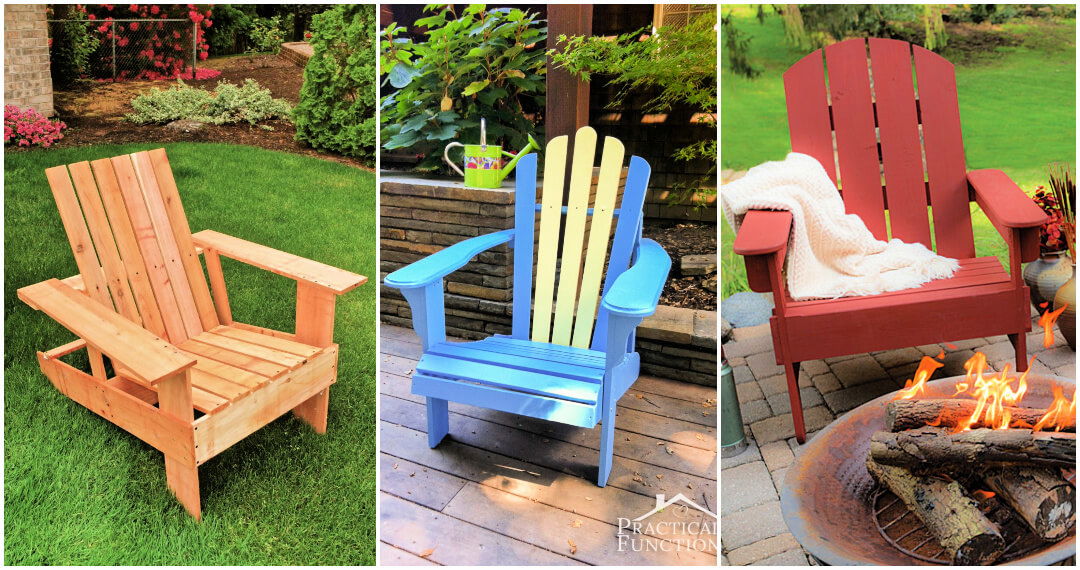
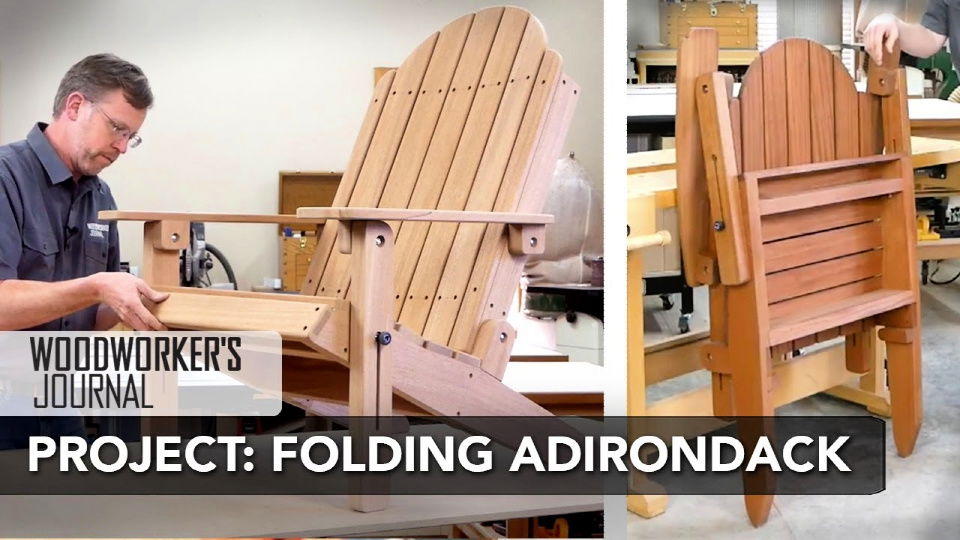
Adirondack chair: A classic design with a slanted back and wide armrests, perfect for relaxing outdoors.
Reclining chair: Features an adjustable backrest for customized comfort.
Folding chair: Easily portable and convenient for storage.
Hammock chair: Suspended from a frame or tree, offering a unique and relaxing experience.
Pallet chair: Repurposes wooden pallets into a stylish and eco-friendly lounge chair.
Outdoor finishes: Apply a weather-resistant finish to wood or metal to protect it from moisture and sun damage.
Waterproof covers: Use waterproof covers to protect your chair during inclement weather or when not in use.
Store indoors: If possible, store your chair indoors during the off-season to prolong its lifespan.
Wear protective gear: Always use safety glasses, gloves, and ear protection when operating power tools.
Securely fasten all components: Make sure all screws, nails, and fasteners are securely in place to prevent the chair from collapsing.
Sand all edges: Smooth out any rough edges or splinters to prevent injuries.
Choose stable materials: Select materials that can support the weight of the user and withstand outdoor conditions if applicable.
Test the chair before use: Sit in the chair and test its stability and comfort before fully relying on it.
Dimensions: Adjust the dimensions of the chair to fit your body size and desired comfort level.
Features: Add features such as cup holders, side tables, or built-in storage compartments.
Finishes: Stain, paint, or add decorative elements to personalize the look of your chair.
Cushion fabrics: Choose fabrics that complement your outdoor decor or personal style.
Accessories: Add pillows, throws, or other accessories to enhance the comfort and aesthetic appeal of your chair.
Online resources: Numerous websites and blogs offer free plans and step-by-step tutorials for building various types of lounge chairs.
YouTube videos: Search for DIY lounge chair videos to visualize the construction process and gain valuable tips.
Social media platforms: Explore DIY communities on Pinterest, Instagram, and Facebook for inspiration and ideas.
Local libraries and bookstores: Check out books on woodworking and DIY furniture projects for detailed instructions and plans.
Hardware stores: Some hardware stores offer free workshops and project guides for DIY enthusiasts.
Conclusion: Your Turn to Craft
Whether you're an experienced crafter looking for a new project or a beginner eager to delve into the world of woodworking, building this DIY lounge chair can be an immensely gratifying experience. With the detailed plans and steps outlined above, you can build a piece of furniture that holds personal significance and stands proudly in your space.
Thank you for joining me on this woodworking journey. I hope my story inspires you to pick up your tools and build something extraordinary. And remember, every piece carries a story, a narrative that's uniquely yours.


