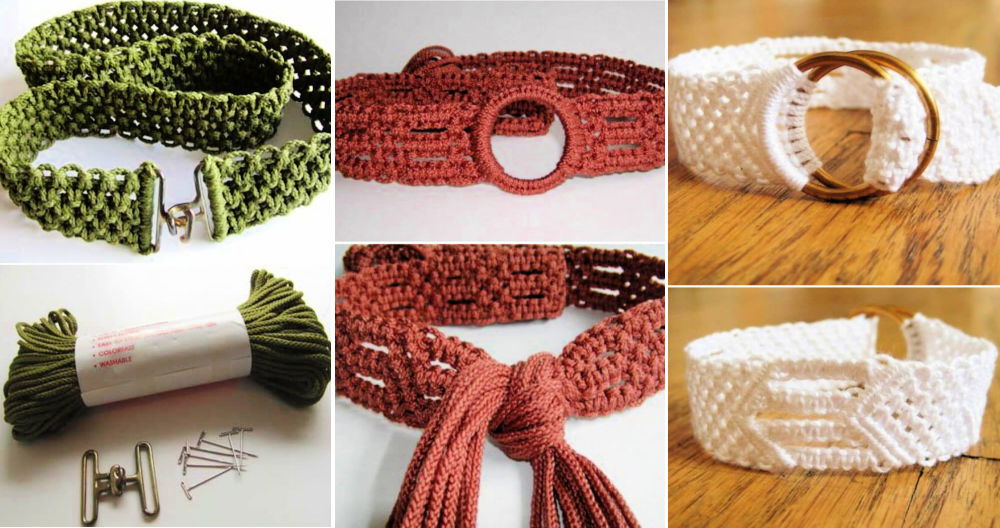
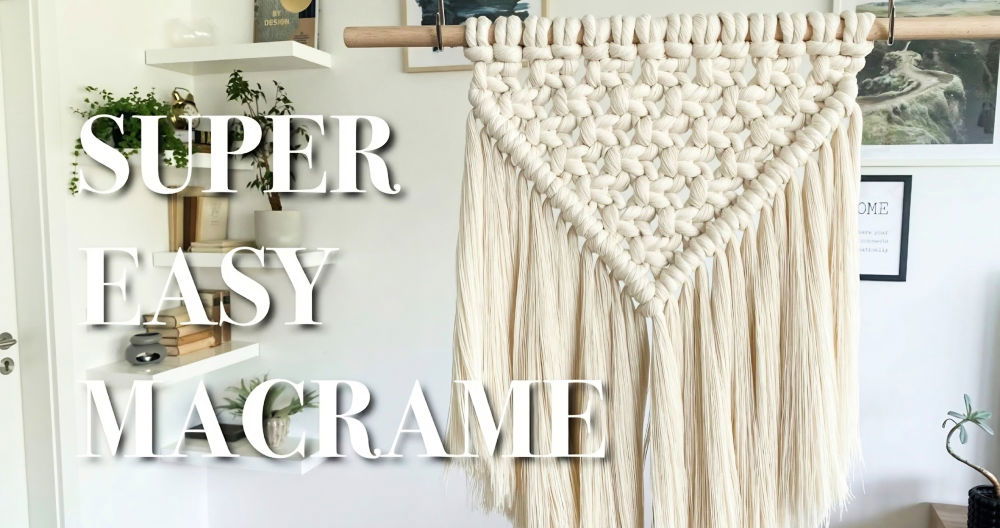
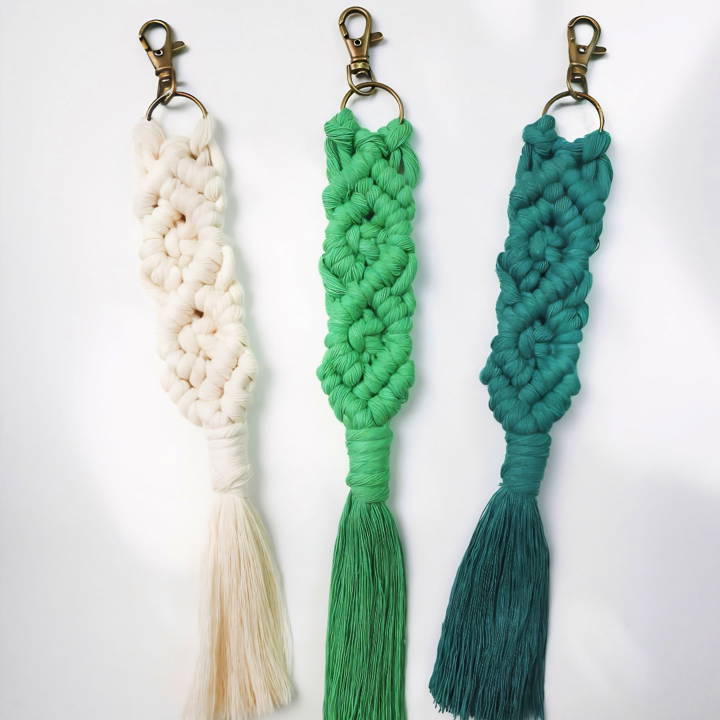
Making macrame keychains is a relaxing and fun hobby. I remember my first time trying it; I was nervous and excited. With just a few cords and some knots, I made a beautiful and functional keychain. It felt so good to see the finished product and know that I made it with my own hands. The process was calming, and it gave me a sense of accomplishment.
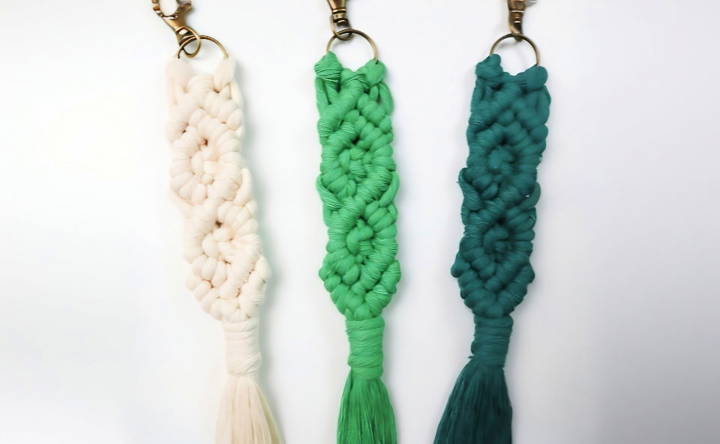
Don't worry if you feel unsure at first. Starting with a DIY macrame keychain project is simple. I followed a clear and easy tutorial and soon got the hang of it. The steps are straightforward, making it perfect for anyone who wants to start. You'll soon find that with each knot and loop, your confidence and skill grow.
Materials Needed and Why They're Important
- One-Inch Key Ring (with or without a Lobster Clasp): This serves as the foundation of your keychain. I went for one with a lobster clasp for added functionality.
- Three 52-Inch, 5mm Single Strand Cotton Cords: The core of your macrame work, these cords are durable, easy to work with, and produce a smooth finish.
- Macrame Board or Cork Board (Optional but Helpful): Pinning your work down makes it easier to manage and maintain the tension across knots.
- Scissors: For trimming the cords.
- Comb (Optional): For brushing out the tassels for that polished look.
Step by Step Instructions
Learn how to make a DIY macrame keychain with our step-by-step guide. Secure cords, start the diamond pattern and complete your keychain easily.
Secure the Cords to the Key Ring
- Start by folding one cord in half and loop the fold through the ring, pulling the cord's ends through the loop. This forms a Lark's head knot.
- Repeat this process for the remaining two cords. You'll end up with six strands hanging from the ring. Pin your work to a board to stabilize it.
Begin the Diamond Pattern
- Making the Knot Framework: Select the fourth cord from the left. This cord will act as your "filler cord." Using it, tie three double half hitch knots to the left, setting the foundation for your diamond. Make sure to maintain an even tension for a neat appearance.
- Building Upon the Framework: Utilize the third cord from the right as another filler cord, making two double half hitch knots moving to the right. This step starts to form the diamond shape discernibly.
Expanding the Diamond
- Adding More Rows: Now, with the third cord from the left as your filler, tie three double half hitch knots moving to the right. This process begins to flesh out the diamond.
- Closing the Diamond: With the square knot right at the center of the diamond, use the four center cords. This knot brings the diamond's shape together.
- Securing the Pattern: Utilize the far left and right cords as filler cords to add more double half hitch knots, closing off the diamond design neatly.
Crafting the Second Diamond
- Repeating the Pattern: Using similar steps as above, start with the third cord from the left for your filler cord. This time, begin your double half hitch knot with the farthest left cord. It makes a seamless transition between diamonds.
- Finishing Touches: After completing the second diamond, secure it by tying a wrapping knot with a 16-inch cord piece. This knot secures the cords and adds a neat finish to the keychain.
Final Adjustments
- Trimming the Ends: Even out the cord ends to your desired length. I prefer trimming them to match the shortest cord for uniformity.
- Brushing the Tassels: Using a comb, brush out the cord ends for a fluffy, polished look. This step is optional but gives your keychain an extra flair.
Personal Insights and Tips
- Practice Makes Perfect: Initially, I struggled with maintaining even tension across my knots, which affected the symmetry of my diamonds. With practice, I got the hang of it. Don't be discouraged if your first try isn't perfect.
- Customization is Key: Feel free to play around with different colors and thicknesses of cords. Macrame is very forgiving and versatile.
- Patience is Crucial: Some steps may seem repetitive, but they're building blocks to your final masterpiece. Enjoy the process!
Customization Ideas
When it comes to DIY macramé keychains, the beauty lies in the ability to make each piece uniquely yours. Here are some creative ideas to customize your macramé keychain:
- Color Variations: Choose colors that reflect your personality or match your favorite bag. Experiment with ombre effects or color blocking for a modern twist.
- Beads and Charms: Incorporate beads or charms into your design. Wooden beads can add a rustic touch, while metallic charms can give a bit of sparkle.
- Different Knots: Learn a variety of macramé knots to make diverse patterns. A square knot gives a classic look, while a Josephine knot adds complexity and elegance.
- Varied Lengths: Play with the length of your keychain. A longer keychain can be practical for finding keys in a large bag, while a shorter one might be better for smaller purses.
- Fringe Ends: Leave the ends of your keychain frayed for a boho look, or comb them out for a fluffy, soft finish.
- Multi-Strand Designs: Use multiple strands of cord for a thicker, more robust keychain. This is not only visually striking but also more durable.
- Seasonal Themes: Make keychains that celebrate different seasons or holidays. Think pastel colors for spring or adding a small pumpkin charm for autumn.
- Personalization: Add initials or full names with alphabet beads to personalize your keychain for yourself or as a gift.
- Mixed Materials: Combine different materials like leather, yarn, or ribbon with your macramé cord for a unique texture contrast.
- Functional Add-Ons: Attach a small pouch or a lip balm holder to your keychain for added functionality.
The key to a great DIY project is to have fun and let your creativity flow. These ideas are just a starting point; feel free to mix and match them to make something that's truly one-of-a-kind!
Advanced Techniques
For those who have mastered the basics of macramé and are looking to challenge themselves further, advanced techniques can add complexity and beauty to your creations. Here are some sophisticated methods to explore:
- Micro-Macramé: This technique involves making very small and detailed knots, often used in jewelry making. It requires patience and precision, as well as thin cords or threads.
- Cavandoli Macramé: Named after Valentina Cavandoli, this style is characterized by flat, geometric patterns, typically using the double half hitch knot. It's often used for wall hangings and requires consistent tension to maintain the design's integrity.
- Macramé Sculpture: Moving beyond flat surfaces, macramé sculpture is about making three-dimensional objects. This can range from simple shapes like spheres to more complex figures and forms.
- Integrating Different Mediums: Combine macramé with other crafts such as weaving, embroidery, or beading. This cross-disciplinary approach can result in truly unique pieces.
- Dyeing Techniques: Experiment with dyeing your cords before knotting to make gradients or tie-dye effects. Natural dyes can offer a range of beautiful, earthy tones.
- Complex Knots and Patterns: Learn intricate knots like the Larkshead sennit or the Constrictor knot to add texture and detail to your work.
- Layering: Make layers of knots for a more elaborate look. This can add depth to wall hangings or complexity to keychains.
- Combining Knot Styles: Mix different styles of knots within the same piece. For example, you could combine Chinese knots with traditional macramé knots for an East-meets-West design.
- Large-Scale Projects: Take on bigger projects like room dividers or large wall hangings. These require planning and a lot of cord but can be stunning focal points in a room.
- Teaching and Collaboration: Share your skills with others through workshops or collaborate with fellow macramé artists to learn new techniques and styles.
By incorporating these advanced techniques into your macramé projects, you can push the boundaries of the craft and make intricate, eye-catching pieces that showcase your skill level.
Troubleshooting Common Issues
Making a macramé keychain can be a fun and rewarding DIY project, but like any craft, it can come with its own set of challenges. Here are some common issues you might encounter and how to resolve them:
- Knots are too tight or too loose: This is a common issue, especially for beginners. If your knots are too tight, the keychain may not hang properly. If they're too loose, the structure won't hold. Practice maintaining even tension on the cords as you knot.
- Inconsistent knot sizes: To keep your knots uniform, use a reference point on your fingers to measure each knot as you tie it. Consistency comes with practice, so don't be discouraged if it takes time to get it right.
- Cord fraying: If your cord starts to fray, it can make it difficult to work with. Use a bit of clear tape on the ends of your cords to prevent fraying, or singe the ends carefully with a lighter if you're using a synthetic cord.
- Difficulty following patterns: Macramé patterns can be complex. If you're having trouble, try breaking down the pattern into smaller sections and mastering each one before moving on to the next.
- Running out of cords: It's frustrating to run out of cords before your project is complete. Always measure out a little more cord than you think you'll need, as macramé uses more material than it seems.
- Knots are uneven: If your knots look uneven, they may need to be adjusted. Gently tug on the cords to tighten or loosen the knots until they look symmetrical.
- Mistakes in the pattern: If you make a mistake, it's usually best to undo the knots back to the point of error. Trying to work around a mistake can throw off the entire pattern.
- Cord tangling: To prevent tangling, keep your cords organized and untwisted as you work. Use clips or pins to secure cords that are not in use.
Every crafter encounters issues from time to time. The key is to be patient with yourself and enjoy the process of learning and improving your macramé skills.
FAQs About DIY Macrame Keychain
Discover all you need to know about DIY macrame keychains with our FAQs. Learn techniques, materials, and tips for making stylish keychains today.
Begin by cutting your macrame cord into several pieces—usually four times the length of the desired keychain. Fold them in half and attach them to the keyring with a lark’s head knot. This will create the foundation for your keychain.
The Square Knot and Spiral Stitch are two basic macrame knots that are perfect for beginners. They are simple to learn and form the basis of many macrame keychain designs.
Absolutely! Beads can be added to your keychain by threading them onto the cords and securing them in place with knots. They add a decorative touch and can be used to create patterns or add a pop of color.
There are many free online resources and tutorials available for beginners. Websites like Macrame for Beginners offer step-by-step guides and videos to help you make various keychain designs.
To complete your macrame keychain, you'll want to secure the ends of your cords. Here's how:
Tie off the ends: Use an overhand knot or another finishing knot to secure the cords.
Trim the excess: Cut the ends to your desired length.
Fray or comb out the ends (optional): For a tassel effect, unravel the cord fibers.
Apply a stopper knot (optional): If you've added beads, this will prevent them from slipping off.
Wrapping Up
I am here to help you get started with this macrame keychain pattern. These resources will guide you through every step, making it easier for you to make beautiful keychains. Enjoy the process and take pride in what you make. Get started now and discover how rewarding and fun it can be!


