If you're passionate about sewing and making garments, having the right tools can significantly elevate your work. One such essential tool is a dress form, which helps you perfect your designs. However, buying a custom-made mannequin that fits your body measurements can be expensive. Fortunately, you can make your own dress form that fits your body precisely, and it's much more affordable than purchasing a custom one.
This guide will teach you how to make a DIY mannequin that mirrors your exact measurements, using materials that are easy to find. Let's get started!
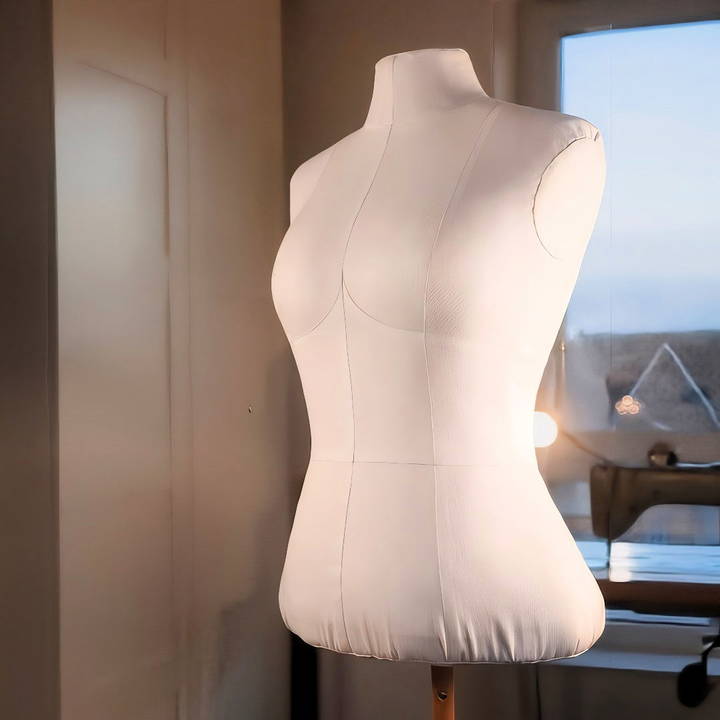
Why Make Your Own Mannequin?
A custom-made mannequin that matches your body measurements will simplify your sewing projects by allowing you to:
- Drape Patterns Easily: Draping fabric directly on a dress form makes it easier to visualize and adjust your designs in real-time.
- Check Fit and Shape: Having a form that mimics your body allows you to ensure that your garments fit perfectly.
- Save Time: A well-fitted mannequin reduces the need for repeated fittings on yourself.
Many people begin their sewing journey using generic dress forms, but these don't always reflect unique body shapes. This DIY method is an inexpensive and creative way to solve that problem.
Materials You Will Need
Before getting started, gather the following materials:
- A base dress form (preferably slightly smaller than your body measurements)
- Upholstery foam: Choose dense foam to make the desired shape.
- Bra foam (optional): If you need extra padding in areas like the bust.
- Cotton wool: For smoothing out foam layers.
- Fabric for the cover: Sturdy, breathable fabric like cotton.
- Mockup fabric: For testing the fit.
- Sewing supplies: Needles, thread, zippers, scissors, measuring tape, and pins.
Additionally, you will need basic tools such as a sewing machine, iron, and possibly an existing dress form as a guide.
Step by Step Instructions
Learn how to make your own DIY mannequin with our step-by-step guide. Perfect for tailoring garments and maintaining your custom dress form.
Step 1: Measure Yourself and the Base Mannequin
The first step in making a custom-fitting mannequin is to gather your body measurements. It's crucial to measure accurately to ensure that the dress form mirrors your body as closely as possible. Here's how to go about it:
- Take Your Measurements: Use a measuring tape to measure key areas such as your bust, waist, hips, and shoulders. Be thorough and take measurements at the tightest and most relaxed points to account for the natural flexibility of your body.
- Measure the Base Mannequin: If you are using a pre-made dress form as your base, compare its measurements to yours. Measure the bust, waist, and hips of the dress form and note where adjustments need to be made.
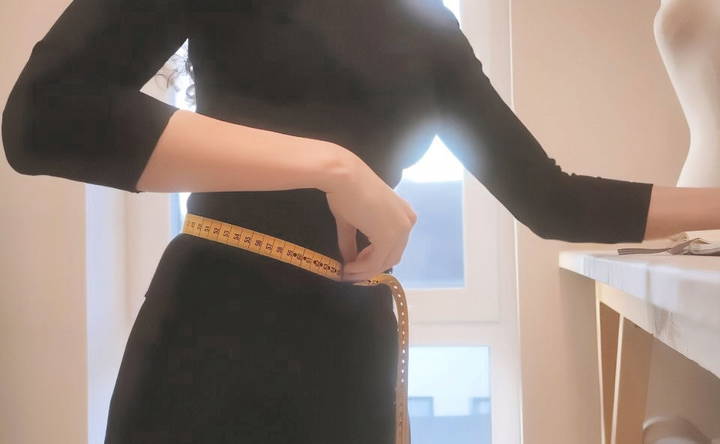
For areas where you need more flexibility (like the waist), measure your body twice: once for the exact measurement and again tightly to see how much the mannequin will need to adjust or compress.
Step 2: Prepare the Mannequin for Customization
With the measurements in hand, the next step is to begin shaping the mannequin. Start by preparing the existing base dress form, and ensure it's ready for alteration.
- Strip the Existing Cover: If your base mannequin comes with a cover, remove it. This step helps you work directly on the foam structure of the mannequin.
- Assess the Bust and Other Areas: Evaluate the areas that need reshaping. For instance, the bust may need to be softened or the waist made narrower. Use foam to make a shape that closely mimics your body.
Step 3: Make a Mockup Cover
To ensure that your dress form reflects your measurements perfectly, make a mockup cover. This involves making a fabric cover that can be used to fit over the base mannequin after you've adjusted its shape.
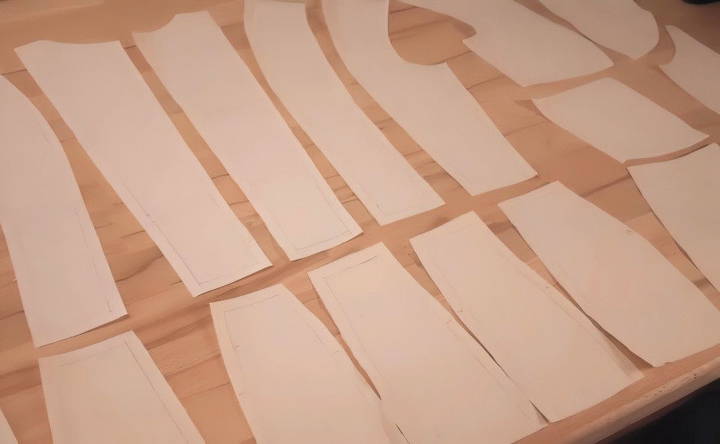
- Pattern Creation: Start by drafting a pattern for your cover. If you've made dress forms before, you can reuse previous patterns that fit your measurements. Adjust the pattern for any changes in design, especially around the bust and waist.
- Transfer the Pattern to Mockup Fabric: Once you have the pattern, transfer it onto mockup fabric. Use white paper underneath your fabric to enhance visibility when tracing the pattern lines.
- Cut and Sew the Mockup: After tracing, cut out all the pieces of fabric and sew them together, leaving allowances for seams. This mockup allows you to test the fit on both yourself and the mannequin.
Step 4: Make Adjustments to the Mockup
Once the mockup is ready, it's time to test the fit. This step will help you perfect the design before sewing the final cover.
- Fit the Mockup on the Mannequin: Put the mockup over the mannequin and assess how it fits. Check areas like the bust, waist, and hips to ensure the fabric fits snugly.
- Mark Adjustments: If the fit isn't perfect, make necessary adjustments. For example, if you find that the mockup is too loose around the hips or too tight around the bust, mark these areas with a different colored pen to remind yourself of where to adjust.
- Fine-Tune the Pattern: Based on your adjustments, tweak the original pattern to match your body measurements even better. Once you're satisfied with the mockup, proceed to make the final cover.
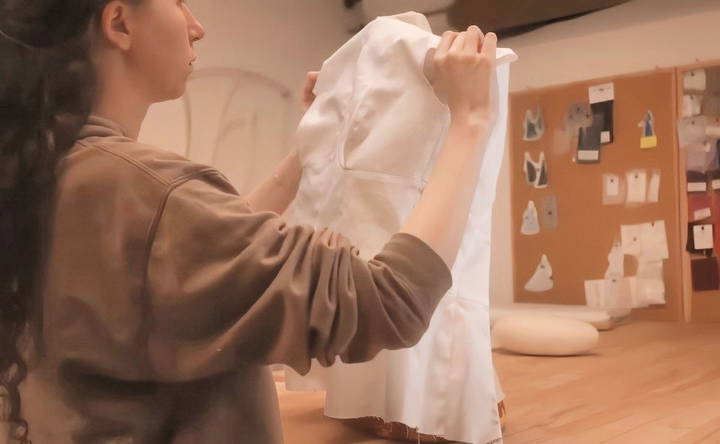
Step 5: Finalize the Dress Form
Now that you've adjusted the base mannequin and tested the mockup, it's time to finalize the dress form.
- Sew the Final Cover: Using the refined pattern, sew the final fabric cover. This cover will go over the adjusted foam mannequin, so be sure to add seam allowances and ensure the fabric fits tightly.
- Add a Zipper: For ease of fitting and removing the cover, insert an invisible zipper in the back. Make sure it's sewn properly to avoid bulging or loose areas.
- Test the Fit Again: Once the cover is ready, place it on the mannequin. Check how well it fits and whether the measurements match your body. This is the point where you can make minor final adjustments.
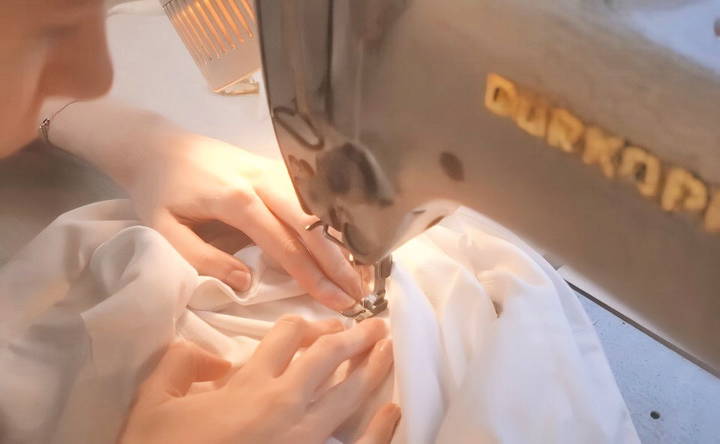
Step 6: Shape the Mannequin with Foam
At this stage, you've completed the external structure of your mannequin. Now it's time to fine-tune the internal shape using foam. This part is crucial for making the mannequin truly custom-fit.
- Add Foam to Key Areas: Start by shaping the foam to match your body measurements. For example, if your bust or waist needs to be padded, cut the foam into the correct shapes and attach it to the mannequin. Secure the foam using pins, glue, or stitching.
- Smooth the Foam with Cotton Wool: To avoid sharp edges or awkward shapes, use cotton wool to smooth the foam. Cover the foam areas with a thin layer of cotton wool to make a more natural curve and softness.
- Cover with the Mockup: Once the foam is shaped, cover the mannequin with the mockup fabric to check the final shape and fit. This helps you ensure that the mannequin mirrors your body as closely as possible.
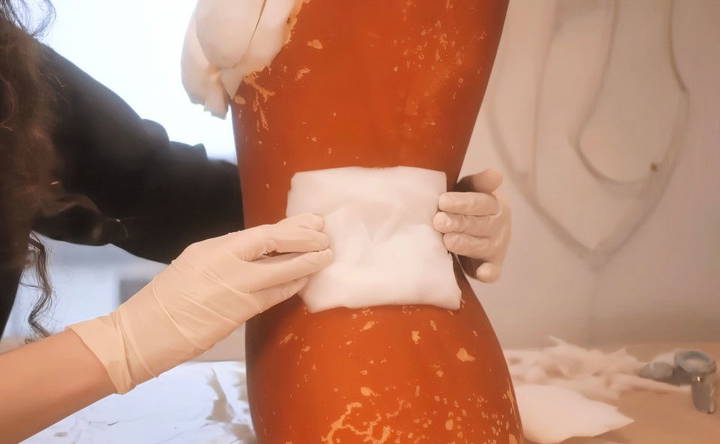
Step 7: Finalizing the Cover and Adding Finishing Touches
Now that you've adjusted the foam padding and covered the mannequin with the mockup fabric to verify the fit, it's time to proceed with finalizing the cover and perfecting your DIY mannequin.
Fitting the Final Cover
With the foam layers and cotton wool in place to smooth out any rough edges, it's time to place the final fabric cover on the mannequin. Here's how to go about it:
- Place the Final Cover Over the Mannequin: Gently slide the cover over the foam-padded mannequin. The goal is to ensure that the cover hugs the foam closely and maintains the contours of your body shape. Since you've already sewn an invisible zipper at the back, fastening and removing the cover will be easier. Adjust the fit to ensure there are no wrinkles or loose areas.
- Check for Final Adjustments: As the cover is placed over the mannequin, carefully assess how it fits around key areas like the bust, waist, and hips. These areas need to fit snugly, without excess fabric or gaps. If you find any discrepancies, you can make small adjustments by removing or adding a thin layer of foam or reshaping it.
- Smooth Out the Cover: Once satisfied with the fit, smooth out the fabric to ensure no creases. Use pins to temporarily secure areas that might shift while you're finishing other parts of the mannequin.
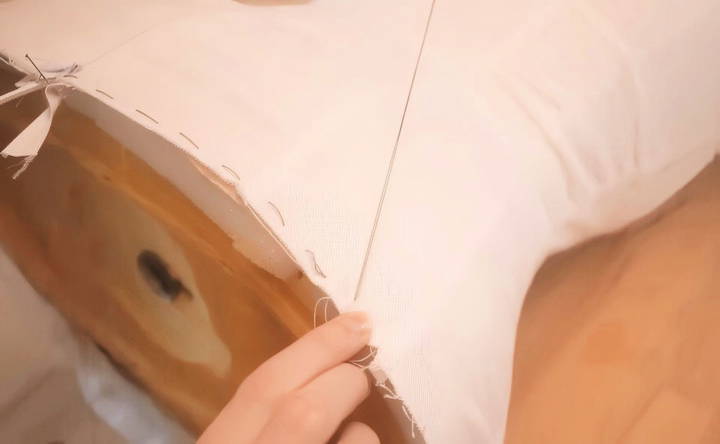
Securing the Bottom and Armholes
After the cover fits well on the mannequin's torso, you'll need to finish up by closing the bottom of the cover and armholes to make a polished, clean look.
- Gather the Bottom Fabric: To close the bottom of the mannequin neatly, you can use a gathering stitch. Sew a sturdy thread around the bottom edge of the cover. Once the stitch is complete, gently pull the thread to gather the fabric. This will make a snug closure at the base of the mannequin. Pull the thread tightly and tie it off securely to prevent any slippage.
- Finish the Armholes: Similar to the bottom of the mannequin, you'll need to close off the armholes. Use a gathering stitch to make a small seam around the armhole. Then, use a fabric piece cut to the correct size to cover the armhole neatly. Pin the fabric in place and hand-sew it carefully. This method provides a clean, professional finish while allowing some flexibility if you need to adjust the cover later.
Adding Stability and Detailing
With the basic mannequin complete, you'll want to ensure that it remains sturdy and reliable over time, especially if you plan on using it frequently for draping or fitting garments.
- Stabilizing the Mannequin: If you're using a purchased dress form as your base, it should already come with a stable stand. However, if you feel that your mannequin wobbles or is unstable, you may want to reinforce the base. You can either add weight to the bottom or secure it with additional materials. Some people choose to use a heavy wooden or metal base for added stability.
- Customizing the Stand: Depending on your preferences and the height you need for working comfortably, you may want to customize the stand. Adjust the height or add wheels if you plan on moving the mannequin around frequently. You can also attach a handle at the top to help with lifting the form.
- Finishing Details: Finally, check the seams and edges of your mannequin. Ensure everything is tightly sewn and securely in place. This is also an opportunity to add any decorative details, such as a custom neckpiece, or labels if you like to label your sewing tools.
Step 8: Testing the Mannequin with Garments
Now that your custom mannequin is finished, it's time to test it out. This step will help you determine if the mannequin is truly accurate and ready for use in your sewing projects.
- Drape a Simple Garment: Start by draping a simple garment on the mannequin, such as a dress or blouse, to see how it fits. Assess how well the fabric drapes over the curves of the form and check for any areas that need tweaking.
- Pin Fabric to Test Fit: As you test the garment, use pins to secure it to the mannequin. This will give you a good sense of how the fabric interacts with the mannequin, especially in terms of fit and ease of movement. If you notice any issues with the form, such as uneven padding or looseness, now is the time to adjust.
- Check for Realism: One of the key benefits of having a custom mannequin is its ability to behave similarly to your own body. Pay attention to whether the mannequin mimics the way your body behaves. For example, can the waist be squeezed slightly? Is the bust flexible enough to accommodate garments with varying bust shapes?
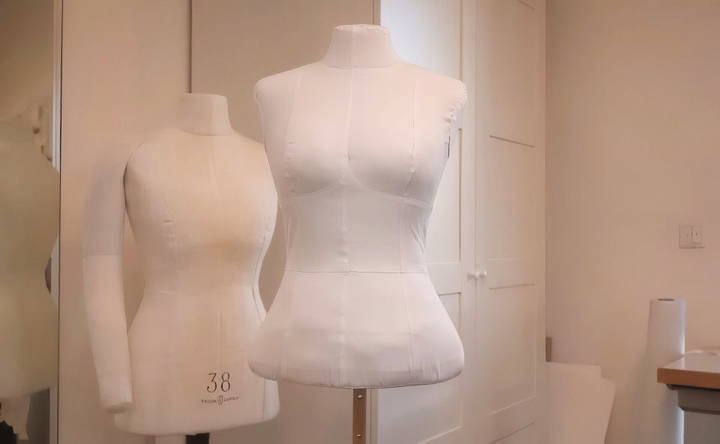
Step 9: Maintaining Your DIY Mannequin
Your new DIY mannequin will likely become an essential tool in your sewing room. To ensure it remains in good shape over time, regular maintenance is key.
- Dust and Clean Regularly: Since fabric and foam can attract dust and lint, make sure to keep your mannequin clean by dusting it regularly. Use a lint roller or soft brush to remove any fabric debris that may accumulate on the cover.
- Inspect for Wear and Tear: Over time, the fabric cover or foam may begin to show signs of wear, especially if you use the mannequin frequently. Periodically check for any loose seams or tears, and make repairs as needed. You may also need to re-stuff areas that have become flattened from frequent use.
- Store Properly: When not in use, store your mannequin in a cool, dry place to prevent damage. If your sewing space tends to be dusty or cluttered, consider covering the mannequin with a lightweight fabric when it's not in use to protect it from damage.
- Re-adjust as Needed: As your body measurements change over time, you can continue to adjust the foam padding to match. This is one of the benefits of having a DIY mannequin – it's flexible and can evolve as your body does.
Why This DIY Mannequin Method Works
Building a DIY mannequin using this method is not only cost-effective, but it also provides a highly personalized tool that will improve the quality of your sewing projects. Let's revisit the benefits:
- Cost-Effective: The materials needed to make this mannequin, including a basic dress form, foam, and fabric, will cost you around $80, which is significantly cheaper than purchasing a custom-fitted mannequin from a manufacturer.
- Custom-Fit to Your Body: Unlike standard store-bought dress forms, this mannequin reflects your body's unique measurements, making it perfect for draping patterns or fitting garments.
- Durable and Adjustable: The mannequin is made using sturdy materials like upholstery foam and cotton wool, ensuring it lasts for years. Plus, it's adjustable, meaning you can tweak the foam to match your body over time.
- User-Friendly Design: This DIY mannequin is designed to be functional and easy to use. The zipper in the back allows you to easily remove or adjust the cover, and the gathering stitches at the bottom and armholes make the process simple.
Conclusion
Building your own custom DIY mannequin is a rewarding project that will not only save you money but will also enhance the accuracy and efficiency of your sewing projects. By following the steps outlined in this guide, you'll have a mannequin that fits your measurements perfectly and behaves like your body.
This method, though it may take some time and effort, will ultimately pay off in the long run by allowing you to make garments with a precise, custom fit. The process is highly customizable, giving you full control over the design, shape, and fabric of your dress form.
Whether you're a beginner or an experienced seamstress, having a mannequin tailored to your measurements will take your sewing game to the next level. Happy sewing!
FAQs About DIY Mannequin
Explore the FAQs about DIY mannequins to learn how to make your own mannequin safely and cost-effectively at home.
You can use an old bra to help shape the bust area more realistically. This method allows you to get better individual shaping for each breast rather than a flat or mono-bust effect. Using an old bra ensures the padding will match your body’s natural shape, and it’s an effective recycling tip.
Yes! You can save money by recycling items like old shoulder pads and pillow inserts. Shoulder pads are great for adding shape since they already have a curved design. These materials are useful for padding out areas like the bust, shoulders, or hips.
If your weight fluctuates, make your dress form based on your smallest size and add padding that can be attached or removed as needed. This approach allows you to adjust the mannequin to match your current body size without needing to recreate the entire form.
If the cover is loose, you can add more foam or cotton wool in specific areas to ensure a snug fit. Another option is to resew the seams to make the cover tighter. Make sure to adjust the padding or fabric until it perfectly mimics your body shape.
For those with a longer torso or unique height differences, consider stacking firm materials like foam on the shoulders or extending the bottom to lengthen the mannequin. Alternatively, you can combine two mannequins, adjusting the top and bottom sections to fit your height.
Yes, a popular method for making a custom dress form from scratch is to use an old T-shirt and duct tape. Wrap yourself in the shirt, then cover it with strips of duct tape to make a mold. Afterward, cut it off, and you'll have a shell that can be stuffed or filled to make a dress form.
A foam thickness of 3-4 cm is recommended for areas like the bust. For thinner areas such as the waist, you can cut the foam in half to around 1.5-2 cm. This allows you to customize the thickness depending on where you need more or less padding.
It's recommended to use a sturdy but breathable fabric like cotton twill for the final cover. This type of fabric is strong enough to withstand sewing tasks and allows for a smooth, professional finish. If you want a firmer and more stretchy under-layer, an old swimsuit or leotard can be used as a base.
As a beginner, expect the process to take a few days. Each stage, from measuring to shaping the foam and making the cover, requires time and attention to detail. Take your time with each step to ensure accuracy, especially when shaping the foam and sewing the cover.


