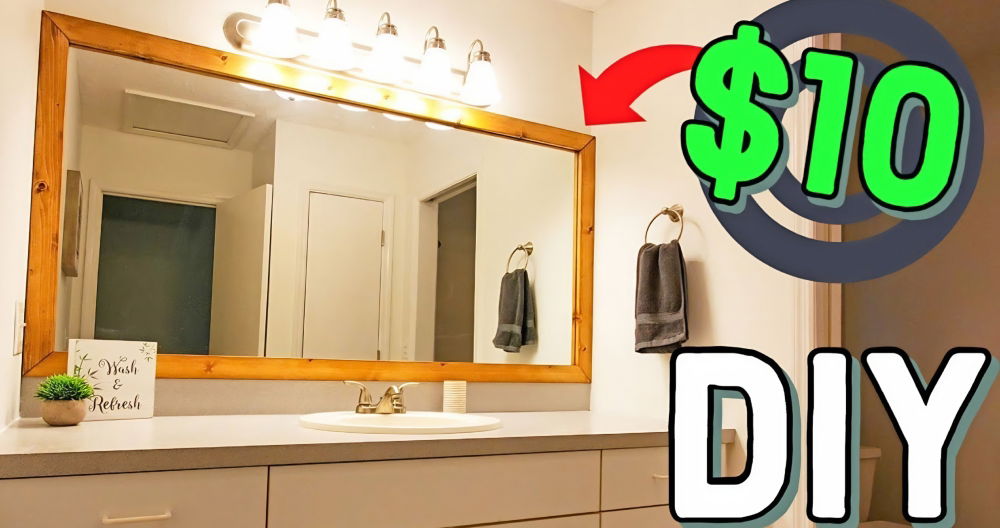
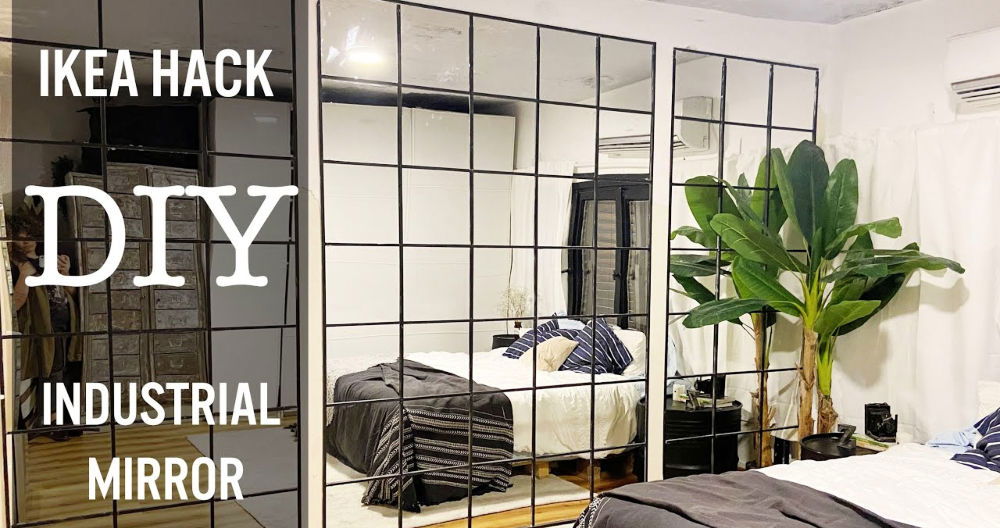
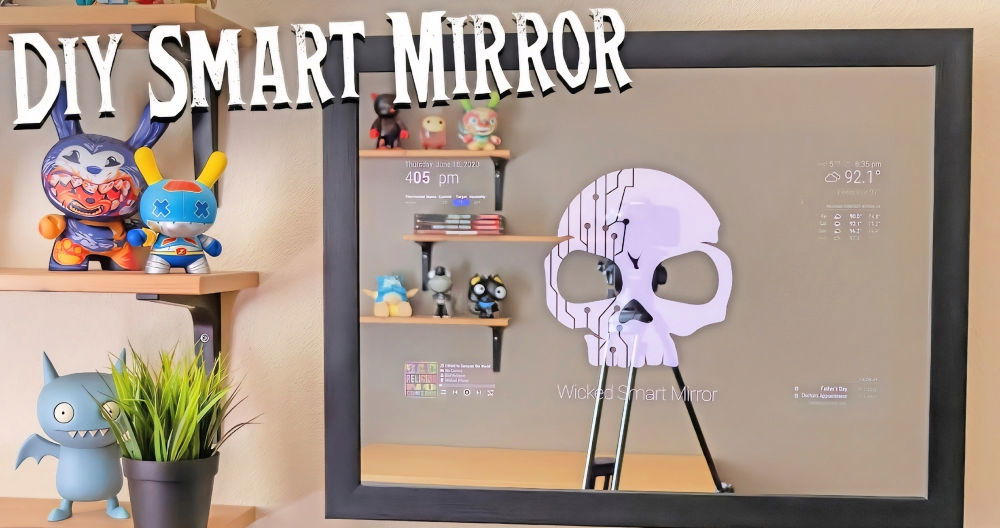
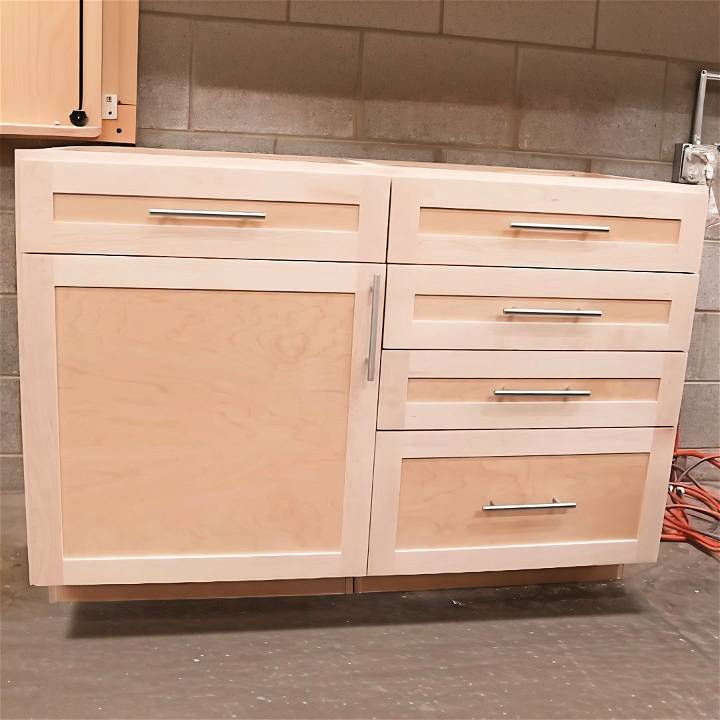
Last summer, I decided to build a DIY medicine cabinet with a mirror for my bathroom. I wanted to save some money and add a personal touch to my home. I found a simple plan online that showed me step-by-step how to do it. Gathering the materials was fun, and I felt excited to start the project.
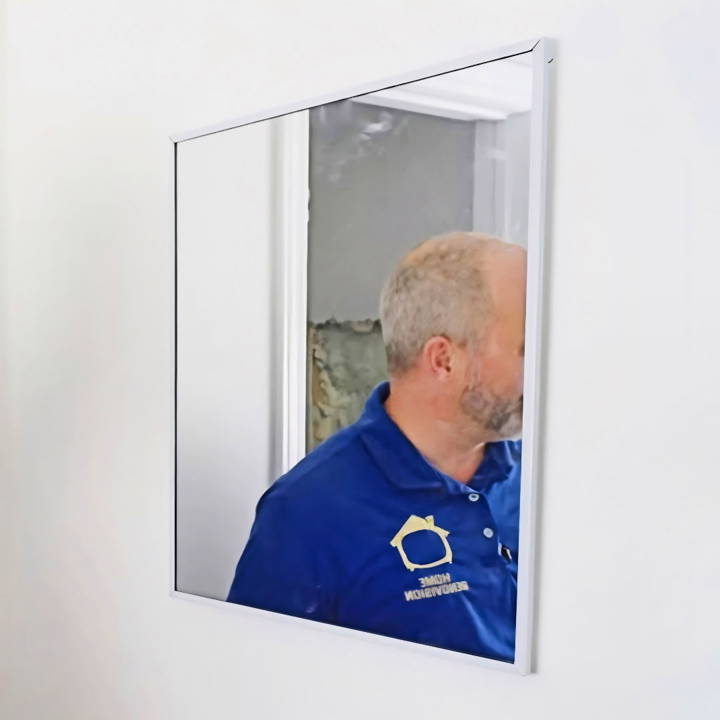
The process took a few days, but I learned a lot along the way. I measured, cut, and assembled the wooden pieces, and carefully installed the mirror. The result was a beautiful, DIY recessed medicine cabinet that fit perfectly in my bathroom wall. Now, every time I use it, I feel proud of what I buildd with my own hands.
Materials Needed:
- Medicine Cabinet: I chose a simple plastic one with a mirror. It was budget-friendly and still offered the storage solution I needed.
- Drywall Saw or Knife: Essential for cutting through the drywall safely, especially when you're unsure about hidden wiring or plumbing.
- Stud Finder: This tool is invaluable for locating studs behind the drywall, ensuring you avoid any potential structure damage.
- Level and Tape Measure: Precision is key for a project like this, and these tools ensure your cabinet is installed evenly and at the desired height.
- Screwdriver and Screws: For securing the cabinet and any additional framing you might need to install.
- 2x4 Lumber: Used for making a sturdy frame and support for the cabinet, especially in walls where cutting through a stud is necessary.
- Reciprocating Saw: If there's a need to cut through studs, this tool makes the job much easier.
- Drill: For making pilot holes for screws or any adjustments to the cabinet or framing.
- A Small Level: Particularly handy for ensuring your marks and cuts are perfectly horizontal or vertical.
Step by Step Instructions
Learn how to build a DIY medicine cabinet with a mirror in 6 easy steps. Follow our step-by-step guide and instructional video for a seamless installation.
1. Planning and Exploration
First off, I marked the centerline on the wall where I envisioned the medicine cabinet to be. It's crucial to have an idea of where the sink is located and to aim for a centered look above it. I then used a drywall knife to cut a small exploration hole. This step allowed me to check for any hidden obstacles like wiring or plumbing that might complicate the installation. Luckily, in my case, the coast was clear.
2. Marking the Cut
Using the dimensions of the back of my medicine cabinet (plus an eighth inch on each side for a bit of wiggle room), I marked the outline of the hole on the wall. A small level was indispensable here to ensure my lines were straight and true. Marking accurately at this stage meant I could avoid unnecessary patchwork later on.
3. Cutting the Drywall
Equipped with a drywall saw, I carefully followed my marks to cut out the section of the wall. This part required patience and a steady hand. Remember, it's always better to cut less at first; you can always trim a bit more if needed.
4. Reframing (If Necessary)
Since my chosen spot required cutting through a stud, reframing was in order. I measured and cut pieces of 2x4 lumber to fit horizontally between the remaining studs, providing a new frame for the cabinet. Installing these with a drill and screws, I ensured a stable structure that could support the cabinet's weight.
5. Dry Fitting the Cabinet
Before making any permanent moves, I did a dry fit of the cabinet into the newly cut hole. A few adjustments had to be made for a perfect fit, but it was nothing a little trimming couldn't fix.
6. Securing the Cabinet
With the hole and frame ready, I installed the cabinet. My approach involved drilling pilot holes through the sides of the cabinet into the framing I installed, then securing it with screws. For added stability, applying adhesive to the back of the framing lumber before installation could provide extra peace of mind.
Instructional video step by step
Finishing the project, the joy of adding function and style to my bathroom by myself was immense. Transforming a bare wall into a stylish, practical medicine cabinet showed the power of DIY.
Customization Ideas for Your DIY Medicine Cabinet
When it comes to making a DIY medicine cabinet, customization is key to ensuring that the end result is not only functional but also a reflection of your personal style. Here are some ideas to inspire you:
- Choose Your Style: Think about the overall look you want for your medicine cabinet. Do you prefer a modern, sleek design or a rustic, vintage feel? Select materials and finishes that complement the style of your bathroom.
- Paint and Finish: A fresh coat of paint can transform your cabinet. Consider using waterproof paint for durability. If you're going for a rustic look, try distressing the wood with sandpaper for a worn effect.
- Hardware Selection: The knobs and handles are small details that make a big impact. Choose hardware that matches your bathroom's fixtures for a cohesive look.
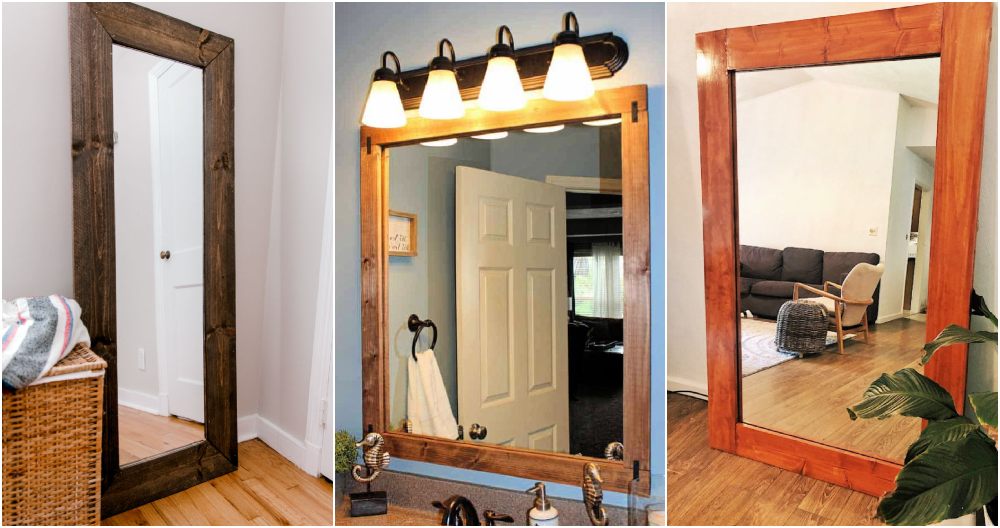
- Mirror Magic: If your cabinet will have a mirror, consider the shape and framing. An oval mirror or one with an intricate frame can serve as a statement piece.
- Light It Up: Good lighting is crucial in a bathroom. Install LED strips inside or under the cabinet for better visibility. You can also add decorative sconces on either side of the cabinet.
- Organize Internally: Use drawer dividers or small containers inside the cabinet to keep everything organized. Label each section to make items easy to find.
- Personal Touches: Add personal touches like a vase with flowers or a framed photo on top of the cabinet. This makes the space feel more inviting.
- Eco-Friendly Materials: Consider using recycled or sustainable materials for your project. Bamboo, for example, is a durable and eco-friendly option.
Build a medicine cabinet that's functional and stylish. Customize it to reflect your taste, making it unique and full of character.
Troubleshooting Common Issues
When undertaking a DIY medicine cabinet project, you might encounter a few hiccups along the way. Here's a guide to help you troubleshoot some of the most common issues:
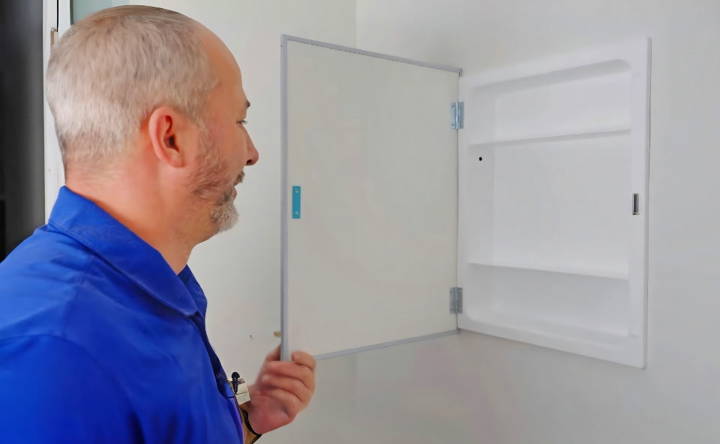
- Door Alignment Problems: If your cabinet door isn't closing properly, check the hinges. Loose screws can cause misalignment. Tighten them with a screwdriver and ensure that the door is level.
- Sticky Drawers: Drawers that don't slide smoothly can be frustrating. Apply a silicone-based lubricant to the drawer slides. Avoid oil-based products as they can attract dust.
- Loose Shelves: Over time, the shelves inside your medicine cabinet may become loose. This is often due to the weight of stored items. Tighten any adjustable shelf brackets and consider adding additional supports if needed.
- Moisture Damage: Bathrooms are humid environments, which can affect wood cabinets. If you notice swelling or warping, ensure that your bathroom is well-ventilated. You might also seal the wood with a waterproof varnish.
- Magnetic Latch Failure: If your cabinet has a magnetic latch that isn't working, it might be due to a weak magnet or metal plate misalignment. Replace the magnet or adjust the plate so they connect properly.
- Mirror Fogging: A foggy mirror after a hot shower is common. To prevent this, you can apply a commercial anti-fog product or build a homemade solution using vinegar and water.
- Scratches and Dents: For minor scratches, use a wood marker that matches the color of your cabinet. For dents, you can use a wood filler, then sand and refinish the area.
- Hardware Corrosion: Bathroom moisture can lead to corrosion on metal fixtures. Clean any corroded hardware with a mixture of baking soda and lemon juice. For severe corrosion, replacement might be necessary.
Patience and careful attention to detail can solve most issues you'll face. Keep this troubleshooting guide handy, and you'll be prepared to tackle any challenges that arise during your DIY medicine cabinet project.
Safety and Maintenance Tips
Ensuring the safety and longevity of your DIY medicine cabinet is crucial. Here are some tips to help you maintain it properly and use it safely:
Installation Safety:
- Secure Mounting: Always use sturdy screws and wall anchors suited for your wall type to prevent the cabinet from falling.
- Level Placement: Use a level tool during installation to ensure your cabinet is perfectly horizontal. This prevents items from sliding out.
FAQs About DIY Medicine Cabinet
Discover answers to faqs about DIY medicine cabinets and learn how to build your own with ease. Get expert tips and instructions now.
Consider the space and design of your bathroom. A recessed medicine cabinet is built into the wall and is ideal if you prefer a streamlined look and have the ability to modify the wall. A surface-mounted cabinet is easier to install as it attaches directly to the wall’s surface.
Yes, building a medicine cabinet is a project suitable for beginners. It requires some basic carpentry skills and tools. If you’re not confident in your abilities, consider starting with a simpler design or consult a professional for guidance.
Absolutely. Always wear safety gear like closed-toe shoes, long pants, a long-sleeve shirt, gloves, glasses, and a mask to avoid inhaling sawdust. Ensure your workspace is clean, well-ventilated, and free of tripping hazards. Follow all safety instructions for the tools you’re using.
To ensure your cabinet is secure:
Locate the studs in your wall using a stud finder.
Use appropriate anchors if you cannot align the cabinet with studs.
Mount the cabinet using screws long enough to penetrate the studs or anchors by at least 1.5 inches.
For a personalized touch, consider:
Adding decorative trim or molding for a more finished look.
Installing glass shelves instead of wood for a modern feel.
Using a unique door knob or pull to match your bathroom's decor.
Applying a waterproof sealant to protect against moisture.
Conclusion:
You're going to love building your own DIY medicine cabinet with a mirror. Take it one step at a time and enjoy the process. Remember, the effort you put in will result in a unique piece that you can be proud of.


