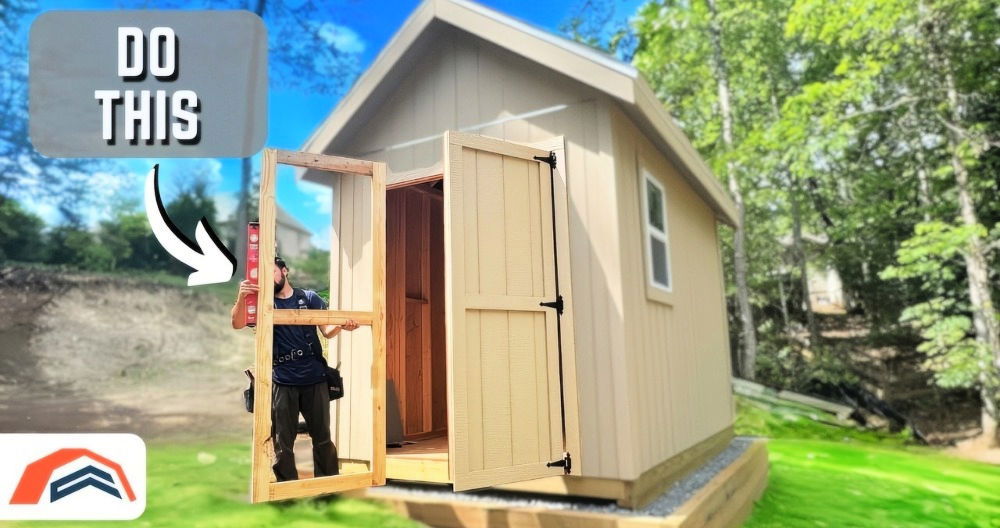
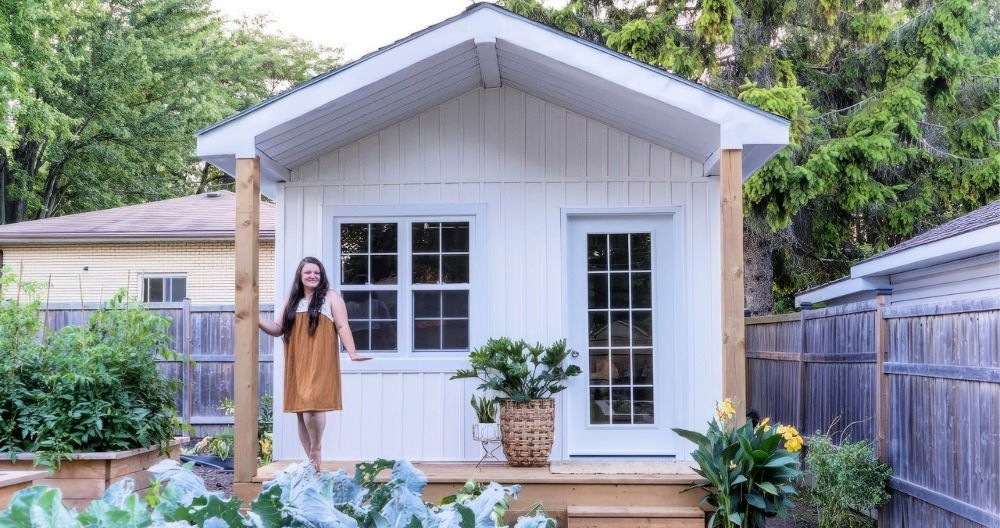
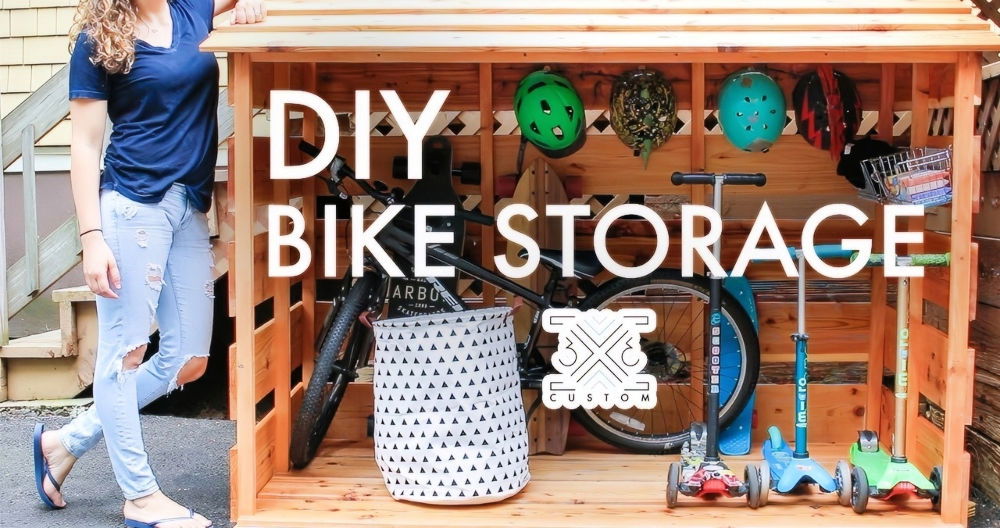
Last summer, I decided to tackle a new project: building my own metal shed in the backyard. The idea of making extra storage space for my tools and equipment was exciting. I had been struggling to keep everything organized in my garage, and a shed seemed like the perfect solution. With some basic tools and a free weekend, I felt ready to take on the challenge.
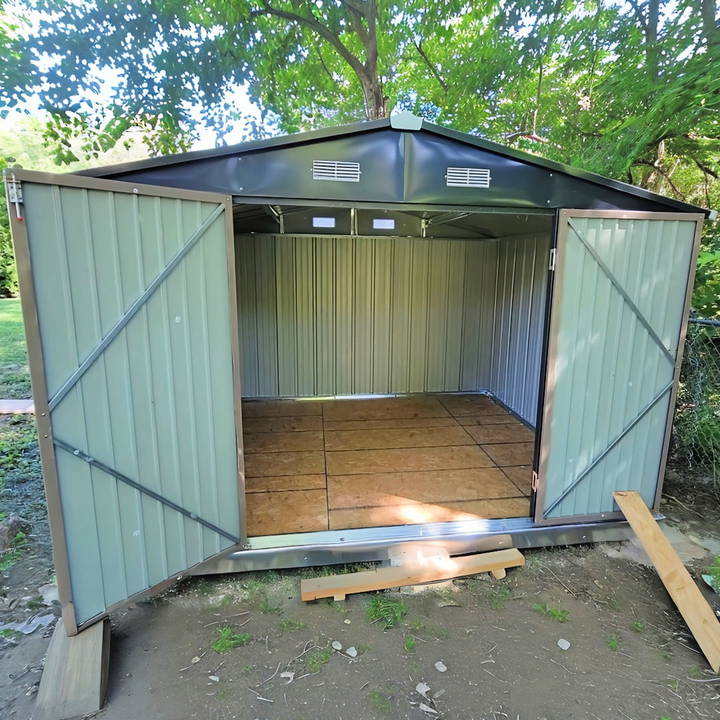
I began researching the steps involved in constructing a DIY metal shed. From laying the foundation to assembling the metal panels, each stage taught me something new. I learned about choosing the right location, ensuring proper measurements, and securing the structure against the elements. It took some patience and careful planning, but the process was straightforward. Seeing the shed come together was incredibly satisfying.
Now, I'm eager to share what I've learned so you can build your own metal shed too. Let's get started on making that extra space you've been needing.
Choosing the Shed
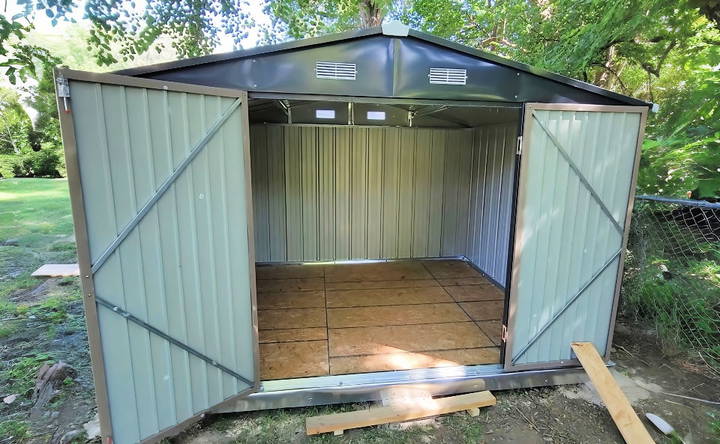
The appeal of the barn-style doors over the sliding doors wasn't just aesthetic; it seemed to promise easier access and potentially more durable mechanisms. That settled it for me, and soon, I had a 10x8 metal shed kit delivered, ready to claim its spot in my backyard.
Materials and Tools Needed
Before diving into construction, I meticulously planned out the materials and tools I would need, understanding that preparation was half the battle won.
Materials:
- Shed Kit: Patiowell's 10x8 metal shed was my choice for its size and door style.
- Lumber: Treated wood (2x4s for the base) and three pieces of 5/8 OSB with tongue and groove for the flooring.
- Pavers: 12"x12"x2" for a sturdy and level foundation.
- Metal Flashing: To protect the base from moisture.
- Screws: 1 and 1/2 inch and 3-inch screws apt for outdoor use.
- Staking Rods: For added stability against high winds.
Tools:
- Drill: For assembling various parts of the shed.
- Level: To ensure a perfectly flat foundation.
- Tape Measure: Precision is key in such projects.
- Saw: For cutting lumber to the required dimensions.
Step by Step Instructions
Learn how to build a DIY metal shed with step-by-step instructions from site preparation to final touches, including tips on a wooden foundation and adding a ramp.
Preparing the Site
The first step was to clear the designated area and level the ground as best as I could with a simple 2x4, ensuring a flat surface. This step, albeit labor-intensive, is crucial for the stability of the shed.
Building the Foundation
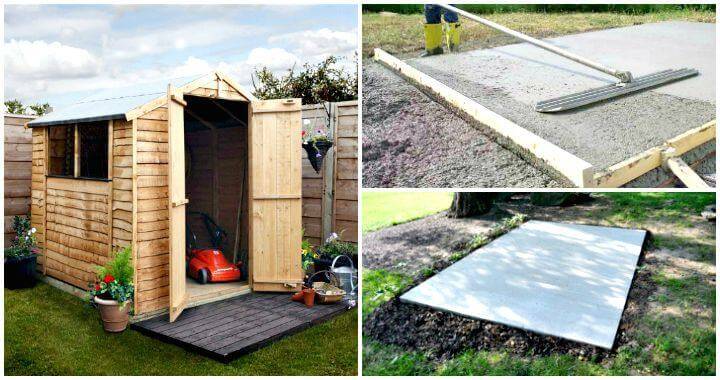
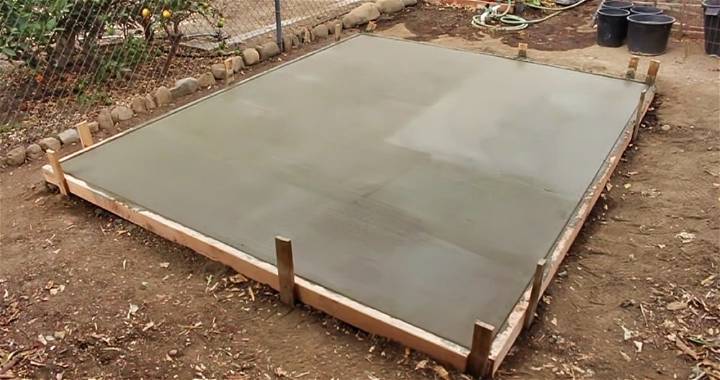
With the ground prepared, it was time to lay out the pavers and build a wooden frame on top. This foundation would support the shed and protect it from direct soil contact, which could lead to dampness and rust.
Why Use a Wooden Foundation?
The wooden foundation elevates the shed, keeping it dry and ensuring its longevity. Moreover, it provides a solid and flat base upon which to build, making the assembly process smoother.
Assembling the Shed
The actual assembly process was a step-by-step endeavor largely guided by the instruction manual that came with the shed. Each part of the shed was numbered and corresponded with the manual, making it easier to follow along.
Partner Up!
I quickly realized that assembling a shed is not a one-person job. Having a partner not only speeds up the process but also helps in handling the larger parts and ensuring everything aligns correctly.
Tips and Tricks
- Double-Check the Orientation of Beams: We learned the hard way that not having the beams in the correct orientation could throw the whole project off track. Always double-check before moving on to the next step.
- Don't Over-tighten the Screws: When attaching the panels, it's important to tighten them just right—over-tightening could strip the screws, making it difficult to secure the panels properly.
- Plan for Weather Proofing: Adding metal flashing around the edges of the base can protect the shed's foundation from water damage. Additionally, consider where to place the shed to ensure adequate drainage.
Finishing Touches
The final steps included installing the barn-style doors and ensuring they opened and closed smoothly. A few adjustments were necessary to get everything perfectly aligned.
Adding a Ramp
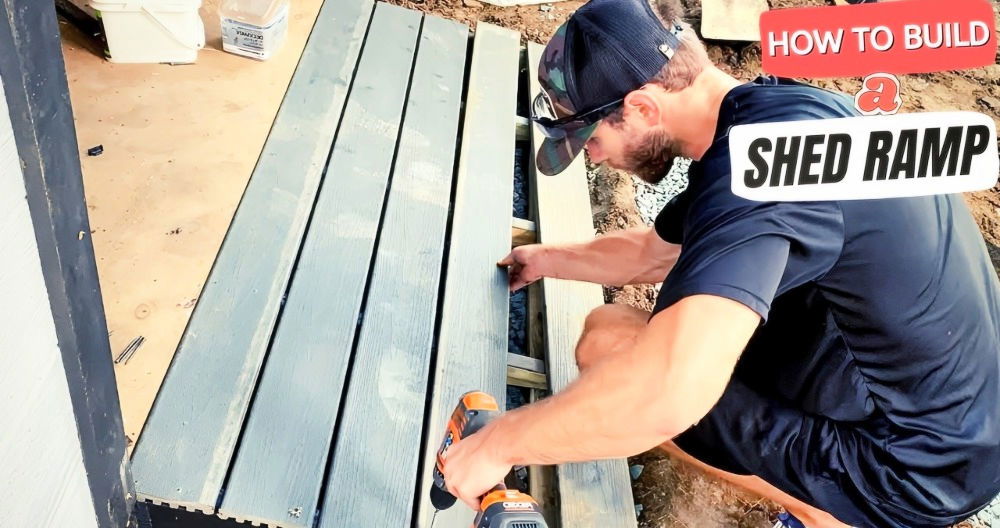
Considering the items I planned to store in the shed, including a lawnmower and snowblower, building a ramp was a practical addition. It made moving heavy equipment in and out a breeze.
As I stepped back to admire my handiwork, I couldn't help but feel a wave of satisfaction wash over me. Not only had I managed to declutter our garage and patio, but I'd also added a functional and rather attractive structure to our backyard. The project, spanning over a few days, taught me valuable lessons in planning, teamwork, and persistence.
Customization and Upgrades
Building a metal shed lets you tailor it to your needs and style. Customizing enhances its personal touch and functionality. Consider these ideas:
Choose Your Color Scheme
- Exterior Paint: Select a color that complements your home or garden. Light colors can make your shed stand out, while darker shades can help it blend with the surroundings.
- Trim and Details: Add contrast with trim colors. This can highlight the shed's architecture and make it visually appealing.
Interior Touches
- Flooring: Consider installing durable flooring that's easy to clean. Vinyl or rubber mats are practical options.
- Shelving and Storage: Add shelves and hooks to organize tools and equipment. This maximizes space and keeps your shed tidy.
Functional Upgrades
- Insulation: If you plan to spend time in your shed, insulation can make it more comfortable in extreme temperatures.
- Electricity: For sheds used as workshops, consider wiring for electricity to power lights and tools.
Exterior Additions
- Landscaping: Plant flowers or shrubs around your shed to enhance its appearance.
- Lighting: Install solar-powered lights for a welcoming glow and added security at night.
Security Features
- Locks: Invest in a sturdy lock to secure your belongings.
- Alarm System: For added security, consider a simple alarm system or motion sensor lights.
Incorporate these customization and upgrade options to make your metal shed functional and stylish.
FAQs About DIY Metal Shed
Discover answers to all faqs about diy metal shed construction. Get expert advice, tips, and techniques for your perfect outdoor storage solution.
Before starting your project, ensure you have the required permits by checking with your local municipality and homeowner’s association. Select a location that is free from obstructions and has enough space for maintenance. It’s essential to read the manufacturer’s instructions and organize all parts and tools needed, such as a power drill, tape measure, and nail gun. Choose a clear day for construction and consider having at least one helper for safety and efficiency.
Begin by marking the area with stakes and string, then use a string level to find the highest point, which will be your starting level. Remove any grass and add topsoil, spreading it evenly with a garden rake. Continuously check with a level and tape measure to maintain evenness. Once leveled, compact the soil with a tamper or plate compactor.
Measure and mark the locations for the base channels, securing them with anchor bolts or screws. Assemble the frame by connecting columns, beams, and trusses. Ensure the frame is square and level, as this is crucial for a sturdy shed. Double-check measurements and alignments at each step, and seek assistance when handling large components.
Prepare the panels by laying them out on a flat surface and cutting them to size with a circular saw or metal shears. Smooth any sharp edges with a metal file. Begin attaching the panels from the sides and back, securing them to the frame with self-tapping screws. Ensure that the panels are properly aligned and secured.
Yes, you can customize your shed with doors and windows for access and natural light. Insulation and ventilation are also important for temperature control and preventing condensation. If you're comfortable with electrical work, you can add lighting. Remember to follow local codes for any structural and electrical modifications.
Conclusion
Building my own DIY metal shed was a rewarding experience. If I could do it, so can you. With some basic tools and a bit of time, you'll have a sturdy shed that meets your storage needs. So grab your tools, and let's build it together!


