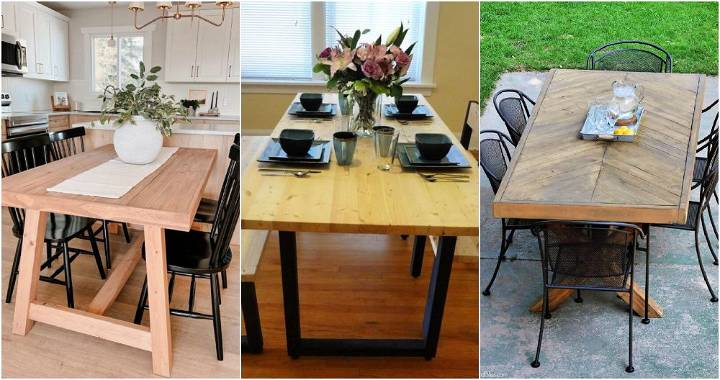
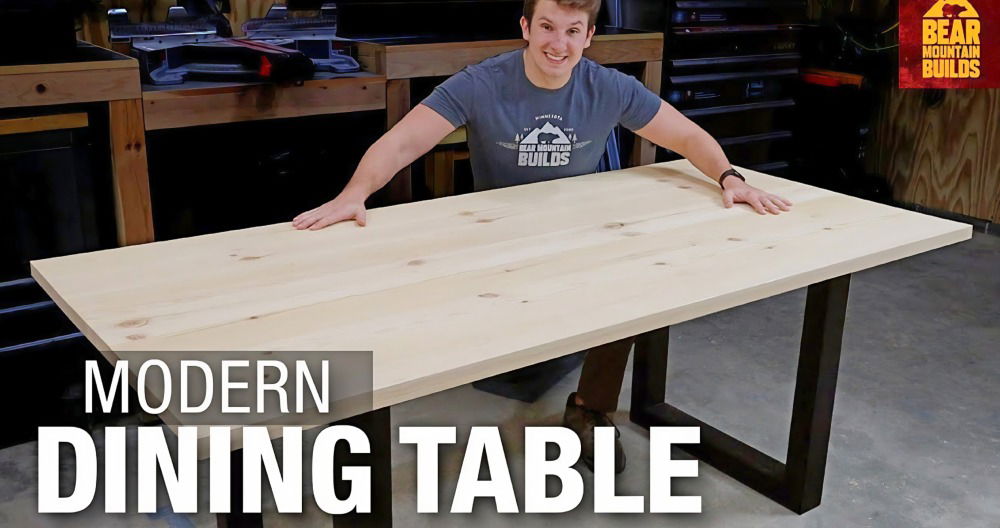
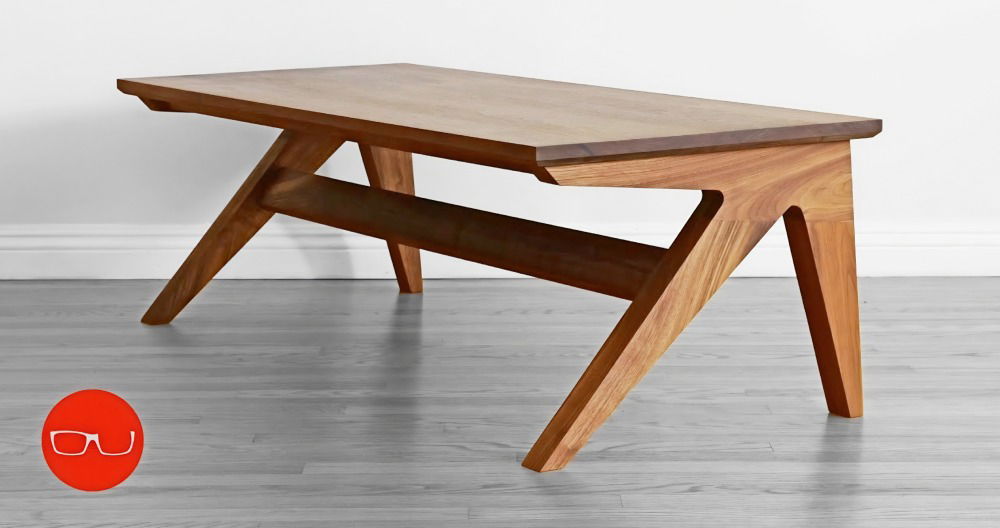
Making a DIY modern dining table from scratch may sound daunting, but with a blend of woodworking and welding skills, I managed to turn rough lumber and steel tubes into a centerpiece for my dining room. This project not only challenged my DIY skills but also enriched my expertise, offering invaluable insights into handling large materials, moisture content considerations, and metalworking intricacies. Let's dive into how I built this table, step by step.
Materials and Their Purpose
- White Oak Boards: Selected for their durability and aesthetics. Good lumber is pivotal for the project's success.
- Orion 950 Pinless Moisture Meter: Essential for checking the moisture content, ensuring the wood acclimatizes correctly to prevent future warping.
- Jointer and Planer: For milling the boards to a flat surface and uniform thickness.
- Biscuit Joiner: For aligning boards during glue-up, ensuring a flat tabletop.
- Epoxy Resin and Black Tint: To fill in knots and cracks, enhancing the wood's natural beauty.
- 1 by 3 Rectangular Tube Steel: The base material for a sturdy, modern look.
- Welding Equipment: For constructing the table's metal base.
- Rubio Monocoat Pure: Chosen for the finishing touch, providing protection while preserving the wood's natural look.
Preparing the Wood
I started with sorting the white oak boards by checking their shapes and moisture content using the Orion 950, aiming for similar moisture levels to ensure uniform acclimatization. Despite selecting straight boards, they required milling for a flat face and straight edge; a task made manageable thanks to my friend Matt's well-equipped workshop.
Why Mill the Boards?
Rough lumber isn't ready to be used for making fine furniture. Milling ensures your boards are straight, flat, and of consistent thickness, which is critical for a seamless tabletop.
Gluing the Boards
After milling, I brought the boards to my shop for acclimatization. A week later, I proceeded with planing and sawing to achieve the desired thickness and width. During glue-up, I used biscuits for alignment, ensuring a flat assembly. Clamping and careful alignment prevented gaps, with epoxy resin filling in any remaining imperfections for a flawless finish.
The Importance of Biscuits
Biscuits aren't just for alignment; they also enhance the glue joint's strength, ensuring a durable tabletop capable of withstanding daily use.
Crafting the Metal Base
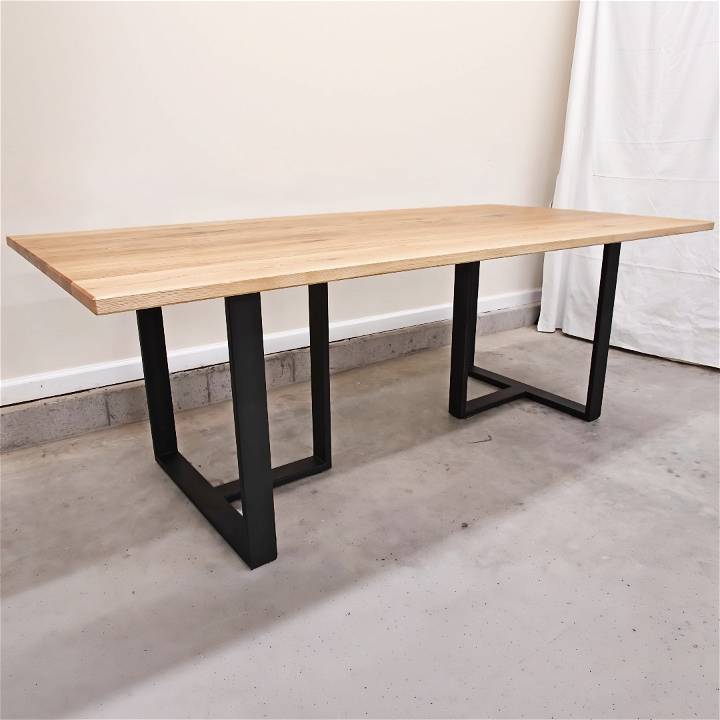
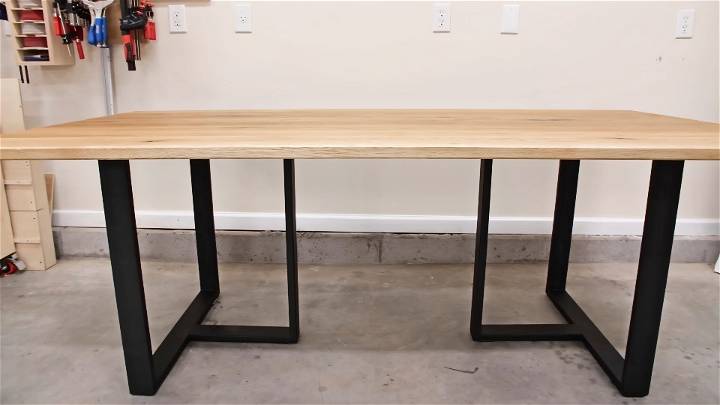
Turning to the metal base, I opted for a modern T-shape design using 1 by 3 rectangular tube steel. After cutting the steel to size, I tackled the challenge of welding — a new skill for me. The process involved measuring, cutting, grinding, and welding the steel pieces into two identical bases.
Why Go for a Metal Base?
A metal base offers both aesthetic appeal and structural integrity. The contrast between the warm wood top and the sleek metal base gives the table a contemporary edge, fitting perfectly in modern home d* écor.
Finishing Touches
With the woodworking and metalworking complete, I focused on finishing. Rubio Monocoat Pure provided the desired natural finish, enhancing the wood's grain while offering protection. The epoxy-filled knots added character, turning imperfections into elegant features.
The Final Assembly
Attaching the tabletop to the metal bases was a straightforward process, thanks to pre-drilled holes and threaded inserts. This approach not only facilitated the assembly but also allowed for disassembly if the table needed to be moved or the top and base required separate maintenance.
Key Takeaways
- Selecting the right materials is the foundation of any successful project.
- Milling rough lumber is essential for achieving a flat, uniform tabletop.
- Biscuit joiners not only align but also strengthen the glue joints.
- Welding may seem daunting, but with practice, it adds versatility to your DIY skills.
- The right finish enhances both the beauty and durability of the wood.
Embarking on this project has enriched my DIY journey, allowing me to merge woodworking with metalworking and achieve a piece that elevates my home d* écor. I encourage you to step out of your comfort zone, embrace the challenges of mixed-material projects, and above all, enjoy the process of building something truly unique.
Design Customization Ideas
Building a DIY Modern Dining Table is not just about functionality; it's also an opportunity to express your personal style. Here are some ideas to inspire customization that resonates with your aesthetic and makes your dining table truly one-of-a-kind.
Choose Your Style
- Contemporary: Sleek lines and minimalist design. Think of using metals or a monochrome palette.
- Rustic: Embrace the natural beauty of wood with a live edge table or distressed finish.
- Industrial: Combine wood with metal accents for a sturdy, utilitarian look.
- Scandinavian: Light woods, clean lines, and functional design define this cozy style.
Selecting the Right Wood
- Hardwoods like oak, maple, and walnut are durable and can be stained to your preference.
- Softwoods like pine are more affordable and easier to work with, so they are ideal for painting.
- Reclaimed wood is an eco-friendly option that adds character and history to your table.
Top It Off
- Glass Top: Adds a modern touch and can make a small space feel larger.
- Tile Inlay: Build a mosaic for a unique, artistic element.
- Resin River: Combine wood planks with colored resin for a striking ‘river' effect.
The Base Matters
- Traditional Legs: Turned legs for a classic look or tapered legs for mid-century modern flair.
- Pedestal Base: Great for round tables and adds elegance.
- Metal Frame: For an industrial edge, consider a steel or iron base.
Finishing Touches
- Stain: Choose a stain that complements your home's decor and the type of wood.
- Paint: Go bold with color or try a two-tone effect.
- Varnish: Protect your table and enhance the natural wood grain.
Personalize It
- Engravings: Add a personal touch with a family name or significant date.
- Hand-painted Designs: From simple patterns to elaborate scenes, make your table a canvas
- Functional Add-ons: Incorporate storage solutions or extendable sections for versatility.
By customizing, you can build a dining table that suits you and shows your style. DIY lets you experiment and make something unique.
Troubleshooting Common Issues
When embarking on a DIY Modern Dining Table project, you might encounter a few hiccups along the way. Here's a helpful guide to troubleshoot common issues, ensuring your project stays on track.
Problem: Wood Warping or Bending
Cause: Wood can warp due to moisture imbalance or improper storage. Solution:
- Store wood flat and off the ground with support at regular intervals.
- Acclimate your wood to the room's humidity where the table will reside before starting your project.
- Seal all sides of the wood evenly to prevent moisture absorption.
Problem: Uneven Table Legs
Cause: Inaccurate measuring or cutting can lead to uneven legs. Solution:
- Measure twice, cut once: Always double-check your measurements before cutting.
- Use a level to ensure all legs are even before final assembly.
- Adjustable feet: Consider adding adjustable feet to the bottom of the legs for minor corrections.
Problem: Joints Not Fitting Properly
Cause: Joints may not fit if cut inaccurately or if there's sawdust in the joint. Solution:
- Clean cuts: Ensure your cuts are clean and free from debris.
- Dry-fit pieces before gluing to check for a good fit.
- Sanding: Lightly sand the joints for a smoother fit if needed.
Problem: Finish Not Adhering
Cause: Finish may not stick if the surface isn't properly prepared. Solution:
- Sand the surface smoothly before applying any finish.
- Clean the wood thoroughly to remove all dust and oils.
- Test the finish on a scrap piece to ensure compatibility.
Problem: Tabletop Not Level
Cause: An uneven assembly or surface can result in a wobbly tabletop. Solution:
- Check work surface: Ensure your work surface is level before assembly.
- Clamp and check: Use clamps to hold pieces in place and check for levelness as you go.
- Plane or sand: If the tabletop is uneven after assembly, use a hand plane or sander to level it out.
Remember, patience and attention to detail are crucial for DIY projects. Don't rush and reassess if needed. With these tips, you'll handle challenges well.
Conclusion
Wrapping up and building a DIY modern dining table can be a fun and rewarding project. By following these steps, you can customize your table to fit your style and space perfectly. Get crafting and enjoy your new furniture piece!


